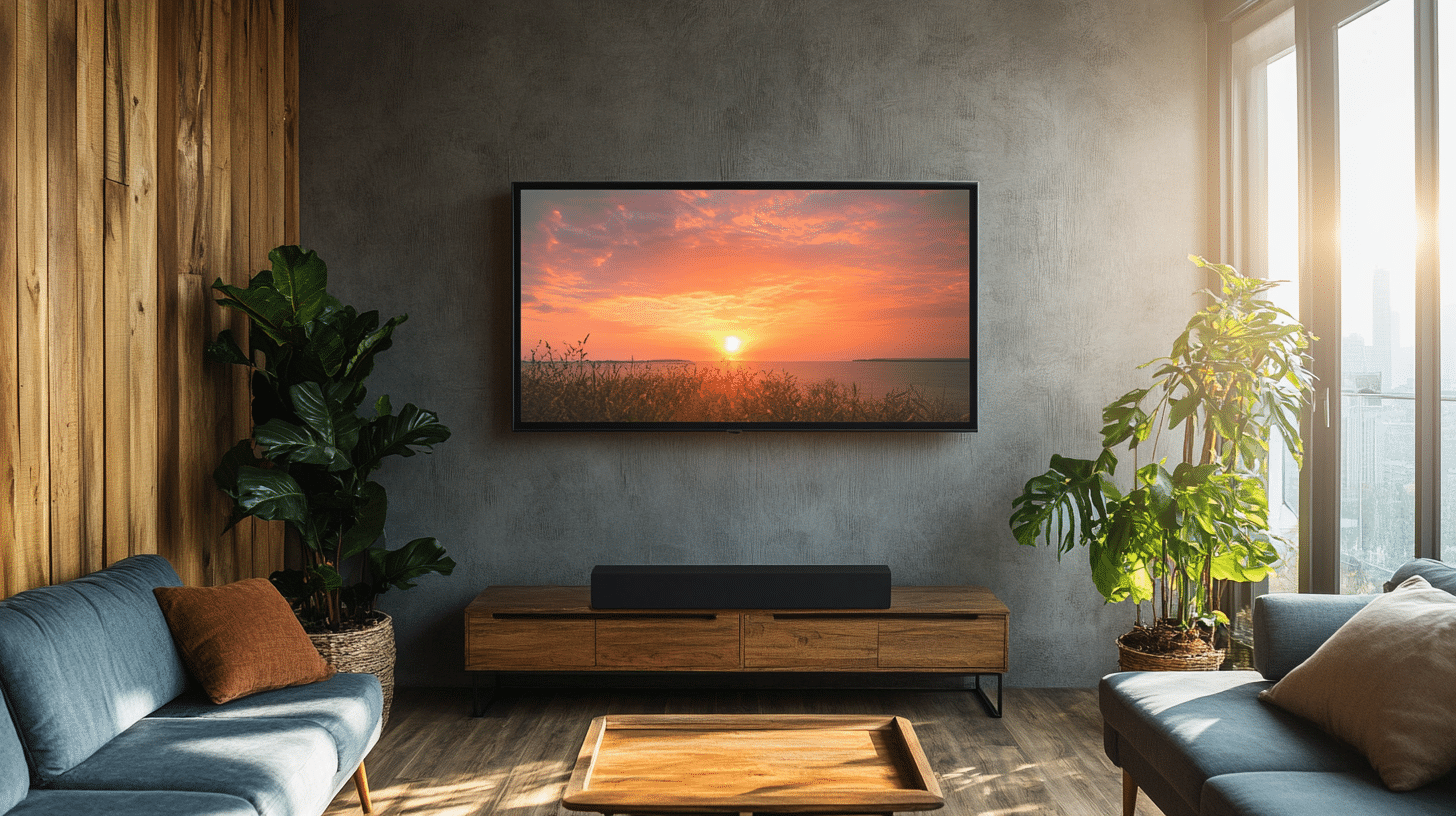
How to Make DIY Frame TV Under Budget
Want to give your TV a stylish makeover without spending too much? I get it – those fancy frame TVs can cost thousands.
But here’s something cool I learned: you can create your own framed TV setup at home for way less money.
I tried this project myself, and it turned out great! In this guide, I’ll show you step-by-step how to transform your regular TV into a beautifully framed display that looks like wall art when it’s turned off.
You’ll learn about the materials you need, where to find them cheaply, and how to put everything together – even if you’re not very handy with tools.
Let’s make your TV look expensive without the luxury price tag!
An Overview of the DIY Frame TV Concept
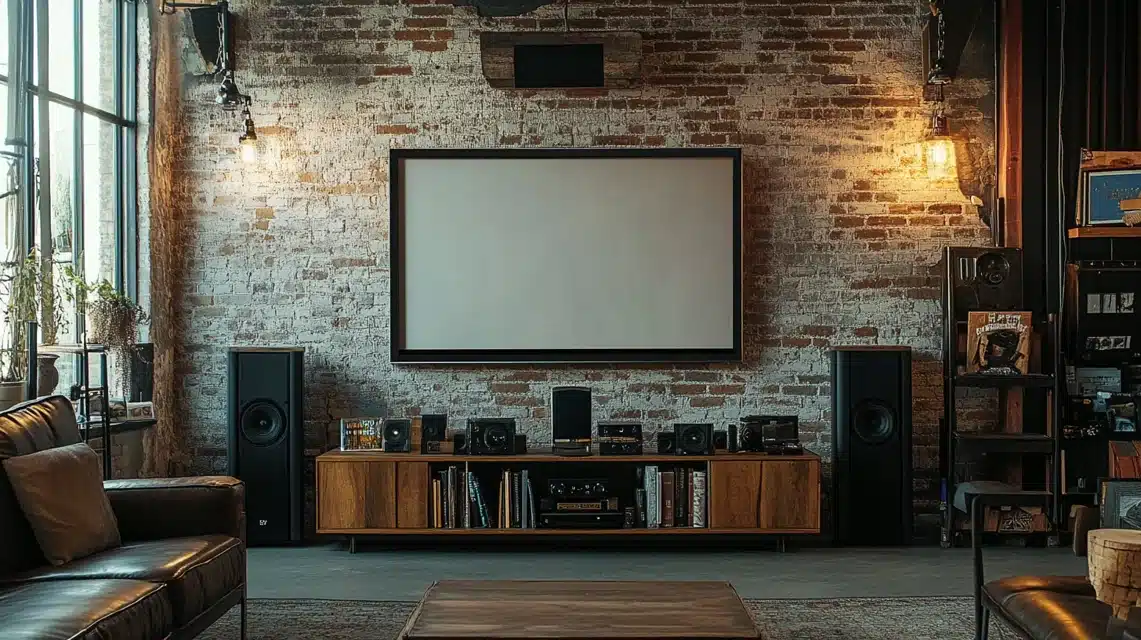
Let me tell you why I chose to make my own frame TV instead of buying one. Most people don’t know this, but a regular frame TV from the store can cost between $1,000 to $3,000. When I saw those prices, my wallet started crying!
Here’s what I learned from making my own: A DIY frame TV setup usually costs between $100 to $300, depending on your material choices. That’s some serious savings! Plus, I got to pick exactly how I wanted it to look.
But it’s not just about the money. When you make your own frame TV, you can:
- Choose any frame style that matches your room
- Use your existing TV (no need to buy a new one)
- Change the frame whenever you want
- Fix or update parts easily
The store-bought versions do come with nice features like art mode and special mounts. But if you’re like me and want something that looks good without the big price tag, the DIY route might be perfect for you.
Step-by-Step Guide to Building Your DIY TV Frame
Tools & Materials Required
- Measuring tape
- Decorative trim pieces (with design or plain wood)
- Wood stain (gel stain recommended)
- Corner hinges (4 pieces)
- Elastic bands
- Staple gun and staples
- Wood filler
- Sandpaper
- Wood glue
- Scissors
Stepwise Process for Making the DIY TV Frame
1. Measure Your TV Screen
- Take measurements of just the screen area
- Don’t include the TV’s bezel in measurements
- Write down width and height measurements precisely
2. Cut the Frame Pieces
- Purchase decorative trim pieces of your choice
- Mark pieces as top, bottom, left, and right
- Cut according to your TV measurements
- Make sure cuts are clean and precise
3. Assemble the Frame
- Connect the cut pieces to form a rectangle
- Add corner hinges to each corner
- Apply wood filler to any gaps
- Let the wood filler dry completely
4. Sand and Stain
- Sand the corners where wood filler was applied
- Apply gel stain for better coverage
- Give it a deep brown color (or your preferred shade)
- Allow 2 full days for the stain to dry
5. Add Elastic Attachments
- Place elastic strips on the back of the frame
- Make sure the elastic is slightly tight, not loose
- Use a staple gun to secure elastic
- Space elastic strips to fit your TV’s back panel
6. Mount the Frame
- Carefully slide elastic over the TV edges
- Adjust frame position as needed
- Test remote functionality
- Make final adjustments for alignment
DOWNLOAD THE ENTIRE DIY TV FRAME GUIDE FROM THIS PDF
An Approximate Cost Analysis While Building
| Item | Cost |
|---|---|
| Basic Materials | |
| Decorative trim pieces | $17 |
| Elastic bands | $3 |
| Corner hinges | $4 – $5 |
| Extra Items | |
| Wood stain | $8 – $10 |
| Staple gun | $15 – $20 |
| Wood filler | $5 – $7 |
| Sandpaper | $3 – $4 |
| Wood glue | $4 – $6 |
| Total (with tools) | $25 |
| Total (no tools) | $60 – $70 |
Money-Saving Tips:
- Check your local hardware store for trim piece sales
- Borrow tools from friends or family
- Use simple wood trim instead of decorative pieces to cut costs
- Look for combo packs of supplies like sandpaper and wood filler
Compare this to buying a frame TV that costs between $1,000 to $3,000 – the savings are pretty clear! I spent less than a nice dinner out to make mine.
Certain Safety Considerations to Look After
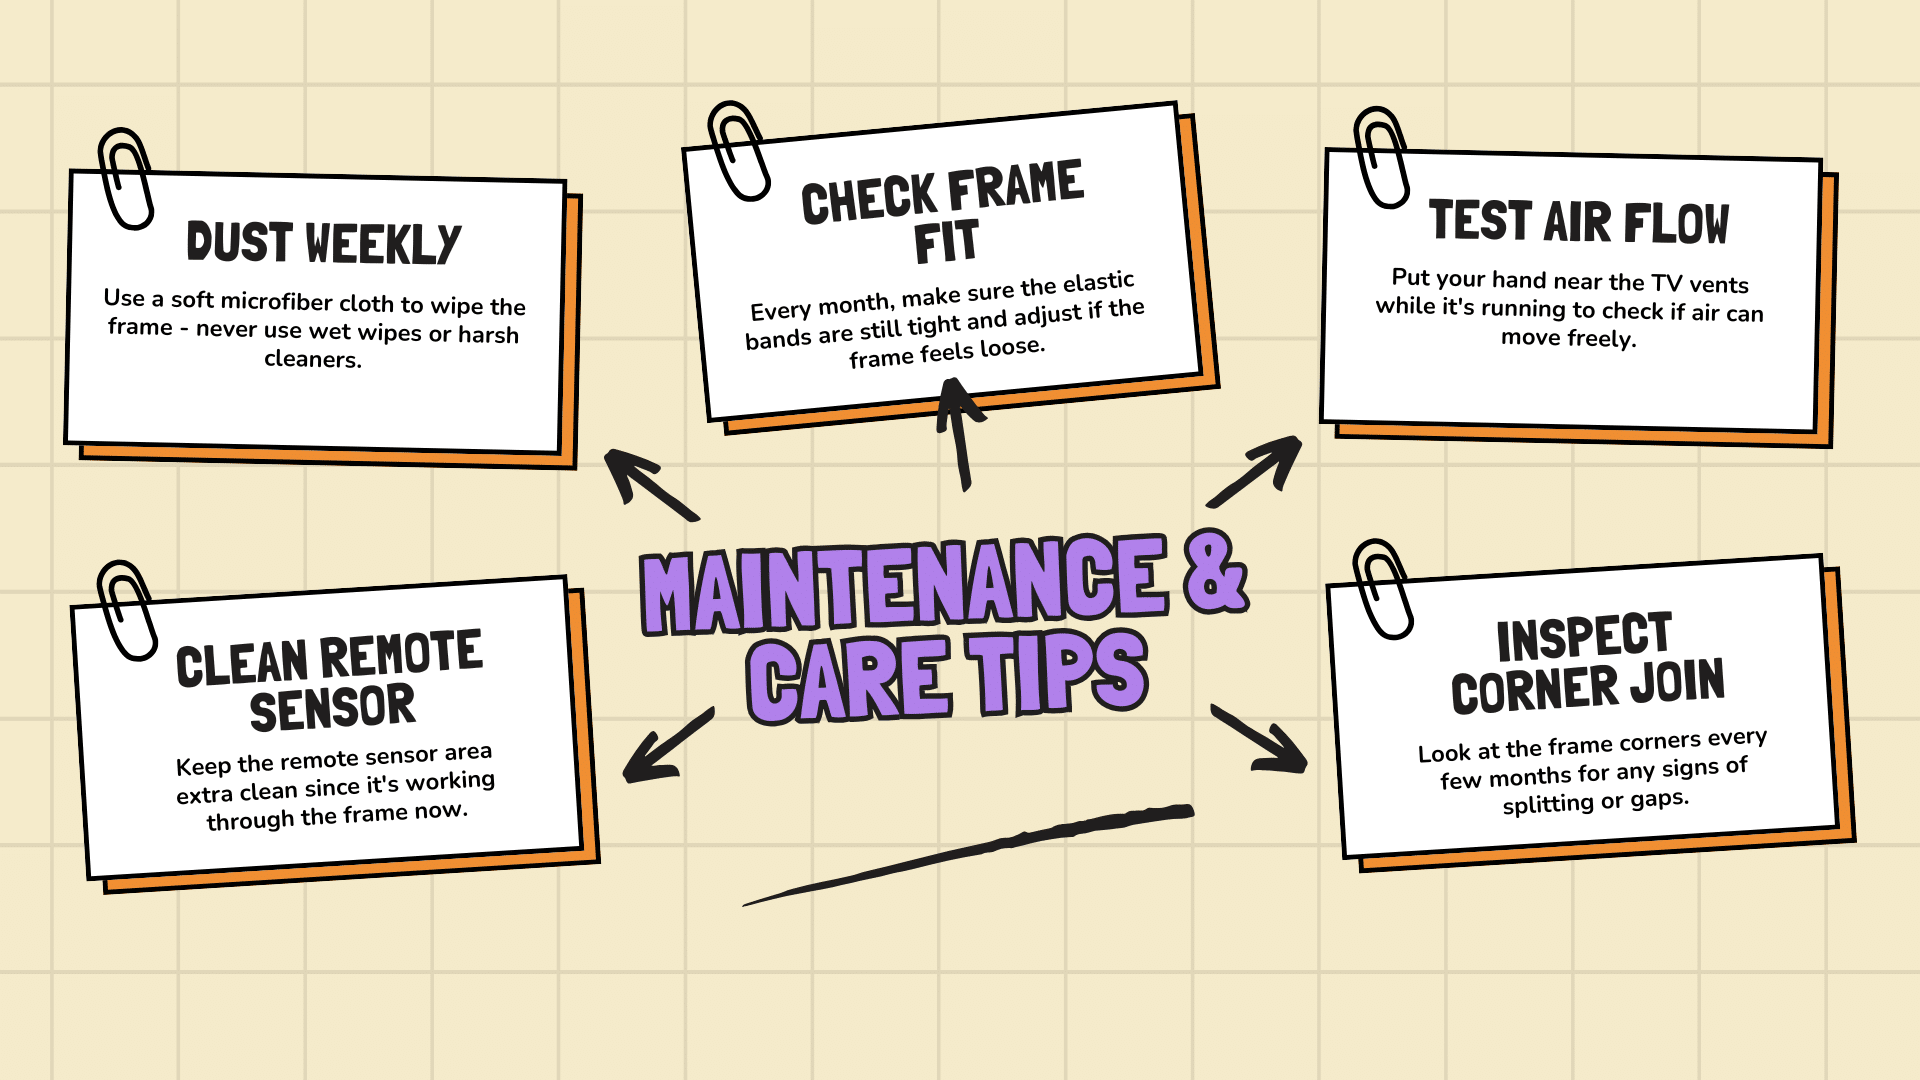
- Check Your TV Manual: Keep your TV’s manual handy to know where vents are – blocking them can cause overheating.
- Mind the Power Cord: Make sure your frame doesn’t put pressure on the power cord or any other cables.
- Stable Surface: Work on a clean, flat surface while building your frame to prevent accidents with tools.
- Proper Ventilation: Leave small gaps around your TV frame for air flow – your TV needs to breathe!
- Weight Balance Test: If your TV mount can handle the extra weight of the frame before final installation.
- Remote Function: Double-check that your frame doesn’t block the remote sensor – test it before securing everything.
These simple steps helped me avoid any issues with my DIY frame TV project. The whole process went smoothly because I paid attention to these safety points first.
Best Customization Options to Try Out
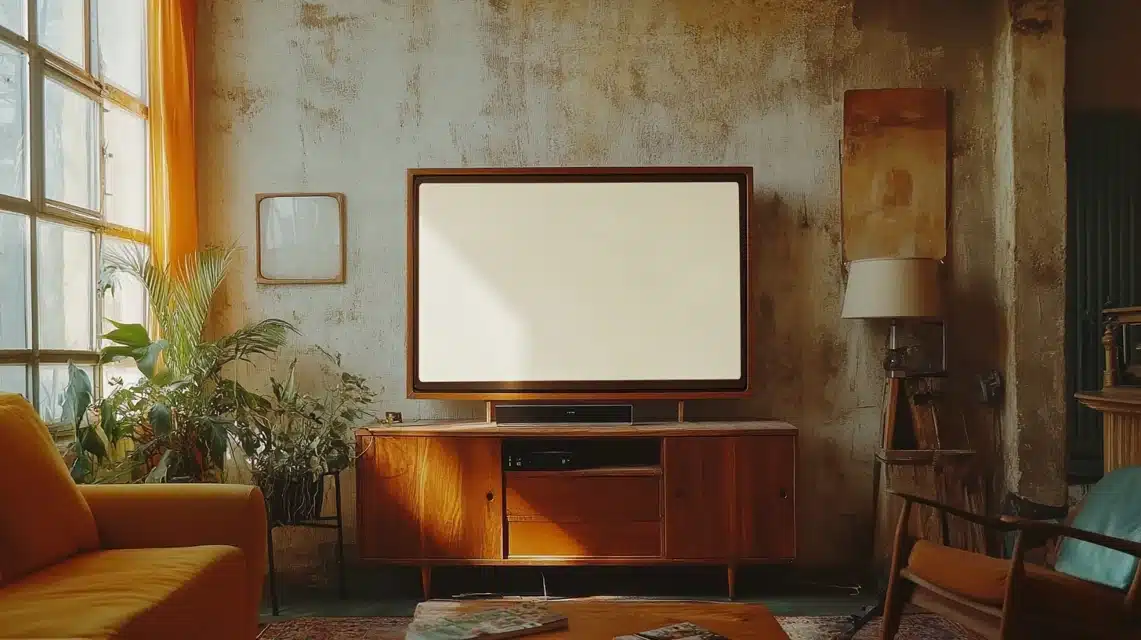
1. Frame Styles
You’ll Love I found that choosing the right frame style makes a huge difference. You can pick ornate trim pieces with patterns for a classic look.
Some styles include floral designs, ribbed patterns, or simple clean lines. If modern is your thing, try sleek, straight-edged trim pieces in matte black.
2. Paint and Finish Options
The finish you choose sets the mood of your room. Dark wood stains give a rich, traditional feel. White paint creates a bright, modern look.
You might try chalk paint for a soft, matte finish. I’ve seen metallic paints used for a bit of shine. Remember to seal your finish to protect it.
3. Size Adjustments
You can make your frame wider or slimmer than the TV’s edge. A wider frame creates more visual impact. A slimmer frame keeps things subtle.
Just make sure to measure twice before cutting your pieces.
4. Material Mix-Up
Try mixing materials for unique effects. Wood trim with metal corner pieces looks great. Some people add fabric inside the frame edges.
Others use different types of wood trim on each side. These little changes make your frame stand out.
5. Seasonal Updates
Make two or three frames in different styles. Switch them out when you want a new look. It’s cheaper than buying new furniture, and it keeps your room feeling fresh.
6. Lighting Add-ons
Consider adding small LED strips behind the frame. This creates a soft glow around your TV. Make sure the lights don’t interfere with your viewing experience.
The right lighting makes your TV look like a real art piece.
Conclusion
Time to turn your TV into a stunning piece of art! I hope this guide makes your DIY frame project easier. I made mine last month, and it’s still making me smile every time I walk into my living room.
Here’s a fun thought: why stop at one frame? I’ve written more guides that might spark your creativity.
- Check out “How to Choose TV Frames Under $50” if you’re still planning your design.
- Or peek at “Different Types of DIY TV Frames” for more style ideas.
Give this project a try—it’s simpler than you think! Comment below to share your frame design or ask questions. I’d love to see how your TV makeover turns out.
Let’s make our TVs look fancy without the fancy price tag!
Frequently Asked Questions
Are There Cost-Effective Alternatives to Buying a Samsung Frame TV?
Yes! Building your own frame TV costs about $25-70, while branded frame TVs run $1,000-3,000. Plus, you can use your existing TV and add a custom frame around it.
How Difficult Is the DIY Process, and Do I Need Advanced Skills?
This project needs basic measuring and assembly skills. You’re all set if you can use a staple gun and follow simple steps! The trickiest part is making clean corner cuts.
Will Adding a Frame Affect My TV’s Functionality or Ventilation?
Your TV will work fine with a proper frame setup. Just leave small gaps for airflow and keep the remote sensor area clear. I’ve used my framed TV for months without issues.


