How to Make Bouncy Balls at Home? (DIY Guide)
Ever watched a bouncy ball and thought, “I could make that”? Well, you absolutely can! This simple DIY project turns basic household items into a real, working bouncy ball right in your kitchen.
Using just glue, borax, and water, you’ll create a toy that actually bounces while learning cool chemistry along the way.
It’s perfect for rainy afternoons, science fairs, or just spending quality time with your kids. The best part? You probably already have most of the materials at home.
In this guide, you’ll learn the exact recipe for homemade bouncy balls, learn the science behind why they work, troubleshoot common problems, and try fun variations like glow-in-the-dark and galaxy glitter designs.
Let’s get started!
Science Behind Bouncy Balls
Want to know the secret behind your homemade bouncy ball? When you mix borax with glue, something cool happens at the molecular level.
The borax acts as a connector, linking the long glue molecules together to form a stretchy, bouncy material.
Think of it like this: glue molecules are like loose spaghetti strands, but when borax jumps in, it ties them all together into a springy net.
This science experiment with borax and glue is actually a fun kids’ chemistry activity that shows polymerization in action. It looks like magic, but it’s really just science doing its thing!
The result? A rubbery ball that can bounce because the connected polymers store energy and release it quickly when they hit the ground.
Step-by-Step Instructions to Make a Bouncy Ball
Ready to create your own bouncy ball? Follow this borax bouncy ball recipe carefully, and you’ll have a fun toy in just minutes. Each step is simple and safe when done with adult help.
What You’ll Need
| Material | Amount | Notes |
|---|---|---|
| Boiling water | ¼ cup | Hot water helps dissolve borax completely |
| Borax powder | ½ tablespoon | Find it in the laundry aisle at most stores |
| Clear glue | 2 tablespoons | Clear glue makes see-through balls; white glue works too |
| Glitter | Optional | Add color and sparkle to make it fun |
| Mixing bowls | 2 small bowls | One for each mixture |
| Mixing spoons | 2 spoons | Keeps things clean and easy |
| Food coloring | Optional | A few drops for bright, colorful balls |
Safety First! Borax is safe for crafts, but it needs careful handling. Always have an adult supervise when using boiling water and measuring borax. Wash your hands after crafting, and keep borax away from your eyes and mouth. This is a fun project, but safety makes it even better!
Step 1: Prepare the Borax Solution

Start by carefully pouring ¼ cup of boiling water into your first bowl. Make sure an adult handles the hot water to avoid any burns.
This hot water is important because it helps the borax dissolve completely in the next step. Set this bowl aside where it won’t tip over.
Materials: ¼ cup boiling water, 1 small bowl
Step 2: Mix in Borax

Now add ½ tablespoon of borax powder to the hot water you just poured. Stir it well with your spoon until all the borax disappears into the water.
It should look clear when it’s fully dissolved. This creates your borax solution, which is the key ingredient that makes your ball bouncy.
Materials: ½ tablespoon borax, a spoon for stirring
Step 3: Make the Glue Mixture

Grab your second bowl and squeeze in 2 tablespoons of clear glue. If you want a colorful or sparkly bouncy ball, now’s the time to add a few drops of food coloring or a pinch of glitter.
Mix it all together until the color spreads evenly through the glue. This is where your ball gets its personality!
Materials: 2 tablespoons clear glue, glitter or food coloring (optional), second bowl
Step 4: Combine Both Mixtures

Here comes the fun part! Slowly pour your borax solution into the glue mixture while stirring gently. You’ll see something cool happen right away.
The mixture will start clumping together and forming a stretchy, rubbery blob. Keep stirring for about 10 seconds as it changes before your eyes.
Materials: Both prepared mixtures, spoon
Step 5: Shape Your Bouncy Ball

Carefully take the blob out of the bowl and start rolling it between your palms. It might feel a bit sticky at first, but keep rolling and kneading it for about a minute.
The more you work with it, the smoother and rounder it becomes. Once it feels firm and springy, you’re done! Drop it on a hard surface and watch it bounce. You just made your very own homemade bouncy ball!
Materials: Your hands
Video Tutorial
I’d like to give credit to One Little Project for their informative video, which served as a reference for this guide.
Quick Fixes for Bouncy Ball Problems
Making bouncy balls is easy, but sometimes things don’t go perfectly on the first try. Don’t worry! Here are the most common problems and how to fix them quickly.
| Problem | What Went Wrong | How to Fix It |
|---|---|---|
| The ball is too sticky | Not enough borax in the mixture | Add a tiny bit more borax solution (just a few drops) and knead it in. Keep rolling until the stickiness goes away. |
| The ball is cracking or crumbly | Too much borax was added, or the mixture wasn’t kneaded enough | Try kneading it longer to warm it up and make it softer. If it still cracks, start over with less borax next time. |
| The ball won’t bounce well | The mixture needs more time to set and harden | Let your ball sit on a table for 5 to 10 minutes. The polymers need time to firm up before they bounce properly. |
| The ball feels too hard | The borax solution was too strong | Next time, use slightly less borax or add a tiny drop more glue to make it softer and bouncier. |
| The mixture won’t come together | Water wasn’t hot enough to dissolve borax fully | Reheat your water and make sure the borax dissolves completely before mixing it with glue. |
Pro Tip: Keep kneading! Most problems get better with more rolling and squeezing. The more you work the mixture with your hands, the better your bouncy ball will turn out. If one batch doesn’t work, just try again. Practice makes perfect!
Cool Ways to Customize Your Bouncy Balls
Once you’ve mastered the basic bouncy ball, it’s time to get creative! Experiment with colors, textures, and glow effects to make each homemade bouncy ball unique and special.
1. Rainbow Bouncy Balls

Want a ball that looks like it came straight from a candy store? Use several small bowls and add different food coloring to separate portions of the clear glue.
Mix each color separately with the borax solution, then gently press all the colored pieces together.
Roll them in your hands without overworking the mixture, and you’ll get beautiful rainbow swirls throughout your bouncy ball.
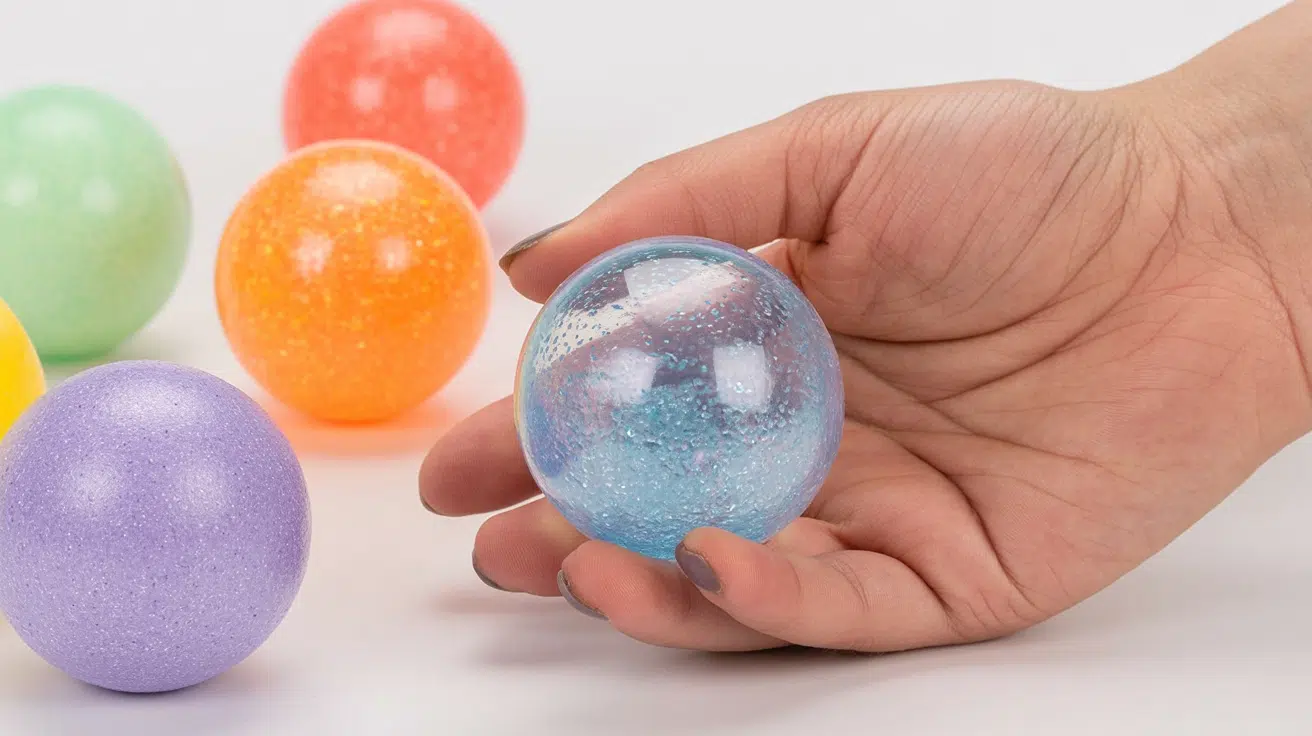
2. Galaxy Glitter Ball

Create your own mini universe with this space-themed bouncy ball! Start with dark blue or black food coloring in your clear glue, then add silver and purple glitter generously.
When you mix it all together, the glitter spreads like stars across a night sky. This galaxy ball looks incredible when you bounce it under bright lights.
3. Glow in the Dark Ball

Make a bouncy ball that shines when the lights go out! Add glow-in-the-dark pigment powder or a few drops of glow paint to your clear glue before mixing.
After you form your ball, charge it under a bright light or in sunlight for a few minutes. Then turn off the lights and watch your creation glow bright green or blue as it bounces around the room.
4. Marble Effect Ball

This technique gives your bouncy ball a swirled, artistic look just like real marble stone. Add two or three different food coloring drops to your glue, but here’s the secret: don’t stir them completely!
Leave gentle streaks of color visible, then add your borax solution. When you roll it into a ball, those color streaks will create beautiful marbled patterns that look professional and fancy.
5. Scented Bouncy Balls

Add a fun sensory twist by making your bouncy ball smell good, too! Mix 2 to 3 drops of your favorite essential oil into the glue before adding the borax solution.
Try lavender for a calming scent, orange or lemon for something fresh, or peppermint for a cool smell.
Just remember to use it sparingly so the scent isn’t too strong, and always check that no one playing with it has allergies.
6. Confetti Surprise Ball
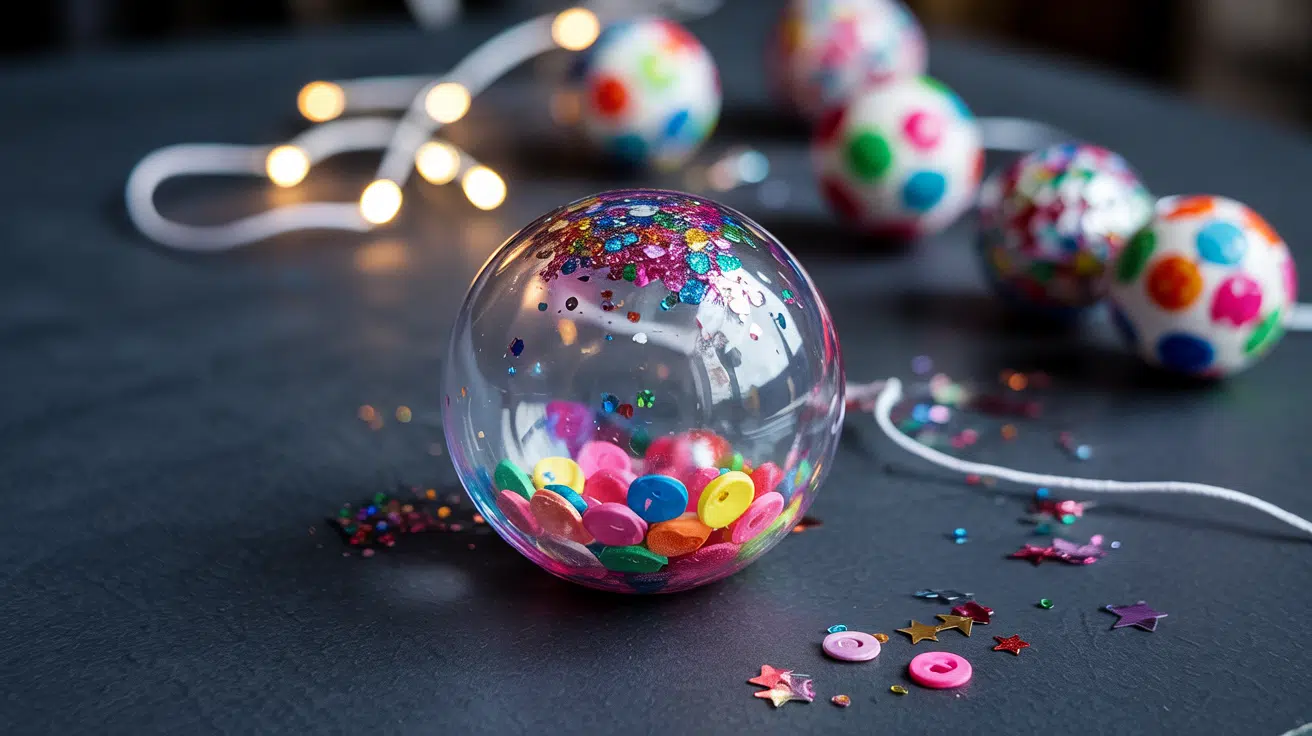
Turn your bouncy ball into a celebration! Before mixing your glue with the borax solution, stir in tiny sequins, mini beads, or colorful paper confetti.
When you roll the ball, all those fun pieces get trapped inside, creating a festive look perfect for parties or gifts. Each time the ball bounces, you’ll see sparkles and colors dancing inside.
Mix and Match! Don’t be afraid to combine ideas. Try a glow-in-the-dark galaxy ball or a scented rainbow creation. The possibilities are only limited by your imagination!
Safety Rules for Making Bouncy Balls
Making bouncy balls is fun, but staying safe is the most important part!
Always have an adult nearby when you’re working with boiling water and measuring borax, since hot water can cause burns and borax needs careful handling.
After you finish crafting, wash your hands thoroughly with soap and water to remove any leftover borax or glue. Never touch your face, eyes, or mouth while working on this project.
When you’re done, store the borax container tightly closed in a high cabinet away from little kids and pets.
Clean up any spills right away with a damp cloth, and throw away leftover mixtures in the trash, not down the sink. If anyone has sensitive skin, consider wearing gloves during the mixing process.
Following these simple safety rules means everyone can enjoy this science experiment with borax and glue without any problems!
Wrapping the Story
Making homemade bouncy balls is more than just a craft project. It’s a hands-on science lesson that teaches kids about chemistry while creating something they can actually play with.
From the basic clear ball to glowing galaxy creations, each bouncy ball you make becomes a unique masterpiece.
The simple combination of glue and borax shows how everyday materials can change into something fun and educational. Plus, this activity costs just pennies compared to store-bought toys.
So grab your supplies, gather the kids, and start experimenting today! Try different colors, add your favorite glitter, or create a whole collection.
Share your bouncy ball creations with us in the comments below! Which variation will you try first?