How to Install Your DIY Pocket Door Under Budget
Want to add a pocket door to your home without spending too much money? I get it – I faced the same problem last year.
Setting up pocket doors can cost a lot when you hire professionals. But here’s the good news: you can do it yourself at a fraction of the cost.
As someone who’s installed three pocket doors in my house, I’m going to show you exactly how to do it.
In this guide, I’ll walk you through each step of installing a pocket door. I’ll share the tools you’ll need, the mistakes to avoid, and smart ways to save money.
By the end, you’ll know how to put in your own pocket door while keeping your wallet happy.
An Overview of Pocket Doors
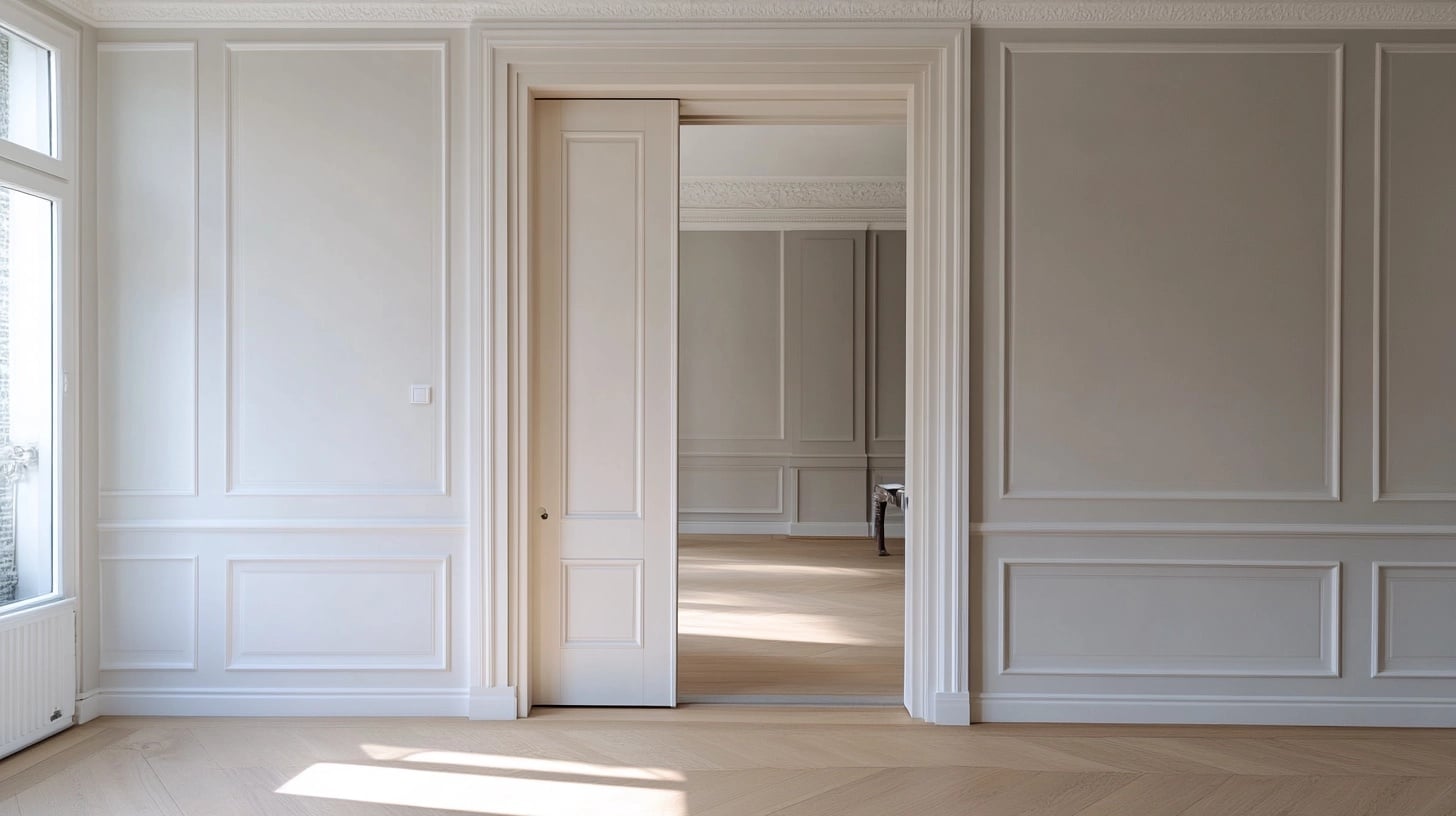
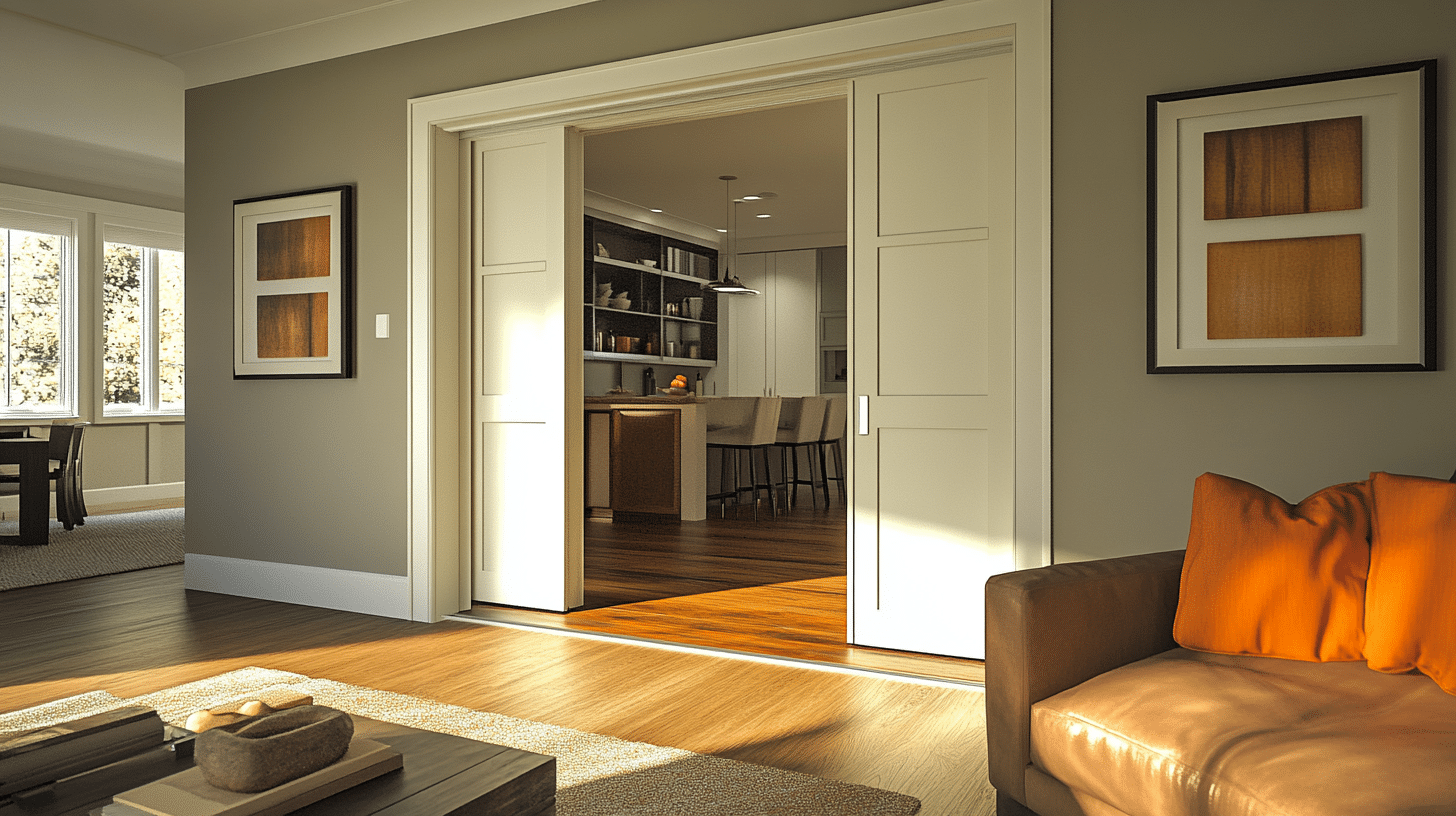
A pocket door is such a clever space-saver in any home. Unlike regular doors that swing open, these doors slide right into your wall – like slipping a letter into an envelope.
I remember when I first saw one at my friend’s small apartment. It changed my whole view of what doors could do! Instead of needing space to swing open, the door just glides into a hidden pocket in the wall.
Think about it – no more awkward door-swing space eating up your room. This makes pocket doors perfect for tight spots like bathrooms, laundry rooms, or home offices where every inch counts. Plus, they give your space a clean, tidy look when open since they’re completely hidden.
From what I’ve seen installing them in my own home, pocket doors work best in places where you want to save space but still need privacy when needed. They’re not just practical – they can make your room look bigger too!
How to Plan Your DIY Pocket Door Project
- First, take a good look at your wall. You’ll need one that’s not holding up your house (non-load bearing) and doesn’t have any electrical wires or pipes running through it. I made the mistake of not checking this first – trust me, you don’t want that headache!
Next, measure everything twice. You’ll need:
- The width of your doorway
- The height from floor to top
- The wall’s thickness
- Double the door’s width (for the pocket space)
Write down your budget, too. I found that a basic pocket door kit costs between $100-200. Add another $50-100 for tools if you don’t have them already.
Time-wise, set aside a full weekend. My first installation took two days, working at a steady pace. It’s not a race – taking your time helps avoid costly mistakes.
DIY Pocket Door Guide
Tools & Materials Required
- Johnson sliding pocket door kit (keeping only the aluminum track and carriages)
- Dry 2x4s or 2x6s lumber
- Screws
- Rubber bumpers
- Finger pulls (for door edge and face)
- Aluminum C-channel
- Guide pin
- Level
- Router (for hardware installation)
- Basic hand tools
Step-by-Step DIY Guide
- Start with the frame
- Place 2x4s on their edge for the frame
- Toe-screw the boards in place
- Install a level board at the top for the track
- Set up the track
- Attach the Johnson aluminum track to the top board
- Make sure it’s perfectly level
- Install the three-wheel carriages
- Create the doorstep
- Build a small block with rubber bumpers
- Position it so the door closes flush with the trim
- Prepare the door
- Install recessed finger pulls
- Route C-channel into the bottom of the door
- Add guide pin to keep door centered
The total cost comes to about $150, much less than professional kits that can run $1,000-1,500.
DOWNLOAD THE ENTIRE DIY POCKET DOOR GUIDE FROM THIS PDF
An Approximate Budget Analysis
| Item | Cost Range (USD) |
|---|---|
| Basic Johnson Pocket Door Kit | $70 – $90 |
| Solid Core Door | $50 – $100 |
| Lumber (2x4s) | $25 – $35 |
| Hardware & Pulls | $20 – $30 |
| Extra Materials | |
| – Screws and Fasteners | $8 – $12 |
| – Rubber Bumpers | $5 |
| – Guide Pin and C-Channel | $10 – $15 |
| – Construction Adhesive | $5 – $8 |
| Tools (if needed) | |
| – Basic Hand Tools | $30 – $40 |
| – Level | $10 – $15 |
| – Router Rental (if needed) | $25/day |
| Total Range (Materials Only) | $150 – $200 |
| Total Range (Including Tools) | $215 – $280 |
Money-Saving Tips
- Keep the aluminum track from the kit; build the rest yourself
- Borrow tools from friends when possible
- Check local hardware stores for sales
- Consider a hollow core door to save $40-50
Best Customization Options to Try Out
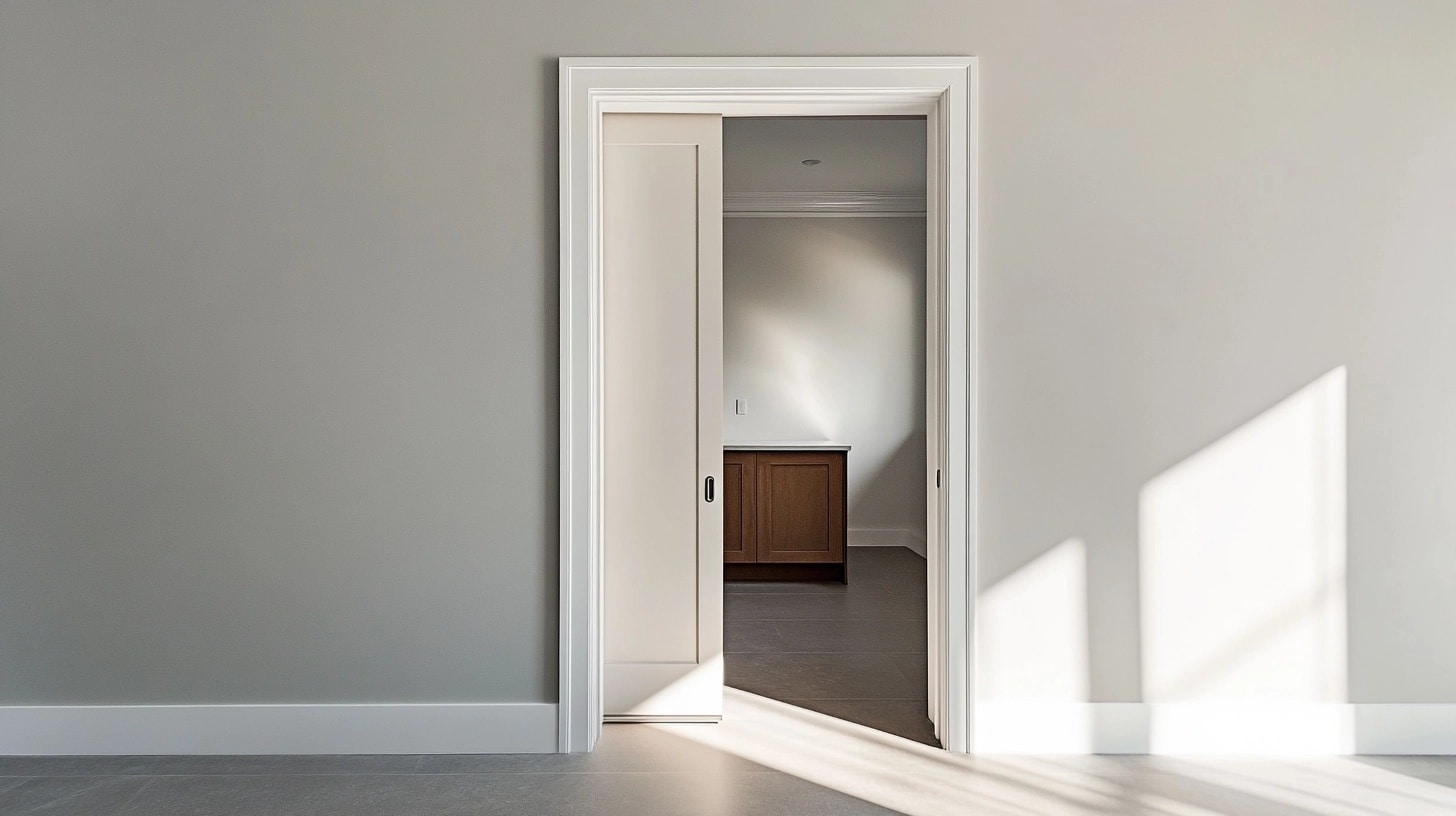
I tried some of these in my own home, and they worked great!
1. Simple Style Changes
- Paint the door to match your walls, or go bold with contrast
- Put shiplap or paneling on the door face
- Add trim to create a pattern
- Change up the door pulls – modern, classic, or rustic styles
- Install frosted glass panels for light flow
2. Practical Add-ons
- Soft-close mechanisms ($20-30) to stop door slamming
- Magnetic catches ($5-10) to keep the door steady
- Better sound insulation with door seals
- Double-sided pulls for easier handling
- Floor guides for smoother sliding
3. Budget-Smart Tips
- Start with a plain door and dress it up yourself
- Use paint for style instead of expensive materials
- Look for pulls at reuse stores
- Make your own door patterns with simple trim
Certain Tips for Successful DIY Installation
| Category | Details |
|---|---|
| Check Before You Start | |
| • Wall isn’t load-bearing | Ensure the wall is non-structural. |
| • Look for pipes and wires | Check for any utilities in the wall. |
| • Get a friend to help | It makes the job much easier. |
| • Buy extra shims | You’ll need them for adjustments during installation. |
| During Installation | |
| • Keep level handy | Check the level frequently for accuracy. |
| • Test the track’s smoothness | Test the track’s smoothness before mounting the door. |
| • Leave the door slightly higher | It is easier to lower the door than to raise it after mounting. |
| • Keep workspace clean | Avoid scratching the door by maintaining a clean workspace. |
| Avoid These Common Mistakes | |
| • Don’t rush track installation | Take your time to ensure accurate installation. |
| • Don’t skip measuring twice | Always double-check measurements before cutting. |
| • Don’t force the door | If it sticks, troubleshoot; don’t force it. |
| • Don’t forget to test movement | Ensure the door moves smoothly before finishing the walls. |
| Smart Shortcuts | |
| • Mark measurements on a notepad | Write down all measurements for easy reference. |
| • Pre-drill holes | Prevent wood from splitting by pre-drilling. |
| • Use a spacer block | Ensure consistent gaps when installing. |
| • Test everything before closing walls | Verify all functionality before finalizing installation. |
Conclusion
There you have it – installing a pocket door doesn’t have to break the bank! I’ve shown you every step, from planning to maintaining your new door. By doing it yourself, you’ll save hundreds of dollars and gain a new skill.
Remember, take your time with the installation. It’s not a race, and careful work now means fewer headaches later. If you run into any problems, go back through the steps I’ve shared.
Want more money-saving home projects?
- Check out my other DIY guides about – Building Custom Closet Organizers,
- Installing Barn Doors,
- Creating Built-in Shelving.
Each guide helps you create beautiful home features without spending too much.
Ready to start your pocket door project? Grab your tools, and let’s make it happen!
Frequently Asked Questions
Are There Cost-Effective Methods to Install a Pocket Door?
Yes! Buy a basic kit and build the frame yourself. Use hollow-core doors instead of solid ones. Skip fancy hardware and get basic tools from yard sales or borrow them from friends.
What are Alternative Solutions if a Pocket Door Isn’t Feasible?
Consider a barn door that slides outside the wall, a bifold door, or a curtain panel. These options save space like pocket doors but don’t require inside-wall construction.
Can I Convert My Current Door Into a Pocket Door?
Only if your wall is non-load bearing and free of plumbing or electrical lines, you’ll need enough wall space (double the door width) for the pocket cavity.

