How to Install Wood Wrapped Columns in Your Home
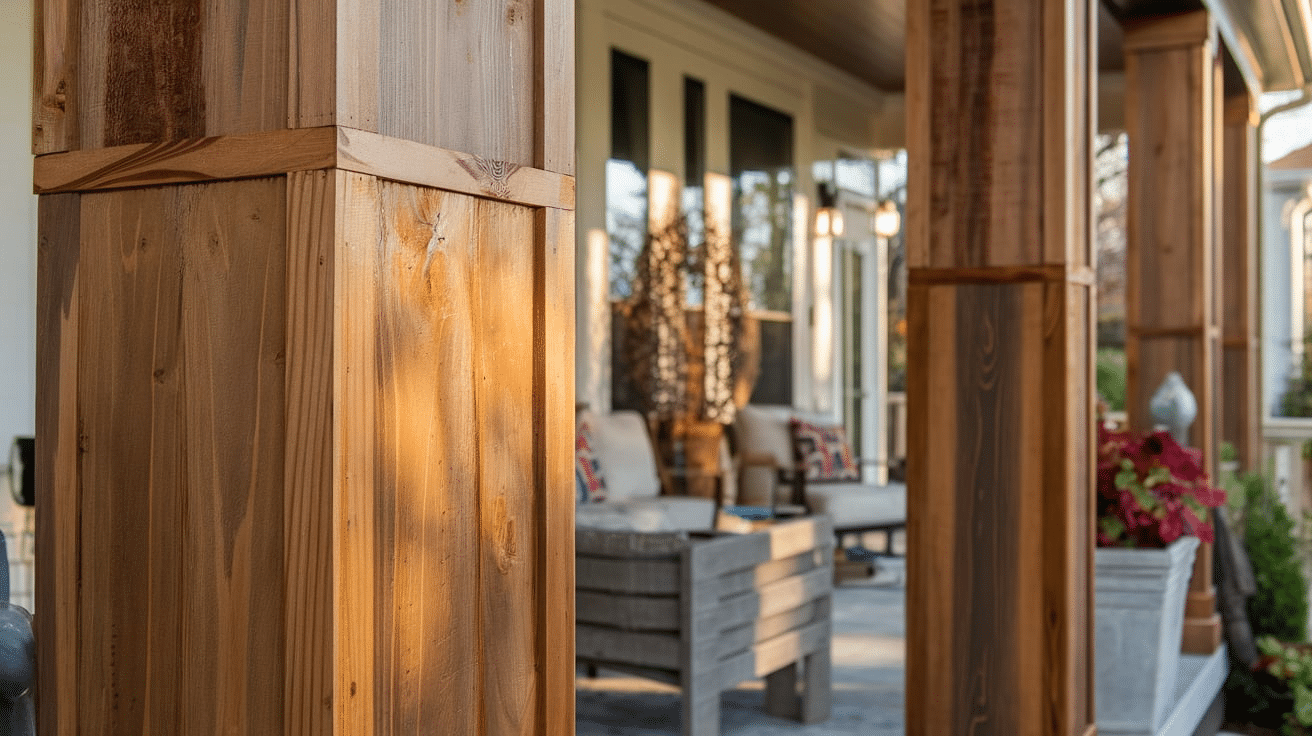
Wood-wrapped columns can change the look of a home by covering plain posts with a natural wood finish.
They work well on porches, entryways, and inside the house. This project is simple and does not require special skills.
With basic tools, it can be completed in a weekend.
The process includes measuring, cutting, assembling, and securing the wood panels.
A proper seal helps protect the wood from moisture and sunlight, and choosing the right stain or paint ensures a lasting finish.
This guide will explain each step in detail. With the right method, anyone can install wood-wrapped columns easily.
A well-done project can make a home look more complete and welcoming.
Let’s get started.
Step-by-Step Installation Process
1. Measure and Cut the Wood Panels
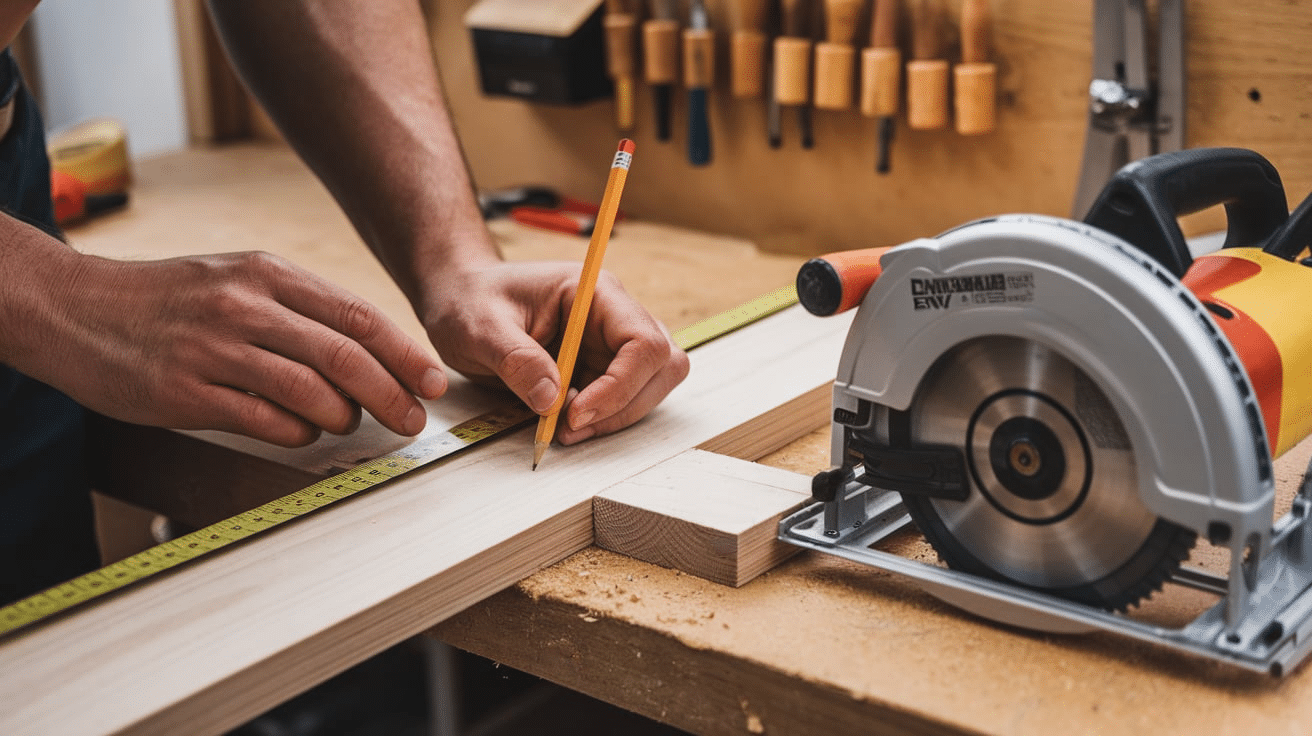
Start by measuring the column you want to wrap. Use a measuring tape to check the height and width of each side.
Measure carefully to ensure the panels fit well. Write down the measurements before cutting to avoid mistakes.
Mark the measurements on the wood panels using a pencil and straight edge. If the column has uneven sides or a base, adjust the panel sizes to match.
Use a miter saw for straight cuts or a hand saw if you prefer a slower, more controlled cut.
After cutting, sand the edges to remove rough spots and splinters.
This will help the panels fit neatly against each other when attaching them to the column.
Check each piece by holding it up to the column before moving to the next step. Adjust if needed to avoid gaps or uneven edges.
2. Build Three Sides of the Column Wrap
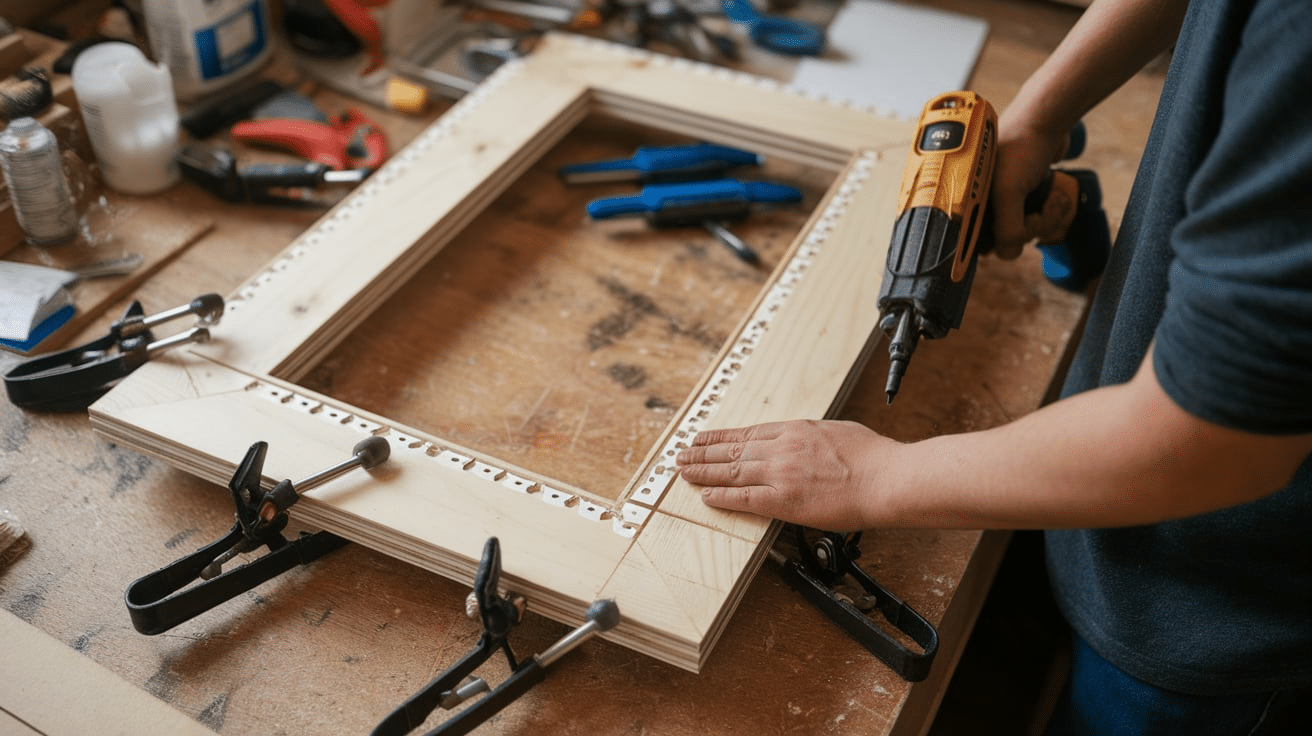
Lay out the three panels that will form the front and sides of the column wrap. Position them upright to check the fit before attaching them.
Apply wood glue along the edges where the panels meet to create a strong bond.
Use finishing nails or screws to secure the panels together. If needed, use clamps to hold them in place while the glue dries. Make sure the corners are aligned properly so the wrap looks even.
Once the three sides are attached, stand the wrap next to the post to check the fit. If the panels feel uneven, sand the edges slightly for a smoother connection.
3. Attach the Wrap to the Existing Post
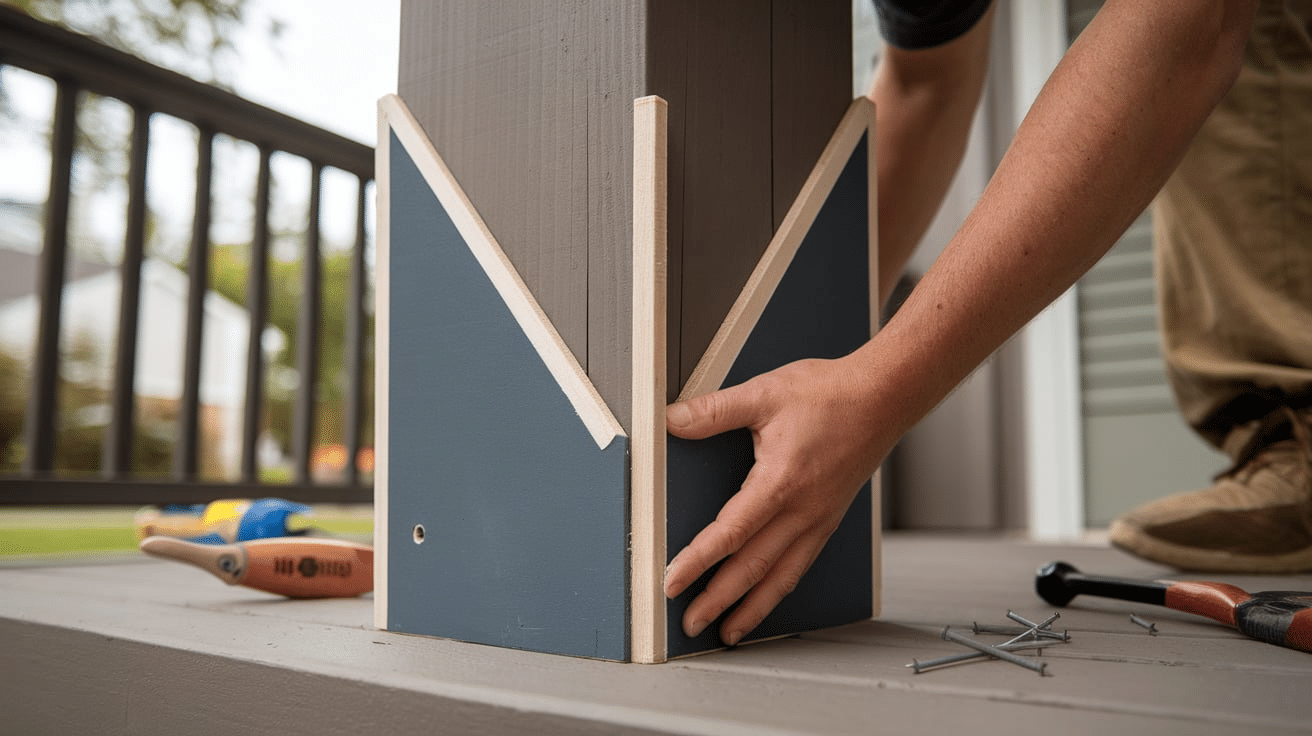
Position the three-sided wrap around the existing post. Make sure it sits evenly at the base and aligns correctly at the top.
If the post is slightly uneven, adjust the placement of the wrap for the best fit.
Secure the wrap to the post using wood screws or nails.
Drive the screws through the panels into the post, placing them evenly along each side. This will keep the wrap stable and prevent movement.
For extra strength, apply wood glue along the inside edges before attaching the wrap.
Let the glue dry before installing the fourth panel.
4. Install the Fourth Panel
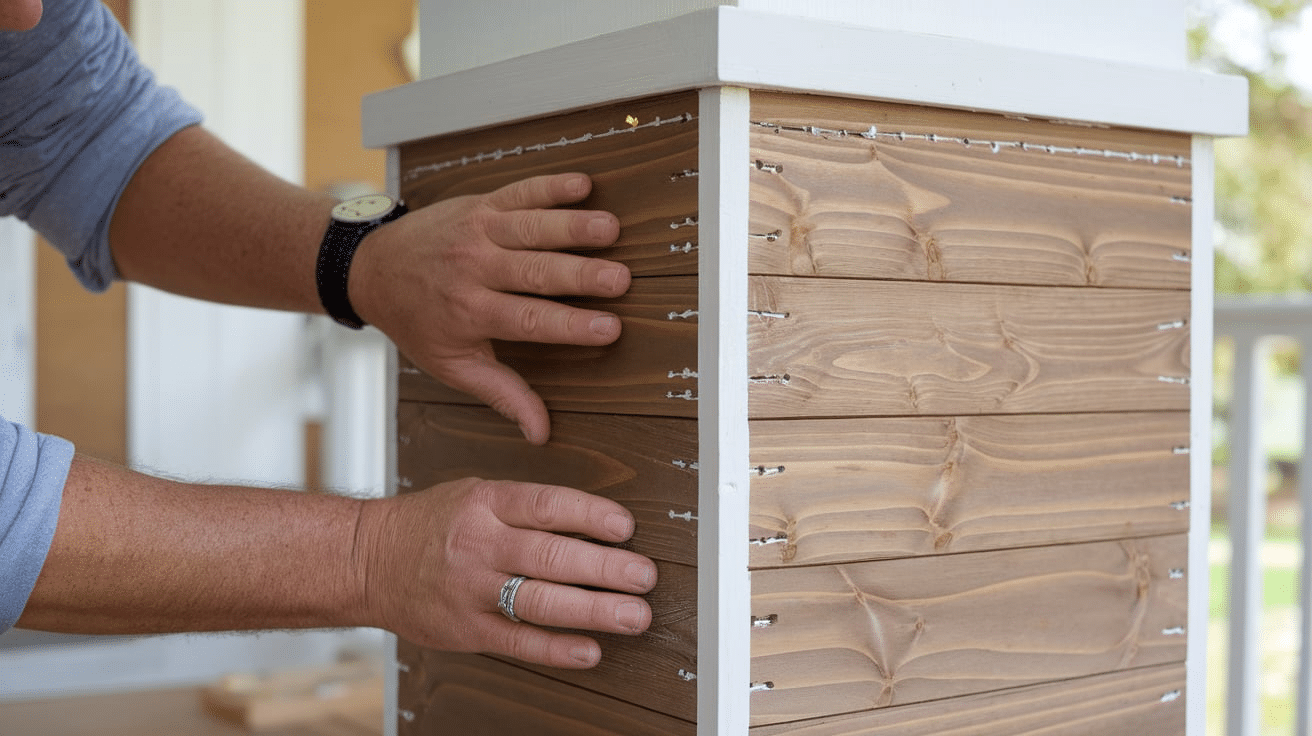
Once the three-sided wrap is attached, position the fourth panel to close the column. Apply wood glue along the edges where it will meet the other panels.
Press it into place carefully to avoid gaps.
Use finishing nails or screws to attach the fourth panel. Start from the top and work downward, checking that everything stays straight.
If needed, use clamps to hold the panel while the glue dries.
After securing the panel, check for rough spots and sand them lightly. The column wrap is now complete and ready for the next steps.
5. Add Trim for a Finished Look

Trim helps cover seams and makes the column look complete. It also adds extra detail, making the column look more like a built-in feature.
Measure and cut the trim pieces to fit along the top, bottom, and corners of the column.
If you want a simple design, use flat trim pieces. For a detailed look, choose trim with a slight pattern.
Apply wood glue along the back of each trim piece before placing it onto the column. Use finishing nails to hold the trim in place.
If the nails leave small holes, fill them with wood filler and let it dry before sanding.
Check for small gaps between the trim and the column. Apply a thin line of caulk along the edges if needed.
This step helps the trim blend with the rest of the column before sanding and staining.
6. Sand the Surface
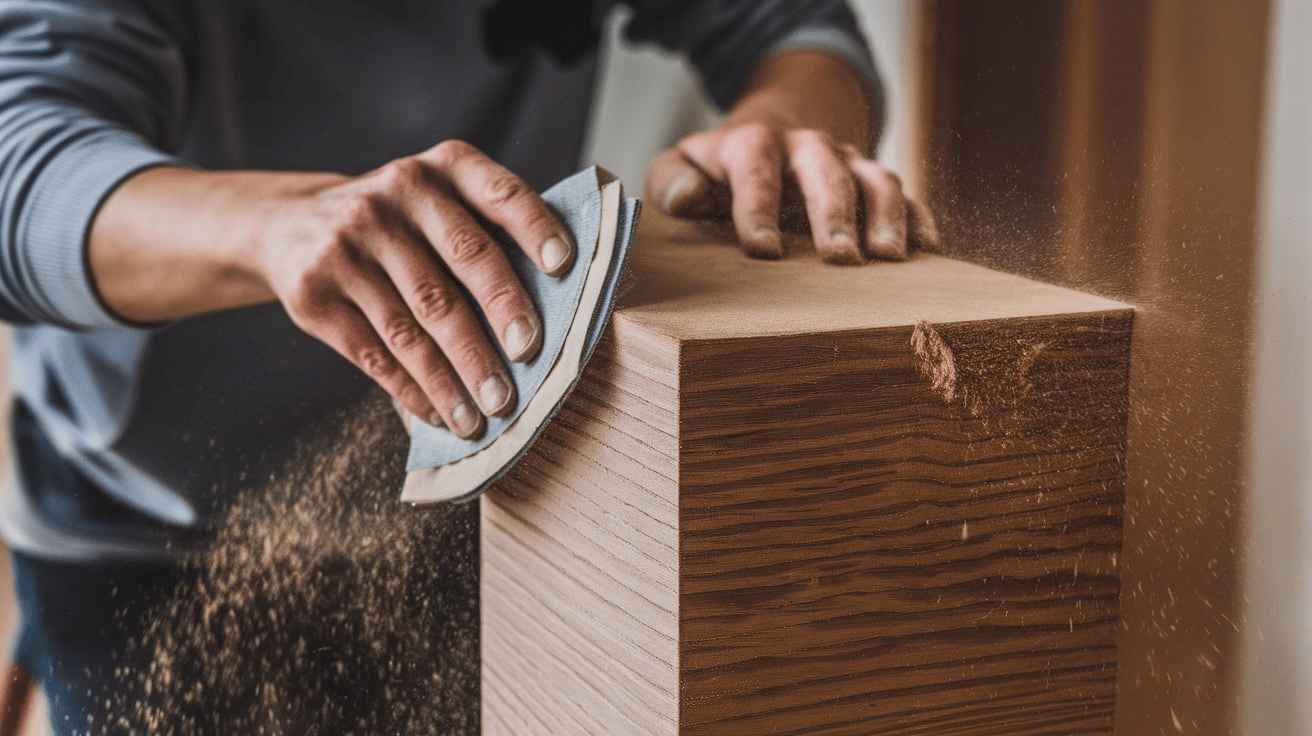
Sanding smooths the wood and gets it ready for stain or paint. A smooth surface helps the finish last longer and look even.
Use medium-grit sandpaper to remove rough spots. Pay close attention to areas where the trim meets the panels. If there are gaps or uneven spots, sand them down to create a better fit.
Next, use fine-grit sandpaper for a smoother surface. Sand in the direction of the wood grain to prevent scratches.
If you fill any nail holes with wood filler, sand those areas until they blend in with the rest of the wood.
After sanding, wipe the column with a dry cloth to remove dust. Leaving dust on the surface can cause stains or paint to look uneven.
Taking time to sand properly will make the staining or painting process easier and improve the overall look of the column.
7. Stain and Seal the Wood
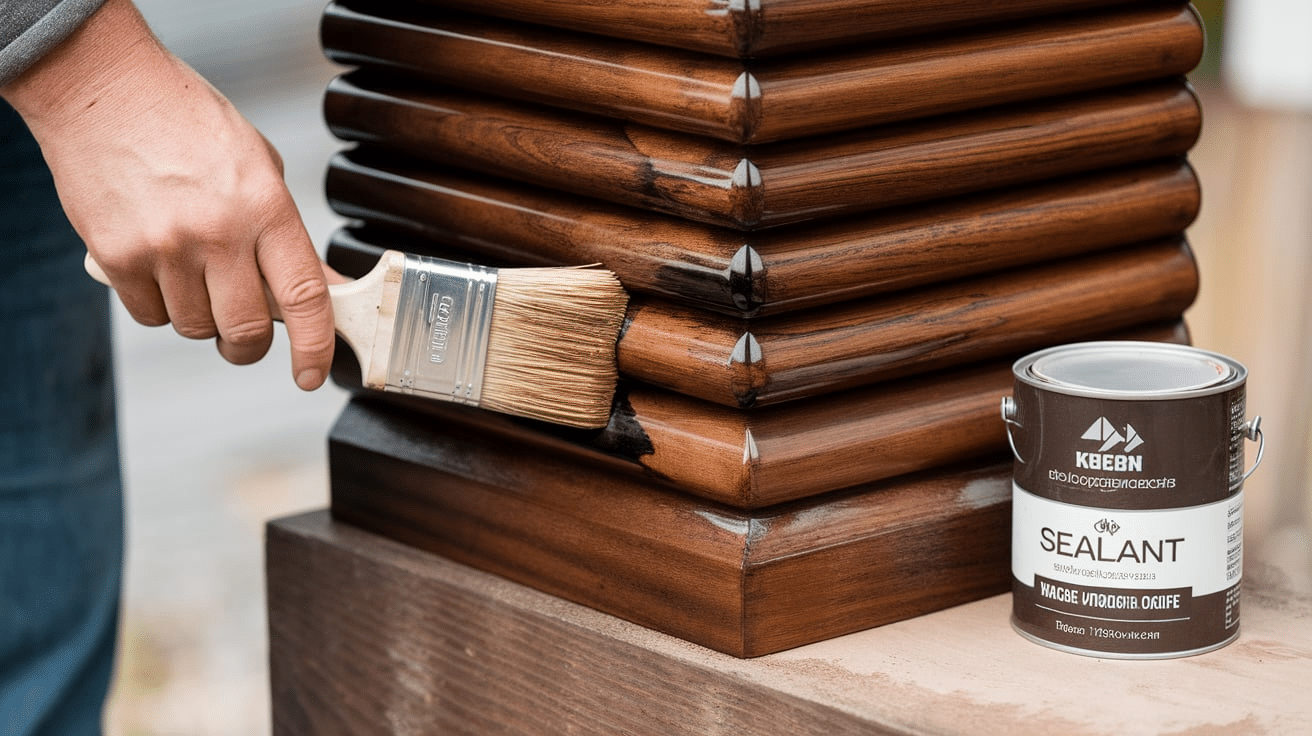
Once the surface is smooth and clean, apply stain or paint to finish the column. Choose the option that best fits your space.
If using stain, pick a color that brings out the natural grain of the wood. Apply it with a brush or cloth, then wipe off any extra stain to keep the color even.
Let it dry completely before applying a second coat if you want a darker color.
If using paint, apply thin, even coats with a brush or roller. Let each coat dry before adding another. Lightly sanding between coats helps create a smooth finish.
Once the stain or paint is dry, apply a clear protective finish to keep the wood safe. A wood sealer works well to protect the surface and make it easier to clean.
Let the sealer dry fully before using the column. This step helps the wood last longer and prevents damage over time.
8. Let It Dry and Enjoy
After applying stain, paint, or a protective finish, let the column dry completely. Check the product label for drying times and keep the area well-ventilated to help it dry faster.
Avoid touching or placing anything on the column while it dries. This prevents smudges or uneven spots. If you apply multiple coats, make sure each layer is fully dry before moving to the next step.
Once everything is dry, the column is ready to use. It will add a clean and natural look to your space while keeping the structure strong.
Take a step back and enjoy your finished project.
Detailed Guide: Breaking It Down Further
Choosing the Right Materials
Picking the right materials is important for both appearance and durability. Common wood choices include pine, cedar, and treated lumber.
Pine is affordable and easy to work with, while cedar resists moisture and insects. Treated lumber lasts longer outdoors but may need extra drying time before staining or painting.
For finishing, select a stain or paint that matches your style. A clear sealant helps protect the wood from moisture, sun, and temperature changes.
Customizing the Look
Wood-wrapped columns can match different home styles. A simple design works well for modern homes, while decorative trim adds detail for a classic look.
Some homeowners prefer a stained wood finish for a natural feel, while others paint the columns to blend with their home’s color scheme.
Adding a stone or brick base at the bottom of the column can give it a more high-end look. You can also use distressed wood for a rustic appearance.
Installation for Different Column Types
Not all columns are the same, so the installation process may vary.
- Over Metal or Plain Posts: Attach the wood wrap directly using glue and nails. If the surface is slippery, roughen it slightly with sandpaper for better grip.
- Over Brick Columns: You will need wood anchors to secure the panels. Drill into the mortar (not the brick) and attach wood strips before adding the wrap. This keeps the brick intact while providing a strong base.
Common Mistakes to Avoid
A few small errors can affect the final look and durability of the project.
- Inaccurate measurements – Always double-check before cutting to avoid gaps or misaligned panels.
- Using the wrong adhesive or nails – Wood glue and finish nails work best for securing the panels. Avoid using screws, as they can cause the wood to crack.
- Skipping sanding and sealing – Sanding smooths out rough spots, while sealing protects the wood from weather and damage over time.
Expanding the Concept: Enhancing Your Home with Wood Columns
Pairing Wood Columns with Other Exterior Features
Wood-wrapped columns can improve the overall look of a home, especially when combined with other design elements.
Adding stone or brick bases to the bottom of the columns creates a balanced and high-end appearance. Matching the stain color of the columns with wooden shutters or doors helps tie the look together.
Outdoor lighting can also highlight the columns at night, making the entrance feel more inviting. Small details, like decorative brackets or metal accents, can add extra character.
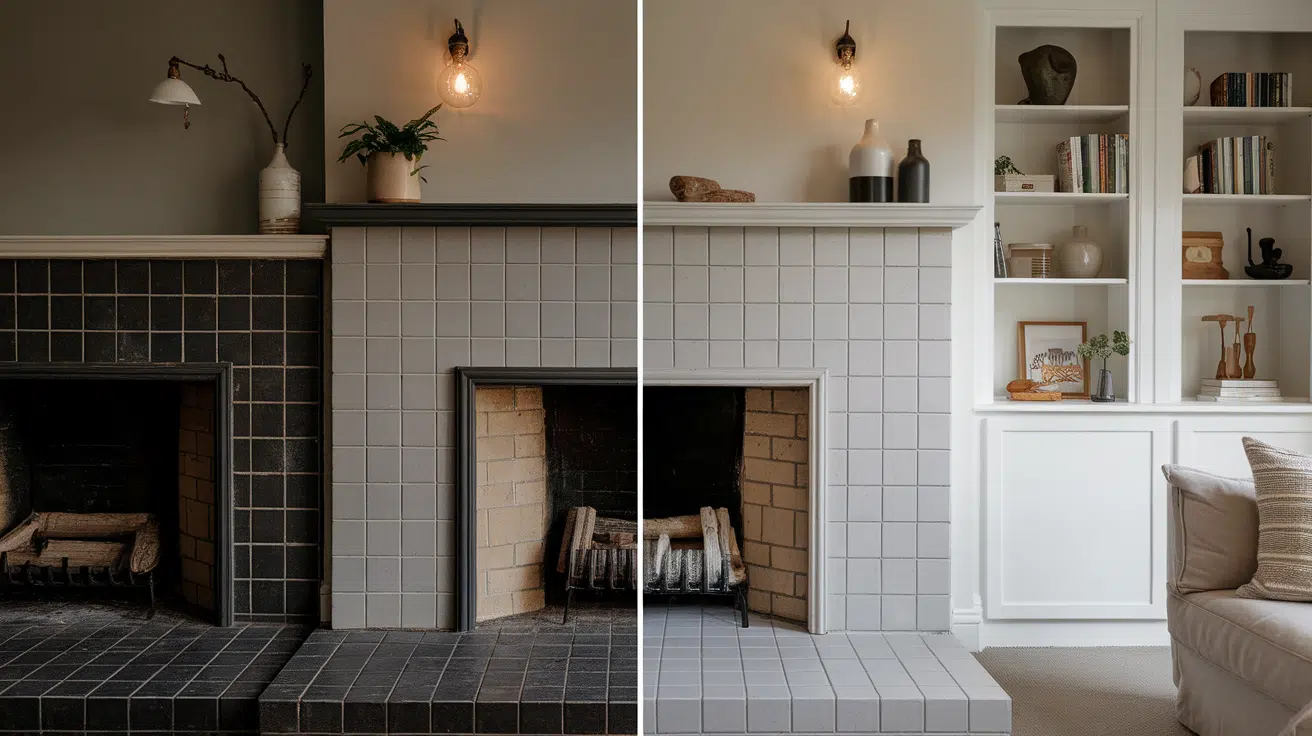
Using Wood Columns Indoors
While most people install wood-wrapped columns outside, they also work well inside the home.
They can separate open spaces, such as a living room and dining area, while still keeping an open feel. Placing wood-wrapped columns in entryways can create a strong first impression.
For homes with high ceilings, using tall wood-wrapped columns can make the space feel more balanced. Lighter stains or painted finishes help them blend with modern interiors, while darker stains create a cozy, traditional look.
Maintenance and Care
Regular upkeep helps wood-wrapped columns last longer. If used outdoors, reapplying a sealant every year protects them from moisture and sunlight. Cleaning them with a soft cloth and mild soap keeps dirt and dust from building up.
If any cracks or chips appear, fixing them with wood filler and touch-up stain prevents further damage. Checking for loose nails or gaps ensures the columns remain sturdy over time.
Alternative Uses for Wood Wraps
Beyond columns, wood wraps can be used in other ways to improve a home’s look. Wrapping exposed beams or posts inside can add warmth to a room.
Wood wraps can also be used to create custom mantels or decorative wall accents.
For outdoor spaces, wrapping pergola posts or mailbox posts with wood creates a natural, stylish finish. This simple upgrade can make different parts of a home feel more connected.
Conclusion
Wood-wrapped columns can make a home look more welcoming by covering plain posts with a natural wood finish. They are easy to install and can improve both outdoor and indoor spaces. By following the right steps, anyone can complete this project with basic tools and materials.
Choosing the right type of wood, securing the panels properly, and sealing the surface will help the columns last longer. Regular care, such as cleaning and resealing, keeps them in good shape over time.
This upgrade is an affordable way to improve a home’s appearance. With careful planning and simple steps, wood-wrapped columns can bring a new look to any space.
Frequently Asked Questions
Can I install wood-wrapped columns on my own?
Yes, this is a simple project that most homeowners can complete with basic tools. Measuring carefully, securing the panels properly, and sealing the wood will help ensure a strong and long-lasting result.
What type of wood is best for wrapping columns?
Pine, cedar, and treated lumber are common choices. Pine is affordable and easy to work with, cedar resists moisture and insects, and treated lumber lasts longer outdoors but may need extra drying time before staining or painting.
Do I need to seal the wood after installation?
Yes, sealing protects the wood from moisture, sunlight, and temperature changes. An outdoor-safe sealant should be used for exterior columns, while an indoor-safe sealant works for interior installations.
Can I install wood-wrapped columns over brick or metal posts?
Yes, but the installation process is slightly different. For brick, wood anchors must be attached to secure the panels. For metal posts, roughening the surface slightly helps the glue stick better.
How do I maintain wood-wrapped columns?
Regular cleaning with a soft cloth and mild soap helps prevent dirt buildup. If used outdoors, reapplying a sealant every year will keep the wood protected. Small cracks or chips can be fixed with wood filler and a touch-up stain.
Can I paint instead of staining the wood?
Yes, painting is a great option for a smooth, even finish. Use exterior-grade paint for outdoor columns and a primer to help the paint last longer.
How long does this project take?
Most homeowners can complete this project in a weekend, depending on the number of columns and drying time for stain or paint.