How to Install Shiplap Paneling Easily
I know installing wall panels can be challenging when you first start. As someone who has put up shiplap in three rooms of my home, I understand the worry.
The good news? You can put up these wooden boards without much trouble.
Let me show you my tested steps for adding shiplap to your walls. In this guide, I’ll walk you through the whole process – from picking your boards to the final touches.
You’ll learn what tools you need, how to measure right, and the tips I wish I’d known when I started.
By the end of this post, you’ll feel ready to start your own shiplap project with less stress and more success.
Understanding Shiplap Panelling
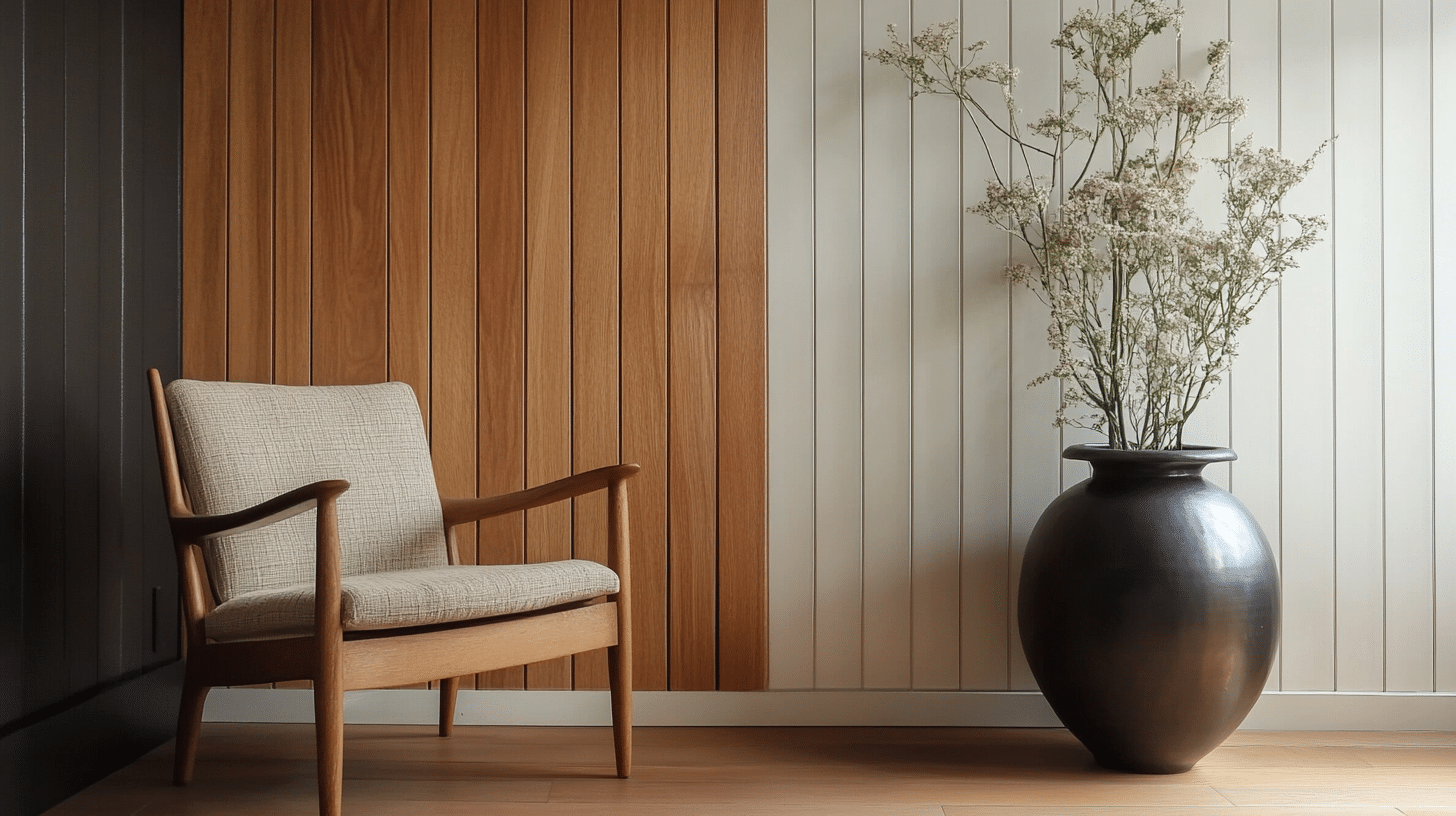
Shiplap is just wooden boards that fit together along their edges. Each board has a small lip that allows it to overlap slightly.
| Type of Shiplap | Material | Key Features | Best Uses | Cost |
|---|---|---|---|---|
| Real Wood Shiplap | Pine, cedar, or oak | Natural look can be painted or stained, suitable for wet spaces | Wet spaces, decorative walls | Higher |
| MDF Shiplap | Pressed wood fibers | Pre-primed for painting, ideal for indoor rooms | Indoor rooms | Lower |
| PVC Shiplap | Plastic | Resistant to rot and mold, easy to clean | Bathrooms, humid areas | Moderate |
Where You Can Use It
- Living room walls
- Bedroom feature walls
- Kitchen backsplashes
- Bathroom walls
- Ceiling covers
- Entryway walls
What I like most about shiplap is how it fits in different rooms. I put a white shiplap in my bathroom – it still looks fresh after two years.
I chose a pine shiplap in my living room and stained it light brown. Both turned out great!
How to Install Shiplap Panelling
Tools & Materials Required
- Tar paper
- Hammer and nails
- Chalk line
- Measuring tape
- Level
- Saw for cutting boards
- Safety gear (goggles, gloves)
Step-by-Step Process of Installation
- Prepare the Wall
- Cover the entire wall with tar paper
- This stops you from seeing insulation if boards shrink
- Secure tar paper with small tacks
- Start the First Board
- Remove the lower edge of the first board
- This helps it fit well against the ceiling
- Hold the board flat against the corner
- Press it tight to the ceiling
- Mark and Measure
- Hold the board tight to the ceiling
- Lower it until it touches the wall
- Mark the top edge
- Do this at both ends of the wall
- Create Straight Lines
- Use a chalk line between your marks
- This ensures straight installation
- Check the middle for proper alignment
- Secure the Boards
- Nail the ends first
- Check the middle part
- Add more nails into wall studs
- Make sure the board stays level
Approximate Budget Required While Installation
| Category | Item | Approximate Cost Range |
|---|---|---|
| Basic Materials | Shiplap boards | $200 – $300 |
| Tar paper | $20 – $30 | |
| Nails | $15 – $25 | |
| Construction adhesive (per tube) | $8 – $12 | |
| Tools (if not owned) | Hammer | $15 – $25 |
| Measuring tape | $5 – $10 | |
| Chalk line | $5 – $10 | |
| Level | $10 – $20 | |
| Safety gear | $20 – $30 | |
| Money-Saving Tips | Rent tools if infrequent use | N/A |
| Buy boards in bulk | N/A | |
| Purchase extra boards (10% more) | N/A | |
| Look for sales | N/A | |
| Total Project Cost | With owned tools | $250 – $375 |
| With new tools | $300 – $450 | |
| Additional Costs | Paint or stain (per gallon) | $30 – $50 |
| Delivery fees | $25 – $50 | |
| Waste removal | $20 – $30 | |
| Example Project Cost | User’s actual project cost | $320 |
How to Plan Your Shiplap Project
1. Room Measurement: I start each project by measuring my walls from floor to ceiling. I write down both the height and width of each wall section. I also note down any windows, doors, or outlets that need cutting around.
2. Calculate Materials: Here’s how I figure out what I need:
- Measure total wall space in square feet
- Add 10% extra for mistakes and cuts
- Count how many outlet boxes need a trim
- List every corner that needs end pieces
3. Check Your Walls: Before I start any shiplap work, I look at my walls closely. I check for the following:
- Loose wallpaper or paint
- Uneven spots on the wall
- Places that feel soft or wet
- Wall studs location (mark these with pencil)
- Areas that need repair first
4. Set Your Pattern: I make these choices before buying boards:
- Which way the boards will run (up-down or side-to-side)
- How much space between the boards
- Where the first board will start
- What to do at corners
- How to handle windows and doors
5. Time Planning: Based on my past work, I plan for:
- Getting materials: 1 day
- Wall prep: 1-2 days
- Setting up work area: half-day
- Installing boards: 2-3 days per room
- Painting or finishing: 1-2 days
6. Workspace Setup: I always make sure to:
- Clear the room of furniture
- Put down floor covering
- Set up a cutting station outside
- Keep my tools within reach
- Have good lighting ready
7. Get Your Tools Ready: I gather everything before starting:
- All measuring tools
- Cutting equipment
- Safety items
- Cleaning supplies
- Extra nails and boards
How to Give a Smooth Finishing Touch to Your Shiplap
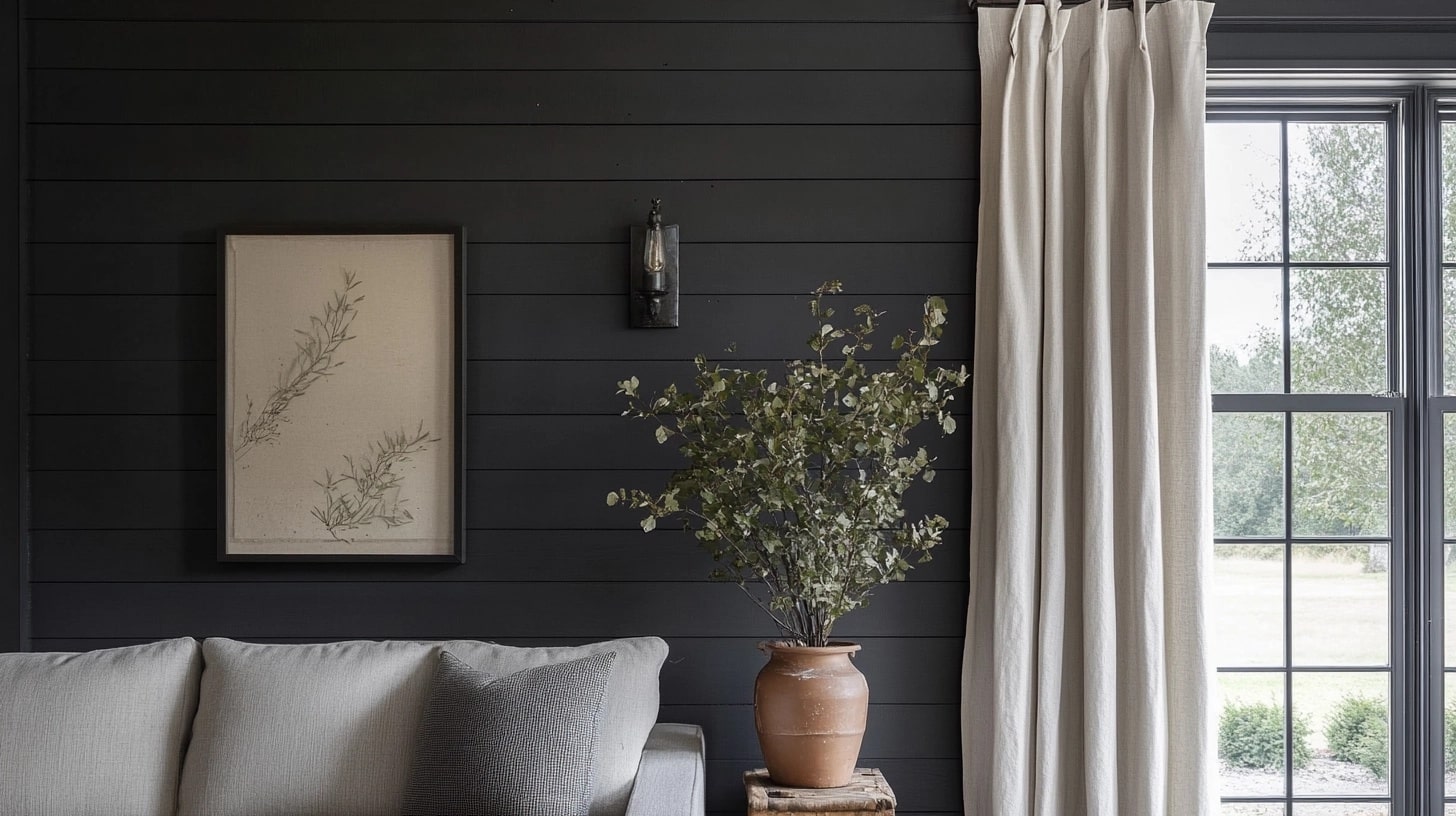
Fill the Nail Holes
I start with nail hole filling. I use wood filler that matches my board color. I put a small amount in each hole, going slightly above the surface. Once it dries, I sand it smooth with fine-grit paper. This step makes nail spots blend into the wood.
Sand the Surfaces
After filling the holes, I sand the whole wall using these steps:
- Start with medium-grit paper on rough spots
- Move to fine-grit paper for the entire surface
- Wipe each board with a clean cloth
- Check the surface by running my hand over it
Clean Between Boards
I pay special attention to the spaces between boards:
- Use a thin brush to remove dust
- Wipe with a slightly damp cloth
- Let it dry fully
- Check that no debris remains
Prime the Surface
Before the final painting, I always prime:
- Use wood primer on raw boards
- Apply thin, even coats
- Let each coat dry fully
- Sand lightly between coats
- Wipe off dust after sanding
Paint Application
Here’s my painting process:
- Choose paint that suits your room
- Start at the top of the wall
- Paint in small sections
- Use a brush for gaps
- Roll larger areas
- Apply two thin coats
Edge Treatment
I finish the edges with care:
- Sand corner joints smooth
- Fill any gaps with caulk
- Clean excess caulk right away
- Paint edges after the caulk dries
Final Touches
These last steps make it look perfect:
- Check for missed spots
- Touch up as needed
- Clean any paint marks
- Let dry fully
- Add trim if desired
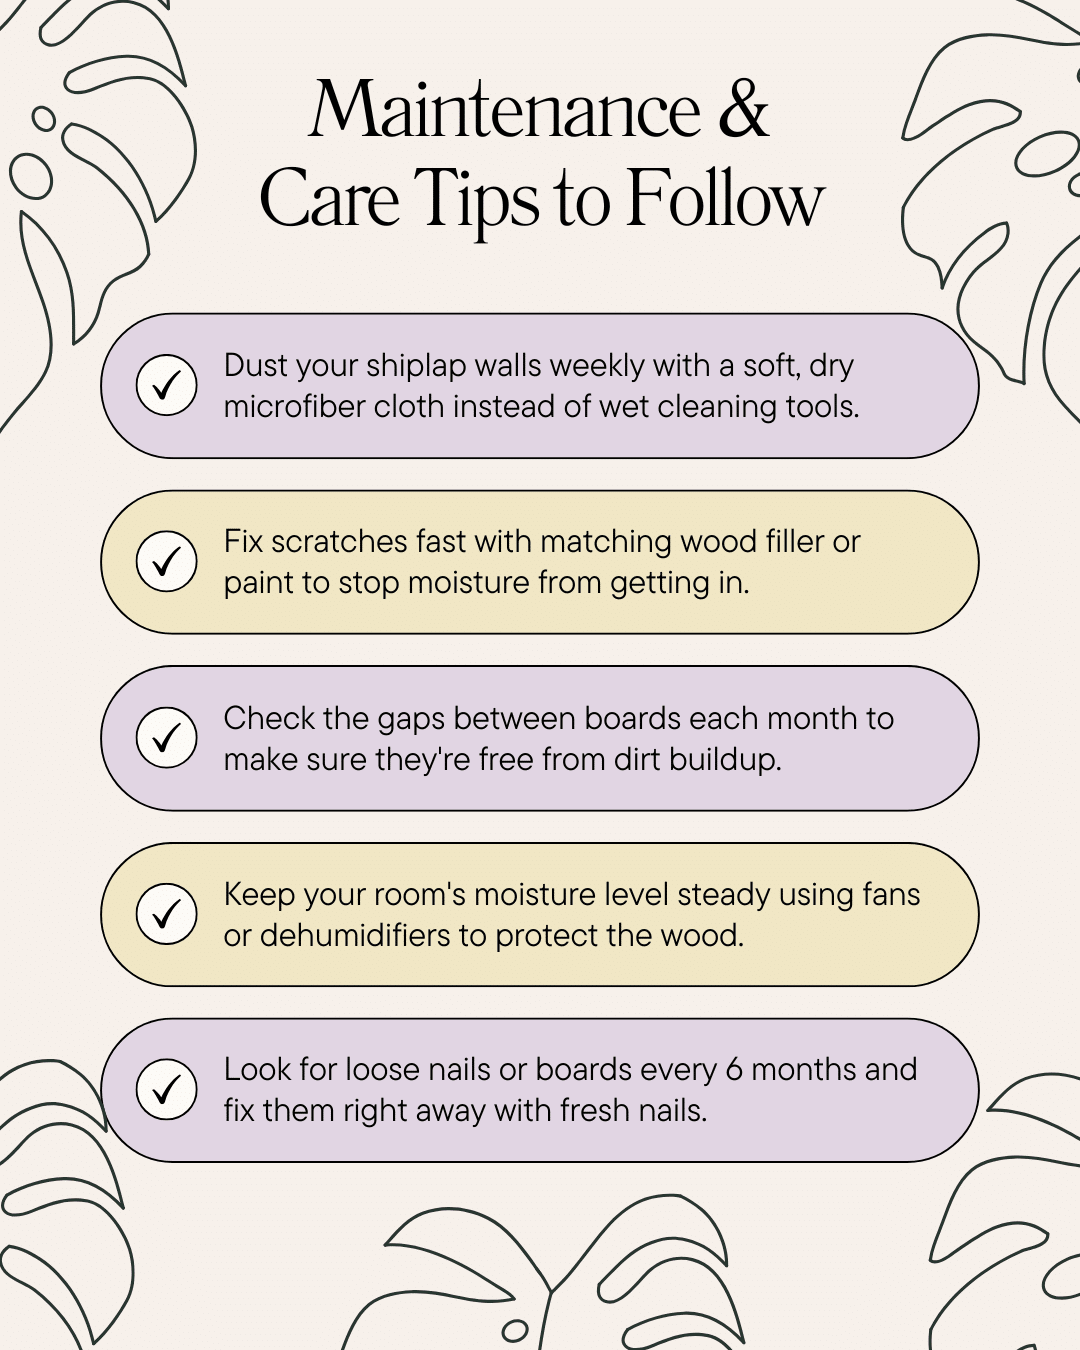
Maintenance Tips
I tell my friends these care tips:
- Dust regularly with a soft cloth
- Clean marks right away
- Touch-up paint when needed
- Check for loose boards yearly
- Fix small issues fast
Conclusion
Adding shiplap to your walls isn’t as tough as you might think. I started as a beginner, too, and now I’ve done multiple rooms in my house.
With the right tools, good planning, and step-by-step work, you can change your plain walls into something special.
Remember, the key steps are measuring well, preparing your walls, installing boards carefully, and taking time with the finished work. These steps will help you create walls that look clean and last long.
Want to show off your shiplap project? Share your before and after photos in the comments below!
Or if you need help picking the right type of shiplap for your space, check out my guide about different wood types for home projects.
Frequently Asked Questions
How Do I Ensure the Shiplap Level is Properly Aligned?
I use a laser level and mark out lines on the wall. Starting with a perfectly level first board helps every board after it stays straight. When in doubt, I double-check with a bubble level.
Do I Need to Remove Existing Moldings Before Installing the Shiplap?
Yes, I always remove baseboards and crown molding first. This lets me fit the shiplap boards right against the wall and ceiling. I put the moldings back on afterward for a clean edge.
How Do I Hide Nail Holes or Seams for a Clean Finish?
I press the wood filler into each nail hole using my finger, let it dry, and then sand it smooth. For seams, I use paintable caulk in gaps before painting. This makes the whole wall look seamless.

