How to Install DIY Window Trim
Are bare windows making your rooms look plain? I’ve installed trim on more than 20 windows in my home, and I want to share everything I learned.
Window trim can make a big difference in how your rooms look. Done right, it adds style and value to your home.
The good news? You can do it yourself with basic tools and materials.
In this guide, I’ll walk you through the steps to install window trim on your own. I’ll show you what tools you need, share tips I learned from my mistakes, and help you finish the job like a pro.
Let’s get started with making your windows stand out.
Understanding Window Trim Basics
Window trim is more than just decorative wood pieces around your windows. I’ll break down what it is and why it matters for your home.
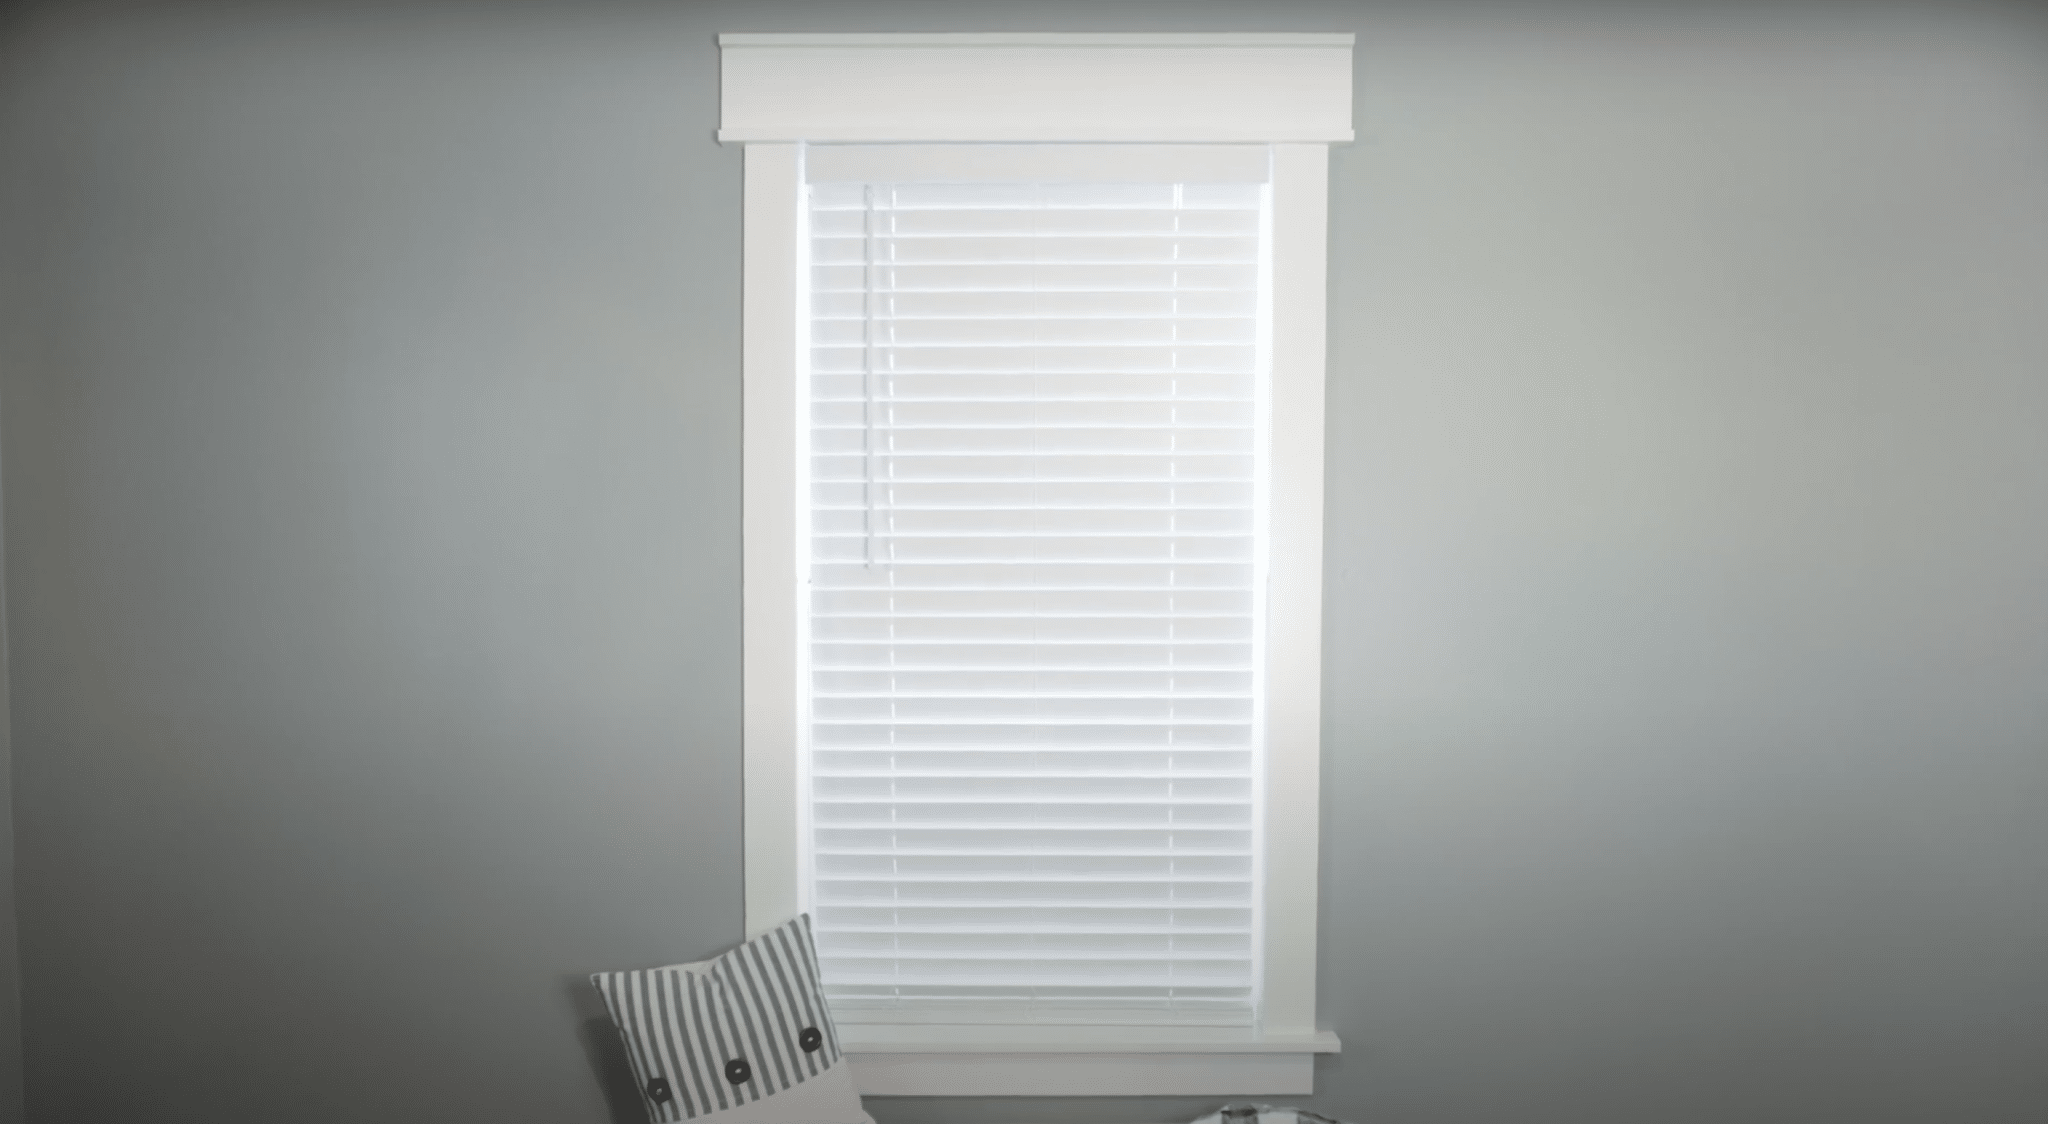
What is Window Trim? Window trim includes the wooden pieces that go around your window’s edges. I like to think of it as a picture frame for your window. It has four main parts:
- The header piece at the top
- Two side pieces (also called jambs)
- One bottom piece (the sill)
These pieces work together to:
- Cover the gap between your window and wall
- Stop air and water from getting in
- Make your windows look finished
- Add a clean, polished look to your room
How Window Trim Works
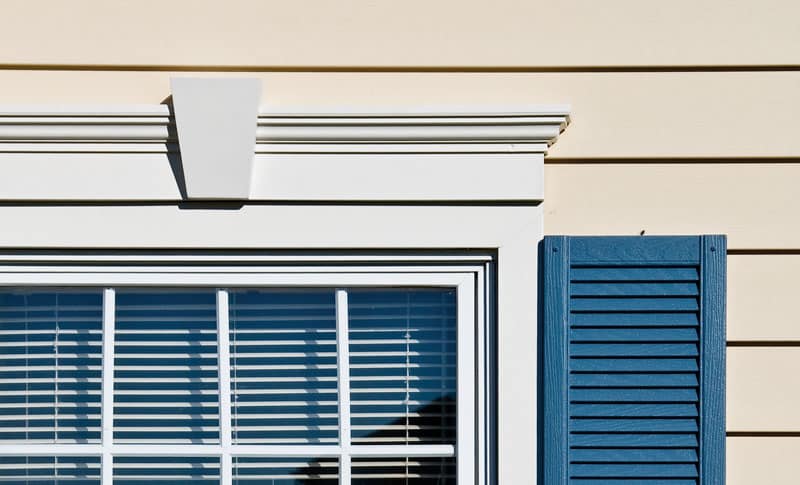
The trim pieces fit together like a puzzle.
Here’s how:
- Side pieces run from top to bottom
- The header sits on top of the side pieces
- The sill goes at the bottom
- All pieces are nailed into the wall studs
- Caulk fills tiny gaps between trim and wall
Types of Window Trim In my experience, you can choose from different styles:
- Simple flat trim (great for beginners)
- Colonial style (with more detailed edges)
- Modern trim (clean, straight lines)
- Farmhouse style (wider boards)
The right trim style can change the feel of your whole room. In my first projects, I started with a simple flat trim. It’s easier to work with and still looks great.
How to Plan Your Window Trim Project in Budget
Let me walk you through my planning steps. I want you to feel ready before you make your first cut.
Measuring Your Windows
- Take the width of the window frame
- Measure the height from top to bottom
- Write down each number clearly
- Add 6 inches to each side for extra trim space
- Double-check your numbers
What to Check Before Starting
- Look at your walls
- Are they straight?
- Any water damage?
- Need any repairs first?
- Check your window frame.
- Is it level?
- Are there any gaps to fill?
- Does it open and close well?
Making Your Plan
- Pick your trim style first
- Draw a simple sketch
- List your materials
- Make a tools checklist
- Set up a clean workspace
Safety Steps
- Clear the work area
- Keep kids and pets away
- Get safety glasses
- Wear work gloves
- Have a first aid kit nearby
Time Needed
- Small window: 4-6 hours
- Large window: 6-8 hours
- Add extra time if you’re new to this
How to Measure & Prepare Your Windows Accurately
Getting Your Measurements Right
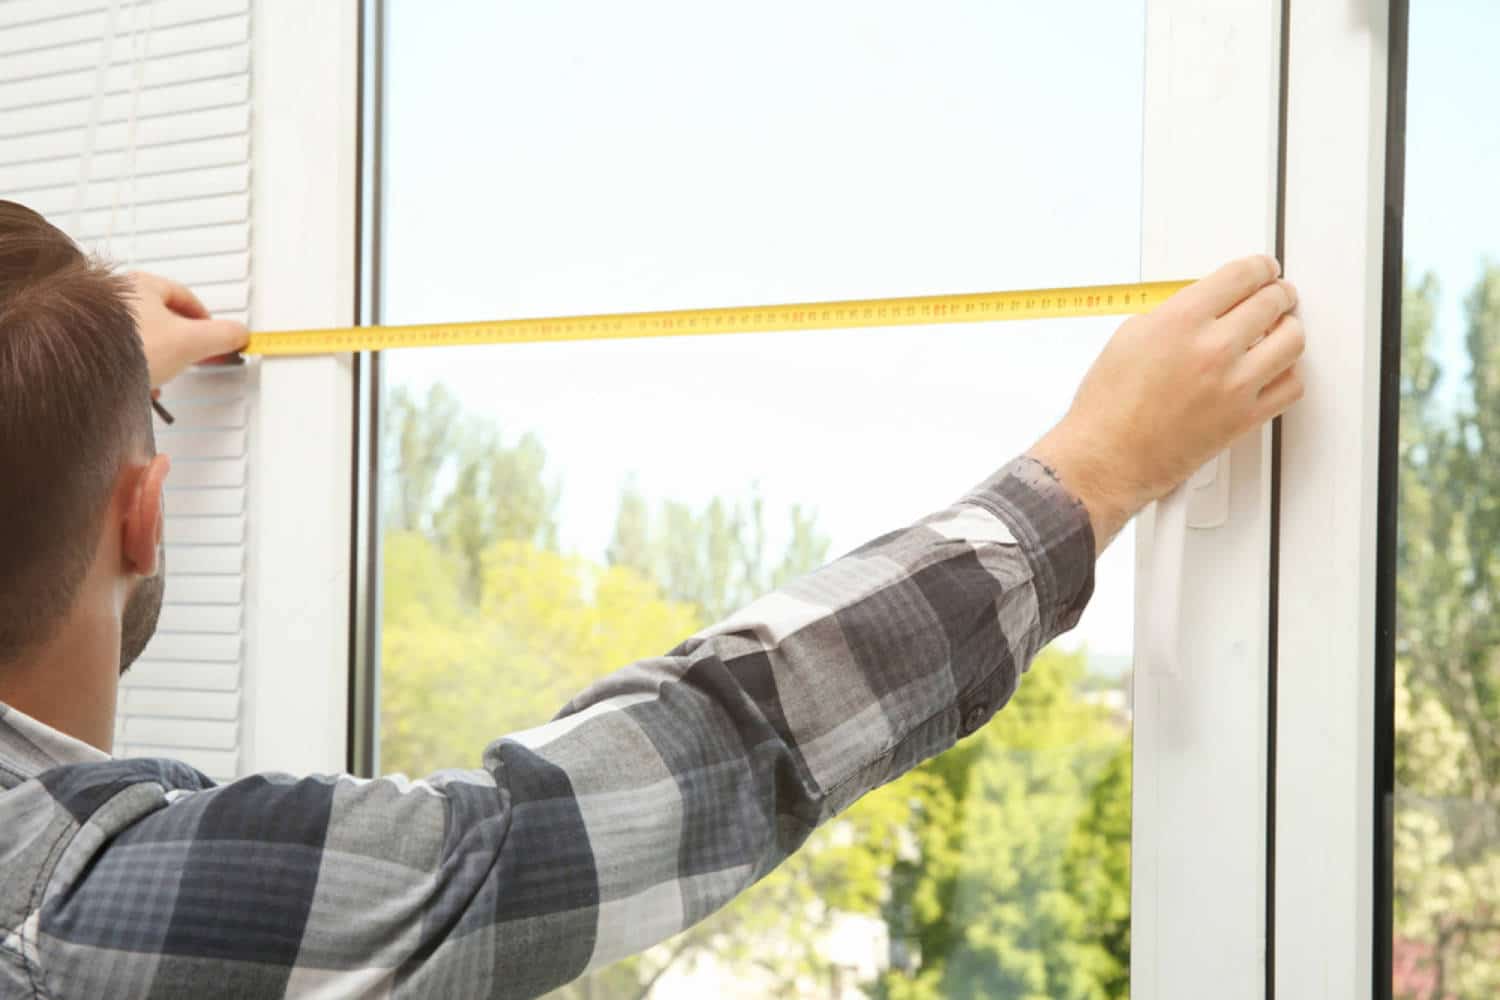
Accurate measurements make your trim fit perfectly. Here’s my step-by-step method for getting it right.
Essential Measurements
- Window Width
- Measure top width
- Measure middle width
- Measure bottom width
- Use the largest number
- Add 4-6 inches for trim overlap
- Window Height
- Measure left side
- Measure center
- Measure right side
- Use the largest number
- Add 4-6 inches for trim overlap
- Window Depth
- Measure from wall to window
- Check both sides
- Note any differences
Window Prep Steps
- Clean the area
- Remove old caulk
- Wipe dust away
- Fill nail holes
- Sand rough spots
- Check for Problems
- Look for loose parts
- Find any softwood
- Test window movement
- Mark stud locations
Pro Tips I Learned
- Use a metal tape measure
- Write numbers down right away
- Take photos for reference
- Mark stud spots with tape
- Check corners with a square tool
Step-by-Step Installation Guide
Tools & Materials Required
| Category | Item |
|---|---|
| Basic Tools | Razor blade |
| Hammer | |
| Crowbar | |
| Shop vacuum | |
| Measuring tape | |
| Paint brushes | |
| Level | |
| Power Tools | Miter saw |
| Nail gun | |
| Materials | Woodgrain Timeless Craftsman trim (3 sizes) |
| Liquid nails adhesive | |
| Nails | |
| Wood filler | |
| Paint for trim | |
| Caulk |
Step-by-Step Process for Installation
1. Remove Old Trim
- Score edges with a razor blade
- Use the crowbar to pull the old sill away
- Remove any leftover nails
- Clean up debris with a shop vac
2. Prepare New Pieces
- Cut trim to measured sizes
- Make sure pieces fit together
- Create top casing assembly:
- One 5.5-inch piece
- Two 1.5-inch pieces
- Join pieces before installing
3. Install New Trim
- Start with windowsill
- Apply liquid nails
- Secure with a nail gun
- Work upward from the bottom
- Leave small gaps for caulk
- Check the level as you go
4. Finishing Steps
- Fill seams with wood filler
- Let the filler dry completely
- Sand smooth
- Caulk gaps
- Paint trim with durable paint
Cost Analysis for Installing DIY Window Trim
| Category | Item | Cost Range |
|---|---|---|
| Basic Materials Cost | Woodgrain Craftsman trim pieces | $25 – $35 |
| Liquid nails (per tube) | $5 – $8 | |
| Nails for nail gun (per box) | $8 – $10 | |
| Wood filler (per container) | $6 – $8 | |
| Caulk (per tube) | $5 – $7 | |
| Paint (per gallon) | $25 – $30 | |
| Sandpaper (per pack) | $5 – $7 | |
| Total Materials per Window | $80 – $105 | |
| Tools You May Need | Miter saw | $120 – $150 |
| Nail gun | $60 – $80 | |
| Level | $10 – $15 | |
| Hammer | $15 – $20 | |
| Crowbar | $12 – $15 | |
| Utility knife | $8 – $10 | |
| Paint brushes | $15 – $20 | |
| Total Tools Cost | $240 – $310 | |
| Cost Comparison | DIY cost per window | $80 – $105 |
| Professional installation | $200 – $300 | |
| Your savings | $120 – $195 |
Extra Tips for Saving
- Buy trim in bulk
- Check store brands for supplies
- Use basic trim styles
- Keep extra materials for repairs
- Split tool costs with neighbors
How to Give a Finishing Touch to Your Window Trim
Let me show you how to make your window trim look smooth and clean. These finishing steps make all the difference.
Prep Work
- Check all nail spots
- Push in any high nails
- Fill holes with wood filler
- Let the filler dry fully
- Sand-filled spots flat
Caulking Steps
- Clean trim edges
- Apply caulk in small lines
- Smooth with wet finger
- Wipe excess with a cloth
- Let dry for 2 hours
Painting Tips
- First coat
- Use a small brush for the edges
- Roll larger parts
- Paint in one direction
- Let dry 4 hours
- Second coat
- Light sanding, if needed
- Clean dust off
- Paint the same way as the first coat
- Check for missed spots
Final Touches
- Remove paint spots
- Clean glass
- Wipe walls
- Check floor
- Last checks
- Test window opens
- Look for gaps
- Fix paint lines
- Clean up dust
Cost-Saving Strategies to Follow
| Category | Tip | Details |
|---|---|---|
| Bulk Buying Benefits | Count all your windows | Plan to buy trim for multiple windows |
| Buy trim for many windows. | Get store bulk discounts. | |
| Split costs with neighbors | Share the cost with others. | |
| Store extra pieces well. | Keep extras organized and in good condition | |
| Smart Material Choices | Pick pre-primed trim | Saves on paint costs, less prep work, better final look |
| Choose simple styles | It uses less material, is easier to cut, reduces waste | |
| Tool Cost Cutting | Borrow tools | Ask friends and family, join tool libraries, share with neighbors |
| Tool alternatives | Hand saw vs. power saw, manual nail option, basic levels work fine | |
| Timing Your Project | Watch for sales | Look for holiday deals, end-of-season prices, clearance items |
| Buy off-season | Winter typically offers lower prices; check yearly sales | |
| Waste Reduction Tips | Measure twice, cut once | It avoids errors and waste |
| Plan cuts carefully | Minimizes waste by optimizing each cut | |
| Keep longer pieces | Use for future projects or additional windows. | |
| Use scraps for small gaps. | Repurpose off-cuts to fill gaps. | |
| Save paint for touch-ups | Keep leftovers for later minor fixes |
Benefits of DIY Window Trim
The benefits went far beyond just saving money.
Money Benefits
- Save on labor costs
- $120-195 less per window
- Keep more in your pocket
- Set your budget
- Control material costs
Added Home Value
- Better looks
- Clean window lines
- Fresh, new trim
- Updated room style
- Better function
- Stops drafts
- Blocks moisture
- Fixes old problems
Personal Benefits
- Learn new skills
- Use basic tools
- Work with wood
- Paint like a pro
- Feel good about your work
- See results daily
- Show off your skills
- Fix future issues yourself
Time Benefits
- Work at your pace
- Fix issues right away
- Make changes anytime
- Pick your work hours
- No waiting for workers
Quality Control
- Pick your materials
- Check every step
- Fix small details
- Make it perfect
- Know it’s done right
Conclusion
Installing your own window trim is easier than you might think. I’ve seen how it changes the look of plain windows into eye-catching features.
Through this guide, I’ve shared what I learned from my own window trim projects.
With basic tools, materials, and a weekend of work, you can add style to your home while saving money.
The best part? Every time you look at your finished windows, you’ll feel proud of what you created with your own hands.
Ready to start your window trim project? Get your measuring tape and make a list of the supplies you’ll need.
If you found this guide helpful, leave a comment below about which window you plan to transform first!
Frequently Asked Questions
What’s the Difference Between Window Casing and Window Trim?
Window casing frames the window on the outside, providing structural support. Window trim is decorative molding around the interior edges for a polished look.
How Can I Install Window Trim without Miter Cuts?
Use corner blocks instead of miter cuts. Attach trim pieces straight to the window edges and insert blocks at the corners, simplifying installation.
What are Some Simple Window Trim Ideas for Beginners?
Try flat stock trim for a clean look, craftsman-style trim for easy alignment, or use pre-primed materials to save on prep and paint time.

