How to Install Butcher Block Countertops the Right Way
Butcher block countertops can change a whole kitchen’s style, but most DIY installations fail within the first year. Why? People skip critical steps that pros never miss.
The wood warps, gaps appear, and water damage sets in. It’s frustrating when you’ve invested time and money into a project.
Here’s the silver lining: learning how to install butcher block countertops correctly isn’t rocket science. With the right approach and a few insider tricks, anyone can achieve professional results.
This guide breaks down each step so readers can avoid costly mistakes and create a kitchen surface that lasts for decades.
More Than Just Wood Slabs: Butcher Block Explained
Butcher block countertops are thick wooden surfaces made from strips of hardwood glued together. Think of them as dozens of wood planks standing on their edges, bonded side by side.
The most common woods include maple, oak, cherry, and walnut. Each strip runs the entire length of the counter, creating those signature linear patterns people love.
Originally, butchers used these surfaces because they were durable and easy on knife blades. Today, they bring warmth and character to modern kitchens.
The wood is typically 1.5 to 2.5 inches thick, making it incredibly sturdy. Unlike laminate or tile, butcher block can be sanded down and refinished multiple times.
This means scratches and stains don’t have to be permanent. It’s a living surface that develops personality over time.
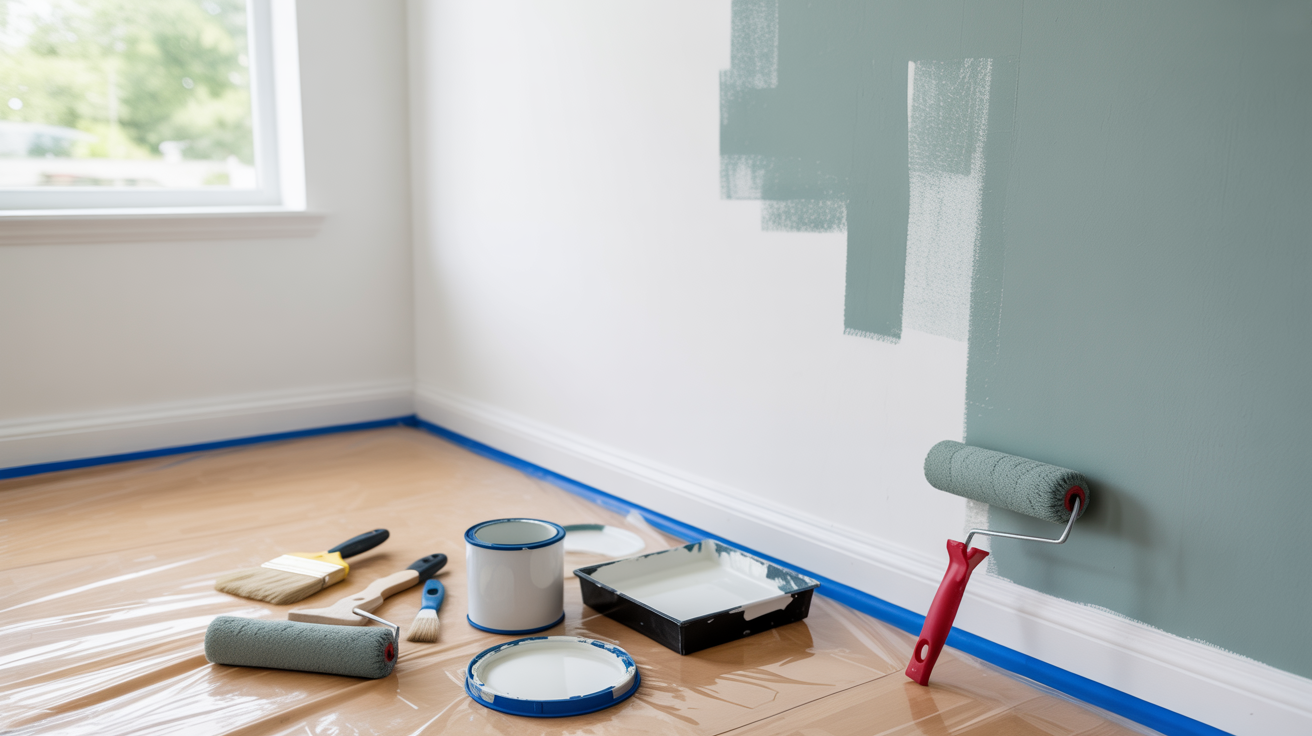
Tools and Materials Needed for Butcher Block Countertop
Having everything ready before starting saves time and frustration. Here’s the complete list of what’s needed for a smooth installation.
| Tools | Materials |
|---|---|
| Circular saw with a fine tooth blade | Butcher block countertop |
| Router with round-over bit | Blue painter’s tape |
| Power drill | Sandpaper 180 grit |
| Clamps | Sandpaper 220 grit |
| Orbital or palm sander | Water |
| Measuring tape | Water-based polyurethane |
| Straight edge or angle iron | Heavy-duty metal brackets |
| Tack cloth | Two-by-four lumber |
| Level | Number eight pan head wood screws |
| Drill bits 3/16 inch | Washers |
Step-by-Step Instructions to Install a Butcher Block Countertop
Ready to get hands-on? This section walks through the entire installation process, from the first measurement to the final seal.
Step 1: Measure, Mark, and Cut the Countertop

Start by carefully measuring the exact length and width you need for your butcher block countertop. Double-check all measurements before cutting.
Mark your cut line clearly, apply blue painter’s tape along the line to reduce tear out, and clamp a straight edge or fence in place.
Using a circular saw with a fine-tooth blade, slowly cut the countertop to size.
Step 2: Shape the Edges and Corners

Decide how you want the edges and corners to look. If you prefer rounded corners, test your router bit on a scrap piece first. Once satisfied, use a router to round over the edges and corners of the countertop.
Taking the time to test beforehand helps avoid costly mistakes on the final piece.
Step 3: Sand the Surface Thoroughly

Sand the entire countertop, including edges, starting with 180-grit sandpaper. Once the shape is smooth, move up to 220 grit for a finer finish.
After routing, sand again to remove any tool marks or rough spots. The goal is a smooth, even surface that feels good to the touch.
Step 4: Raise the Grain and Apply Finish

Lightly wipe the countertop with water to raise the wood grain, especially if using a water-based polyurethane. Once dry, sand lightly to remove raised fibers. Clean the surface with a tack cloth.
Apply water-based polyurethane evenly on all sides, including the underside.
Apply five thin coats, lightly sanding between coats to maintain a smooth finish. Allow proper drying time between each coat.
Step 5: Prepare Cabinets and Support Bracing

Inside the cabinets, drill oversized holes in the corner braces using a 3/16 inch bit. This allows the wood to expand and contract with seasonal humidity changes.
For added support, cut short sections of two-by-fours and secure them inside the cabinets. These blocks will give the metal brackets a solid surface to attach to.
Step 6: Install the Countertop and Secure It

Carefully place the finished countertop on the cabinets and align it exactly where you want it. Clamp it in place to prevent shifting.
Attach heavy-duty metal brackets to the cabinet supports, then pre-drill holes into the countertop. Secure everything using number eight pan head wood screws with washers.
Once installed, reinstall drawers and cabinet doors, then step back and enjoy your finished countertop.
Estimated Total DIY Budget
$255 to $655 if tools are already owned
$405 to $955 if tools need to be purchased
For more detailed instructions, refer to the YouTube video below:
How to Allow for Wood Expansion and Contraction?
Wood naturally swells and shrinks with changes in humidity and temperature. That’s why leaving expansion gaps is critical.
Install the countertop with a 1/8-inch gap between it and any walls or backsplashes. This small space gives the wood room to breathe without buckling or cracking.
Use figure-eight fasteners instead of rigid screws to attach the countertop to cabinets. These special fasteners have slots that let the wood move while staying secured.
Never apply adhesive along the entire length of the cabinet. Instead, use small beads in strategic spots. In kitchens with high humidity, consider increasing the gap to 1/4 inch.
Some installers also avoid caulking the gap immediately, waiting a few months for the wood to settle first. This patience pays off with a countertop that stays flat and stable for years.
Finishing Options After Installation
Choosing the right finish protects your butcher block and determines how it looks and performs. Here’s a breakdown of the most popular options:
| Finish Type | Best For | Durability | Maintenance | Food Safe |
|---|---|---|---|---|
| Mineral Oil | Non-food prep areas are a budget-friendly option | Moderate | Reapply monthly | Yes |
| Butcher Block Oil | Food prep surfaces, cutting areas | Moderate | Reapply every 4-6 weeks | Yes |
| Tung Oil | Natural look, water resistance | Good | Reapply every 2-3 months | Yes (pure tung oil) |
| Polyurethane | High-traffic areas, sink surrounds | Excellent | Minimal, wipe clean | No |
| Waterlox | Areas needing maximum protection | Excellent | Reapply annually | Yes (once cured) |
| Wax Finish | Decorative surfaces, low-moisture areas | Low | Reapply every 2-3 months | Yes |
Common Butcher Block Installation Mistakes to Avoid
Even experienced people make these errors, and they can cost time, money, and the countertop’s integrity. Knowing what to avoid is as important as knowing what to do right. Here’s what to watch out for:
- Skipping the acclimation period before installation
- Using the wrong adhesive or too much glue
- Forgetting to seal the underside of the countertop
- Not allowing for wood expansion and contraction
- Over-tightening fasteners can cause cracks
- Cutting sink holes without proper sealing afterward
- Using regular wood screws instead of figure-eight fasteners
- Failing to level cabinets before placing countertops
- Not supporting seams and joints properly
The Bottom Line
Now you know how to install butcher block countertops without the headaches that plague most DIY projects. From proper acclimation to expansion gaps, each step matters.
The beauty of butcher block is that it’s forgiving. Make a mistake? Sand it down and start fresh. That’s something laminate or granite can’t offer.
Take time with the prep work, don’t rush the sealing process, and use the correct fasteners. These countertops reward patience with decades of service.
Start with accurate measurements, gather quality tools, and follow the steps laid out here. In a weekend, kitchens can have that warm, professional look without paying contractor prices.