How to Install and Maintain Door Hardware: A Step-by-Step Guide
When it comes to home improvements, the details can make all the difference. Installing new door hardware not only enhances the functionality of your doors but also boosts the aesthetic appeal of your home.
Whether you’re updating old, worn-out knobs and locks or installing brand new hardware, understanding how to properly handle the installation and maintenance of door hardware is essential. This comprehensive guide will walk you through the process step-by-step, ensuring that your door hardware is both stylish and secure.
Choosing the Right Door Hardware
 Before you begin the installation process, it’s important to choose the right hardware for your needs. Consider the style of your home, the type of doors you have, and the level of security you require.
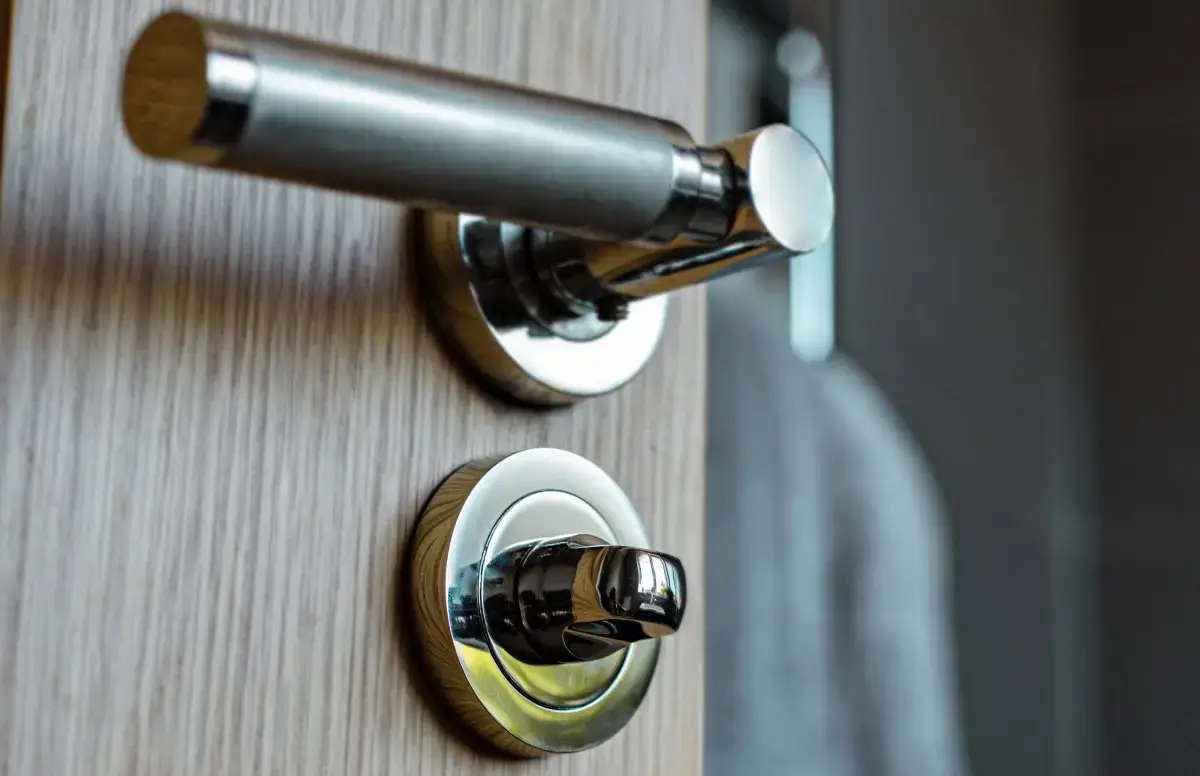
Door hardware comes in various forms, including handlesets, levers, knobs, and deadbolts. Each type serves a different purpose and offers different benefits. For instance, levers are easier to operate for those with limited hand strength, while knobs are traditional and versatile.
Tools You Will Need
To install door hardware, you will need a few basic tools:
- Screwdriver (Phillips and flat-head)
- Tape measure
- Drill with various bits
- Level
- Pencil for marking
Having the right tools on hand will make the installation process smoother and quicker.
Step 1: Removing Old Hardware
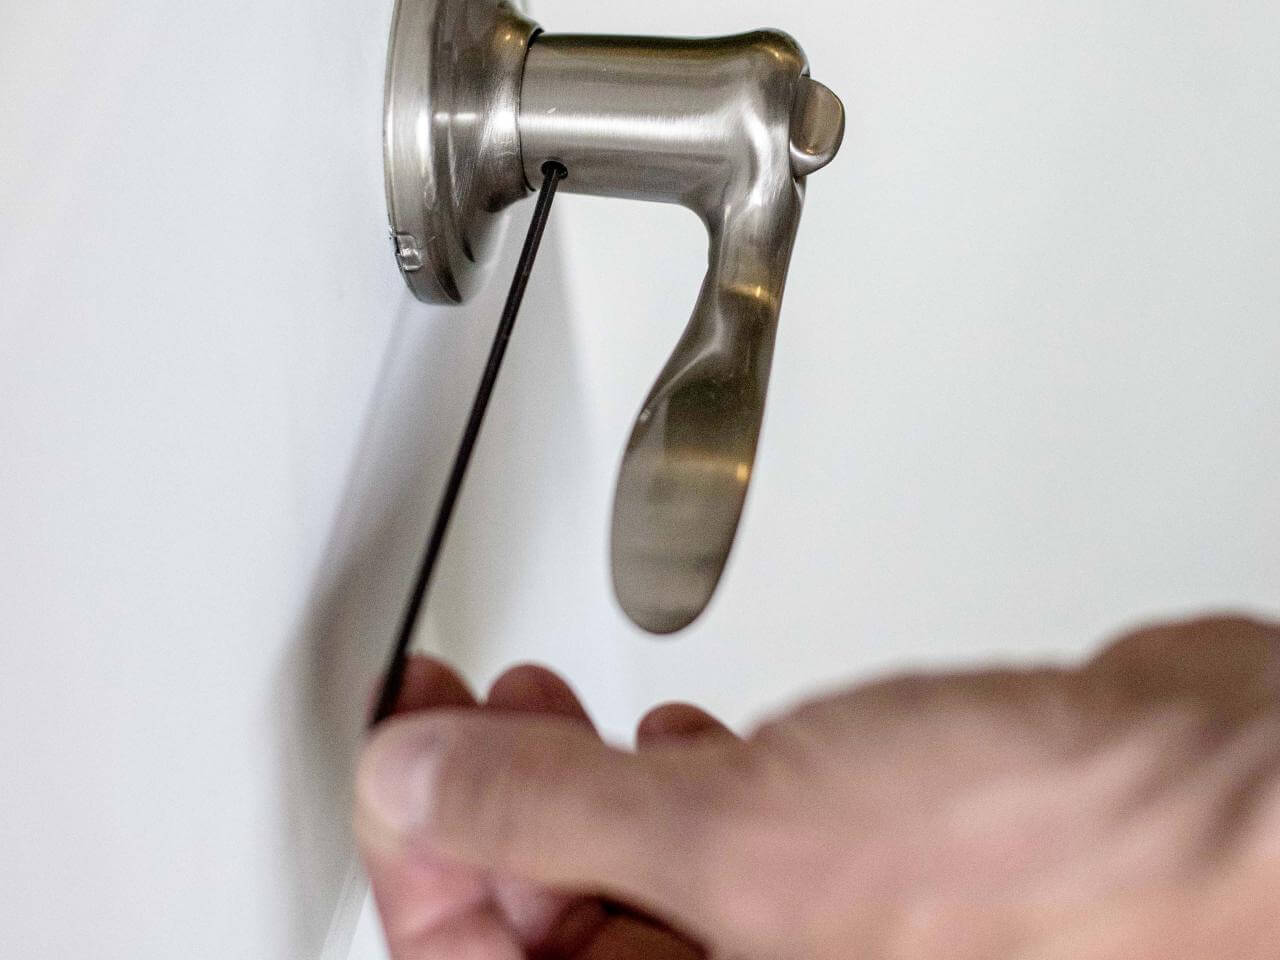
- Loosen the Screws: Start by removing any screws on the old door hardware using the appropriate screwdriver. This typically includes screws on the door knob or handle as well as the latch and strike plate on the door frame.
- Pull Out the Hardware: Once the screws are removed, gently pull the hardware off the door. You may need to wiggle it slightly to loosen it.
- Clean the Surface: Before installing new hardware, clean the surface area to ensure that no dust or debris interferes with the installation.
Step 2: Installing the New Door Hardware
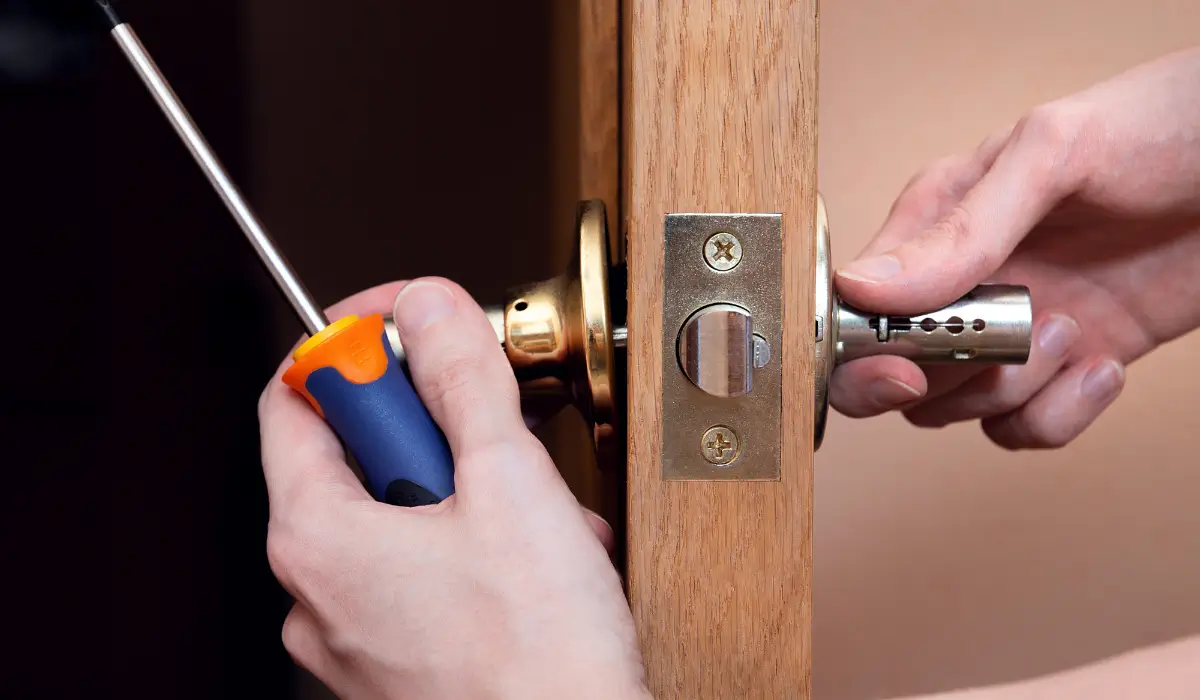
- Insert the Latch: Place the new latch into the side of the door, making sure the tapered side faces the direction the door closes. Secure it with screws.
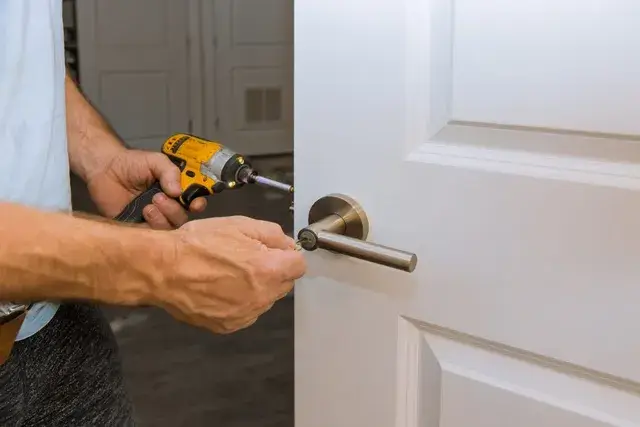
- Attach the Handles or Knobs: If your door hardware has two sides (like a knob or lever), insert the exterior part through the latch first. Align the interior part on the other side of the door and connect them according to the manufacturer’s instructions. Usually, this involves aligning the mounting holes and tightening the screws.
- Install the Strike Plate: Position the strike plate on the door frame so that it lines up with the latch. Use a pencil to mark the screw holes, then drill and screw the strike plate into place.
Step 3: Checking and Adjustments
- Test the Mechanism: Close the door and test the knob or lever to ensure it turns smoothly and that the latch engages and disengages properly.
- Adjust as Necessary: If the hardware is stiff or the latch does not catch, check the alignment of the latch and strike plate. You may need to loosen the screws and adjust the position slightly.
Maintaining Your Door Hardware
 To ensure longevity and optimal performance of your door hardware, regular maintenance is necessary:
- Lubricate the Lock: Use a graphite lubricant on the moving parts of the lock mechanism once a year to keep it operating smoothly.
- Tighten Screws: Check the screws periodically and tighten any that have become loose over time.
- Clean Regularly: Wipe down your door hardware with a damp cloth and mild soap to prevent dirt build-up. Avoid harsh chemicals that can damage the finish.
Conclusion
Installing and maintaining door hardware is a simple yet impactful DIY project that can enhance the functionality and appearance of your home. By following these step-by-step instructions, you can ensure that your doors are secure, stylish, and properly maintained. Remember, the key to a successful installation is preparation and precision. With a little effort and the right tools, your doors will not only look great but will also serve you well for years to come.


