How to Hang a Coastal Chandelier by Yourself
A very big congratulations on finally getting one of those beautiful coastal chandeliers you always wanted for your home. It must be really exciting now that you have acquired this piece of art. But there is a problem now.
How to hang this chandelier so that it can be the center of attraction of your space? Either you want to have this hanging experience by yourself, or you can not wait to hang it till a handy person arrives. Whatever the reason, we are here to help and assist you in this journey of doing it yourself. Shall we start the adventure?
1. Choose the Perfect Location
We will start by choosing the perfect location for the perfect thing. It could be your living room, dining area, lobby, or any area that you think will benefit the most. Once you choose the room, mark down the exact location you would want the chandelier to be in. Mostly, these are hung in the center of the room to serve their purpose of making a statement.

2. Turn Off Power
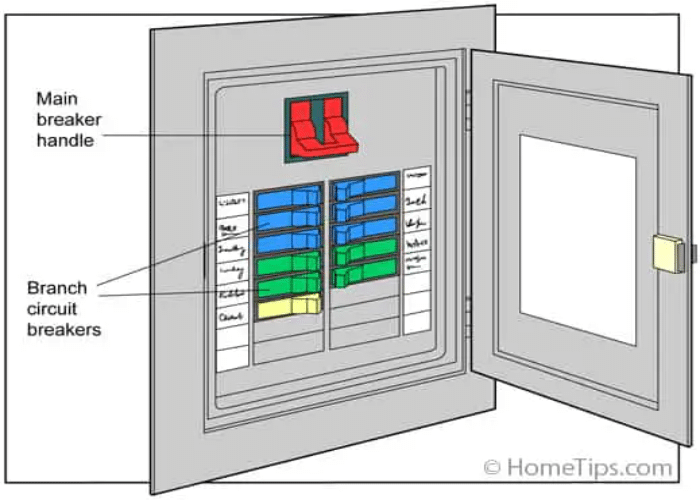
After location, remember to turn off the power of that particular outlet or section; otherwise, it may be dangerous to operate with wires and circuits. This step ensures your safety while you can’t control your enthusiasm.
3. Gather Tools and Materials
For hanging the chandelier, you will need some tools and materials so that you can start preparing the outlet and the ceiling board for the weight that it needs to hold. Some of the things that you might need are a voltage tester, wire stripper, wire connectors, pliers, screws, and a sturdy ladder at your disposal. With these essential items on hand, you’ll be well-equipped and ready to navigate the intricacies of installation. This thoughtful preparation ensures a seamless process.
4. Prepare the Mounting Bracket
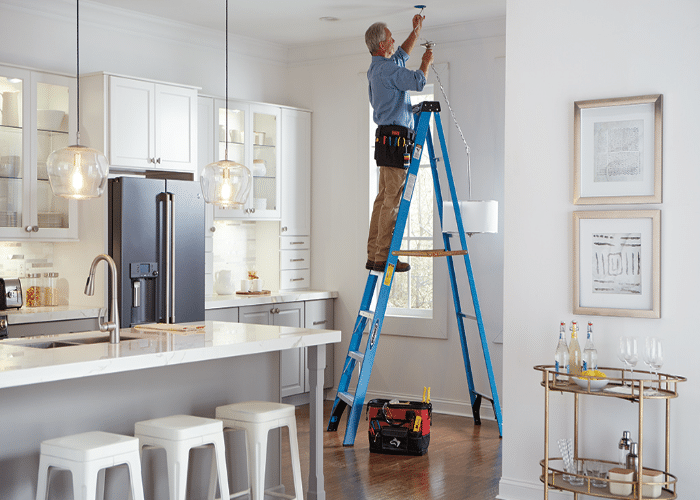
This important step involves securely attaching the frame to the ceiling junction box using the provided screws. Ensuring the bracket is level and steadfast lays the foundation for a stable and visually pleasing chandelier display. Make sure to follow the proper instructions that come with your chandelier so that you put the correct screw in its place.

5. Connect Wiring
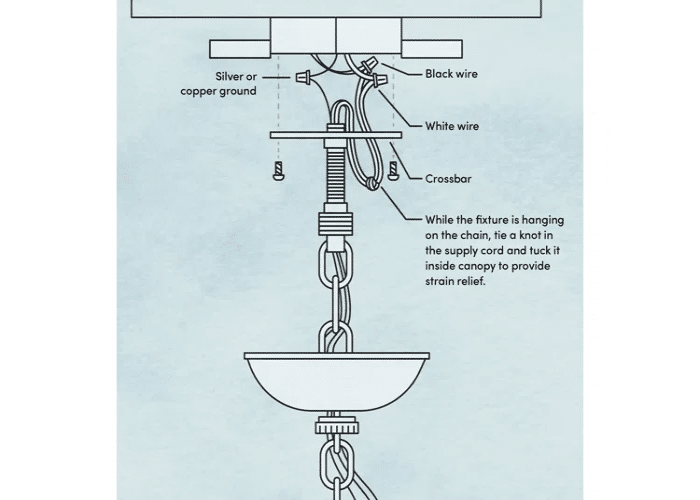
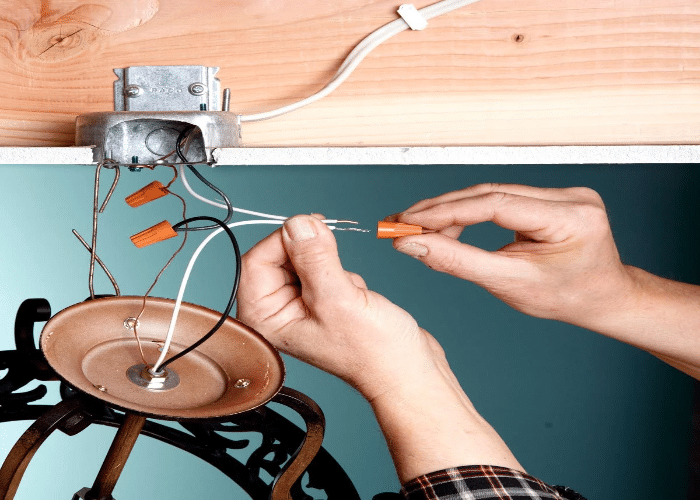
When it comes to wiring, the general thumb rule is to connect the wires with matching colors, like red ceiling wire with red chandelier wire. However, it is always advisable to refer to the manufacturer’s instructions before securing the connection using wire connectors. It just ensures your hard work results in a reliable electrical bond.
6. Attach the Chandelier
Now that you have done the technical work of connecting the wires, you are ready to lift your beautiful chandelier in the air. Ask for help if needed, as it can be quite heavy to lift it by yourself. Fasten the chandelier at every possible place and let it go. You will see that, finally, your vision is coming to life step by step.
7. Secure Wires
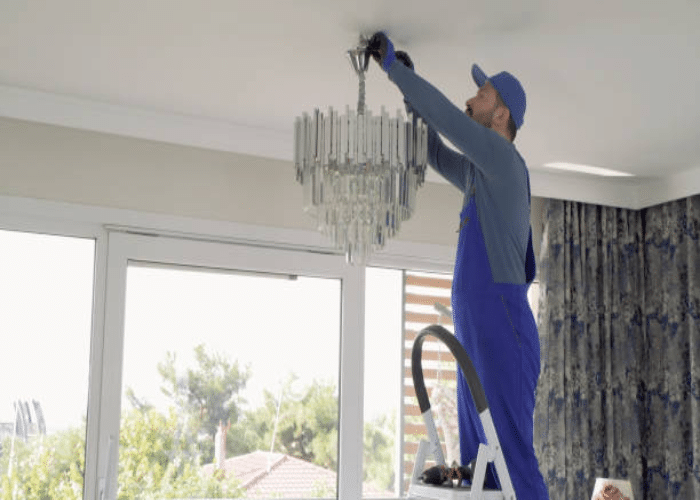
Great News! The chandelier hangs by the ceiling, but our work isn’t finished here. Safeguard it by securing the wires. Gently tuck the connected wires into the ceiling junction box, ensuring a neat arrangement. Follow the manufacturer’s instructions to finalize the chandelier’s position and attachment. With each wire secured, you not only ensure the chandelier’s stability but also get one step closer to seeing the beauty in its full form.
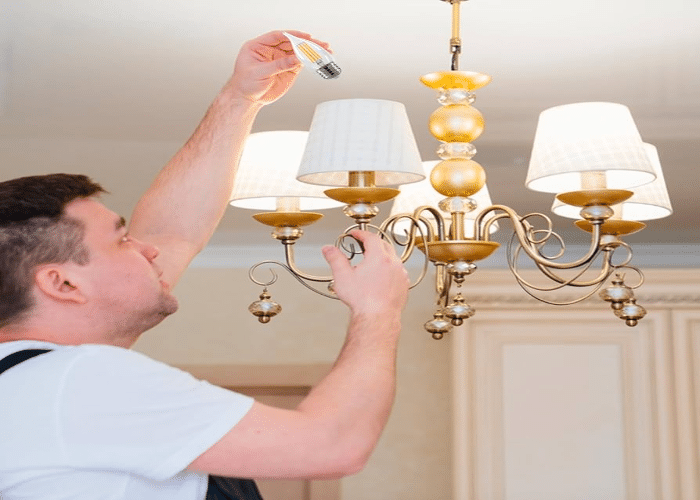
8. Install Bulbs
It is time to install bulbs and other lighting fixtures in your chandelier to get the full experience of it with all its glory. As each bulb fits in its place, your space will transform with it. This step adds the final touch to the chandelier and prepares it for the big show.
9. Test and Adjust
You may restore the power now and be ready to fall in love at first sight once again. The beauty of the chandelier will enlighten your home. If you are not happy with anything, you can now make some adjustments and make sure that everything is in its place.
10. Finalize and Secure
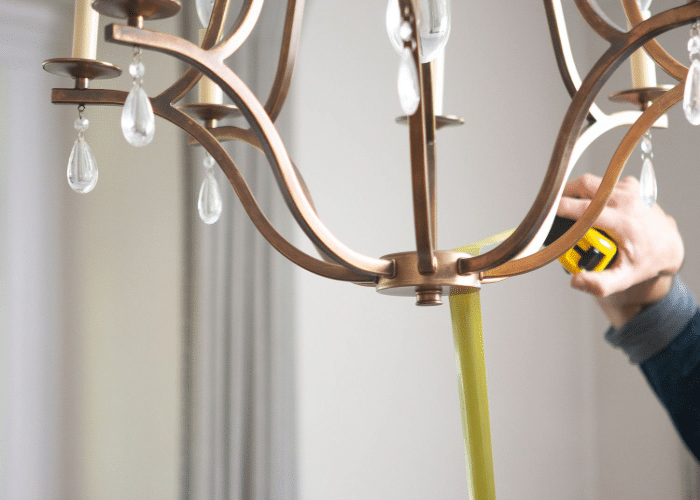
Complete your installation by looking at the chandelier and securing each component, including all the decorative elements and coverings. By connecting each detail, you will solidify the chandelier’s elegance and functionality. With every element in its rightful position, you can see the final look of your space with the chandelier. You will find that this coastal look is even more pretty than what you had thought.

11. Cleanup
Conclude your coastal chandelier installation with a thorough cleanup. Dispose of packaging materials and keep your tools back in their place. With your willpower and our information, you have successfully installed your chandelier all on your own—time to pat yourself on the back and enjoy.

Final Thoughts
In the world of interior design, embarking on the journey to hang a coastal chandelier by yourself is both empowering and rewarding. It’s a big thing to even think about, let alone completing it all by yourself with minimal help.
From selecting the perfect spot to finally seeing its beauty in your home, this DIY is the perfect example of the saying that hard work always pays off. Now, every time someone comes to your home, this adventure can be a great conversation to tell your guests about as it’s a great achievement. For now, sit back, relax, and enjoy.

