How to Get Moss Off Roof Easily?
A green, fuzzy roof might not seem like a big deal at first. But moss on roof surfaces is more damaging than it looks; it holds moisture against the shingles, weakens them over time, and can lead to leaks if left unchecked.
Most people don’t realize how to get moss off roof surfaces is actually quite straightforward. With the right approach, it’s a job that can often be handled without calling in a professional.
This guide provides the most effective removal methods, the tools needed, and simple steps to prevent moss from returning season after season.
Why You Should Remove Moss From Your Roof?
Moss might seem harmless, but it can quietly damage your roof and shorten its lifespan. Roofs are designed to shed water quickly.
When moss on roof surfaces grows, it traps moisture against the shingles, preventing proper drainage and keeping them damp for long periods.
Over time, this constant moisture can weaken shingles, cause granule loss, and lead to cracking or curling.
As moss thickens, it can also lift shingle edges, allowing water to seep underneath and increasing the risk of leaks, wood rot, and mold growth.
Learning how to remove moss from the roof early helps protect your roofing materials, prevent costly repairs, and extend the overall life of your roof.
Moss early helps protect your roofing materials, prevent costly repairs, and extend the overall life of your roof.
Essential Tools and Materials for Roof Moss Removal
Getting the right tools together before starting makes the whole process safer and more effective. Here’s what’s needed:
| Tool | Purpose |
|---|---|
| Sturdy Ladder | Provides safe and stable access to the roof |
| Safety Gear | Non-slip shoes, gloves, safety glasses, and a harness if needed, keep the job safe from start to finish |
| Soft Bristle Brush | Gently removes moss without scratching or damaging the shingles |
| Garden Hose (Low Pressure) | Safely rinses away loose debris without forcing water under the shingles |
| Roof-Safe Moss Removal Solution | Kills existing moss and helps prevent it from growing back, can be a commercial product or a diluted DIY mixture |
A Simple Step-by-Step Guide to DIY Roof Moss Removal
Removing roof moss yourself can be simple if you follow the right process and use proper safety precautions. These easy steps will help protect your shingles and extend the life of your roof.
Step 1: Prepare the Area and Ensure Safety

Start by setting up your ladder on stable, level ground and secure it properly. Wear non-slip shoes, gloves, and eye protection for safety.
Cover nearby plants and landscaping to protect them from runoff. Avoid working in wet, windy, or extremely hot conditions.
Have someone nearby in case you need assistance, and move slowly to prevent slips or damage to shingles.
Step 2: Apply Moss Killer Solution

Evenly apply a roof-safe moss-removal solution using a sprayer. This is a key step in how to remove moss from roof surfaces effectively.
Start at the top of the roof and work your way downward to prevent lifting shingles. Make sure the moss is fully saturated so the solution can penetrate to the roots.
Avoid over-spraying to reduce runoff onto gutters and landscaping.
Step 3: Let It Sit and Kill the Moss

Allow the solution to sit as directed so it can penetrate and kill moss at the roots.
You’ll notice the moss on roof changing color or loosening, which means the treatment is working.
During this time, avoid walking over the treated areas to prevent slipping. You may notice the moss changing color or loosening, which indicates the solution is working.
Let the product do the heavy lifting before brushing or rinsing the surface. If needed, reapply lightly to stubborn patches rather than scrubbing aggressively.
Step 4: Gently Brush Moss Off

Once the moss has loosened, use a soft-bristle brush to carefully remove it. Always brush downward in the direction of the shingles to avoid lifting or damaging them.
Work in small sections and use gentle, steady strokes rather than force. Avoid scraping or digging into the shingles, as this can remove protective granules.
If some areas resist, apply a bit more solution rather than increasing pressure.
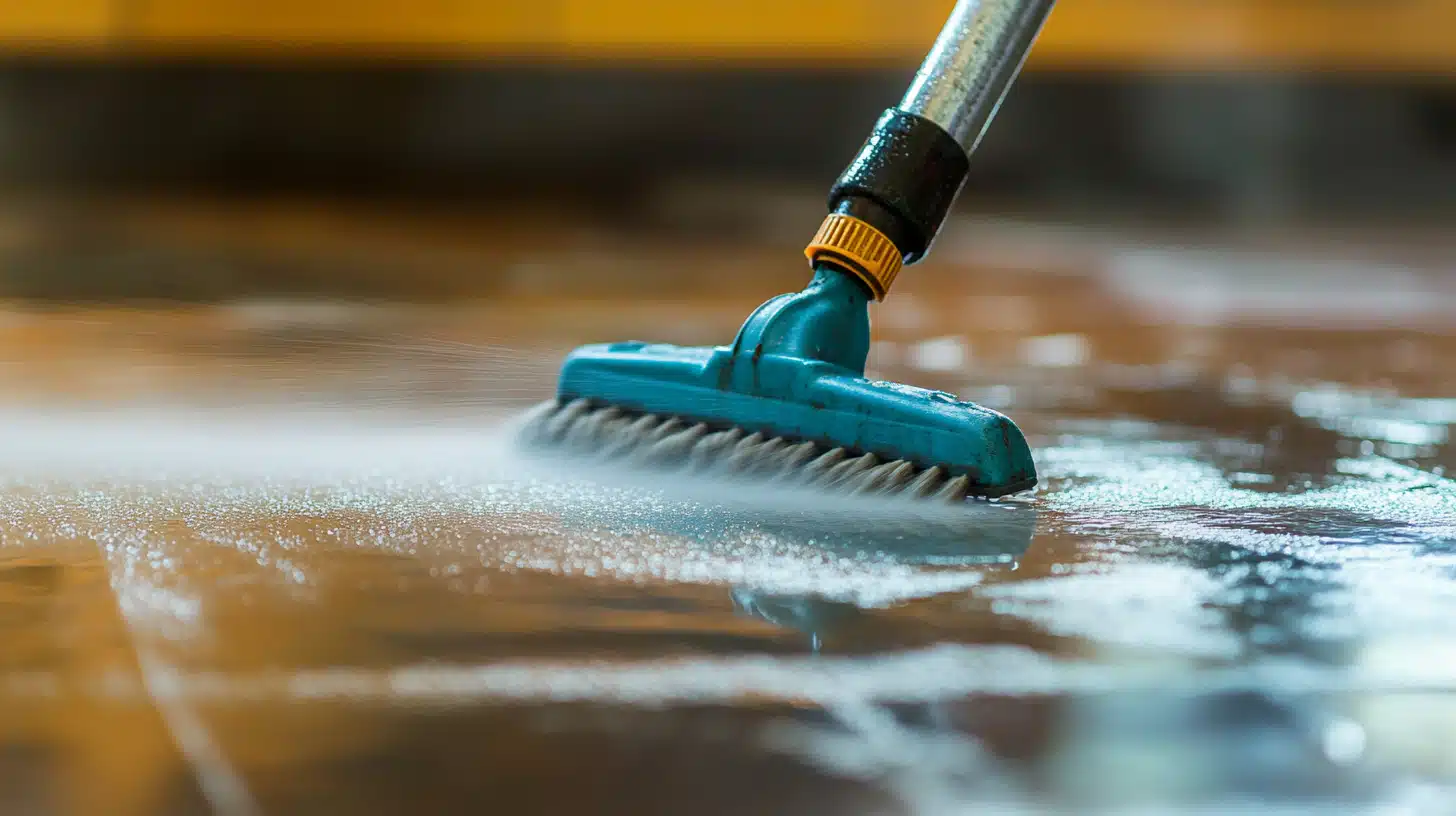
Step 5: Lightly Rinse the Roof

Use a low-pressure garden hose to rinse away any remaining debris. Avoid pressure washing, as high pressure can damage shingles and strip protective granules.
Rinse gently from the top down to prevent water from getting underneath the shingles. Take your time and focus only on clearing loose debris rather than forcing moss off the surface.
This final rinse helps ensure your roof is clean without compromising its protective layer.
Roof Moss Removal Do’s and Don’ts
Knowing the right and wrong way to remove roof moss is critical. Using improper tools or techniques can cause more damage than the moss itself.
Here are the safest practices to follow and the mistakes you should avoid to protect your shingles and extend your roof’s lifespan. Proper technique matters when figuring out how to get moss off roof surfaces without damage.
| Do’s | Don’ts |
|---|---|
| Use a soft-bristle brush to gently remove moss | Do not use a pressure washer |
| Apply a roof-safe moss removal solution | Do not scrape shingles with metal tools |
| Work from the top of the roof downward | Do not brush upward against shingle edges |
| Choose dry, mild weather for cleaning | Do not clean during rain or extreme heat |
| Wear proper safety gear and secure your ladder | Do not walk aggressively on shingles |
| Rinse with a low-pressure garden hose | Do not use harsh or highly concentrated chemicals |
When to Call a Professional?
While many homeowners can handle light moss on the roof issues, some situations require expert help. Attempting DIY removal in high-risk conditions can lead to injuries or costly roof damage.
If your roof has a sharp pitch or multiple levels, it significantly increases the risk of slipping and falling. Professionals have the proper safety equipment, harness systems, and experience to work safely on steep surfaces.
If there is Extensive Moss Buildup, the thick, widespread moss growth often indicates the roots have deeply embedded in the shingles.
Large-scale buildup may require specialized treatments and techniques to avoid tearing or lifting roofing materials.
Also, if you notice cracked, curling, or missing shingles, soft spots, leaks, or water stains inside your home, it is best to call a roofing professional.
Moss removal in these cases should be combined with proper repairs to prevent further structural damage.
Key Takeaways
Moss on roof surfaces may look harmless, but it can shorten your roof’s lifespan if ignored. Learning how to remove moss from roof areas using gentle cleaning methods and proper safety precautions can prevent long-term damage
Focus on gentle cleaning, proper safety precautions, and preventive steps to keep moisture from building up again. If the job feels unsafe or the damage runs deeper than surface growth, do not hesitate to call a professional.
A clean, moss-free roof not only improves curb appeal but also protects your home and extends the life of one of its most important structures.
Routine inspections and simple maintenance can save you from expensive repairs down the line. Stay proactive, and your roof will stay strong, durable, and ready to protect your home for years to come.