How to DIY Shaker Cabinet Doors Easily
Hey there! I’m here to show you how to make shaker cabinet doors at home. I’ve helped many friends update their kitchens, and making shaker doors is simpler than you might think.
Want to know the best part? Making these doors yourself can save you a lot of money. Plus, you’ll feel great when you look at your handiwork every day in your kitchen.
I’ll walk you through each step of building these clean-lined cabinet doors. As someone who started as a total beginner, I know exactly what tips and tricks will help you succeed.
Ready to give your kitchen a fresh look? Let’s get started with the tools and materials you’ll need.
Understanding Shaker Cabinet Doors
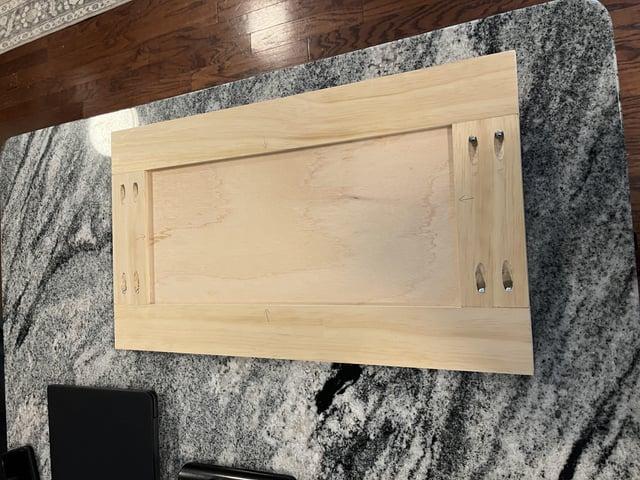
I spent years looking at different cabinet door styles before settling on shaker doors for my kitchen.
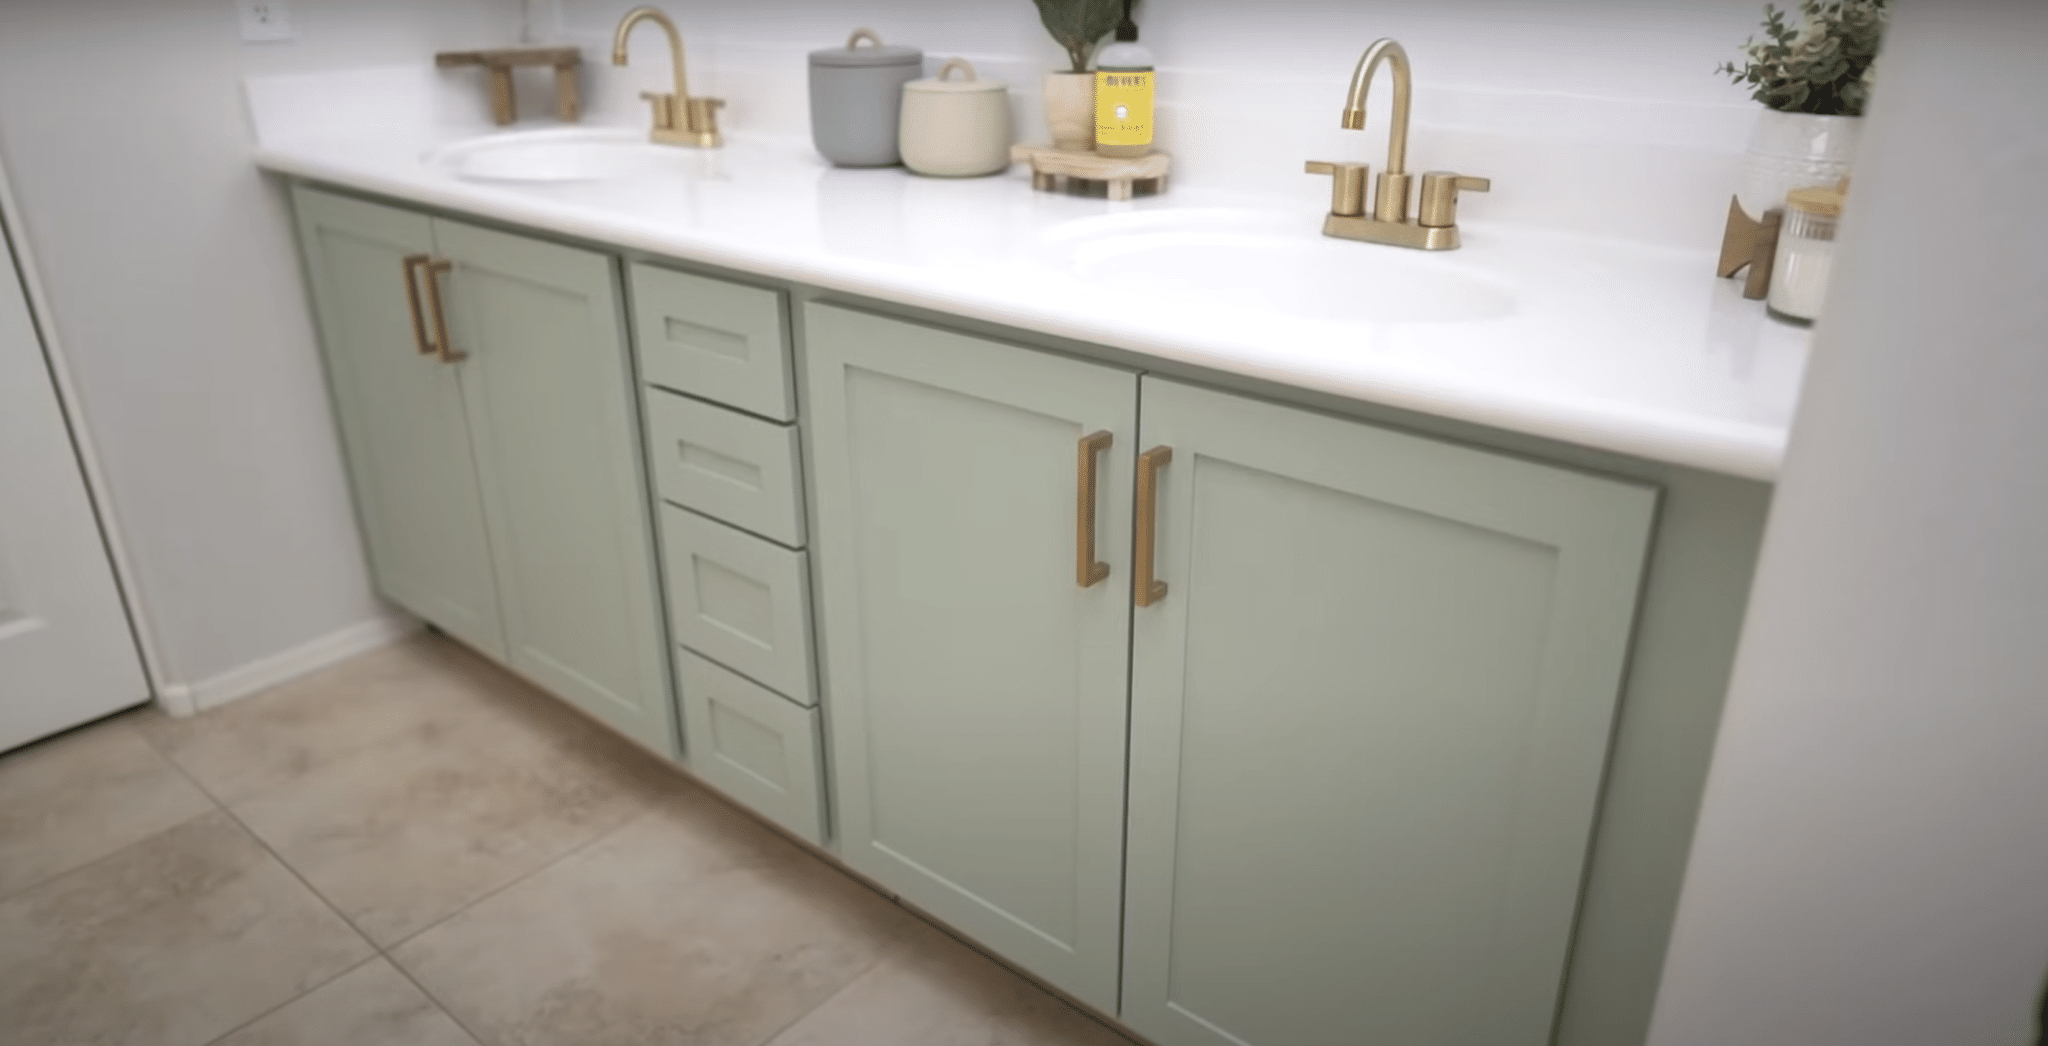
Here’s what makes them special: Shaker doors have a plain center panel with a frame around it. That’s it – no fancy carvings or complex designs.
I love these doors because they fit any kitchen style. They always look good, from a small apartment to a big family home. The clean lines make them perfect for modern homes, yet they work well in traditional spaces.
But here’s what I really like—they’re perfect for DIY projects. Their simple design means fewer chances to make mistakes.
You won’t need special tools or years of woodworking skills to make them look professional.
Selecting the Right Materials
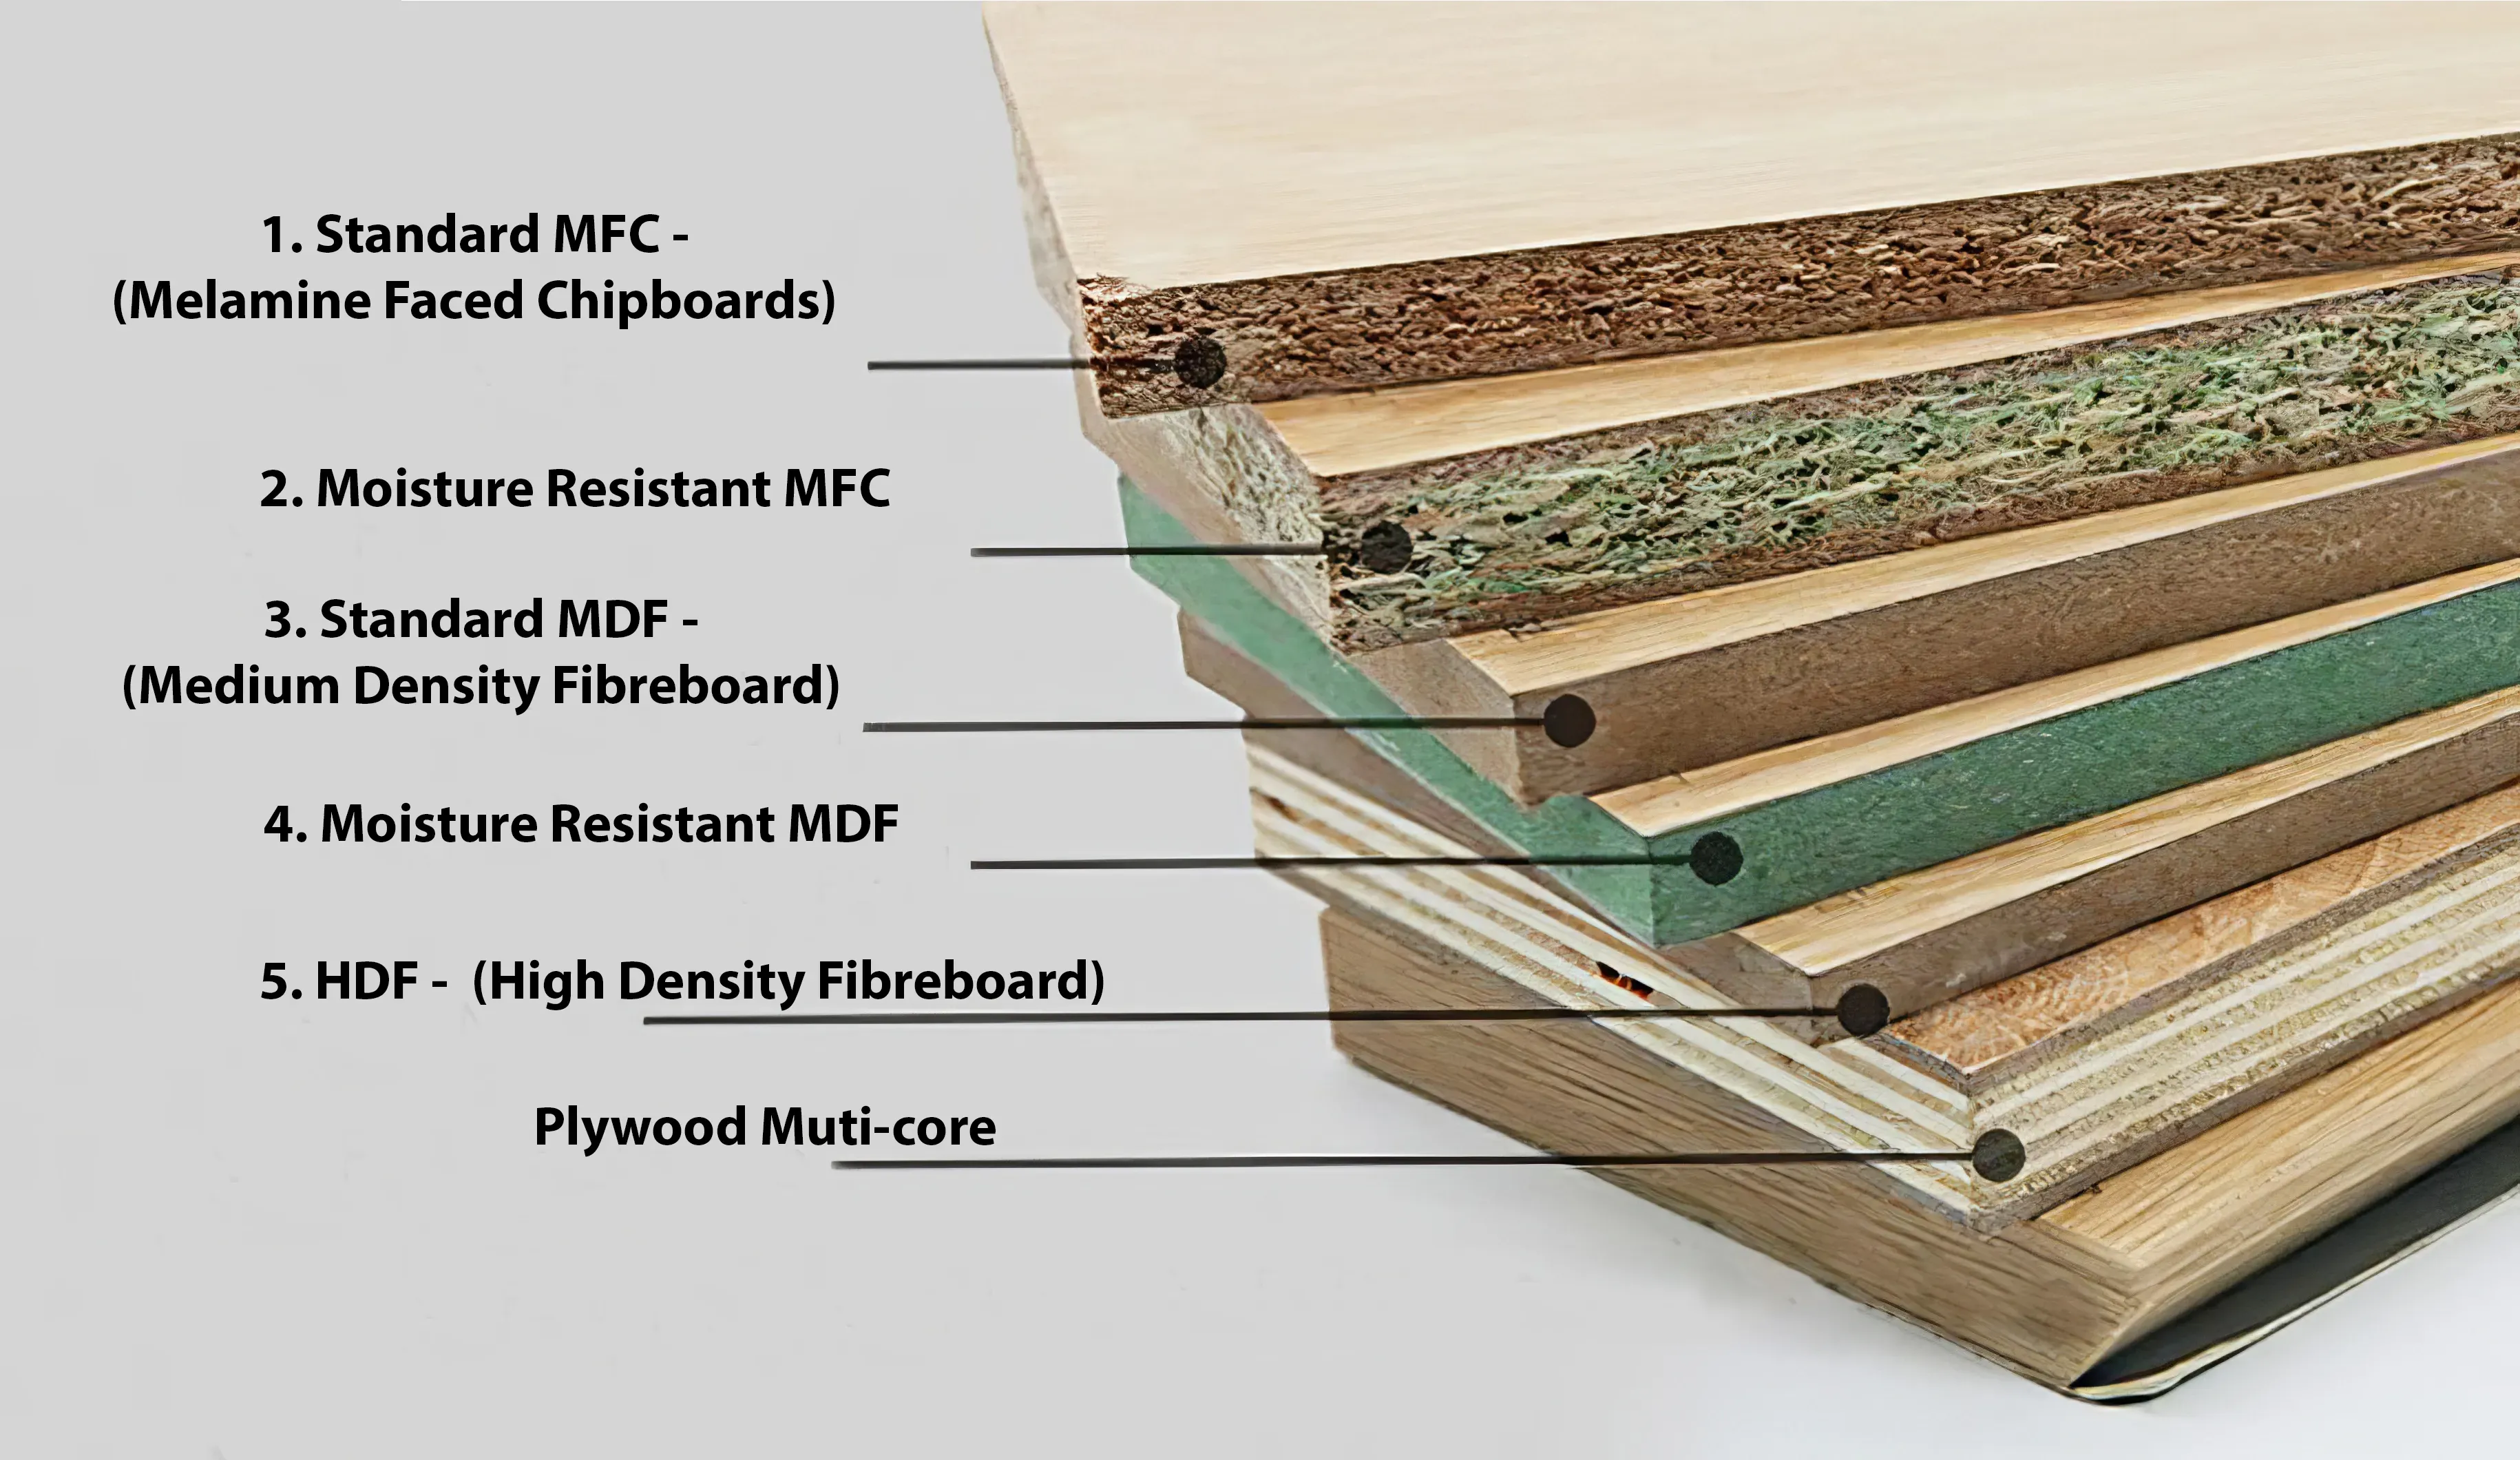
1. Main Panel Material: MDF vs HDF
- I use MDF for cost savings. It’s flat, smooth, and takes paint well
- HDF is denser and handles moisture better, but it costs more
- Both work great for painted cabinets
- Pick 1/2 inch thickness for good strength
2. Center Panel Choice
- 5mm (3/16 inch) plywood works best
- It stays flat and fits Dados perfectly
- Light enough to prevent stress on joints
- Skip hardwood panels – they’re costly and can swell
3. Glue Selection
- Standard wood glue is perfect
- Get a good quality brand
- One bottle covers about 15-20 doors
- Must be moisture-resistant
4. Paint Picks
- Use cabinet-grade paint
- Pick paint made for kitchen use
- Get enough for 2-3 coats
- Sample the color first
5. Hardware Tips
- Soft-close hinges last longer
- Get quality screws – cheap ones strip easily
- Pick pulls that match your home style
- Buy extra hardware – you might need spares
How to DIY Shaker Cabinet Doors
Tools & Materials Required
| Tools Required | Materials Required |
|---|---|
| Table saw | MDF (Medium Density Fiberboard) sheets – 1/2 inch thickness |
| Miter saw or miter gauge | 5mm (3/16 inch) plywood for center panels |
| Power drill | Wood glue |
| Impact driver | Soft-close hinges |
| Stop block | Cabinet door pulls or knobs |
| Measuring tape | Screws |
| Sanding block and sandpaper | Painters tape |
| Clamps | Rubber bumpers |
| Drill bits (including Forstner bit for hinges) | Paint and primer |
| Roller support for sheet goods | Caulk |
| Cabinet hardware installation jig (optional) | |
| Drawer face clamps | |
| Level |
Step-by-Step Process
1. Measure & Plan
- Cut rails and styles to 2.25 inches width
- Take measurements for cabinet openings
- Plan panel sizes
2. Cut Components
- Cut rails and styles to length
- Make extra pieces as backup
- Cut center panels slightly smaller (1/8 inch less)
3. Create Dados
- Set the table saw for 3/8 inch deep dados
- Test cuts on a scrap piece
- Cut dados in all rails and styles
4. Make Joints
- Cut tenons on rail ends
- Test fit joints
- Sand if needed for a perfect fit
5. Panel Preparation
- Cut panels to size
- Bevel panel edges slightly
- Test fit in dados
6. Assembly
- Apply glue in dados
- Insert panels
- Clamp frame together
- Let dry completely
7. Surface Prep
- Sand all surfaces
- Wipe with a damp cloth
- Apply caulk at joints
- Let dry
8. Hardware Installation
- Mark and drill hinge spots
- Install hinges
- Add door pulls
- Place rubber bumpers
9. Door Mounting
- Use spacer blocks for alignment
- Mount doors to cabinets
- Adjust hinges as needed
Approximate Budget Analysis While Creating
| Item | Quantity/Unit | Estimated Cost Range |
|---|---|---|
| Core Materials | ||
| MDF sheets (4×8 ft) | Per sheet | $35 – $45 |
| 5mm plywood for panels | Per sheet | $25 – $30 |
| Wood glue | Per bottle | $5 – $8 |
| Hardware | ||
| Soft-close hinges | Per pair | $3 – $5 |
| Door pulls/knobs | Each | $2 – $8 |
| Screws and mounting hardware | Total | $10 – $15 |
| Rubber bumpers | Per pack | $5 |
| Finishing Materials | ||
| Primer | Per gallon | $20 – $25 |
| Paint | Per gallon | $25 – $35 |
| Caulk | Per tube | $4 – $6 |
| Sandpaper | Mixed grits | $10 – $15 |
| Total Cost by Kitchen Size | ||
| Small Kitchen (10-15 doors) | $200 – $300 | |
| Medium Kitchen (15-25 doors) | $300 – $400 | |
| Large Kitchen (25+ doors) | $400 – $500 |
Money-Saving Tips
- Buy hardware in bulk
- Use leftover paint from other projects
- Get MDF sheets cut at the store to save waste
- Share supplies with other DIY friends
How to Install Your New Shaker Doors
Before You Start
- Clear your workspace
- Keep doors organized by size
- Have all tools within reach
- Label each door’s location
Step 1: Prepare the Cabinet Frame
- Clean old screw holes
- Sand rough spots
- Check that the cabinet frame is level
- Mark hinge locations
Step 2: Install Hinges
- Put hinges on doors first
- Set depth with 3mm spacing
- Use a template for consistency
- Test-fit before final install
Step 3: Door Mounting
- Start with upper cabinets
- Use a helper if possible
- Place spacer blocks under doors
- Check gaps are even all around
Step 4: Making Adjustments
- Check door alignment
- Fix any gaps
- Test door swing
- Look for binding spots
Step 5: Final Touches
- Put on rubber bumpers
- Add door pulls or knobs
- Test soft-close function
- Clean fingerprints
Pro Tips
- Make a guide stick for spacing
- Go slow – rushing causes mistakes
- Adjust one hinge at a time
- Double-check all screws are tight
Some Common Issues and Solutions to Look After
| Issue | Problem | Fix |
|---|---|---|
| Doors Not Closing Right | Gaps aren’t even | Check hinge screws, use hinge adjusters, add/remove spacers, and level the cabinet frame. |
| The door hits the frame. | ||
| Won’t close fully | ||
| Paint Problems | Brush marks show | Sand between coats, use proper primer, apply thin layers, and let each coat dry fully. |
| Paint peels | ||
| Uneven finish | ||
| Joint Issues | Gaps in corners | Check dado depth, use more glue, clamp properly, fill gaps with caulk |
| Loose joints | ||
| Panel rattles | ||
| Panel Fitting | Too tight in the frame | Cut the panel 1/8 inch smaller, sand edges lightly, check for square cuts, and use proper thickness. |
| Panel warps | ||
| Makes squeaking sounds |
Tips for Success
- Make test pieces first
- Check fits before gluing
- Keep the work area clean
- Take breaks to avoid mistakes
Conclusion
Making shaker cabinet doors isn’t as hard as I first thought. After helping friends with their kitchen upgrades, I’ve seen how these simple doors can change a room’s look.
Remember: take your time with measurements and cuts. Each step builds on the last one. If you hit a snag, the abovementioned solutions should help you.
Ready to start your project? Prepare your materials list and grab a friend to help. The money you’ll save is worth the effort, but the pride of saying, “I made these,” feels even better.
Got questions about your cabinet project? Leave a comment below.
I’d love to hear how your shaker doors turn out!
Frequently Asked Question
What is the Difference Between a Panel Door and a Shaker Door?
A panel door features a central panel framed by rails and stiles; a shaker door has a flat center and simple, clean lines.
Are Shaker Cabinet Doors Suitable for All Kitchen Styles?
Shaker cabinet doors are versatile and complement many kitchen styles, from traditional to modern. Their simple design fits most decors but may not suit highly ornate styles.
Can You Make Shaker Doors out Of Plywood?
Yes, shaker doors can be made from plywood. The center panel can be made from plywood, and the frame can be made from solid wood or plywood strips, making it cost-effective for DIY projects.
Why are Shaker Doors so Expensive?
Shaker doors can be pricey due to quality materials, precise craftsmanship, and solid wood construction. Their simple design demands accuracy, increasing labor costs, especially for custom or high-end options.
How Do You Make Shaker Cabinet Doors without a Router?
To make shaker doors without a router, attach frame pieces to a central panel using butt joints, pocket screws, or glue and nails. This simplifies construction for DIY projects.

