How to Create a DIY Dog Bed in Simple Steps
Want to give your furry friend a cozy spot to rest?
I know how tough it can be to find the right dog bed. Store-bought ones are often expensive and don’t quite fit your home’s style. As a dog owner, I faced this same problem last year.
But here’s the good news – you can make a perfect bed for your pup right at home! I’ve tested several methods and found a simple way to create a comfortable dog bed that your pet will love.
In this guide, I’ll show you the steps to build a custom dog bed using basic materials. You’ll learn how to make one that matches your home decor and keeps your dog happy, all while saving money.
The Basics of Commonly Used Materials
- Cotton Fabric: I recommend picking soft cotton fabric for the outer layer. Your dog will spend lots of time on this bed, so comfort matters. Cotton is perfect because it’s easy to wash and stays fresh.
- Inner Filling: I use a mix of memory foam and polyester fiberfill. The foam gives support for your dog’s joints. The fiberfill adds extra softness that your pup will sink into.
- Thread and Needles: A strong thread is key here. I picked up the heavy-duty thread that won’t break with daily use. You’ll need bigger needles, too – they work better with thick fabrics.
- Measuring Tape: A basic measuring tape helps you size the bed correctly. I measure my dog when he’s sleeping to get the perfect size. This way, the bed fits him just right.
- Scissors: Sharp fabric scissors make clean cuts. I keep one pair just for fabric. This keeps the edges neat and stops fraying later.
How to Create a DIY Dog Bed Project
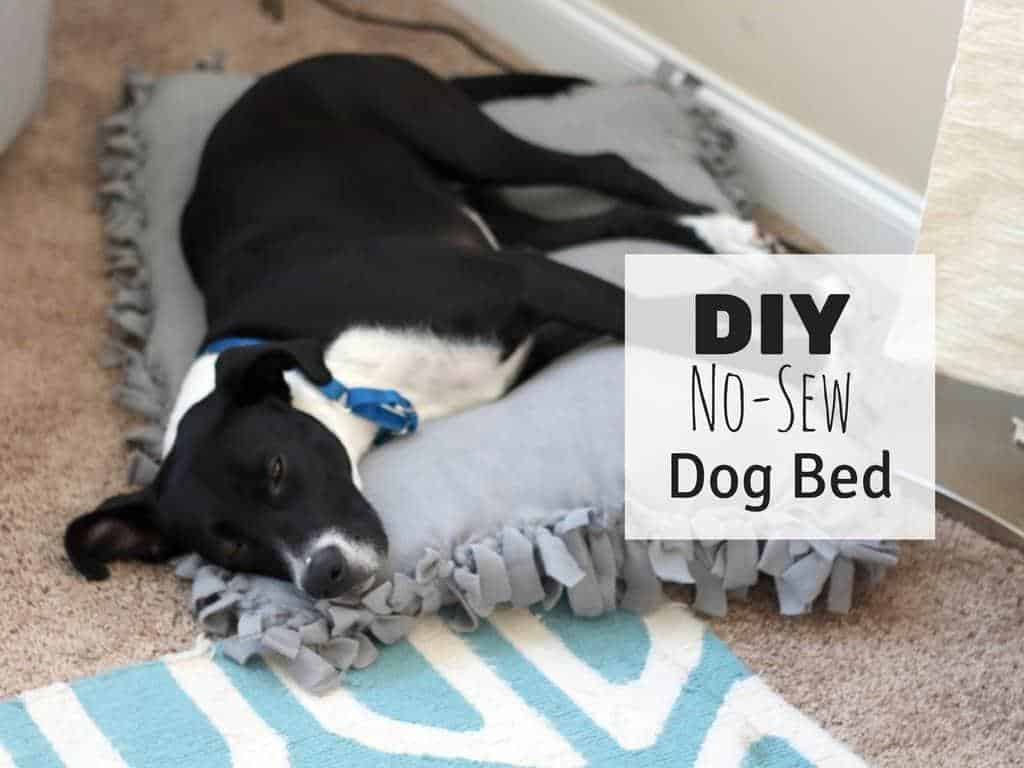
1. No-Sew Dog Bed (Approximate Cost Range – $33-44)
Tools & Materials Required
- 2 yards of soft fleece fabric
- 1 bag polyester filling
- Fabric scissors
- Measuring tape
- Ruler
- Fabric marker
- Safety pins
Step-by-Step Process
- Measure Your Space: I start by laying out my fleece fabric. For a medium dog, I use two pieces of 30×40 inches each.
- Cut Your Fabric: I cut two equal squares or rectangles. Make sure both pieces match perfectly when laid on top of each other.
- Create Fringe: I cut 4-inch strips along all four sides, keeping them about 1 inch apart. This creates the fringe for tying.
- Tie Three Sides: I tie the matching fringe pieces together on three sides. Double knot each pair to make them secure.
- Add Filling: I stuff the polyester fill through the open side. I make sure it’s even throughout the bed.
- Close Final Side: I finish by tying the last side’s fringe pieces together.
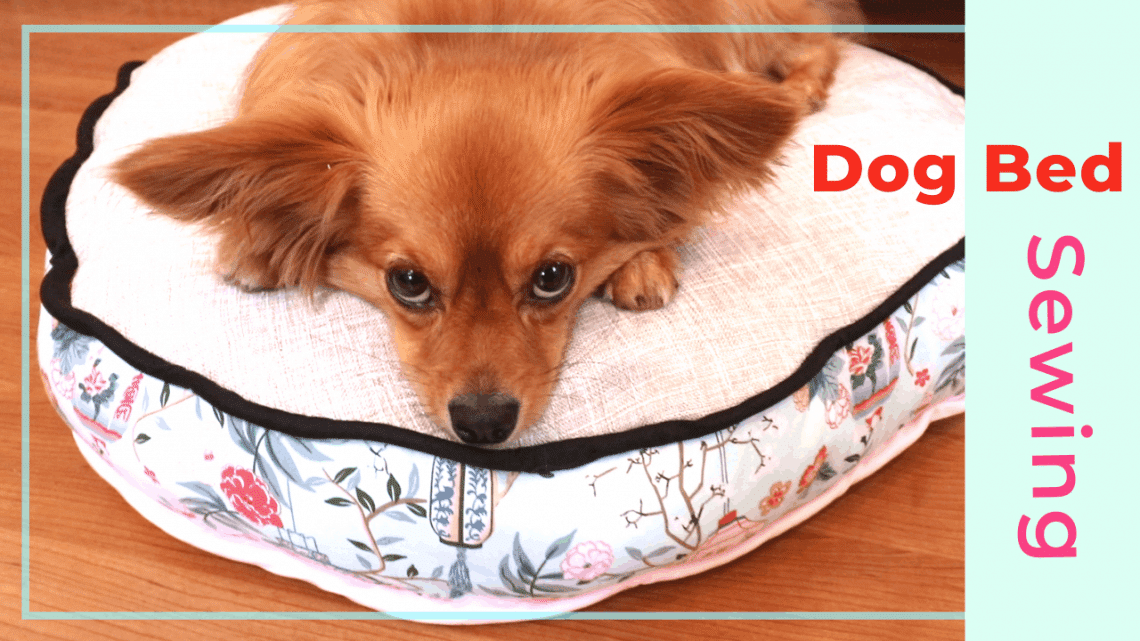
2. Sewn Dog Bed with Sides (Approximate Cost Range – $56-73)
Tools & Materials Required
- 3 yards of cotton fabric
- 2 pieces foam padding (1 for base, 2 for sides)
- Sewing machine
- Thread
- Scissors
- Measuring tape
- Pins
- Pencil
- Iron for creases
Step-by-Step Process
- Cut Base Pieces: I cut two pieces for the bottom, matching my foam size, plus 1 inch for seams.
- Make Side Panels: I measure and cut four strips for walls. Each needs extra length for corners.
- Sew Side Panels: I join the side panels first. Then, I pin them to the base piece.
- Add Padding: I insert foam into the walls and base before closing.
- Finish Top Edge: I fold and sew the top edges for a clean finish.
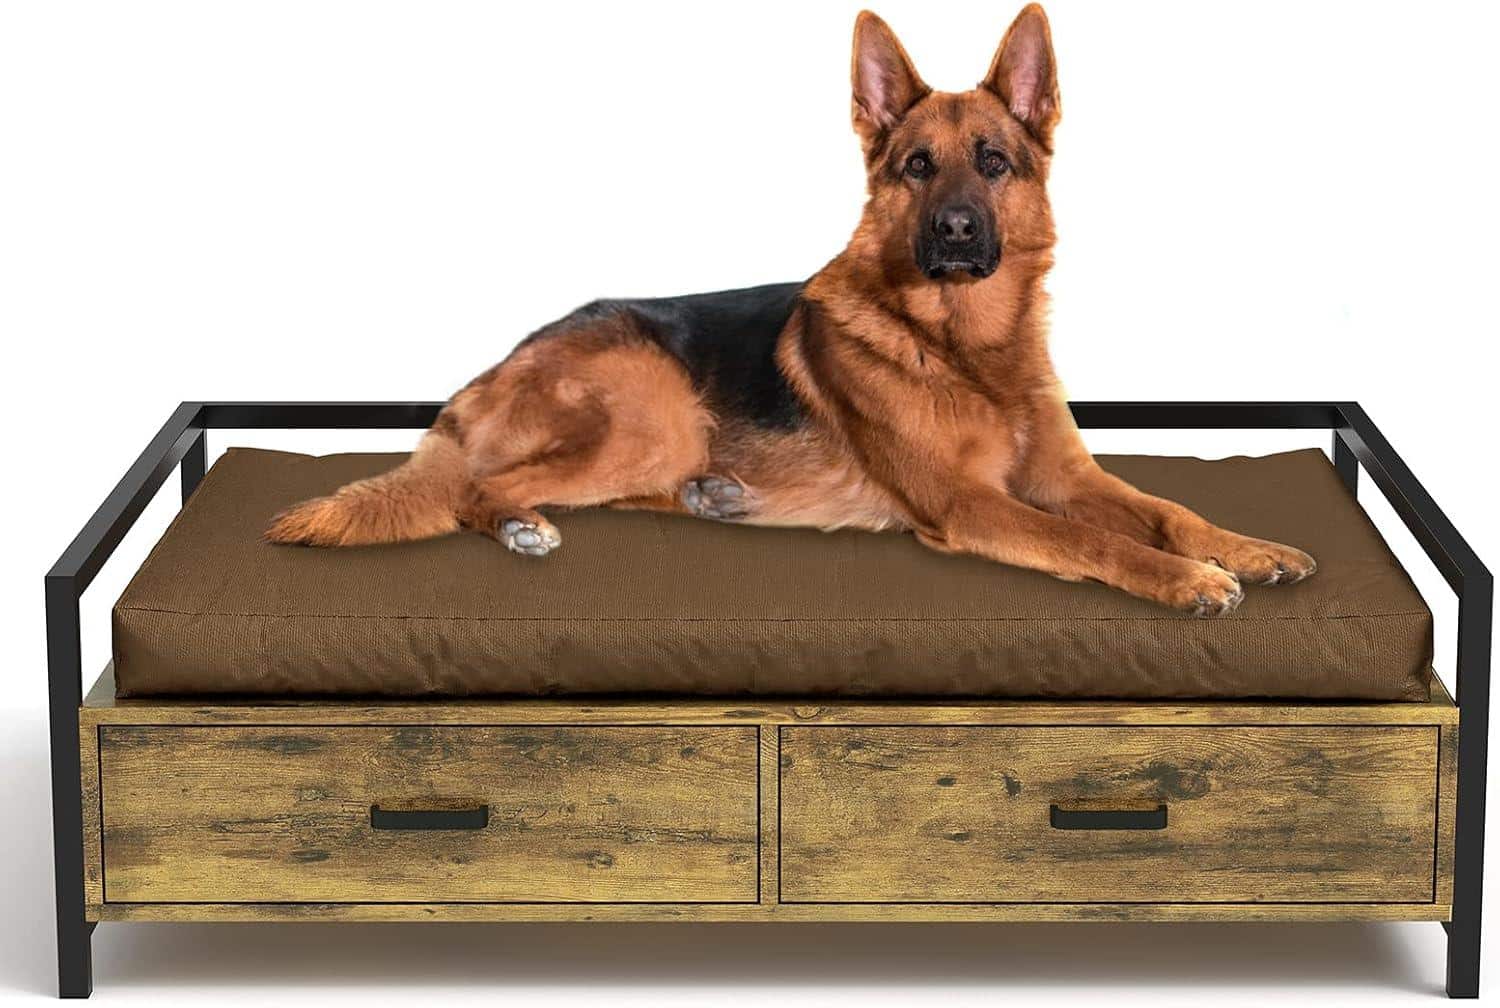
3. Wooden Frame Dog Bed (Approximate Cost Range – $93-120)
Tools & Materials Required
- 4 wooden boards
- Wood screws
- Power drill
- Sandpaper
- Wood stain
- Cushion material
- Cotton fabric
- Measuring tape
- Pencil
- Safety goggles
Step-by-Step Process
- Cut Wood: I measure and cut boards to make a rectangle frame.
- Sand Edges: I smooth all edges to prevent splinters.
- Join Corners: I drill pilot holes and connect boards with screws.
- Add Support: I place support slats across the frame.
- Make Cushion: I create a fitted cushion using fabric and filling.
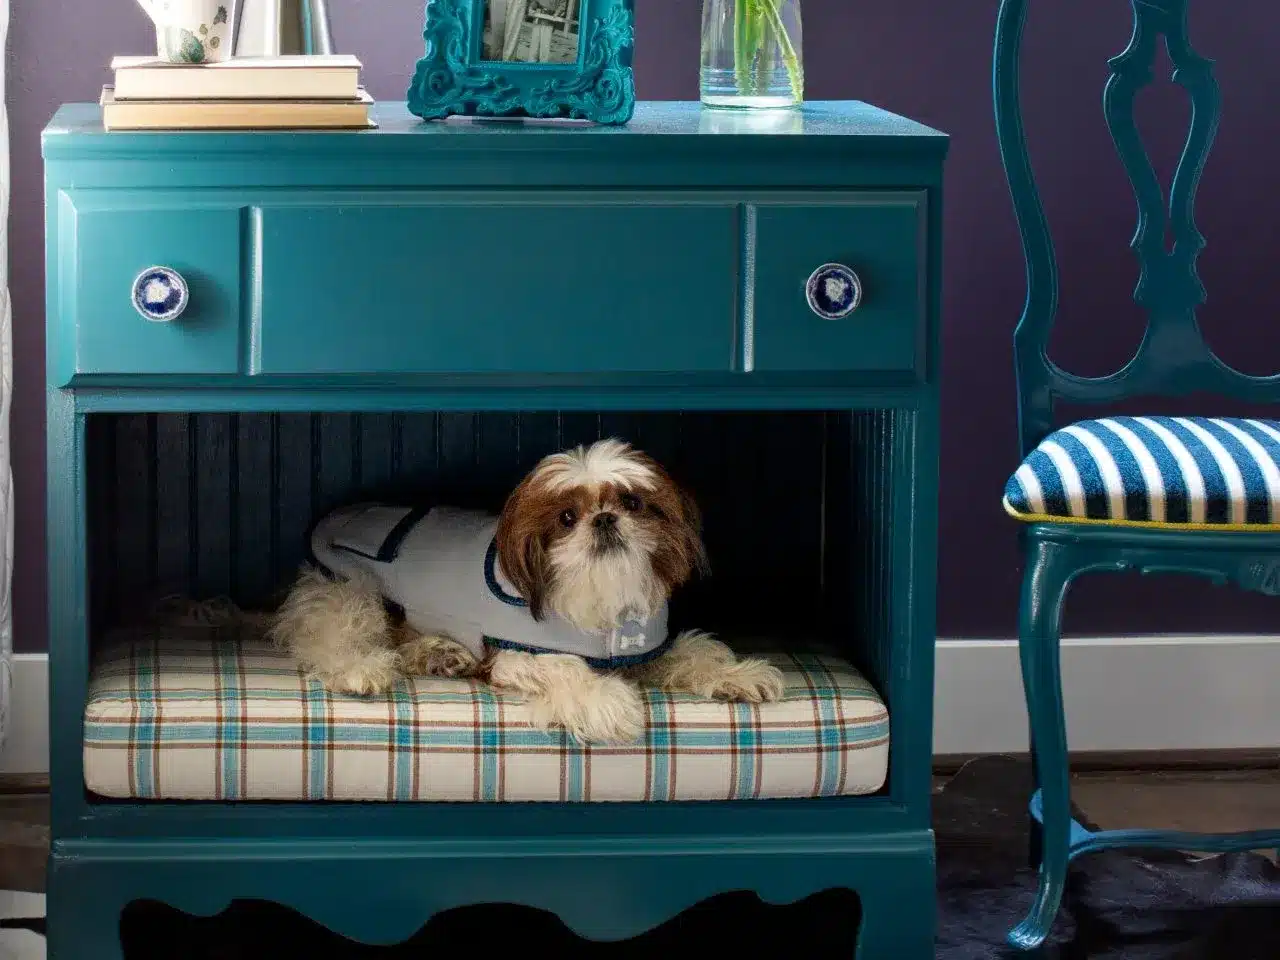
4. Upcycled Furniture Dog Bed (Approximate Cost Range – $45-80)
Tools & Materials Required
- Old drawer or crate
- Sandpaper
- Paint or stain
- Cushion filling
- Fabric cover
- Cleaning supplies
- Paintbrush
- Staple gun
Step-by-Step Process
- Clean Base: I thoroughly clean the old furniture piece.
- Sand Surface: I smooth rough spots and edges.
- Paint/Stain: I apply paint or stain to match my home decor.
- Add Feet: I attach small legs or feet for airflow.
- Make Bedding: I create a custom cushion to fit inside.
Approximate Cost Required for Building a Basic One
| Item | Quantity | Cost per Unit | Total Cost | Tips |
|---|---|---|---|---|
| Fleece Fabric | 2 yards | $8-10 | $16-20 | Look for fabric store sales to cut costs. |
| Polyester Filling | 1 large bag | $8-12 | $8-12 | Deals often available at craft stores. |
| Fabric Scissors | 1 | $5-7 | $5-7 | – |
| Measuring Tape | 1 | $2-3 | $2-3 | – |
| Fabric Marker | 1 | $2 | $2 | – |
| Total Cost Range | $33-44 |
Money-Saving Tips
- I watch for fabric store coupons
- Buy materials during seasonal sales
- Use old blankets for filling
- Check discount craft stores
- Split bulk materials with friends
This price makes a medium-sized bed. Smaller beds need less material and cost less.
Major Safety & Durability Tips
1. Safety First
- Check for loose threads daily
- Remove any small parts that could be swallowed
- Avoid beads or buttons in the design
- Keep zippers fully closed
- Pick non-toxic fabric and paint
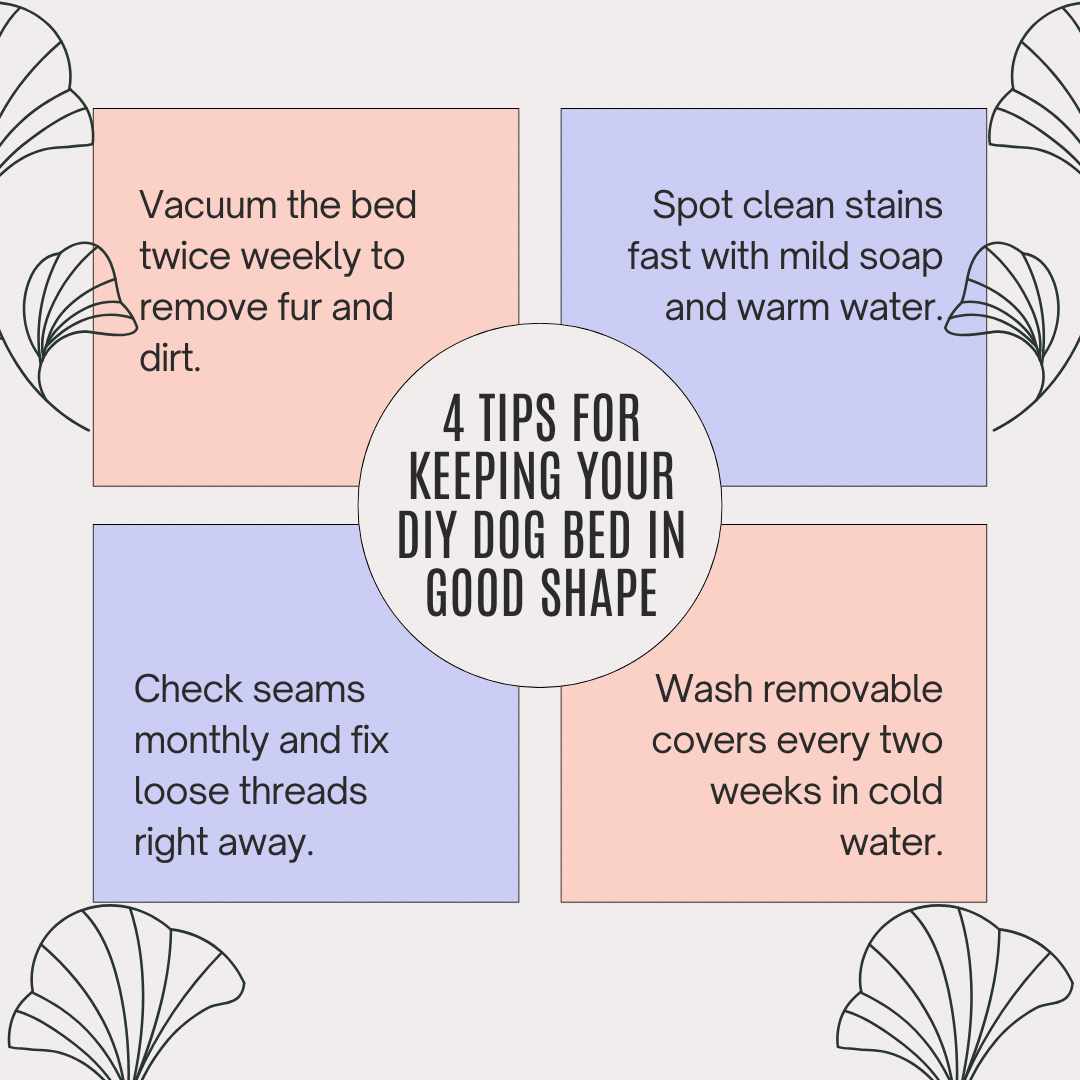
2. Cleaning Tips
- Make removable covers for washing
- Use water-proof liners for accidents
- Wash bedding weekly
- Sun-dry to kill germs
- Spot clean stains right away
3. Material Care
- Pick a sturdy fabric that resists tears
- Double-stitch all seams
- Use a strong thread that won’t break
- Add extra stitching at stress points
- Make sure the foam stays firm
4. Location Tips
- Place bed away from heat sources
- Keep it off damp floors
- Put it where your dog likes to rest
- Add grip dots on the bottom to stop sliding
- Check the bed base stays level
How to Customize & Personalize These Beds
| Feature Category | Customization Options |
|---|---|
| Color Choices | • Match fabrics with room colors • Use two matching patterns • Mix solid colors with prints • Try stripes or polka dots • Select washable patterns |
| Size Changes | • Adjust to fit your dog’s sleeping style • Add extra width for stretching • Build higher sides for snugglers • Make the base thicker for bigger dogs • Create mini sizes for puppies |
| Personal Touches | • Sew on your dog’s name • Add paw print designs • Make seasonal covers • Include hidden treat pockets • Create built-in toy storage |
| Extra Features | • Put in a washable liner • Make the bottom non-slip • Add handles for moving • Include a blanket holder • Create a storage pocket |
| Shape Options | • Round for curling up • Rectangle for stretching • Square for saving space • Oval for corner spots • Heart-shaped for fun |
| Comfort Add-ons | • Extra padding in favorite spots • Cooling mat pocket for summer • Warm fleece for winter • Memory foam insert option • Removable pillow top |
How to Choose the Right Designs
1. Understand Your Dog’s Sleep Style
- See if your dog likes to stretch out flat
- Watch if they curl up in a ball
- Notice if they prefer raised edges
- Check if they rest their head on the sides
- Look at how much they move in sleep
2. Match Your Dog’s Size
- Small dogs (under 25 pounds) need 24×18 inches
- Medium dogs (25-50 pounds) need 36×28 inches
- Large dogs (50-75 pounds) need 44×34 inches
- Extra large dogs (over 75 pounds) need 50×40 inches
- Add 8 inches to the length if your dog stretches out
3. Consider Age and Health
- Older dogs need thicker padding
- Young puppies need waterproof bases
- Dogs with joint pain need firm support
- Hot dogs need breathable materials
- Cold dogs need deeper sides
4. Think About Location
- Corner spaces work with triangular designs
- Open areas suit round or oval shapes
- Under windows need low profiles
- Near doors need sturdy bases
- Small rooms need space-saving shapes
5. Factor in Your Home Style
- Modern homes suit clean lines
- Cozy homes match softer edges
- Small spaces need built-in storage
- Open plans need defined boundaries
- Multi-pet homes need durable designs
Conclusion
I started this guide because I know how much our dogs mean to us. Making a DIY dog bed isn’t just about saving money – it’s about creating a special spot for your pet.
After trying these projects myself, I can tell you that even beginners can make a cozy bed their pup will love. The no-sew option takes just an hour, while other designs might need a weekend of work. But seeing your dog curl up in their new bed makes it all worth it.
Ready to start your project? Pick the design that fits your skill level and your dog’s needs. Remember to check the bed regularly and keep it clean. Your dog will thank you with lots of happy naps!
Have you made a DIY dog bed before? Share your experience in the comments below!
Frequently Asked Questions
What is the Easiest DIY Dog Bed to Make?
The no-sew fleece bed is the simplest. Just cut two pieces of fleece, make fringe around the edges, tie knots to connect them, and fill them with padding.
How Do I Make a Chew-Proof Dog Bed?
Use tough canvas or denim fabric, double-stitch all seams, avoid exposed edges, and add bitter apple spray. Consider a wooden base with metal brackets.
Are There Eco-Friendly Materials for Dog Beds?
Use organic cotton, natural latex foam, recycled polyester filling, bamboo fabric, or old clothes. Look for earth-friendly dyes and washable materials for longer life.

