How to Build Your Own DIY Banquette Seating
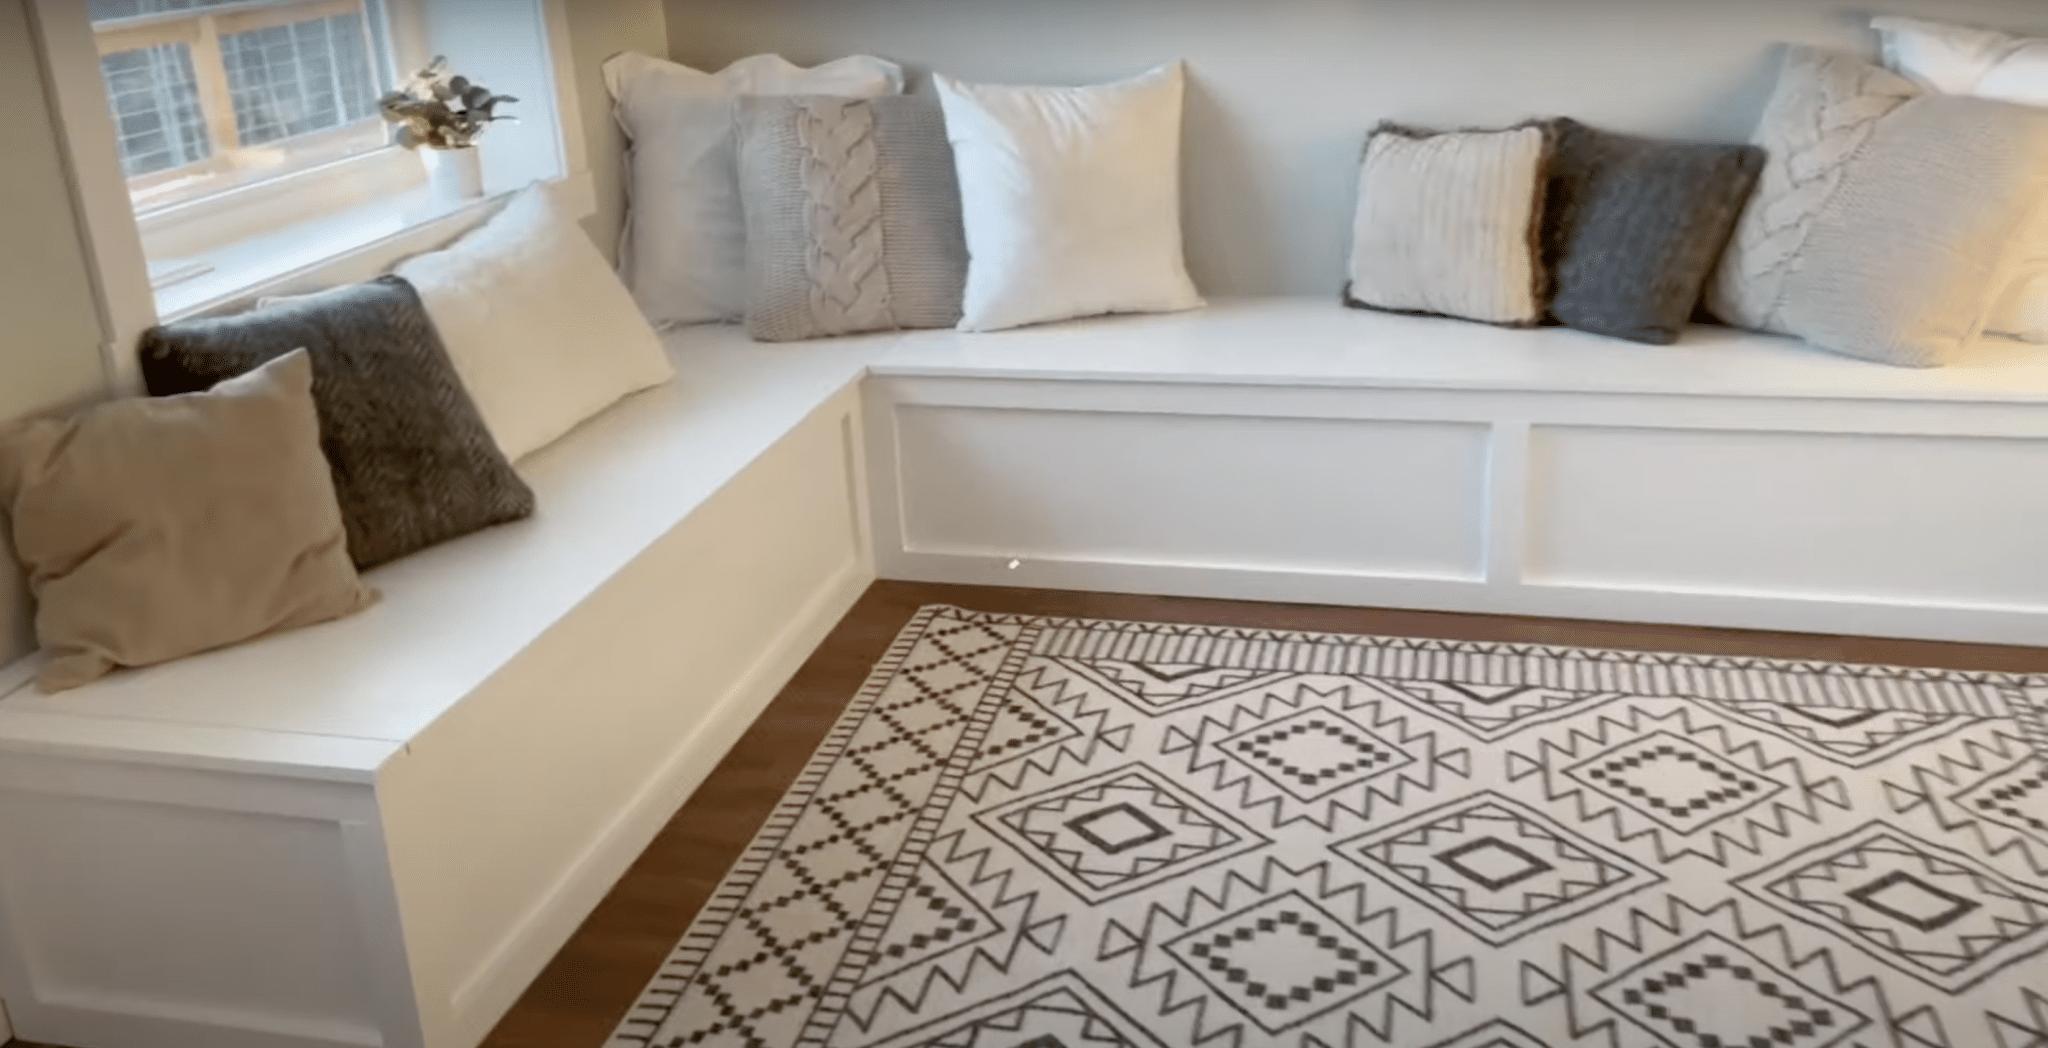
Want to add extra seating in your dining area but can’t find the right fit? I faced the same problem in my small kitchen last year. Building a custom banquette turned out to be the perfect solution.
I’m here to show you that making your own banquette seating isn’t as hard as it seems. With basic tools and materials, you can create a beautiful, custom-made seating area that fits your space perfectly.
In this guide, I’ll walk you through each step of building a DIY banquette. You’ll learn about planning your layout, picking materials, building the base frame, adding cushions, and putting on the final touches.
Let’s start making your dream dining space!
How to Plan Your Banquette Seating Project
Planning a banquette project starts with good measurements. I learned this when I built mine – getting the numbers right makes everything easier later.
- First, grab your measuring tape and note down the length of your wall where the banquette will go. You’ll want to measure the height, too – I suggest 18 inches for the seat height for most people to sit comfortably.
- Next, think about the depth of your seating. I found that 20 inches work well for the seat depth. This gives enough room to sit comfortably without taking up too much floor space.
- Don’t forget about the table placement! Leave about 12 inches between the edge of your table and the banquette seat. This makes it easy to slide in and out.
- Last tip: draw a simple sketch of your space with all these measurements. I keep this handy while buying materials and during the build process. It helps avoid costly mistakes!
How to Build Your DIY Banquette Seating
Tools & Materials Required
| Tools Required | Materials Required |
|---|---|
| Circular saw or table saw | 2×4 lumber for frames |
| Brad nailer | 1/4 inch plywood for outer sheathing |
| Self-tapping screws | 1×3 boards for trim |
| Measuring tape | 3/4 inch plywood for top |
| Sander | Edge banding |
| Paintbrush and roller | Wood filler |
| Hinges | White semi-gloss paint and primer combo |
| Sandpaper (120 grit, 220 grit) |
Step-by-Step Process to Build
1. Frame Building
- Cut 2×4 boards to size using a circular saw
- Build two frames in your desired bench size
- Attach legs to the frames using self-tapping screws
2. Outer Coverage
- Cut 1/4 inch plywood to size
- Attach plywood to frame using brad nails
- Don’t worry about perfect edges – trim will cover them
3. Trim Work
- Measure and cut 1×3 boards for trim
- Work around baseboards – no need to remove them
- Add trim to inside and outside corners
- Add trim to hide plywood edges on ends and back
4. Top Assembly
- Cut 3/4 inch plywood for bench top
- Add edge banding to the front edge
- Fit pieces on top frame
5. Finishing
- Fill nail holes with wood filler
- Sand everything with 120-grit sandpaper
- Apply 3 coats of paint, sanding with 220 grit between coats
- Let dry completely
- Attach tops with hinges
Approximate Cost While Building DIY Banquette Seating
| Item Category | Item | Cost Range ($) |
|---|---|---|
| Basic Materials | 2×4 lumber for framing | $30-40 |
| 1/4″ plywood for sides | $25-35 | |
| 3/4″ plywood for top | $45-55 | |
| 1×3 trim boards | $20-30 | |
| Wood screws and nails | $15-20 | |
| Hardware | Hinges (4-6 pieces) | $20-25 |
| Brad nails | $5-10 | |
| Self-tapping screws | $8-12 | |
| Finishing Items | Paint and primer | $35-45 |
| Wood filler | $8-10 | |
| Sandpaper | $10-15 | |
| Edge banding | $10-15 | |
| Comfort Items | Foam padding | $40-60 |
| Fabric | $30-50 | |
| Batting | $15-20 | |
| Total Cost Range | $300-400 |
Money-Saving Tips
- Check local hardware stores for lumber sales
- Buy materials in bulk if making multiple units
- Look for remnant fabric pieces
- Use paint from other home projects
Remember: Prices may vary based on your location and material choices. I suggest buying a bit extra of each material – it helps avoid extra store trips!

Remember: Taking a few extra minutes for safety can save hours of trouble later.
Best Customization & Enhancement Ideas
Want to make your banquette extra special? Here are some ideas I’ve tested and loved:
Storage Solutions
- Add lift-up seat tops with hydraulic hinges
- Include pull-out drawers in the base
- Put dividers inside for organized storage
Comfort Upgrades
- Layer different foam densities for better seating
- Add a slight back tilt (5 degrees) for relaxed sitting
- Make the backrest slightly curved for better support
Style Add-ons
- Install under-seat lighting
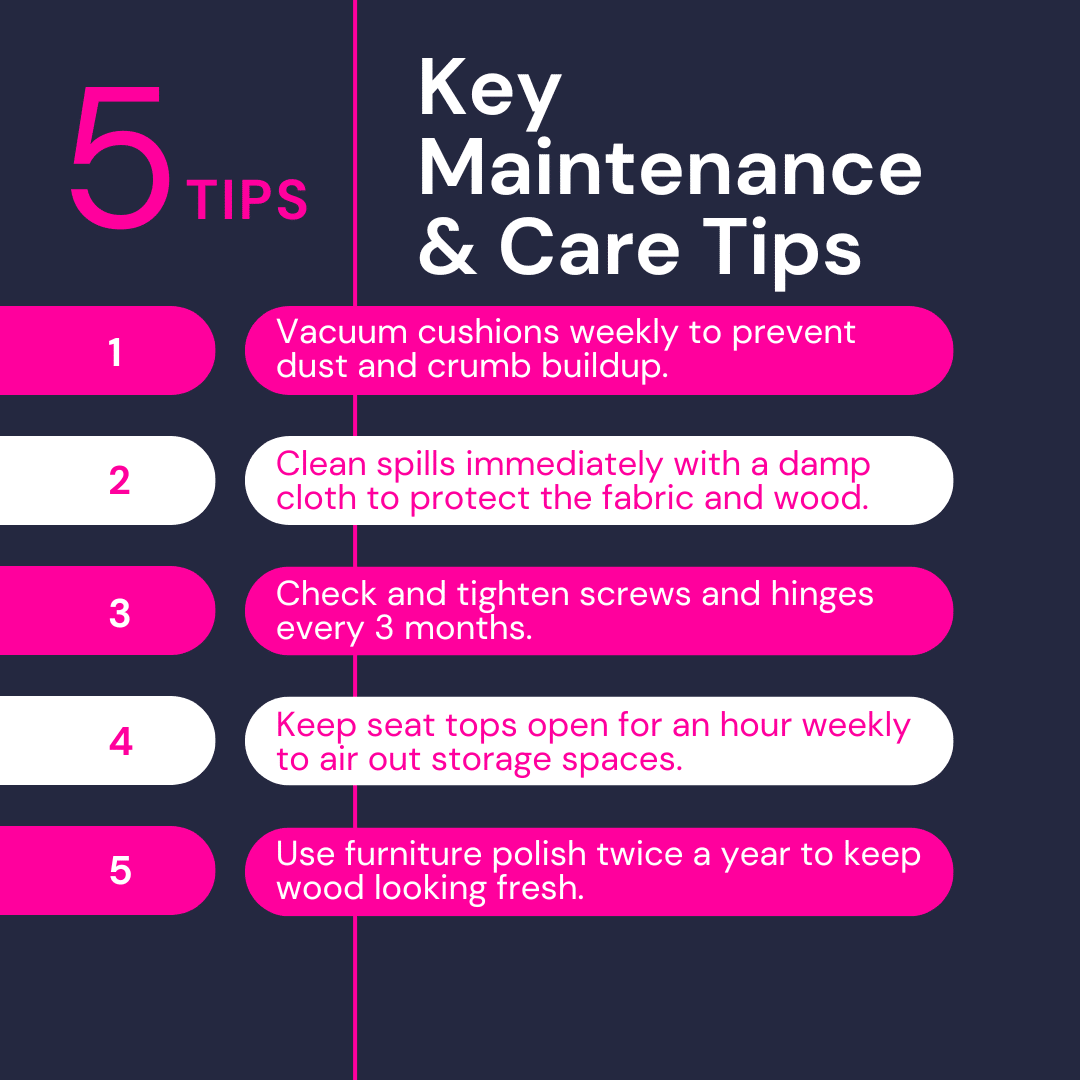
- Use washable slipcovers for easy cleaning
- Add trim molding for a built-in look
- Paint two-tone to match your room’s style
Smart Features
- Include hidden charging ports
- Make fold-down armrests
- Build in pet feeding station at one end
Material Options
- Try water-resistant fabric for family-friendly use
- Use outdoor foam if near windows
- Pick stain-resistant materials for high-use areas
Quick Tip: Test your chosen features on a small scale first. I learned this after making my first banquette – it saves time and materials!
Some Common Challenges & Solutions
Uneven Floors
- Problem: Your bench wobbles on an uneven floor.
- Solution: Use adjustable furniture feet or add shims under the frame. I learned to check floor level before starting – it saves headaches later!
Fitting Around Baseboards
- Problem: Gaps between wall and bench.
- Solution: Either remove baseboards or scribe your bench pieces to fit around them. I prefer scribing – it keeps your original baseboards intact.
Seat Height Issues
- Problem: The bench feels too high or too low.
- Solution: Test your height with a chair first. My rule: make the frame 2 inches shorter than final height to allow for cushioning.
Storage Lid Weight
- Problem: Heavy lids slam down.
- Solution: Install soft-close hinges or lid supports. They cost a bit more but protect fingers and prevent damage.
Corner Alignment
- Problem: Corner joints don’t match up.
- Solution: Cut one piece straight, then match-cut the joining piece. Always measure twice before cutting.
Paint Finish Problems
- Problem: Brush marks show up.
- Solution: Use foam rollers and thin coats. I sand lightly between each coat for a smooth finish.
Conclusion
Building a DIY banquette is a smart way to make the most of your dining space. I’ve shared everything I learned from making mine – from basic planning to final touches.
With about $400 in materials and some basic tools, you can create a custom seating area that’s perfect for your home.
Remember, don’t rush your project. Take time with measurements and planning. Your effort will pay off with a beautiful, functional space that adds value to your home.
Ready to start your banquette project? I’d love to hear how it goes! Share your progress in the comments below, or check out my guide on picking the right cushions for your new seating area.
Your dream dining space is just a weekend project away!
Frequently Asked Questions
What are the Best Materials for Comfortable Banquette Seating?
For comfortable DIY banquette seating, use high-density foam for cushions, durable upholstery fabric, and a sturdy frame made from hardwood or quality plywood.
Is Banquette Seating Suitable for Small Kitchens or Dining Areas?
Yes, banquette seating is ideal for small kitchens or dining areas because it maximizes space by utilizing corners and offers additional storage options beneath the seats.
What is the Ideal Height for Banquette Seating?
The ideal seat height for banquette seating is about 18 inches (46 cm) from the floor to the top of the cushion, matching standard dining chair heights.
How Deep Should a Banquette Seat Be?
A comfortable banquette seat depth ranges from 18 to 21 inches (46 to 53 cm), providing enough space for seating without overwhelming the room.
How Can I Add a Backrest to My Banquette?
Extend the banquette frame upward to add a backrest, attach a plywood back, and then add foam padding and upholstery fabric for comfort and aesthetics.

