How to Build DIY Laundry Room Cabinets with Easy Steps
Do you wish your laundry room had more storage space? I felt the same way until I built my own cabinets. After years of dealing with cluttered counters and messy shelves, I found a simple fix that worked wonders – custom DIY cabinets.
I’ve put together this guide based on my hands-on work in creating laundry room storage. You’ll learn how to build sturdy cabinets that look good and work well, even if you’re new to woodworking.
In this post, I’ll walk you through the steps I used to make my laundry room cabinets, including the materials needed and helpful tips I picked up along the way.
How to Plan Your DIY Laundry Rooms Cabinets
I know planning might seem boring, but trust me – it’s the key to getting your cabinet project right.
Let me share what I learned from my own cabinet-building experience.
- First, take a good look at your laundry room space. I suggest getting a measuring tape and writing down the width, height, and depth of your walls.
- Make sure to note where your washer and dryer sit. Look for any pipes, outlets, or vents that might get in the way of your cabinets.
- Think about what you need to store. I made a list of all my laundry supplies – detergents, fabric softeners, dryer sheets, and cleaning tools. This helped me figure out how big my cabinets should be.
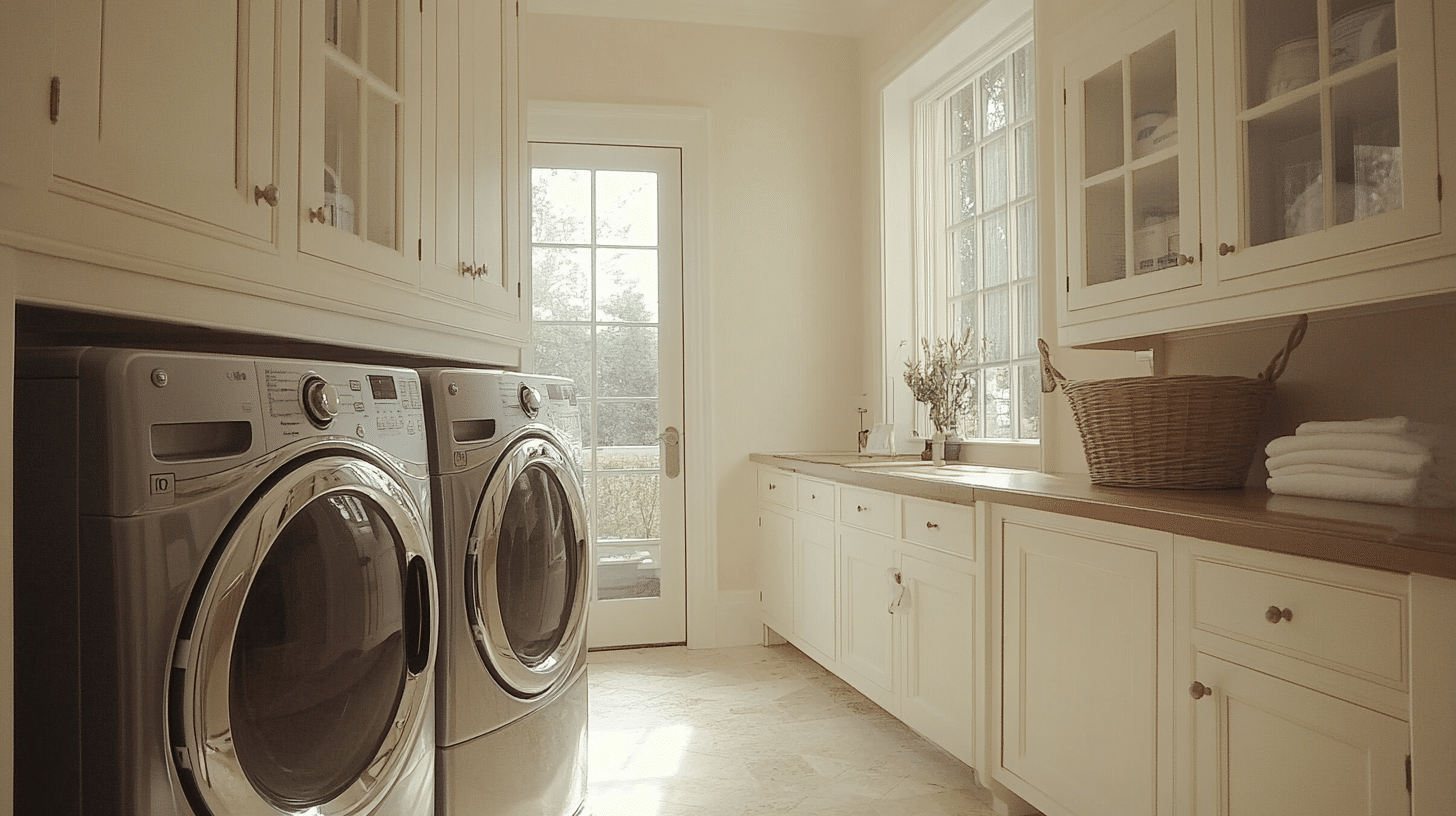
- Next, draw a simple sketch of your room. Mark where you want your cabinets to go. I found that upper cabinets work best at least 15 inches above my washer and dryer.
- For lower cabinets, I left enough room to open the washer lid easily.
Consider your budget, too. I wrote down all the materials I would need:
- Wood for the cabinet boxes
- Plywood for the doors
- Hinges and handles
- Screws and nails
- Paint or stain
- Basic tools you might need to buy
Here’s a tip from my experience: add about 20% to your budget for extra materials. Things come up, and it’s better to have more than not enough.
Step-by-Step Process for Building DIY Laundry Room Cabinets
Tools & Materials Required
| Tools | Materials |
|---|---|
| Measuring tape | Birch plywood sheets |
| Jigsaw | Wood screws |
| Circular saw | Pocket hole screws |
| Table saw | Wood glue |
| Drill | Door hinges |
| Kreg jig 720 Pro | Spacer boards |
| Sandpaper (220 grit) | Support pieces |
|
L-shaped clamps |
|
| Pencil for marking |
Stepwise Process for Building
1. Preparation
- Sand all plywood pieces with 220-grit sandpaper before cutting
- Pick the best-looking side of wood for visible surfaces
- Apply painter’s tape on cut lines to prevent wood chipping
2. Cutting Process
- Start with a jigsaw for curved cuts
- Use a circular saw with a straight edge for long, straight cuts
- Make sure to measure twice before cutting
- Cut top and bottom pieces to the same size
- Use a table saw for fine adjustments
3. Assembly Steps
- Use Kreg jig to create pocket holes
- Attach top and bottom pieces to side panels
- Make sure the front edges are perfectly flush
- Add support pieces inside the cabinet frame
- Pre-drill holes for screws to prevent splitting
4. Support Structure
- Install back support panels
- Add temporary support pieces for transport
- Build interior supports while considering hinge placement
- Keep support pieces 1.5 inches from the edges for hinges
5. Important Tips
- Double-check all measurements before cuts
- Ensure pieces are level and straight
- Test fit hinges before final assembly
- Add extra support for heavy panels
- Consider door clearance when adding supports
Approximate Budget Required for Building
| Category | Item | Cost Range |
|---|---|---|
| Main Materials | Birch Plywood (2 sheets) | $120 – $150 |
| Cabinet Door Hinges (6-8 pairs) | $30 – $40 | |
| Wood Screws and Pocket Holes | $15 – $20 | |
| Wood Glue | $5 – $8 | |
| Sandpaper (220 grit) | $8 – $10 | |
| Paint or Stain | $25 – $30 | |
| Basic Tools | Measuring Tape | $5 – $8 |
| Circular Saw | $60 – $80 | |
| Jigsaw | $40 – $50 | |
| Power Drill | $50 – $70 | |
| Kreg Jig Set | $100 | |
| L-shaped Clamps (4) | $20 – $25 | |
| Total Budget | Materials Only | $200 – $260 |
| With Basic Tools | $470 – $590 |
Some Cost-Saving Strategies to Look Out
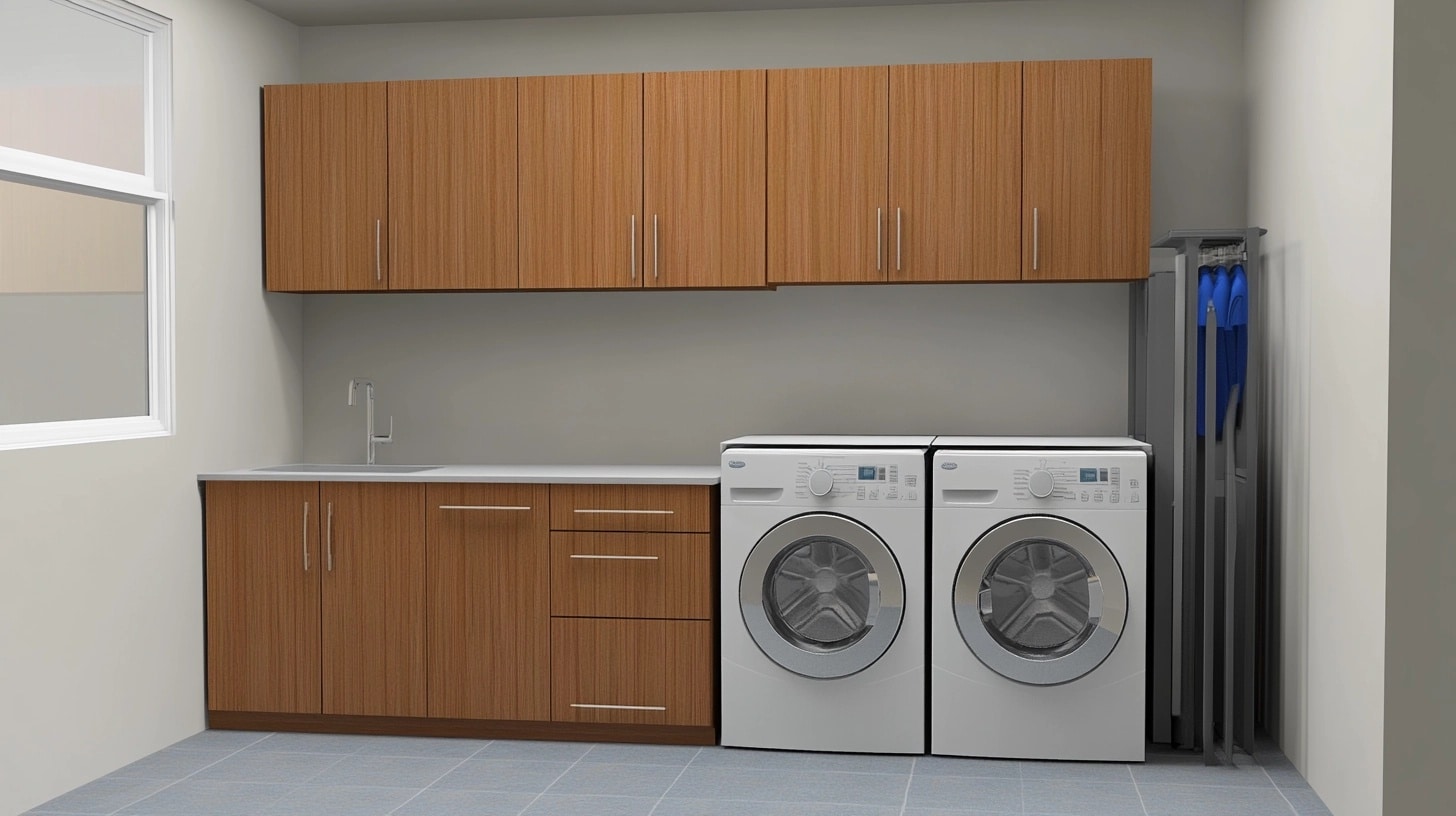
From my own cabinet-building work, here are some tested ways to keep your costs down without losing quality
Pick the Right Time to Buy
- Shop during holiday sales (Labor Day, Memorial Day)
- Look for end-of-month clearance deals
- Check store flyers for weekly wood specials
- Buy in winter months when building supplies often cost less
Smart Material Choices
- Use MDF for hidden cabinet parts
- Pick lower-grade plywood for cabinet backs
- Mix solid wood and plywood where it makes sense
- Get common wood types instead of fancy ones
- Use iron-on edge banding instead of solid wood trim
Save on Tools
- Rent big tools for one-day use
- Share tool costs with a friend doing similar work
- Check local buy/sell groups for used tools
- Start with basic tools, not fancy ones
- Use manual tools where possible
Making the Most of Materials
- The plan cuts to use every bit of wood
- Save larger scraps for smaller cabinet parts
- Use offcuts for support pieces
- Ask stores to cut big sheets – they often do it for free
- Buy slightly more than needed to avoid extra trips
Handle Hardware Smartly
- Choose simple pulls and knobs
- Wait for hardware sales
- Buy in multi-packs
- Look at discount home stores
- Check online marketplaces for deals
Getting Help and Knowledge
- Watch free online building videos
- Join DIY social media groups for tips
- Ask experienced friends for help
- Check if your local store offers free classes
How to Install Your Cabinets Without Any Professional Help
Let me share my step-by-step method for putting up cabinets. I did this alone, and you can too!
Finding Wall Studs
- Use a stud finder to mark all studs
- Draw light pencil lines to show stud centers
- Make marks both above and below cabinet height
- Check stud marks twice before starting
- Put small tape pieces to keep marks visible
Setting Up Your Work Area
- Clear the space around your washer and dryer
- Put all tools within easy reach
- Set up good lighting
- Lay down cardboard to protect your floor
- Keep a step stool or ladder handy
Getting Ready to Hang
- Check walls are level with a long level
- Mark cabinet height on all walls
- Draw a level line where cabinet tops will sit
- Have shims ready for uneven spots
- Pre-drill mounting holes in cabinet backs
Mounting Process
- Start with corner cabinets if you have them
- Put a support board at your marked height
- Rest cabinets on this board while working
- Put one screw in loosely at first
- Check for level before adding more screws
Working Safely Alone
- Use a cabinet jack if working with big pieces
- Clamp cabinets together before joining them
- Work in small steps – don’t rush
- Take breaks when you need them
- Keep your phone nearby for help if needed
Final Steps
- Tighten all screws fully
- Add extra screws where needed
- Check doors open right
- Make sure everything’s level again
- Touch up any marks on the walls
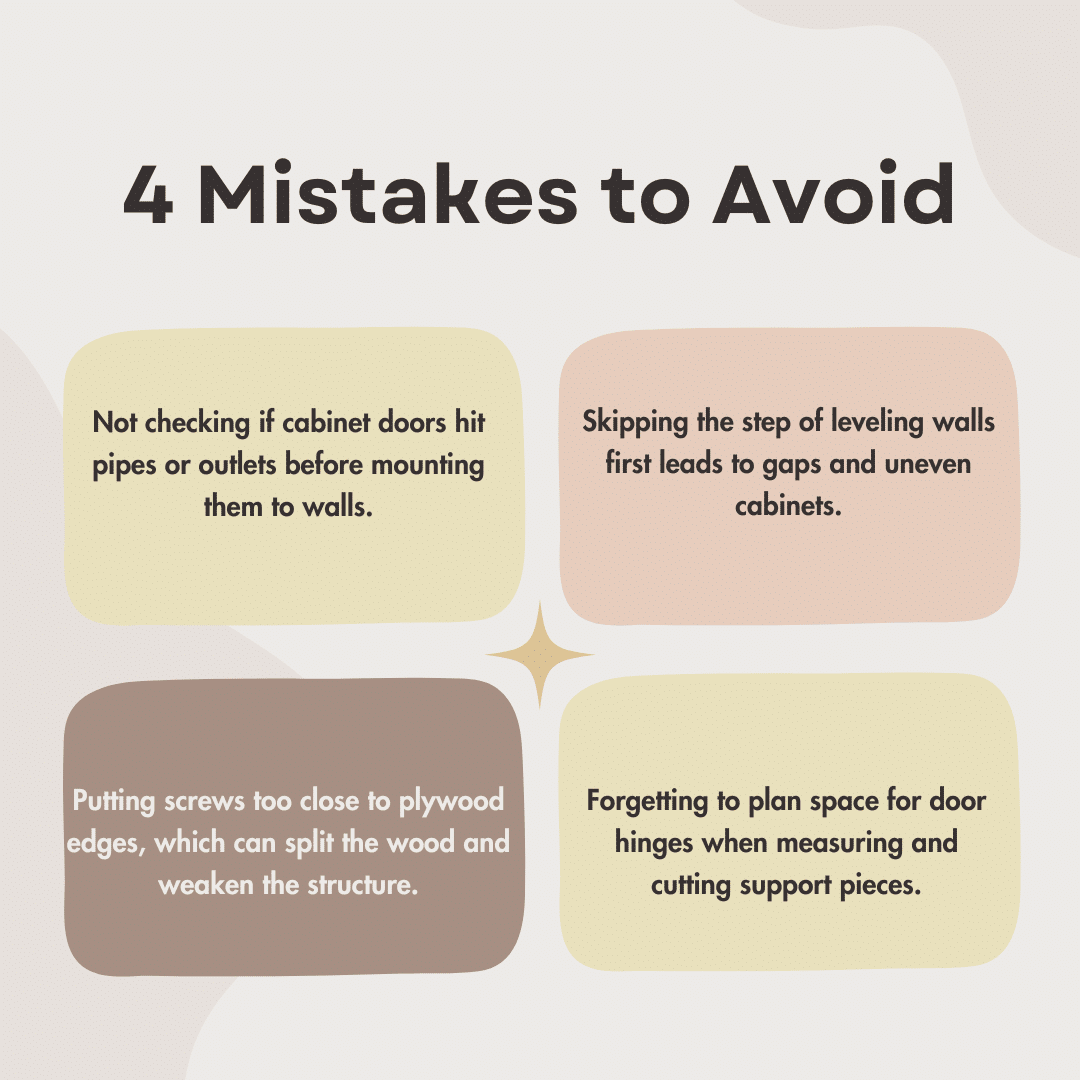
Best Customization & Enhancement Options to Choose From
Let me share some useful upgrades I found for laundry cabinets that make them more useful and personal.
Practical Storage Add-ons
- Pull-out hamper baskets for sorting clothes
- Small bins for holding loose items
- Hook strips for hanging cleaning tools
- Slide-out shelves for easy reach
- Built-in drying racks that fold away
Smart Lighting Options
- Under-cabinet LED strips
- Battery-powered stick-on lights
- Motion-sensor lights inside cabinets
- Puck lights for dark corners
- Light strips near folding areas
Surface Treatments
- Wipe-clean paint for easy cleaning
- Water-resistant sealers for wood
- Shelf liner to protect surfaces
- Corner guards for high-traffic spots
- Washable wallpaper for style
Space-Saving Features
- Fold-down ironing boards
- Hidden drying racks
- Pull-out sorting tables
- Slim cleaning tool storage
- Built-in laundry bag hooks
Handy Extras
- Small bulletin boards inside doors
- Label holders for shelves
- Magnetic strips for small items
- Door-mounted supply holders
- Built-in paper towel racks
Making It Look Good
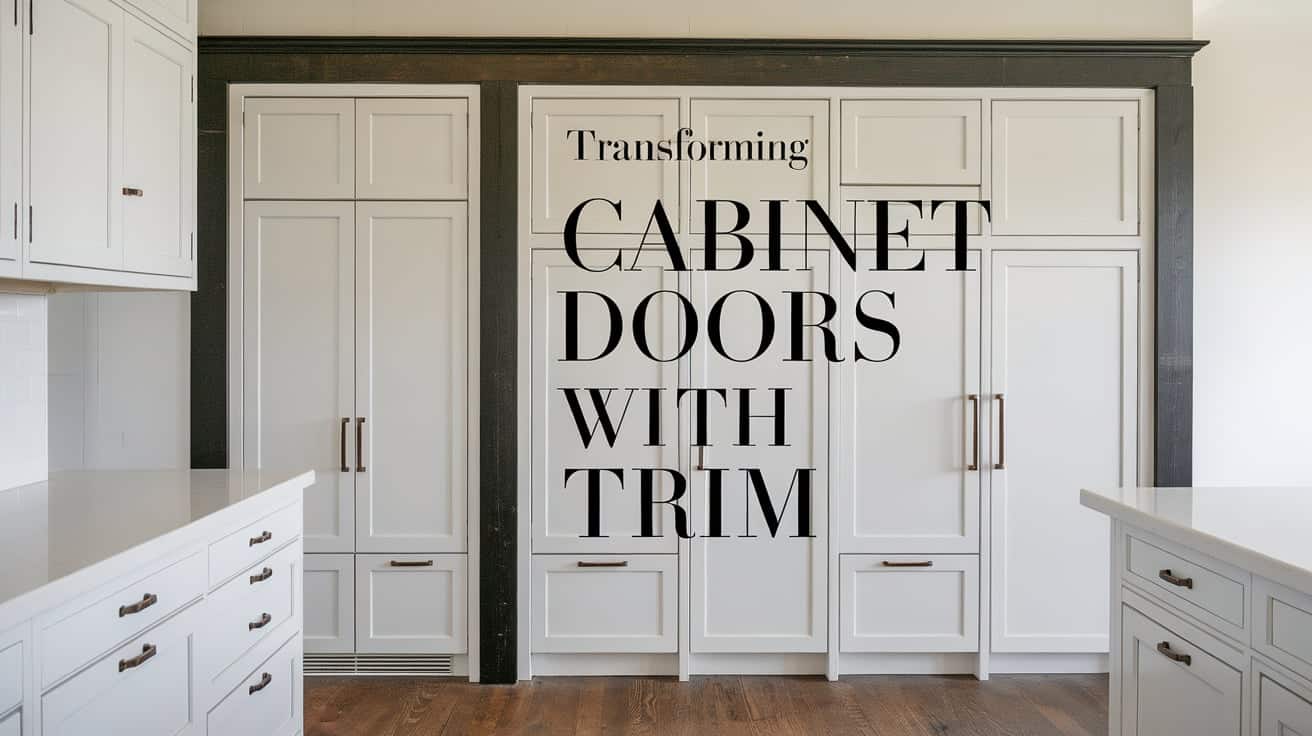
- Cabinet door trim pieces
- Simple crown molding on top
- Paint colors that match your home
- Nice-looking but useful handles
- Matching baskets and bins

Conclusion
Building your own laundry room cabinets isn’t as hard as it seems. I started as a beginner and made it work, and so can you. With basic tools, some careful planning, and about $200-600 in materials, you can create storage that fits your space perfectly.
Remember: measure carefully, take your time with cuts, and check everything is level. The money you’ll save compared to custom cabinets makes the effort worth it.
Ready to start your cabinet project? Take a first small step – measure your laundry room and sketch out what you want.
And if you’ve already built your own laundry cabinets, I’d love to hear your tips in the comments below!

