How to Build Custom Cabinet Doors at Home?
After seven years of crafting custom cabinet doors in my workshop, I’ve discovered that building your doors brings unique satisfaction and significant savings.
What started as a hobby became a passion for creating perfectly fitted, personalized cabinet doors that transform kitchens and storage spaces.
Each project taught me something new about wood behavior, tool techniques, and the importance of patience.
Through countless doors – some successful, others learning experiences – I’ve developed foolproof methods for creating professional-quality results.
Understanding Door Styles
Through years of experimenting, I discovered that each style offers unique benefits:
Shaker Style: My go-to design for beginners brings clean lines and timeless appeal.
The simple frame-and-panel construction teaches essential woodworking skills.
These doors work in both modern and traditional kitchens.
The straightforward design allows for the focus on proper technique.
Step-by-Step Guide to Making Cabinet Doors
Step 1: Essential Preparation

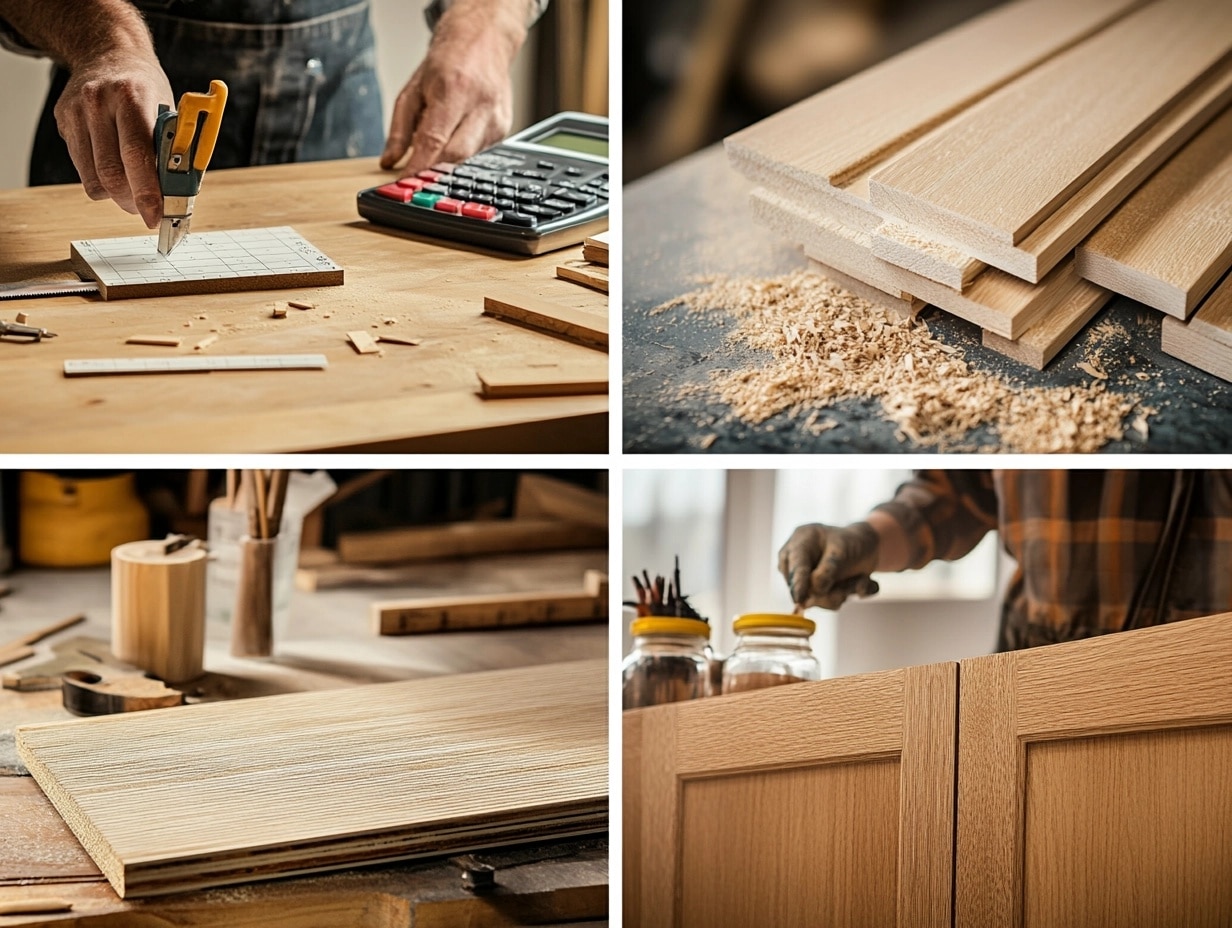
I always start with careful measurement and planning.
Each door requires precise dimensions for proper fit and function.
The right tools make all the difference in final quality.
My preparation process ensures fewer mistakes and better results.
Detailed Measuring Steps
- Measure cabinet openings twice for accuracy.
- Add a 1-inch overlay for standard cabinets.
- Create a cutting list with all the pieces.
- Account for saw blade thickness.
- Mark wood grain direction.
- Double-check all measurements.
Critical Tools Needed
- Quality measuring tape
- Carpenter’s square
- Sharp pencil
- Calculator
- Note paper
Step 2: Material Selection and Cutting
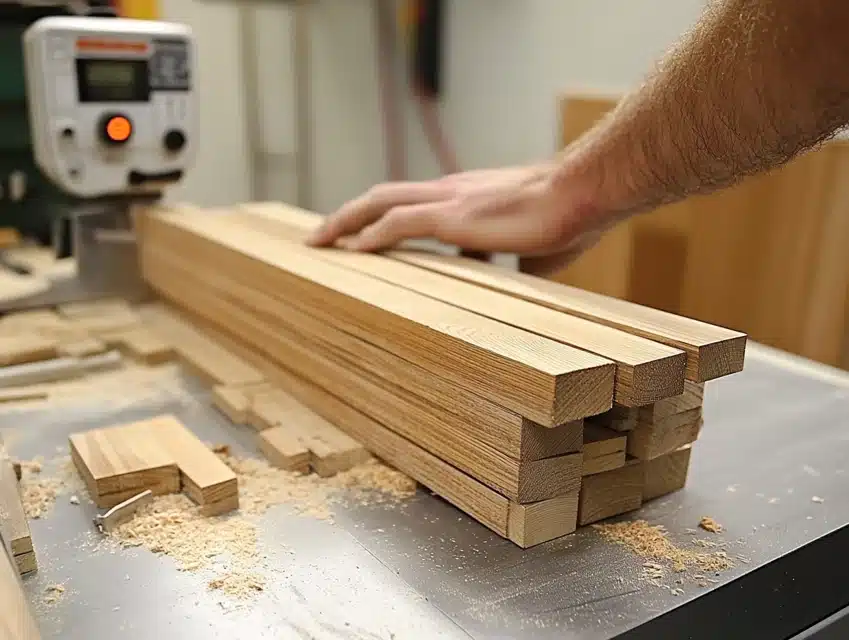
I learned early on that choosing the right wood makes or breaks a cabinet door project.
My experience shows that straight, properly dried lumber creates fewer problems later.
Each board needs careful inspection for hidden defects that might affect the final door.
I always buy extra material, knowing some pieces might reveal flaws during cutting.
The wood’s moisture content matters – I check this with a moisture meter before starting.
Detailed Material Assessment
- Examine boards for knots and splits.
- Look for straight-grain patterns.
- Check both faces for cupping.
- Test wood density with thumbnail.
- Verify moisture levels below 12%.
- Sort boards by grain pattern.
Initial Cutting Process
I start by rough-cutting pieces that are slightly oversized.
The extra length allows for final trimming to exact dimensions.
Each cut follows a specific order to maintain efficiency.
I mark all pieces clearly to avoid confusion during assembly.
Keeping organized during cutting prevents costly mistakes.
Cutting Steps
- Cut all stiles (vertical pieces) first.
- Match grain patterns for rails (horizontal pieces).
- Size center panels are slightly smaller.
- Label each piece with location.
- Stack similar pieces together.
- Keep offcuts for future projects.
Things I’ve Learned
- Sharp blades make cleaner cuts
- Take breaks to maintain accuracy
- Check measurements between cuts
- Keep the work area clean
Step 3: Frame Construction and Panel Preparation
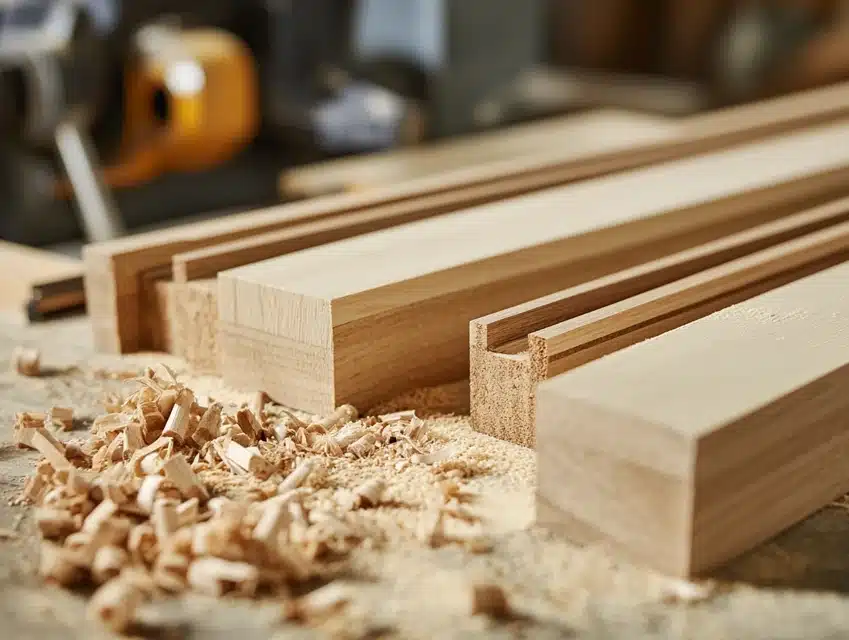
I discovered that proper frame assembly determines the door’s strength and longevity.
This stage requires careful attention to detail and precise measurements.
I take extra time checking joints before any glue touches wood.
The way pieces fit together now affects how the door performs for years.
Each joint gets tested dry before permanent assembly begins.
Creating Rail and Stile Joints
I set up my router table with a matched rail and stile bit set.
Each piece runs through in a specific order to maintain grain alignment.
Test pieces help verify proper bit height and fence settings.
I always wear proper safety gear during this noisy, dusty process.
Multiple light passes create cleaner joints than single heavy cuts.
Detailed Assembly Steps
- Set up the router with test pieces first.
- Cut all matching grooves in stiles.
- Route rail ends for proper joint fit.
- Test fit each joint carefully.
- Mark mating pieces to maintain alignment.
- Clean all joints thoroughly.
Critical Joint Tips
- Check depth consistency
- Verify square cuts
- Test fit everything dry
- Keep pieces organized
- Clean dust between tests
- Listen for proper cutting sounds
Things I’ve Learned Through Experience
- Rushing joints leads to gaps
- Temperature affects wood movement
- Grain direction matters for strength
- Even pressure prevents tearout
Step 4: Panel Fitting and Final Assembly
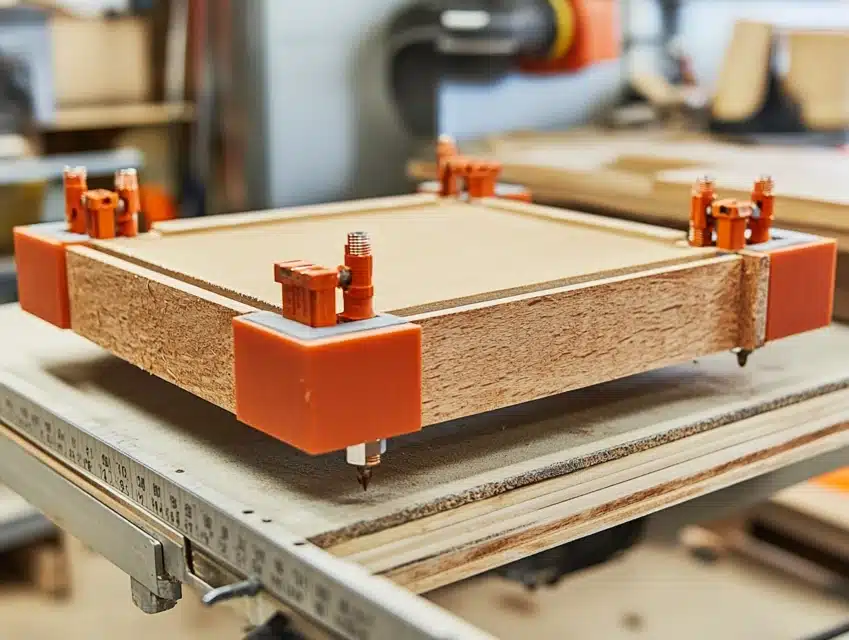
After years of building doors, this stage remains my favorite – watching all the pieces come together perfectly.
I lay out all components in their final position before adding any glue.
The center panel needs special attention for proper movement allowance.
Temperature and humidity in my workshop affect how tight to make the fit.
This step requires patience – rushing leads to misaligned doors.
Panel Installation Process
The panel floats freely within the frame grooves.
I use small rubber spacers to maintain even gaps around panels.
Each panel gets checked for square before frame assembly begins.
The panel’s grain direction matters for seasonal wood movement.
I always dry fit twice before committing to glue-up.
Detailed Assembly Steps
- Clean all grooves thoroughly.
- Test panel fit in all directions.
- Apply glue only to rail and stile joints.
- Keep glue away from the floating panel.
- Use corner clamps for square alignment.
- Check diagonal measurements.
Critical Clamping Process
- Start with corner clamps
- Add parallel clamps gradually
- Check for squares frequently
- Wipe excess glue immediately
- Allow proper drying time
- Maintain even pressure
Things I’ve Learned
- Panel movement is natural
- Over-clamping causes problems
- Glue squeeze-out stains wood
- Room temperature affects drying
- Take breaks between doors
Crucial Assembly Tips
- Work on a flat surface
- Keep cleaning supplies ready
- Have all clamps prepared
- Check measurements constantly
Step 5: Surface Preparation and Finishing
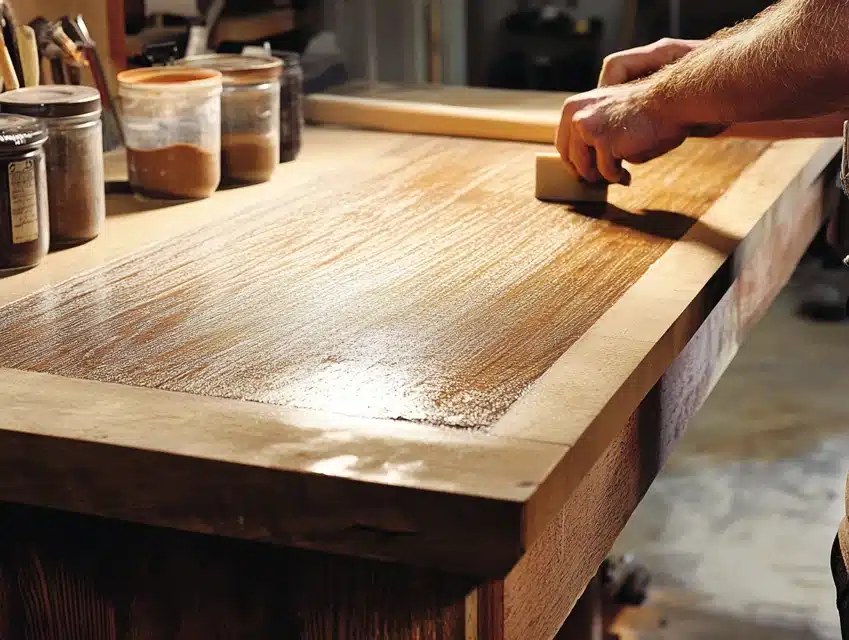
This stage transforms raw wood into beautiful, durable cabinet doors.
I’ve learned that proper surface preparation determines the final finish quality.
Each door receives multiple sanding passes, working through progressively finer grits.
The time spent here shows in every reflection and touch of the finished surface.
Dust control becomes crucial for achieving professional results.
Initial Surface Preparation
I start with a detailed inspection under strong lighting.
Any glue residue gets scraped away completely before sanding begins.
Each surface needs consistent sanding patterns to avoid swirl marks.
I check for smooth transitions between rails and stiles.
Small flaws become obvious once the finish is applied.
Detailed Sanding Steps
- Begin with 80-grit for heavy cleanup.
- Progress through 120-grit evenly.
- Use 180 grit for final smoothing.
- Sand edges are slightly softer.
- Remove all dust between the grits.
- Check the surface with bright light.
Finishing Process
- Apply the wood conditioner first
- Let each coat dry completely
- Sand lightly between coats
- Keep room dust-free
- Maintain proper ventilation
- Check for runs immediately
Things I’ve Learned
- Rushing causes visible flaws
- Temperature affects drying
- Humidity changes finish time
- Light affects color choices
- Patience produces the best results
Final Inspection Points
- Check all surfaces for smoothness
- Verify consistent color
- Look for dust nibs
- Test finish hardness
Step 6: Hardware Installation and Mounting
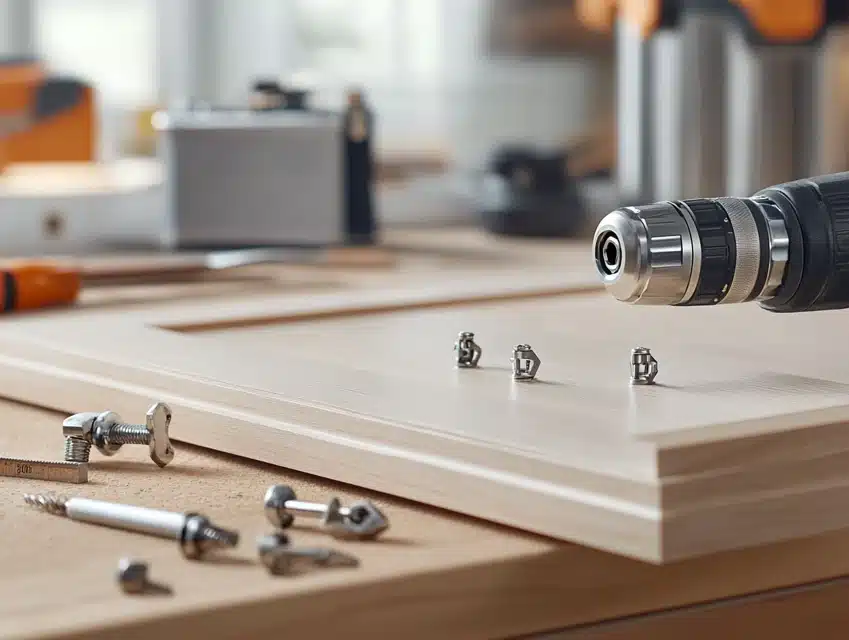
Installing hardware properly ensures doors function smoothly for years.
This final stage requires precise measurements and careful drilling.
I create templates for consistent hardware placement on all doors.
Each hinge location gets marked and checked twice before drilling.
Taking time here prevents costly mistakes and readjustments later.
Hinge Installation Process
I start by creating a dedicated hinge installation station.
Every measurement gets verified against my master template.
The drill depth determines how flush hinges sit against the wood.
Each screw hole needs pilot drilling to prevent wood splitting.
Testing hinge movement happens before door mounting begins.
Detailed Hardware Steps
- Mark all hinge locations precisely.
- Create pilot holes with proper depth.
- Check hinge fit before final mounting.
- Install soft-close mechanisms if needed.
- Test swing motion before handles.
- Verify all screws are tight.
Handle and Pull Installation
- Measure placement carefully
- Use templates for consistency
- Drill straight through
- Support back while drilling
- Test handle security
- Check alignment visually
Things I’ve Learned
- Different hinges need different depths
- Wood density affects screw grip
- A template saves an enormous time
- Keep spare hinges handy
- Test motion frequently
Final Adjustments
- Check door gaps
- Adjust hinge screws
- Test closing action
- Verify handle alignment
Why Build Your Cabinet Doors?
My clients often ask why they should build rather than buy.
The answers become clear in the final product:
- Complete control over wood choice and quality
- Perfect size matching for odd-sized cabinets
- Substantial cost savings on large projects
- Ability to match existing woodwork exactly
- Pride in creating something lasting and beautiful
Common Cabinet Door Issues and Solutions
1. Understanding Door Issues
What seems like a straight door today might warp tomorrow.
I’ve learned that wood movement follows specific patterns based on grain direction.
Temperature and humidity changes affect every door differently.
Early detection of problems prevents more serious issues later.
Regular inspection helps catch small problems before they grow.
2. Measurement Mishaps
The most common error I see involves overlooking overlay measurements.
A single wrong measurement multiplies through an entire kitchen project.
Many beginners forget to account for hinge spacing in their calculations.
Template use eliminates most measurement errors before cutting begins.
Digital calipers provide accuracy that tape measures can’t match.
3. Sanding Secrets
Over-sanding edges remain the hardest mistake to fix.
I learned to mark the original dimensions clearly before starting.
Using sanding blocks rather than free-hand prevents rounded edges.
Progressive grit changes produce better results than aggressive sanding.
Regular checking with straight edges catches problems early.
4. Gap Problems
Uneven gaps often signal deeper installation issues.
I check diagonal measurements to identify twisted frames.
Hinge adjustment usually solves minor gap problems.
Some gaps appear seasonally with wood movement.
Keeping detailed notes helps track gap patterns.
5. Hardware Solutions
Loose hinges often cause door alignment issues.
I replace worn screws with slightly larger ones for better grip.
Adding a third hinge helps heavy doors stay aligned.
Magnetic catches prevent doors from swinging open.
Proper hinge spacing prevents long-term stress problems.
Maintenance Schedule for Cabinet Doors
| Frequency | Tasks | Details |
|---|---|---|
| Monthly | Wipe down surfaces | Use a damp cloth to remove dust and grime. |
| Check hinge movement | Ensure smooth operation and no squeaks. | |
| Note any new issues | Look for scratches, dents, or loose parts. | |
| Quarterly | Deep clean all surfaces | Use a gentle cleaner for a thorough clean. |
| Tighten loose hardware | Secure screws and handles as needed. | |
| Adjust for seasonal changes | Check alignment due to humidity shifts. | |
| Annually | Refinish worn areas | Apply a fresh coat of finish if needed. |
| Replace damaged hardware | Swap out any broken or non-functional parts. | |
| Complete alignment check | Ensure all doors close evenly and flush. |
Conclusion
Remember that perfection comes with practice after guiding you through my door-building process.
Every master craftsperson started with their first door, learning from each project afterward.
The skills you develop building cabinet doors transfer to many other woodworking projects.
The satisfaction of closing a door you built yourself makes the effort worthwhile.
Keep these key points in mind:
- Take time with measurements
- Stay organized throughout the process
- Learn from each challenge
- Document successful techniques
- Maintain tools properly
- Share knowledge with others
Most importantly, enjoy the creative process.
Cabinet doors might seem simple, but they offer endless artistic expression and skill development opportunities.
With proper tools, attention to detail, and patience, you’ll create doors that serve your home beautifully for years.
Frequently Asked Questions
What Are the Easiest Methods to Make Cabinet Doors at Home?
From my experience, slab-style doors offer the simplest starting point.
Begin with good-quality plywood or MDF, cut to size with straight edges, and add edge banding for a finished look.
Shaker-style doors provide another beginner-friendly option, requiring basic tools and straight cuts.
I recommend starting with a single door to practice techniques before tackling larger projects.
What Materials and Tools Do I Need to Build Cabinet Doors?
Essential tools include measuring tape, circular saw or table saw, drill, clamps, and sanding supplies.
For materials, start with quality lumber (pine works well for painting, hardwoods for staining), wood glue, and appropriate screws.
I suggest buying extra material for practice cuts.
Basic cabinet doors can be built with about $200 worth of tools if starting from scratch.
Can I Make Cabinet Doors without Advanced Woodworking Skills or Specialized Tools?
Absolutely! I started with basic tools and simple designs. Slab doors need only straight cuts and careful measuring.
While specialized tools make work easier, they’re not essential for basic styles. Consider borrowing or renting tools for occasional use.
Initially, focus on accuracy and patience rather than advanced techniques.
How Much Does It Cost to Build Cabinet Doors versus Buying Them?
Building your own typically save 40-60% compared to purchasing pre-made doors.
A standard 24″x 30″ door costs me about $30-40 in materials versus $100+ retail.
However, factor in tool costs if starting from scratch.
The savings increase significantly with multiple doors, especially for custom sizes that would cost premium prices ready-made.
What Are the Different Styles of Cabinet Doors I Can Make Myself?
Through my projects, I’ve found these styles most achievable for DIYers:
- Slab doors: Simplest design, perfect for beginners
- Shaker style: Classic look, moderate difficulty
- Flat panel: Modern appearance, straightforward construction
- Glass panel: Adds elegance, requires careful measuring
- Beadboard: Farmhouse style, needs more detailed work. Start with simpler styles and progress as your skills develop.

