How to Build a Floating Shelf: DIY Guide
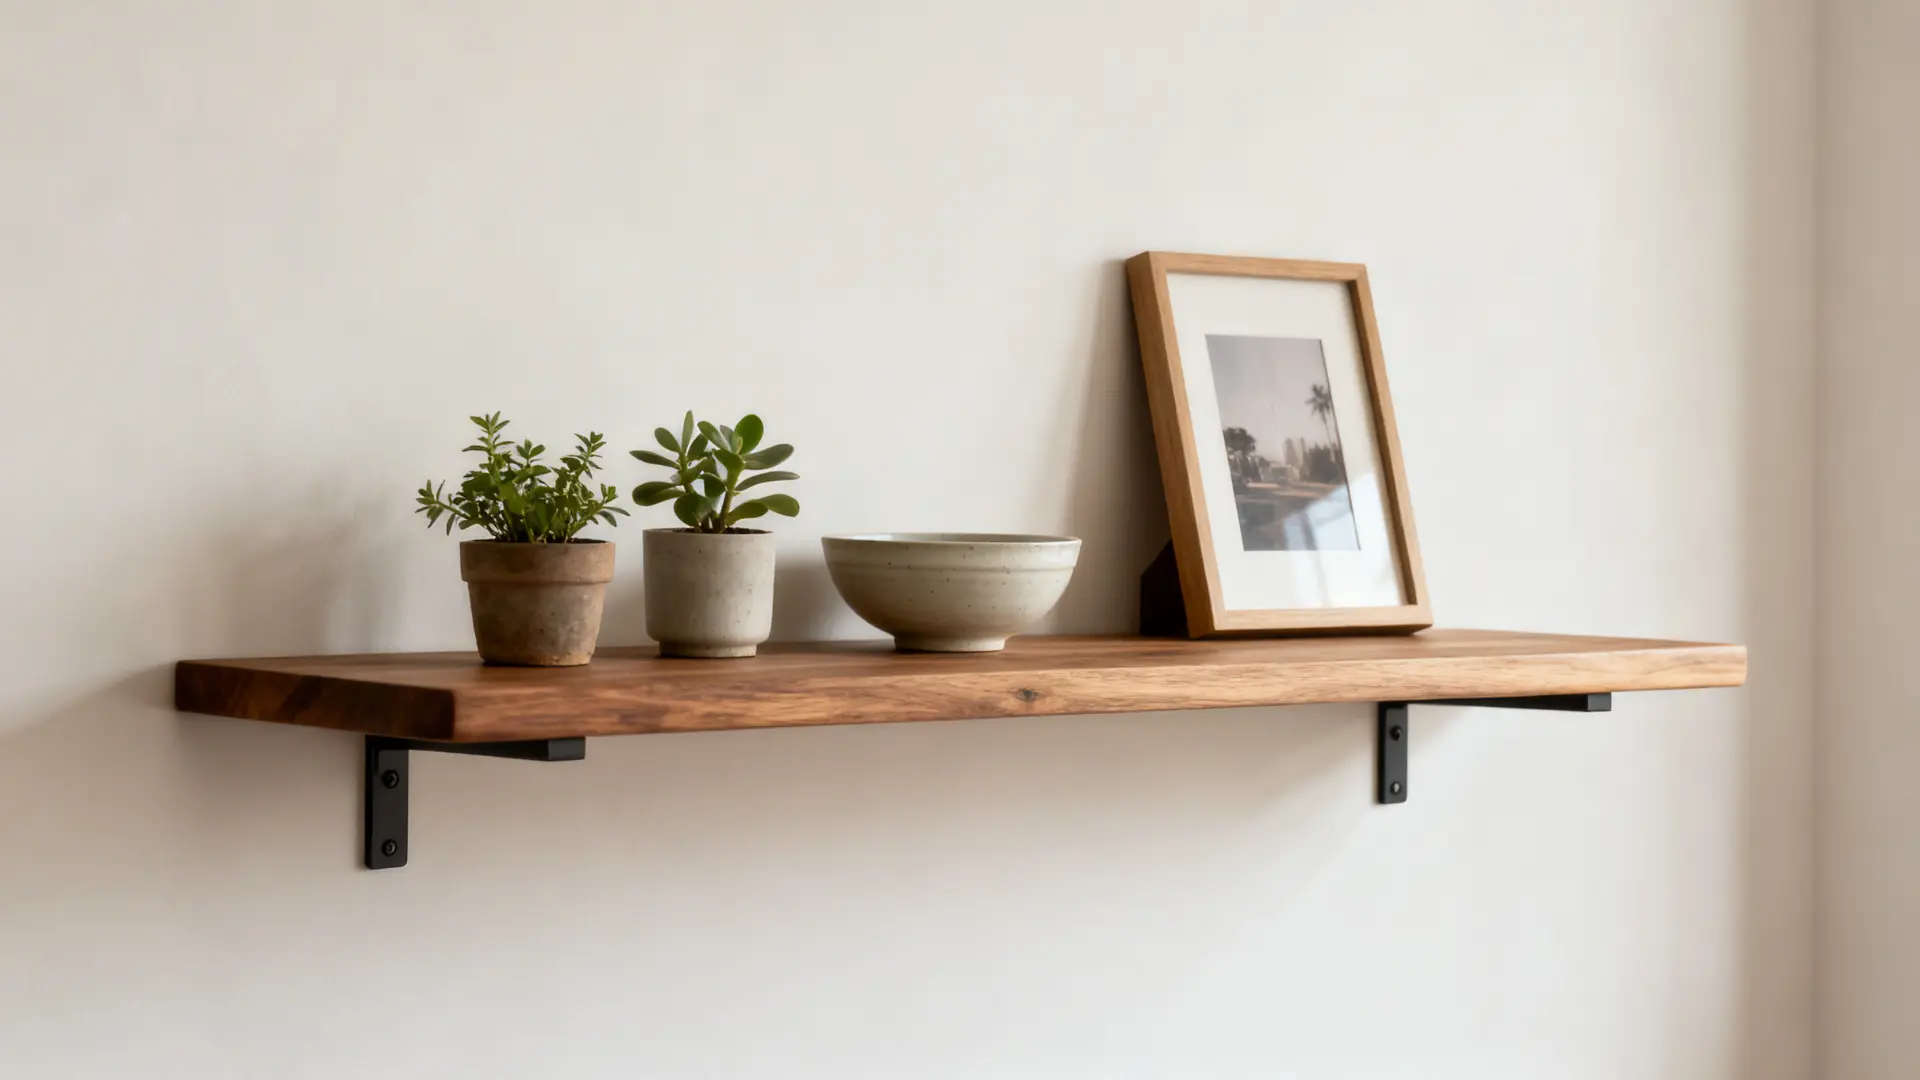
Floating shelves are a smart way to add storage without making a space look crowded. They appear to sit directly on the wall, with no visible brackets or supports, giving any room a clean and modern feel.
But there’s more to them than just good looks. Their hidden support system makes them strong, practical, and suitable for many areas of the home.
Today, I’ll explain how they work, where they’re used, how to build them, and how much weight they can hold. By the end, you’ll understand what makes them both stylish and reliable.
Let’s start with the basics.
What is a Floating Shelf and How It Works
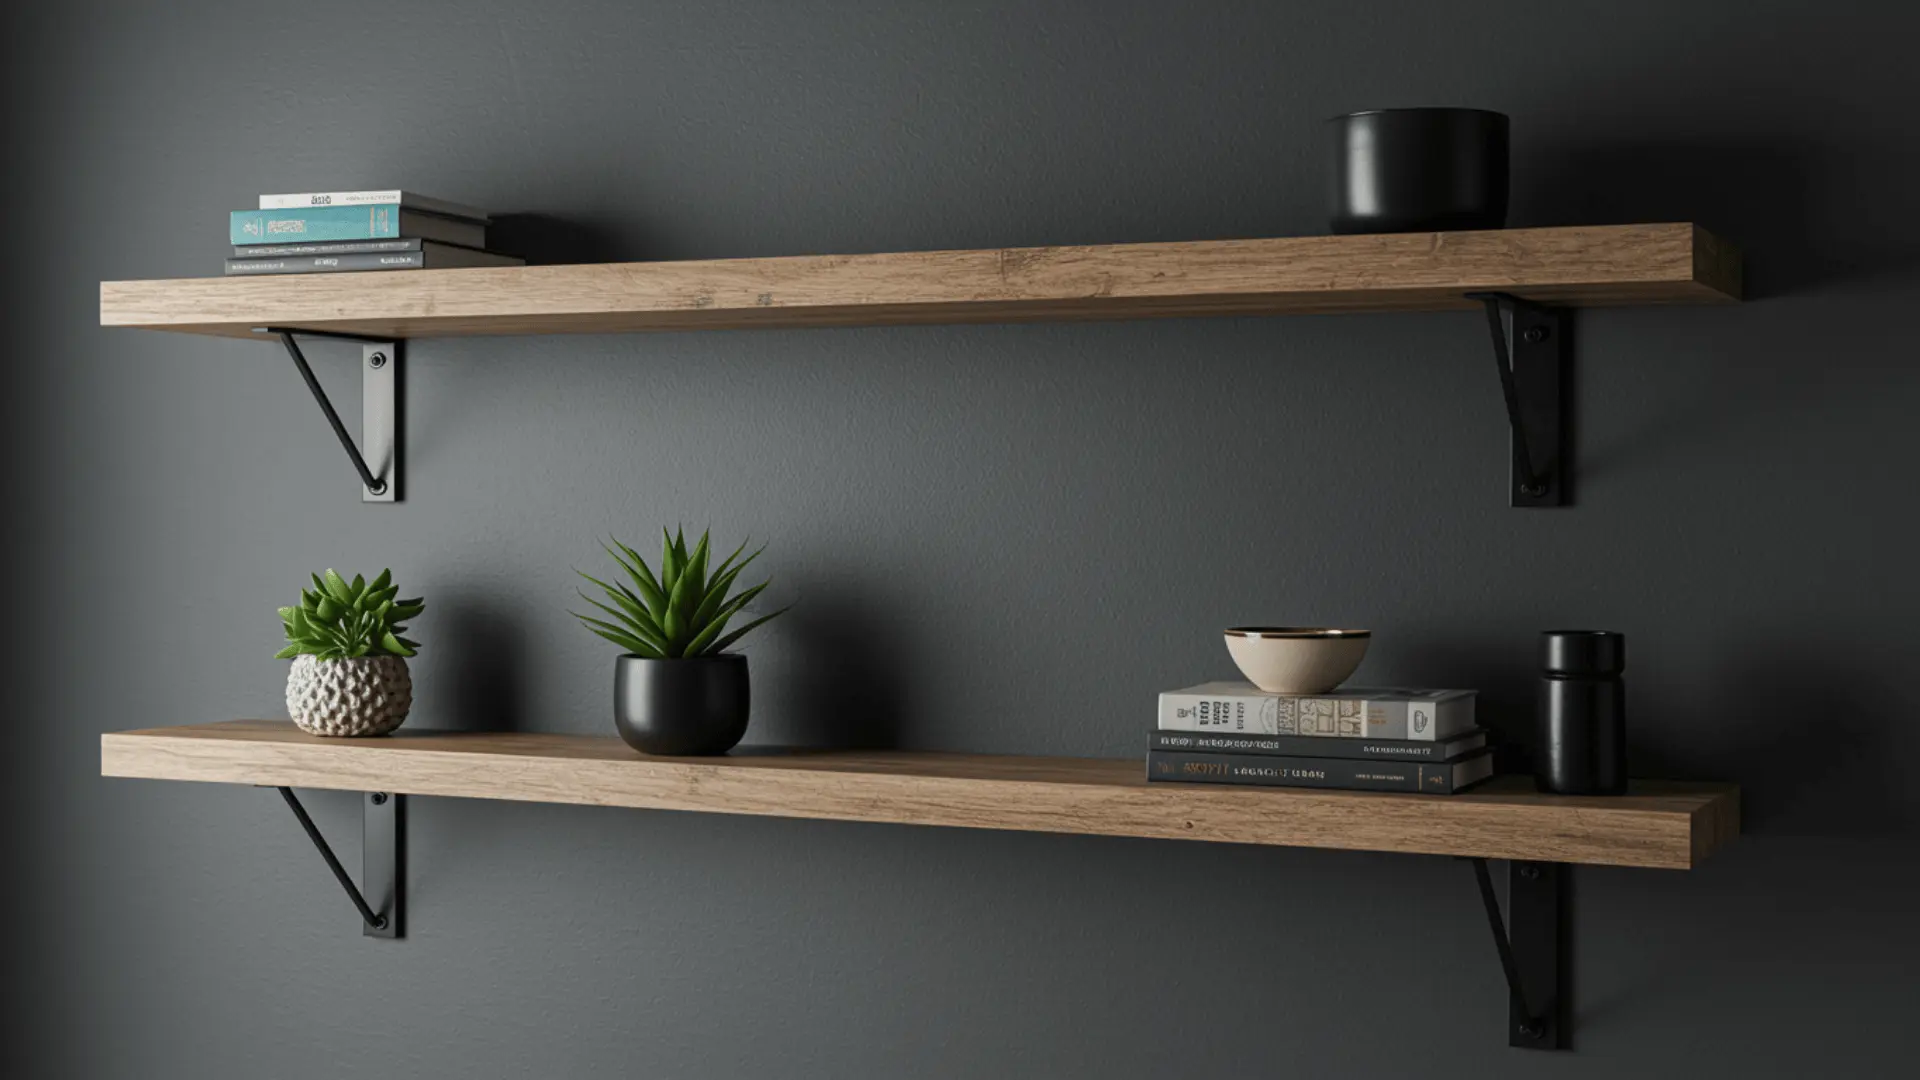
A floating shelf has no visible legs, brackets, or side supports. It looks like it’s simply stuck to the wall, clean, minimal, and gap-free. The difference from a regular shelf is simple.
Regular shelves show their brackets on the outside. Floating shelves hide all the hardware inside or behind the board, giving them a seamless look that works in almost any home style.
They’re not just good-looking, they’re practical too.
You’ll find them in kitchens, holding spices and jars; in bathrooms, storing toiletries; in living rooms, displaying books and décor; and in home offices, keeping supplies within reach.
Any room with bare wall space is a good candidate.
How Floating Shelves Stay Attached to the Wall
Despite the name, floating shelves are firmly secured to the wall. All the support is just hidden from view.
Here’s how the mounting system works:
- Hidden brackets screw into the wall and slide into the back of the shelf.
- An internal support frame runs through the shelf body, holding its shape and carrying the load.
- Wall studs or heavy-duty anchors give the brackets a solid surface to grip.
Studs always give the strongest hold. Anchors can work, but come with weight limits. Poor mounting is the top reason floating shelves fail, so this step matters most.
Plan and Measure Your Floating Shelf Before Building
Good planning saves you time, money, and frustration. A few careful measurements before you start can prevent the most common DIY floating shelf mistakes.
Choosing the Right Wood for Floating Shelves
The wood you pick affects how strong, long-lasting, and good-looking your shelf turns out. Softer woods are cheaper but dent easily. Harder woods hold up better but cost more.
Here are the most common wood types used for floating shelves:
- Pine: Affordable and easy to cut. Great for light items, but scratches easily.
- Plywood: Strong and stable. Less likely to warp than solid wood.
- Oak: Dense and durable. Handles heavier loads and looks premium.
- Maple: Smooth grain and very hard. Works well in kitchens and high-use areas.
Each wood type has its strengths depending on where you plan to use the shelf. For most DIY floating shelves, plywood or pine is a solid starting point.
Recommended Shelf Thickness, Depth, and Placement
Thickness and depth directly affect how much weight your shelf can hold, while placement determines how functional and balanced it looks on your wall.
| Specification | Recommended Measurement | Purpose / Notes |
|---|---|---|
| Thickness | 1.5 to 2 inches | Provides strength and prevents sagging. Use thicker shelves for heavy items like books or small appliances. |
| Depth | 8 to 12 inches | Suitable for most rooms. Increase up to 14 inches for kitchens or larger items. |
| Length | Up to 36 inches | Longer shelves require a center bracket or extra support for stability. |
| Height | Eye level or just above counters | Eye level works best for décor; above counters is ideal for functional storage. |
| Spacing Between Shelves | 10 to 12 inches | Ensures easy access and maintains a balanced, uncluttered look when stacking shelves. |
Tip: Shelves that are too thin may sag over time. Always mark measurements carefully on the wall with a pencil before drilling to ensure accurate installation.
Find Wall Studs Before Installation
Drywall alone can’t support much weight. Without studs, even a lightly loaded shelf can pull right out of the wall. Always try to mount into at least two studs for a secure fit.
Here’s how to locate studs before you drill:
- Use a stud finder: Run it slowly across the wall until it beeps or lights up.
- Knock on the wall: A solid sound means a stud is likely behind it. A hollow sound means drywall only.
- Check standard spacing: Most studs are placed 16 inches apart, so once you find one, measure from there.
Finding studs takes just a few minutes but makes a big difference. It’s one of the most important steps in any DIY floating shelf project.
Step-by-Step Guide to Building a Floating Shelf
Follow these steps in order to build a strong, clean floating shelf without guesswork.
Tools and Materials You’ll Need
- 1 piece 2 in × 8 in × 8 ft lumber board
- 36-inch × ½-inch oak dowel
- Wood screws
- Wood stain
- Pre-stain wood conditioner
- Spray polyurethane top coat
- Sandpaper
- Circular saw (or table saw)
- Drill
- Countersink bit
- Sander
- Clamps
- Tape measure
- Speed square
- Pencil or marking tool
- Hammer
- Screwdriver or impact driver
Step 1: Cut the Shelf Boards
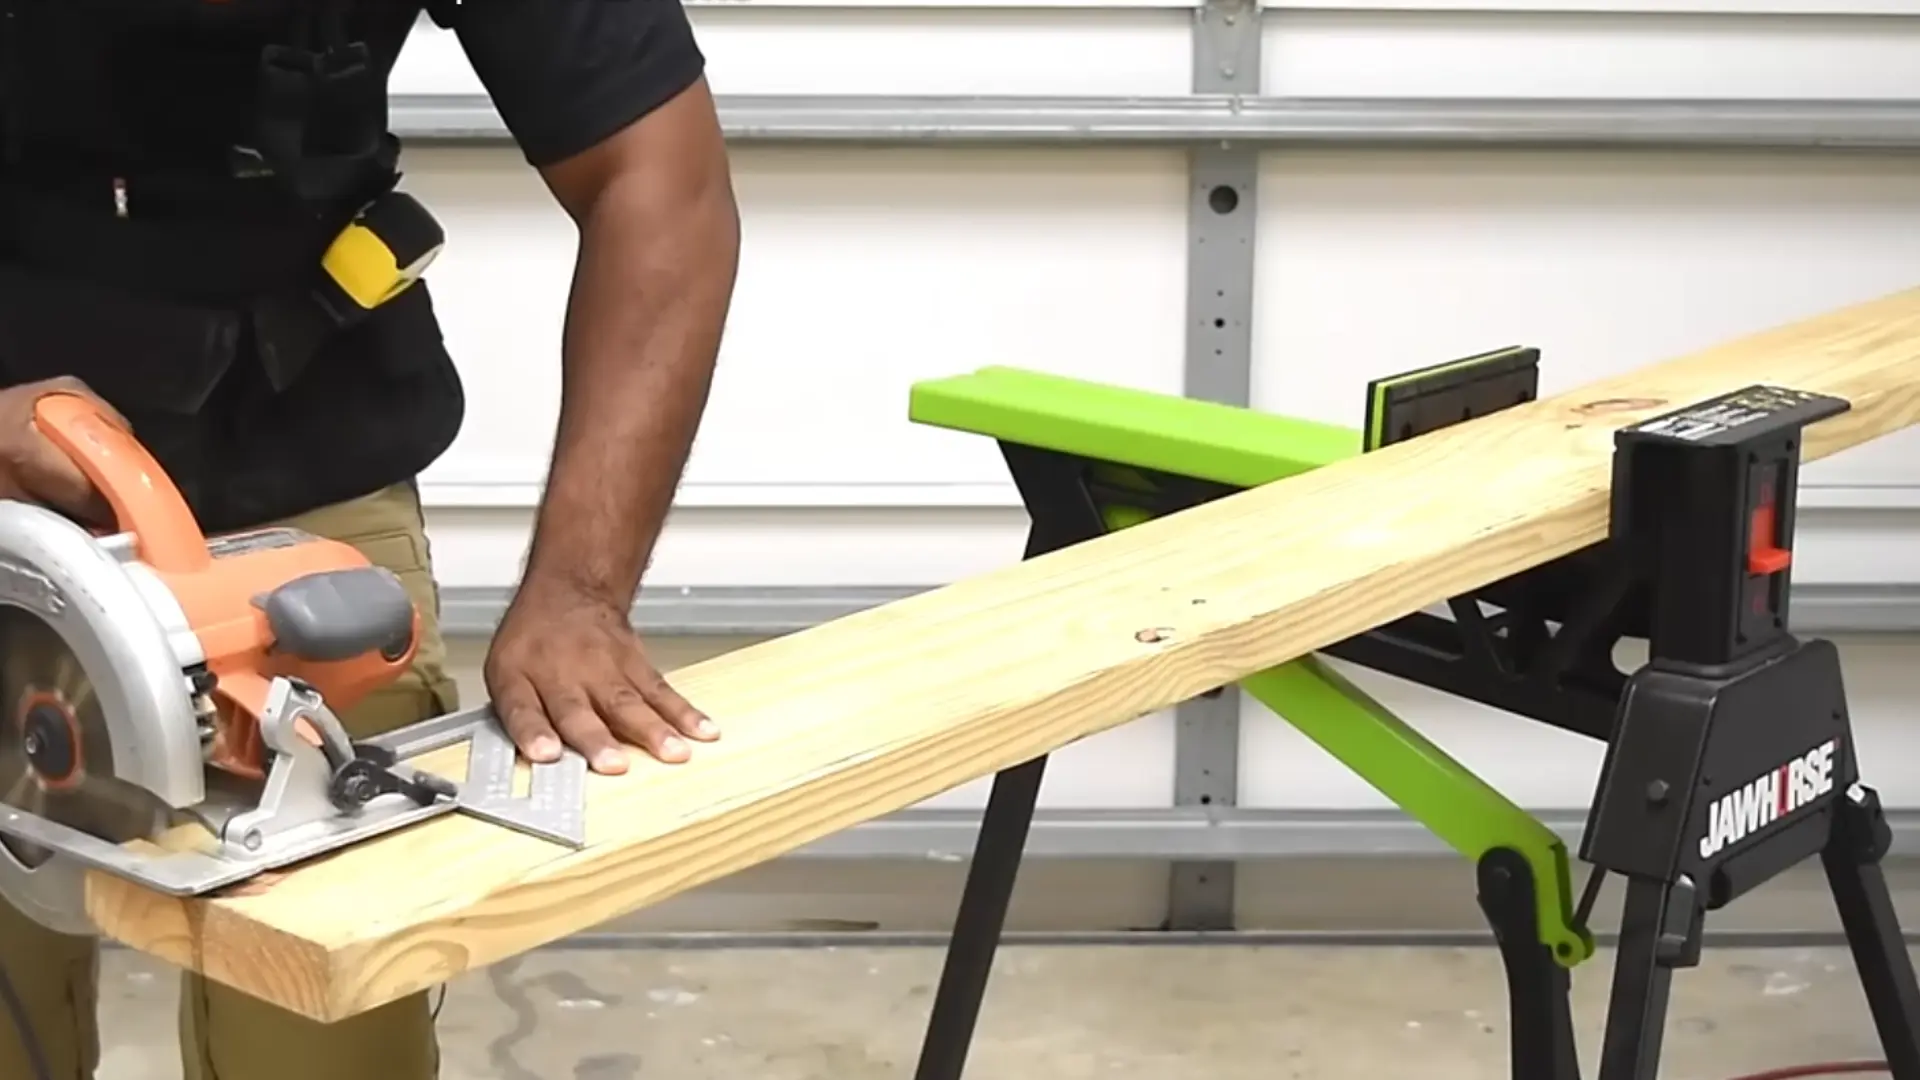
Place the 2×8×8 ft board on a stable surface and clamp it down. Trim off any damaged ends first.
Measure and mark three equal sections, each just under 31 inches.
Use a speed square to guide your circular saw for straight cuts. Support the board underneath while cutting to prevent splintering.
Step 2: Prepare the Dowel Pins
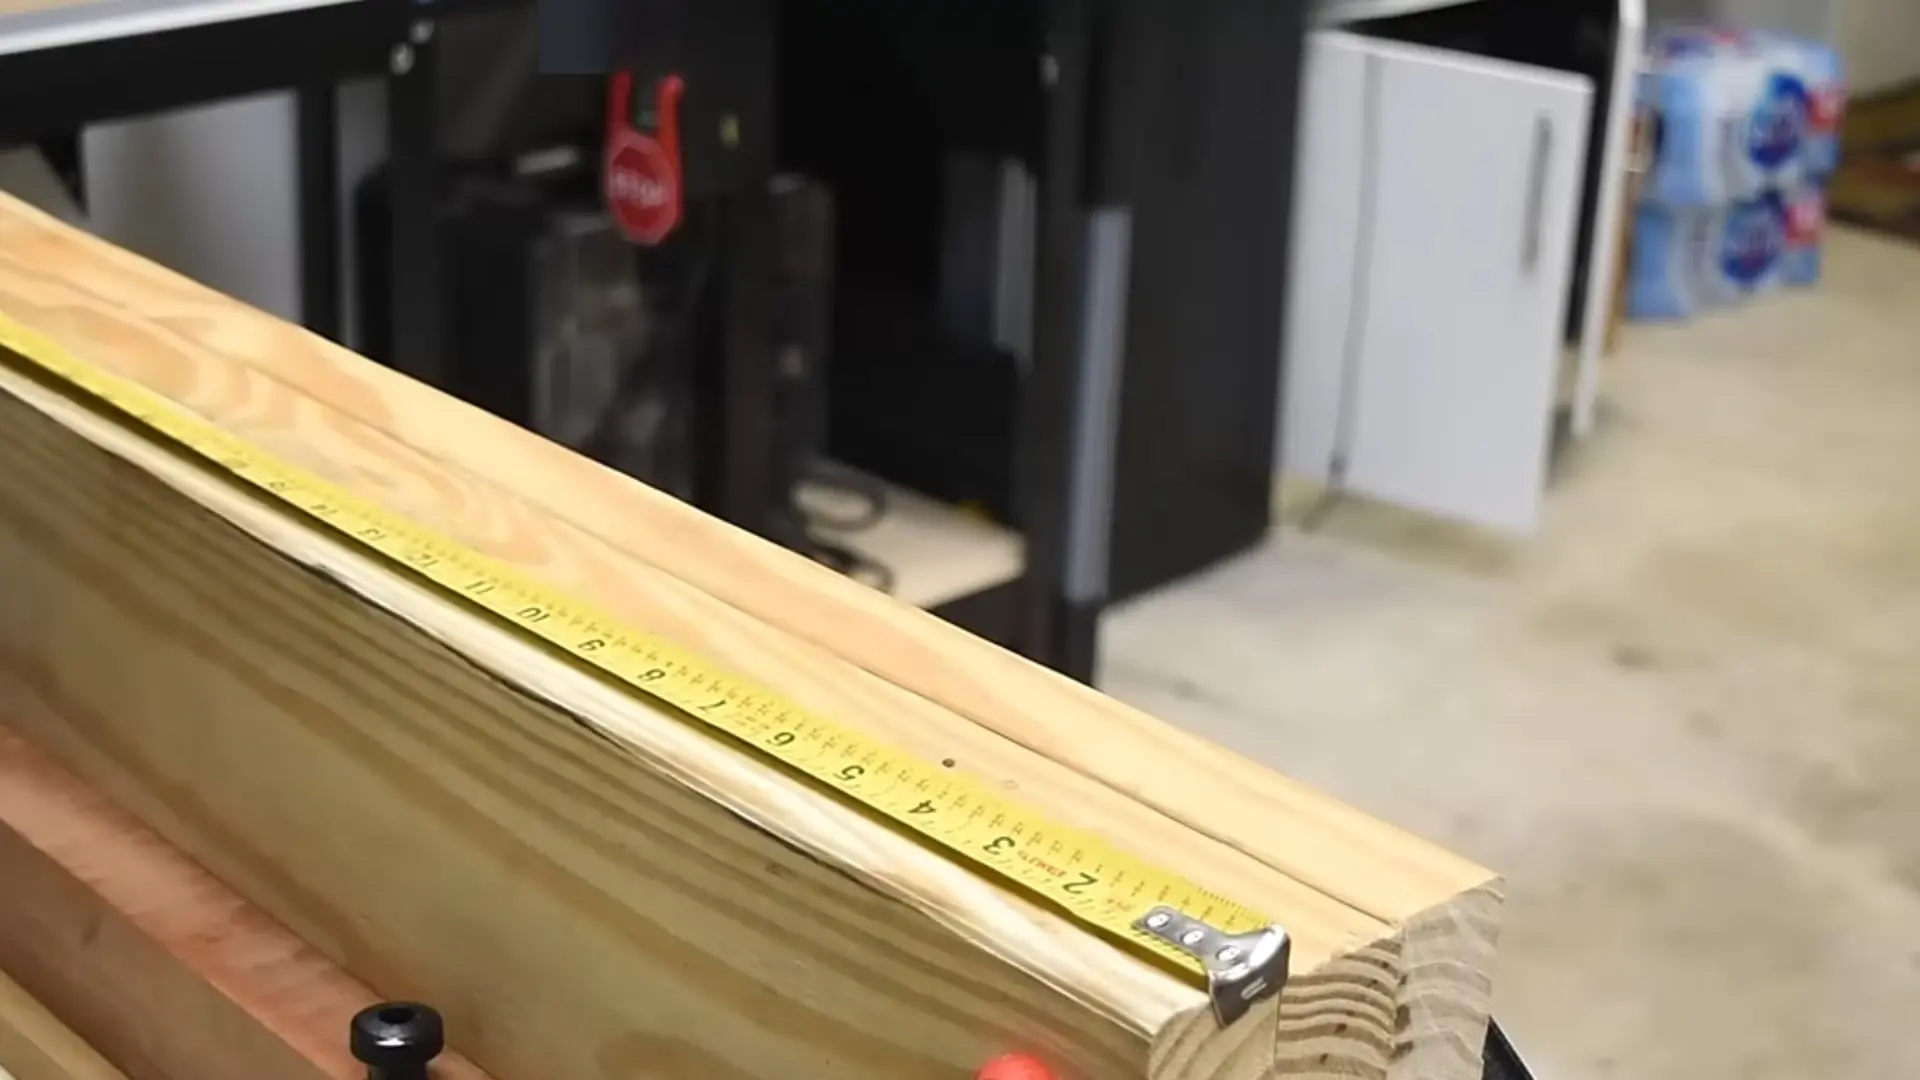
Measure the 36-inch oak dowel and mark it every 4 inches to create nine equal pieces. Secure the dowel firmly before cutting to avoid movement.
Cut carefully along each mark. These dowels will act as the hidden support rods inside the shelves, so keep the cuts clean and even.
Step 3: Mark and Drill the Dowel Holes
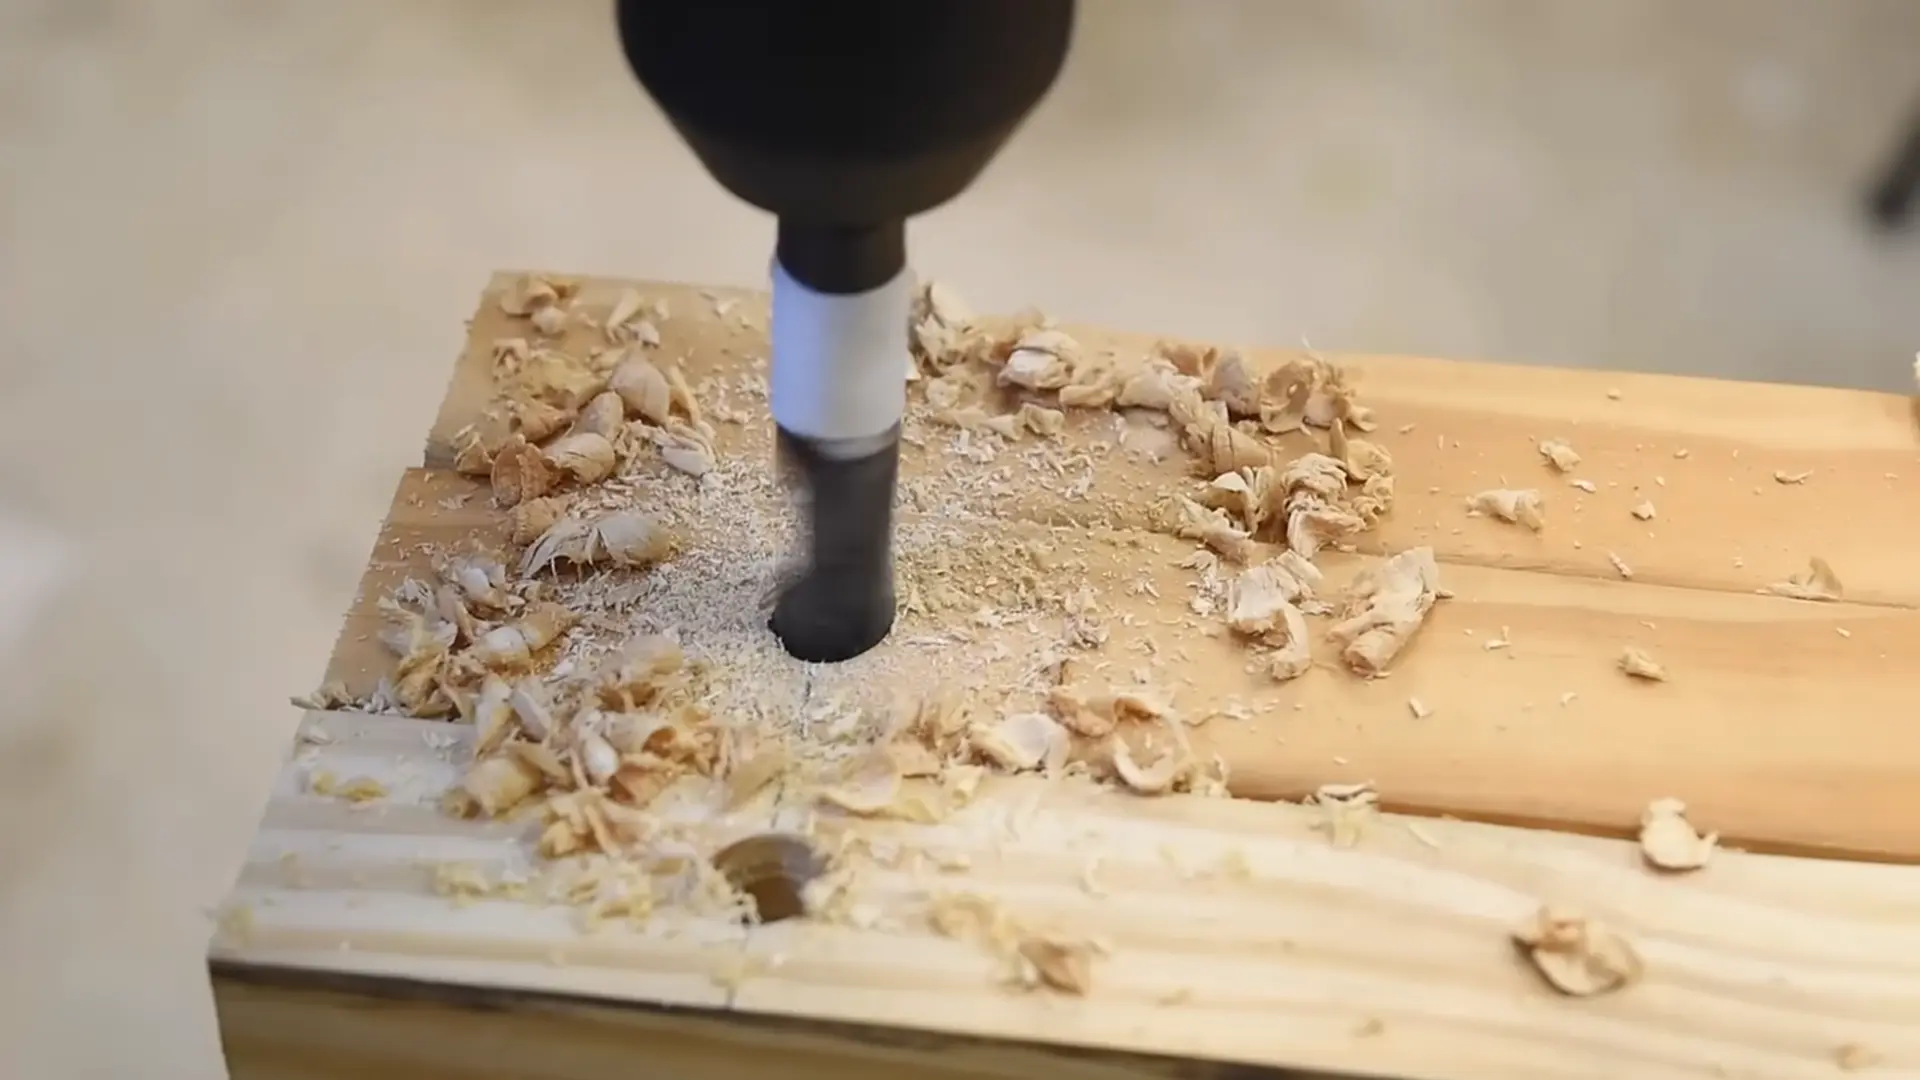
On each board, mark the centerline and measure 2 inches in from both ends. Make small starter dents to keep the drill bit steady.
Wrap tape around your ½-inch drill bit to control depth. Drill straight and evenly into each mark, keeping the drill level to ensure proper alignment later.
Step 4: Install and Fit the Dowels
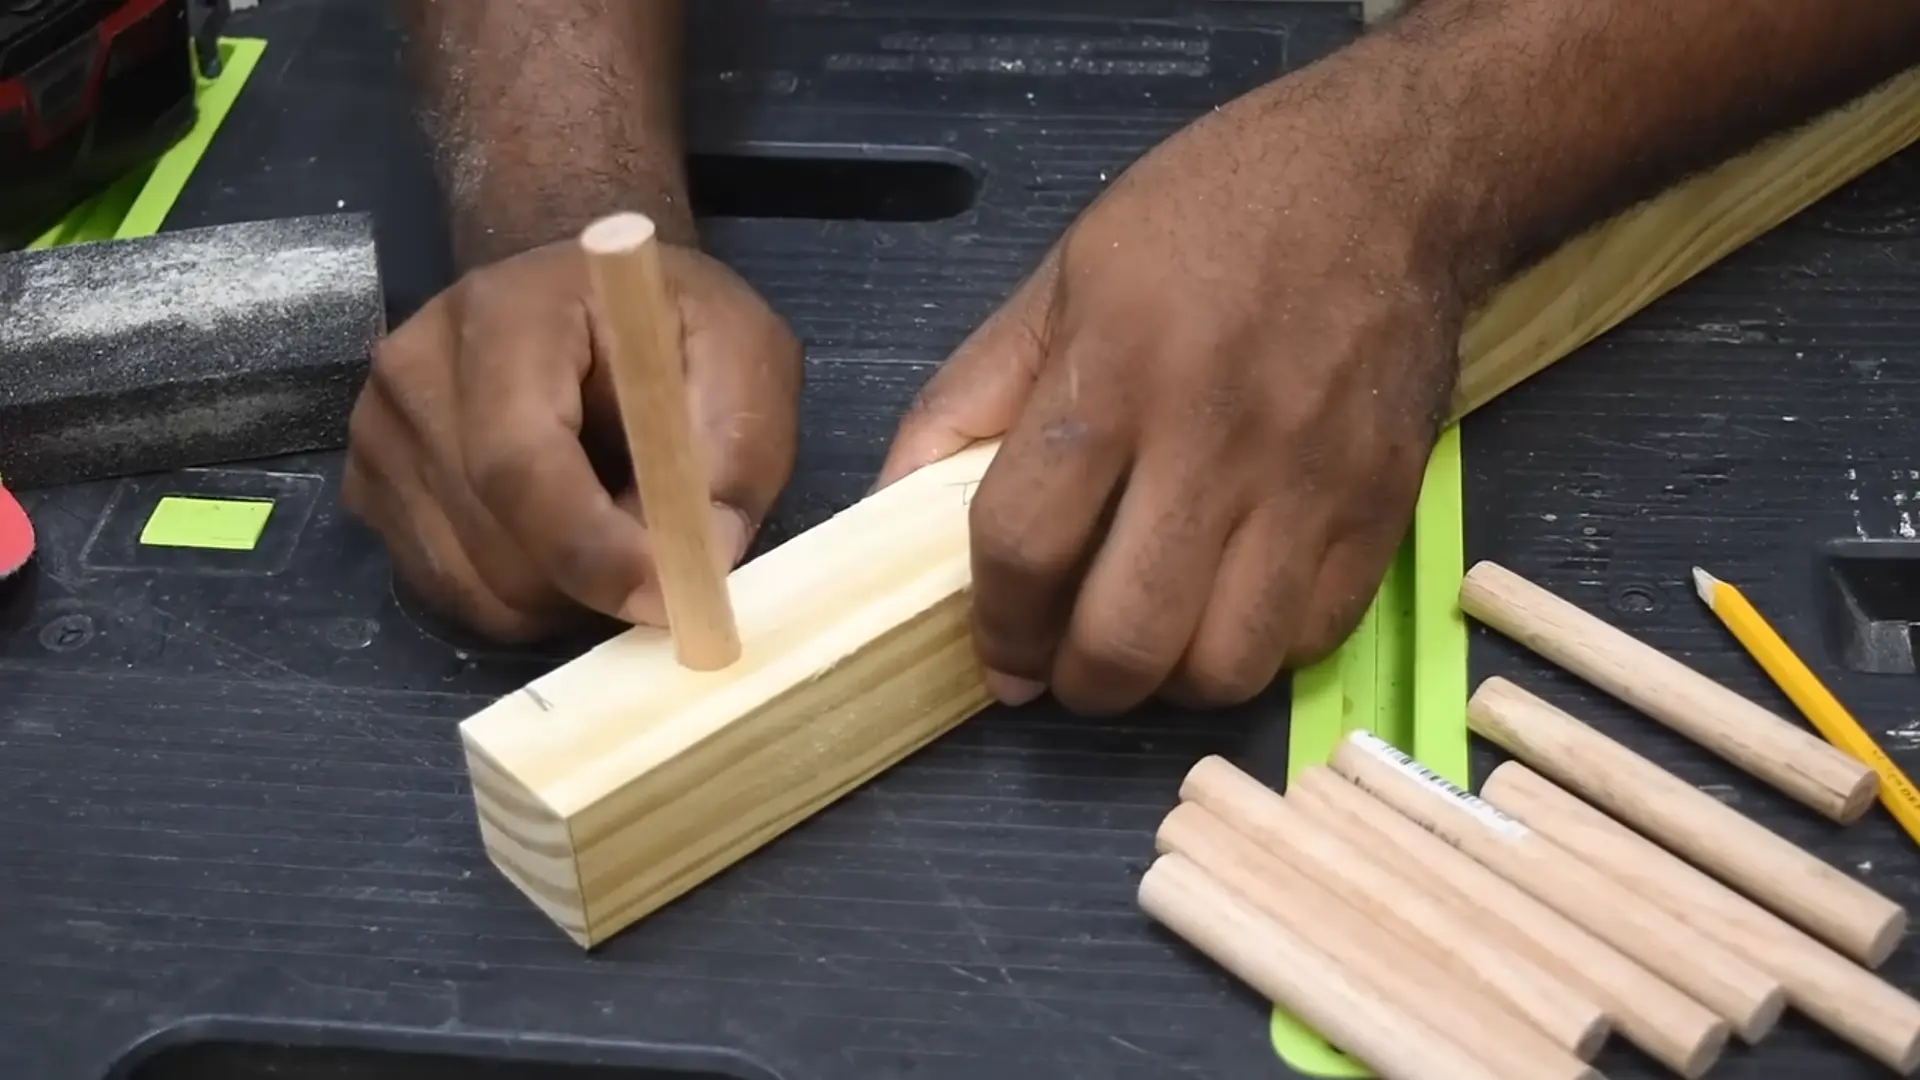
Set your circular saw guide to cut 1½ inches deep and carefully rip each board. Mark each piece clearly so you know which parts pair together.
For back-facing dowels, hammer them in snugly. For front-facing dowels, chuck each one into your drill and hold sandpaper against it while spinning, sanding just enough to let them slide in and out of the holes smoothly.
Step 5: Sand and Finish the Wood
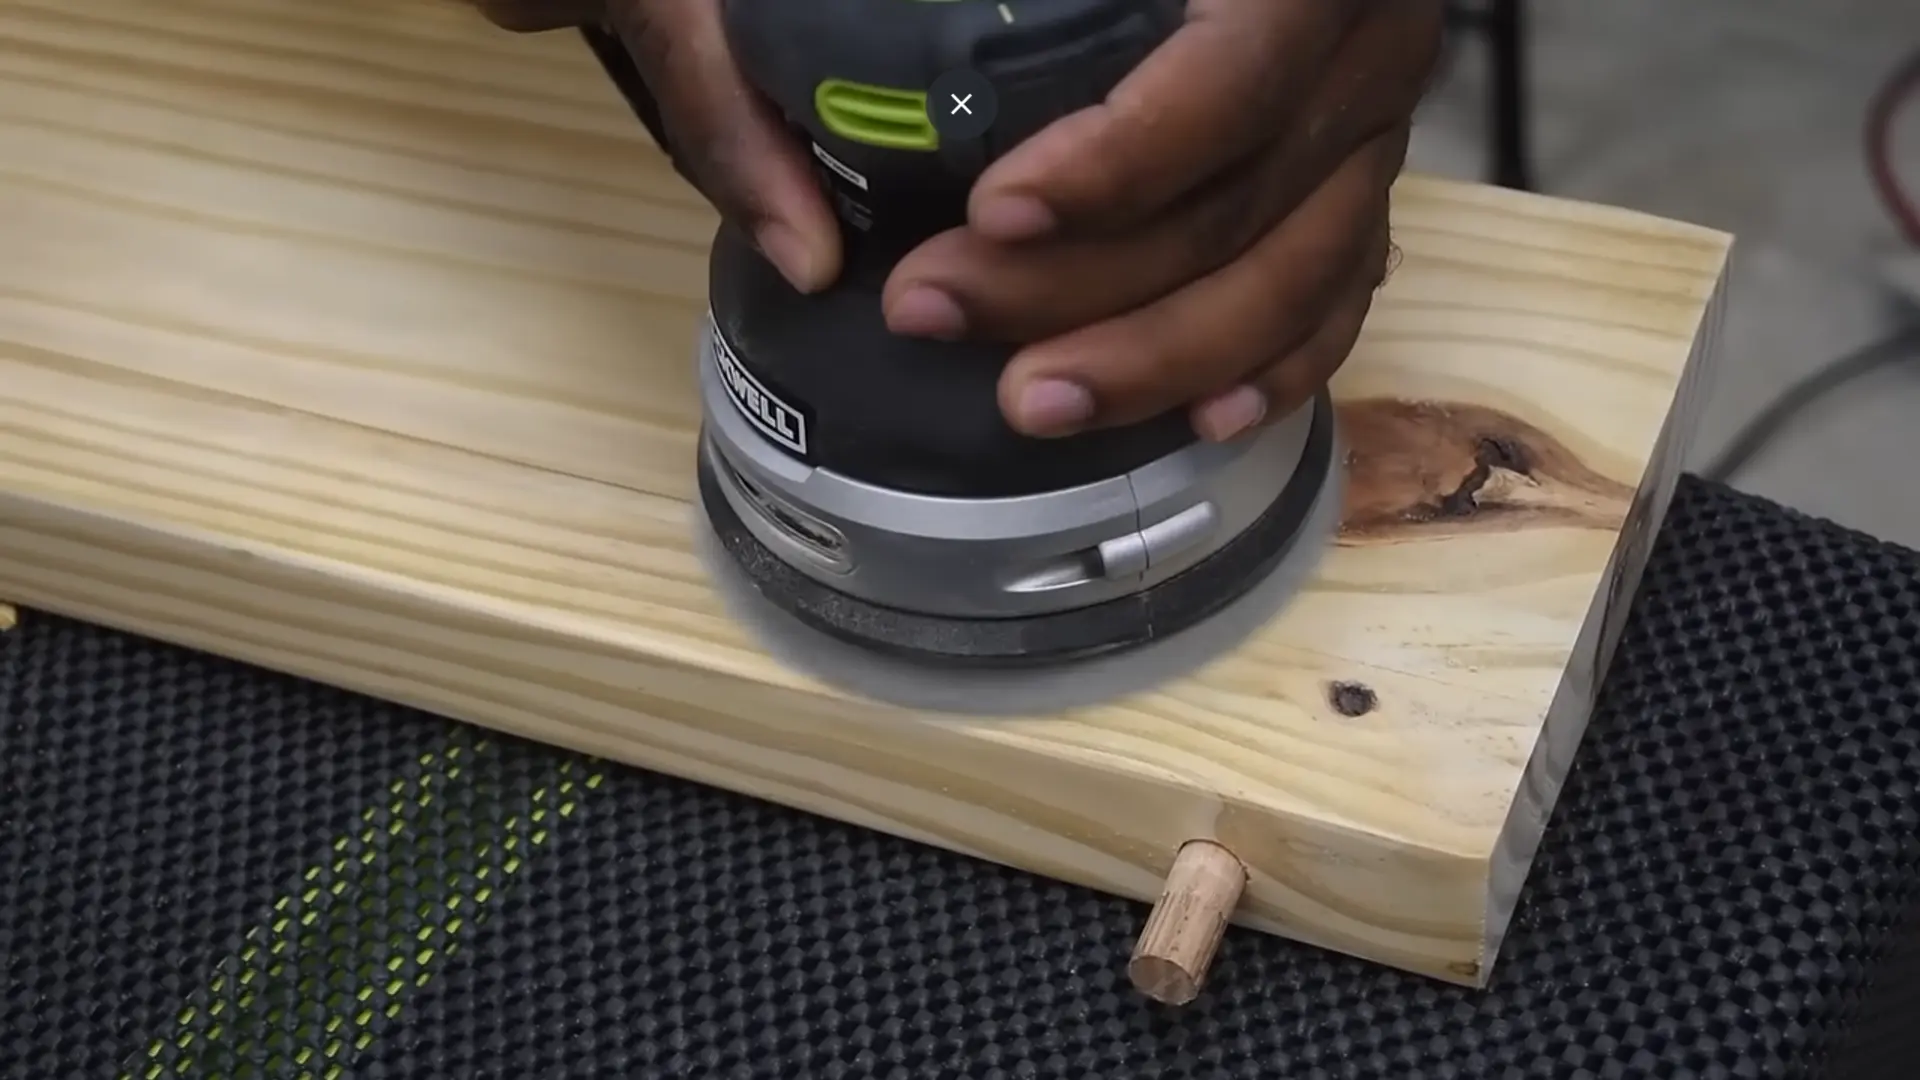
Sand all surfaces smooth, rounding over edges with a sander or router. Apply one coat of Minwax pre-stain conditioner, let it dry, then lightly sand again.
Wipe on the gel stain with a rag, then remove the excess. Finish with 2–3 coats of spray polyurethane, sanding lightly between each coat.
Step 6: Mount the Shelves on the Wall
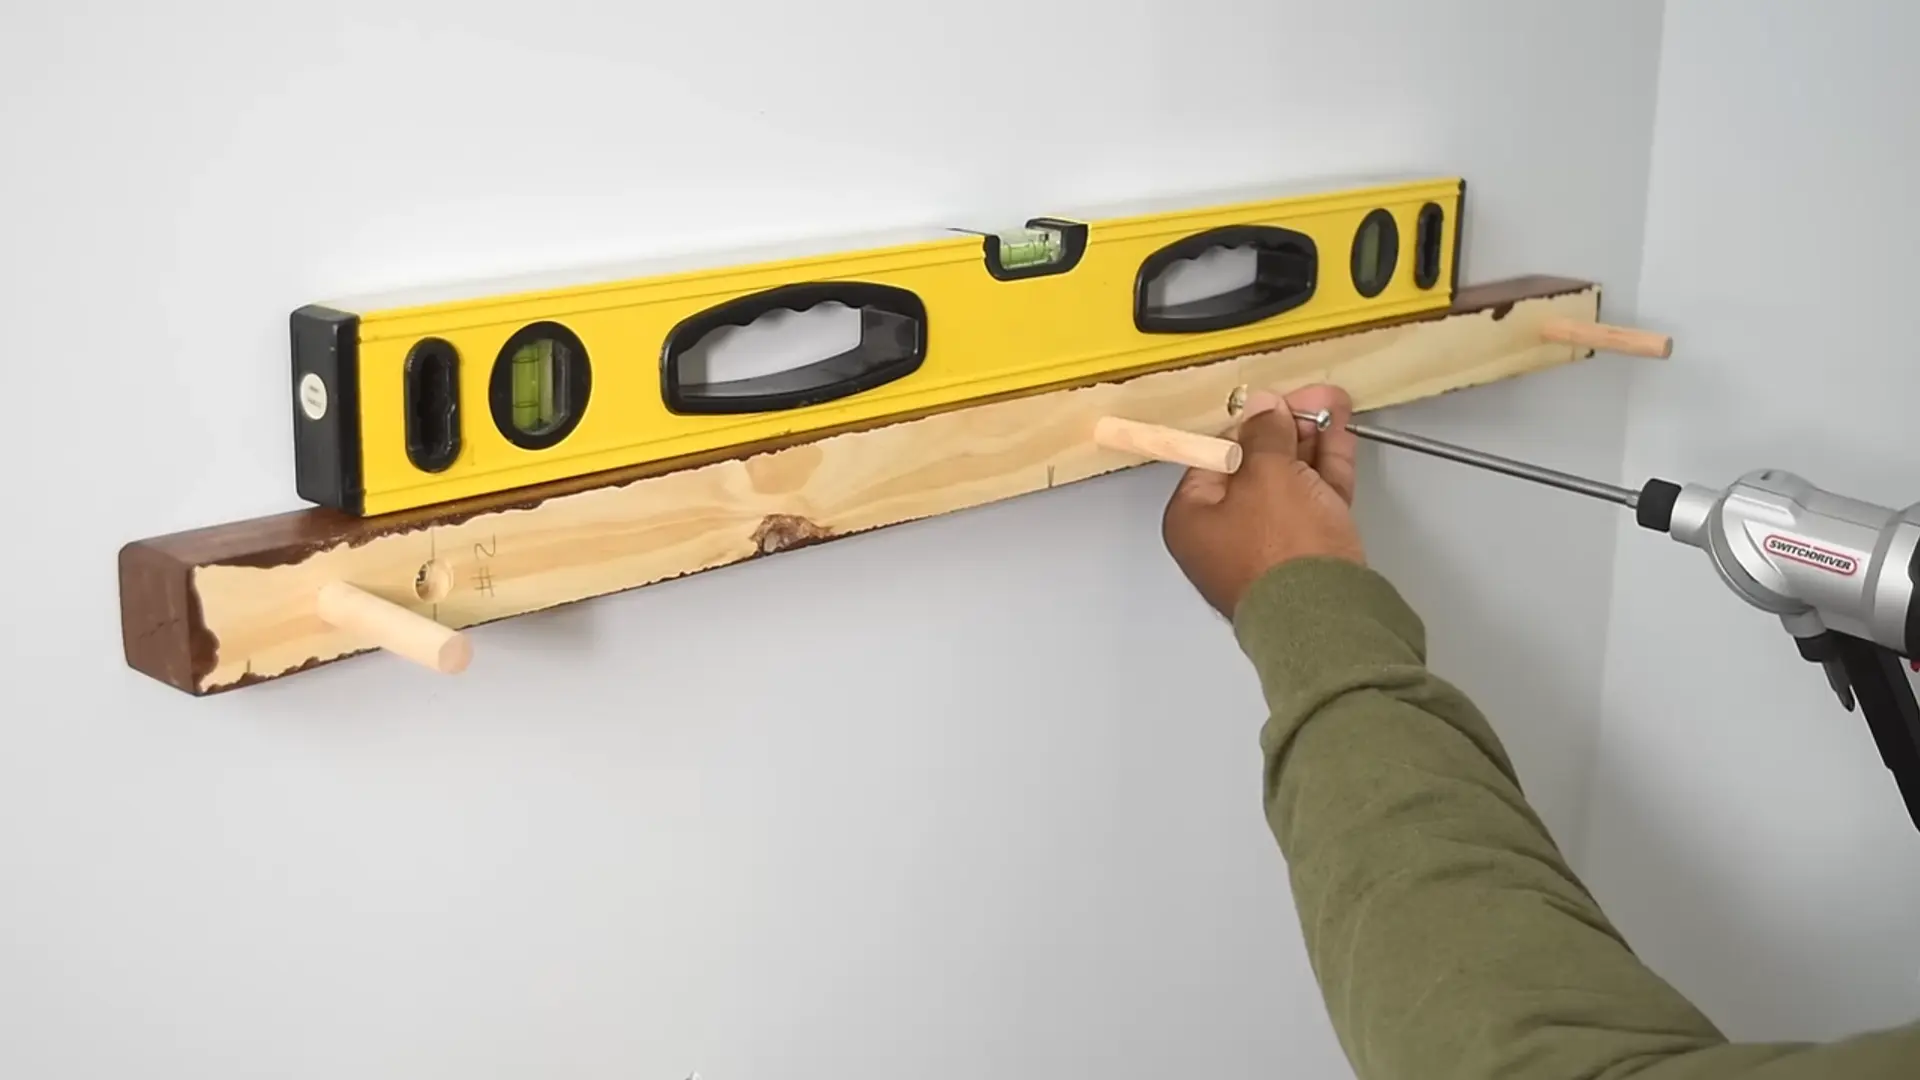
Locate wall studs and mark their positions clearly. Hold the support board against the wall and level it carefully. Drill pilot holes and secure it firmly into the studs.
Slide the shelves onto the dowels and add a safety screw to lock them in place. Check the level before loading items.
For a complete walkthrough of the process, check out the video tutorial by DIY Creators below:
Common Mistakes to Avoid When Building Floating Shelves
Even small errors during a DIY floating shelf build can lead to big problems later. Knowing what to watch out for before you start saves you time, money, and frustration.
- Not mounting into wall studs: Always find your studs first and drive brackets directly into them.
- Using thin wood or weak brackets: Match your wood thickness and bracket strength to the weight you plan to store.
- Skipping the leveling step: Always use a spirit level before you drill and check both ends of your wall mark.
- Not pre-drilling holes: Drill a small pilot hole first to keep your wood clean and crack-free.
- Overloading the shelf: Always stay within the recommended weight limit for your setup.
Avoiding these mistakes makes the difference between a shelf that lasts years and one that fails within months. A little extra care on each step goes a long way.
How Much Weight Can a Floating Shelf Hold?
Weight capacity depends on three factors: how the shelf is mounted, the brackets used, and the thickness of the wood. There’s no single answer, but understanding the basics helps you load your shelf safely.
Weight Capacity When Mounted to Studs
Mounting into wall studs gives your shelf the strongest possible hold. Studs provide a solid anchor point that drywall alone simply can’t match.
Here’s a general weight guide for stud-mounted floating shelves:
| Shelf Length | Wood Type | Bracket Type | Estimated Weight Capacity |
|---|---|---|---|
| Up to 24 inches | Pine | Hidden rod bracket | 30 – 40 lbs |
| Up to 24 inches | Oak / Maple | Hidden rod bracket | 45 – 55 lbs |
| 24 – 36 inches | Plywood | Internal support frame | 50 – 70 lbs |
| 24 – 36 inches | Oak / Maple | Internal support frame | 60 – 80 lbs |
| 36 inches+ | Plywood / Oak | Heavy-duty frame + center support | 80 – 100 lbs |
These numbers assume proper installation into at least two studs. Always check the bracket manufacturer’s load rating before use.
Weight Capacity When Using Drywall Anchors
Drywall anchors are useful when studs aren’t available at your desired shelf location. However, they have clear limits compared to stud mounting.
Here’s what to expect with anchor-only installations:
| Anchor Type | Max Load Per Anchor | Best For |
|---|---|---|
| Plastic expansion anchor | 10 – 20 lbs | Very light décor only |
| Toggle bolt anchor | 30 – 50 lbs | Light to medium loads |
| Snap toggle anchor | 50 – 80 lbs | Medium loads with care |
| Molly bolt anchor | 30 – 50 lbs | Light shelves and frames |
Anchors work well for shelves holding light items, such as small plants or picture frames. For anything heavier, books, kitchen items, or appliances always mount into studs.
Conclusion
Building a floating shelf is less about complex tools and more about getting the basics right.
When you understand how support works, choose the right materials, and follow a clear process, the result is both strong and visually clean.
The key is precision at each stage, from measuring and cutting to mounting and load planning. Once you’ve built one properly, the rest becomes much easier to repeat across different rooms.
Try your first shelf and see how much it improves your space. For more practical DIY guides, explore other posts on the website.


