How to Build a Barn Door: Step-by-Step Guide
A sliding door mounted on a metal track may look simple, but building one correctly takes more planning than most people expect.
Building one involves more than cutting boards and attaching hardware. Proper sizing, weight balance, wall support, and finishing choices all affect how smoothly the door operates over time.
In this guide, you’ll understand how the system works, how to measure accurately, what materials to choose, and how to assemble and install everything step by step.
Let’s begin by understanding what a barn door is and why homeowners choose it.
What is a Barn Door and Why Homeowners Choose It
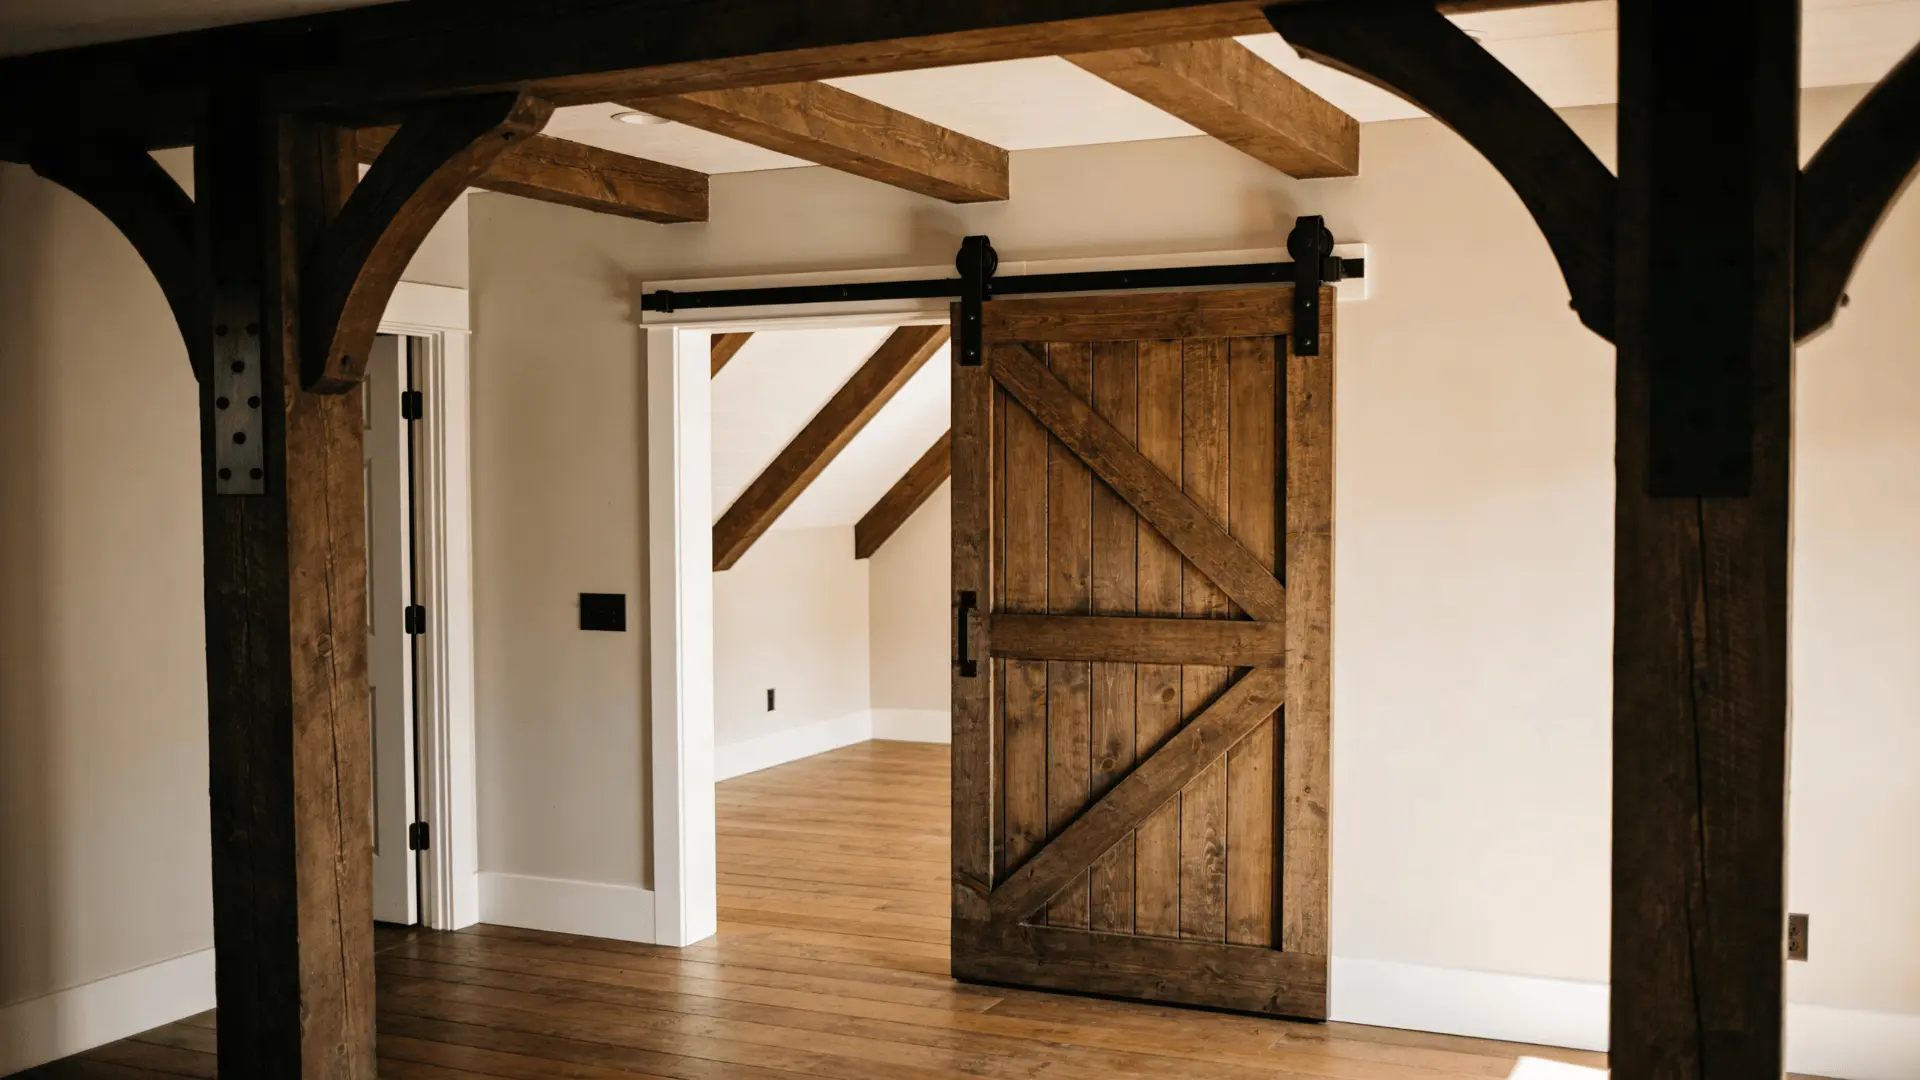
A barn door is a sliding door that moves along a metal track installed above a doorway. Instead of opening outward on hinges, the door slides sideways across the wall using rollers attached to the top of the door.
The system typically includes a wall-mounted track, rollers, door stops, and a floor guide that keeps the door steady.
When you slide the door, the rollers move along the track, allowing the door to open and close smoothly.
Many homeowners choose barn doors because they save space.
Since the door slides along the wall, it does not need the swing clearance required by traditional doors. This makes them useful for closets, bathrooms, bedrooms, and smaller rooms.
Barn doors are also popular because of their appearance. They work well with farmhouse, rustic, and modern interiors, depending on the design and finish.
For many DIY builders, the simple structure and customizable design make barn doors a practical home project.
How to Measure and Plan the Size of a Barn Door
Accurate measurements ensure the door covers the opening and slides properly. A door that is too small leaves gaps, while one that is too large may not move smoothly on the track.
Start by measuring the doorway and surrounding wall space. You also need enough space above the doorway to mount the sliding track.
The door should be slightly larger than the opening for full coverage. When measuring:
- Measure the width of the doorway opening
- Measure the height from the floor to the top of the frame
- Check measurements in multiple spots for accuracy
- Measure wall space beside the doorway to ensure the door can slide open fully
Typical sizing guidelines:
- Add 2–3 inches to each side of the opening
- Add 1–2 inches to the height
Example:
- Opening: 36 inches wide, 80 inches tall
- Barn Door: 40–42 inches wide, 81–82 inches tall
Door thickness and weight also matter. Most DIY barn doors are 1¼ to 1¾ inches thick, which provides strength without making the door difficult to handle.
Keep these factors in mind:
- Thicker doors resist warping
- Heavier doors require stronger hardware
- Most sliding systems support 150–250 pounds
Correct measurements and planning help the door fit properly and slide smoothly.
How to Build a Barn Door: DIY Guide
Building a barn door becomes much easier when you follow a clear step-by-step process. With proper measurements, basic tools, and the right materials, you can build and install a sturdy sliding door.
Tools and Materials Required
- Measuring tape
- Saw (for cutting boards)
- Sander or sandpaper
- Brad nailer (18-gauge)
- 1¼-inch brad nails (18-gauge)
- Drill and drill bits
- Clamps or ratchet straps
- Stud finder or another method to locate studs
- Pencil or marker for measurements
- Painter’s tape (for marking stud locations)
- Tongue-and-groove boards (main door panels)
- 1×4 boards (side and support framing)
- 1×6 board (center support piece)
- 1×5 board (header board above the door)
- Barn door hardware kit (rail and rollers)
- Wood glue and stain
- Clear protective coat (sealant or finish)
- Lag screws (for mounting the header board)
Step 1: Measure the Door Opening
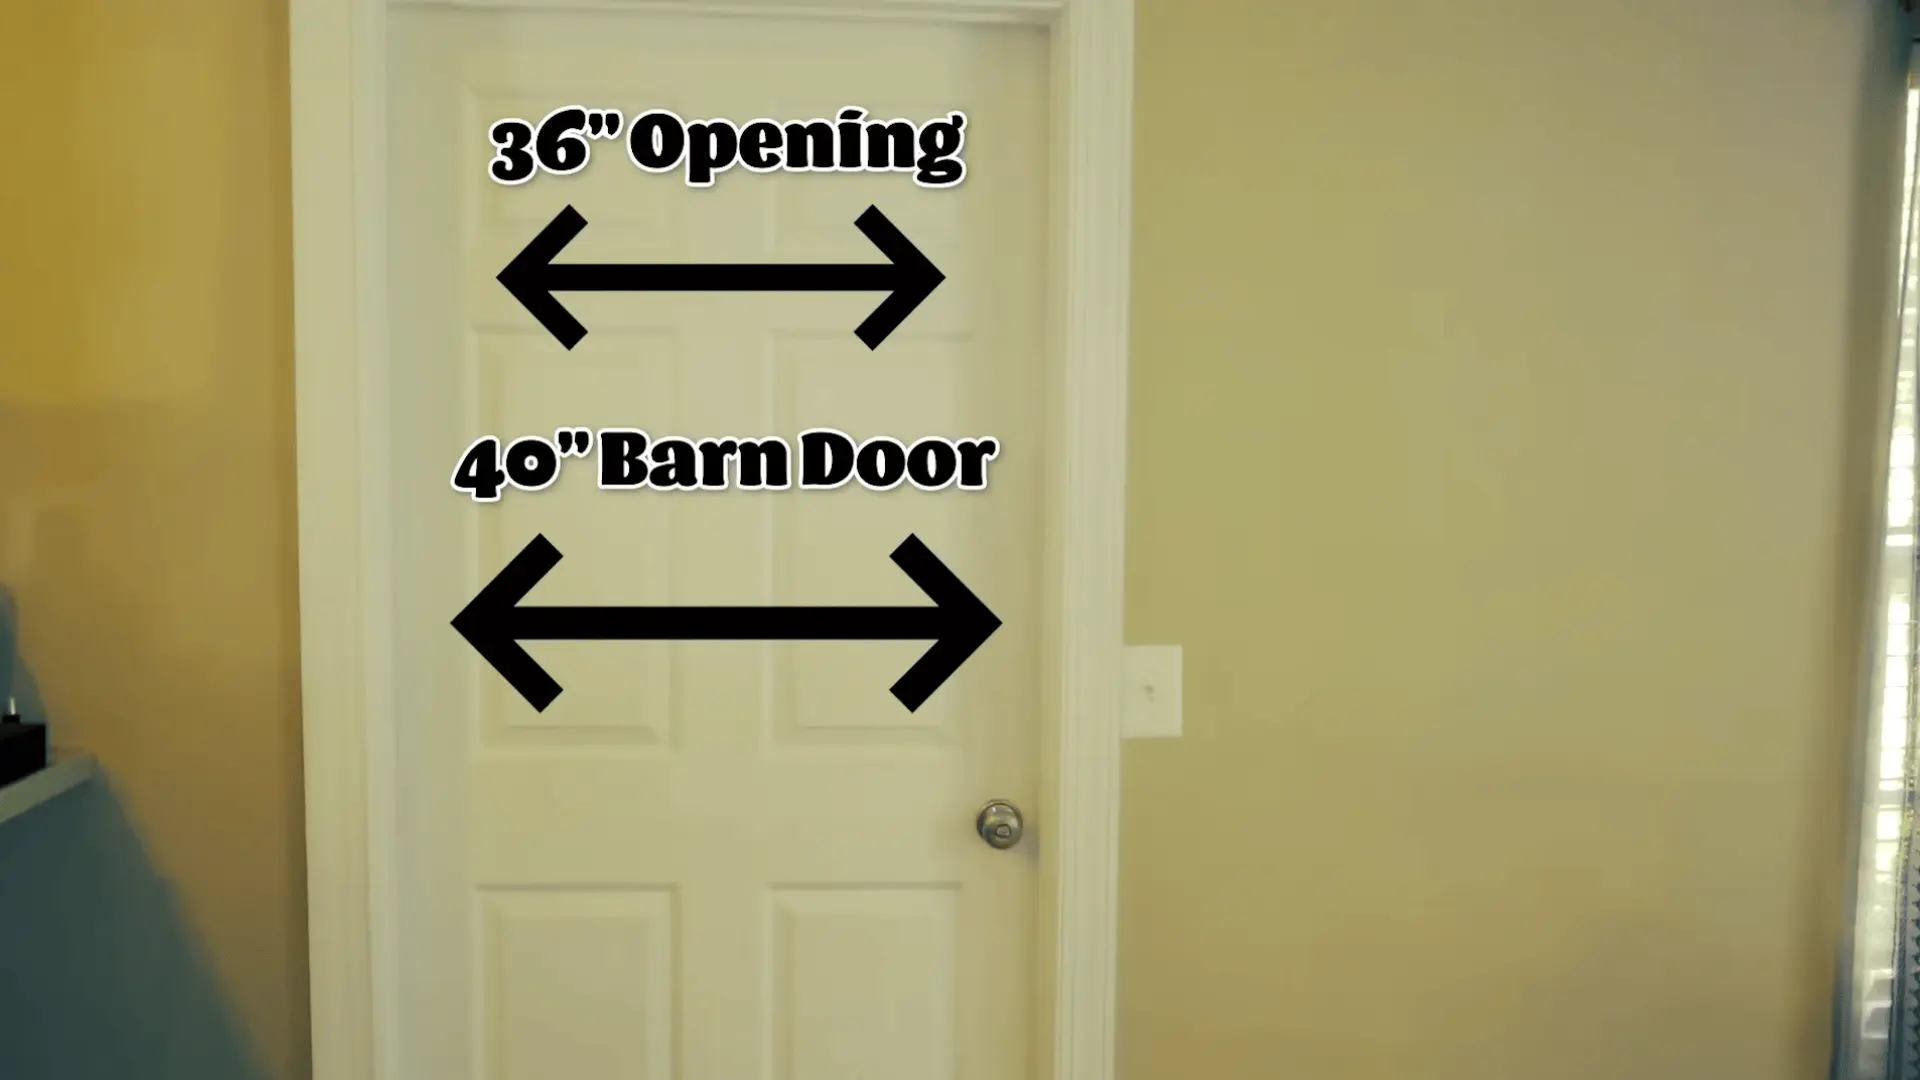
Start by measuring the width and height of the doorway. Make the barn door slightly wider than the opening so it covers the trim on both sides. Adjust the size based on your doorway.
Example measurements:
- Opening Width: 36 inches
- Door Width: about 40 inches
- Door Height: about 84 inches
Step 2: Cut the Main Boards
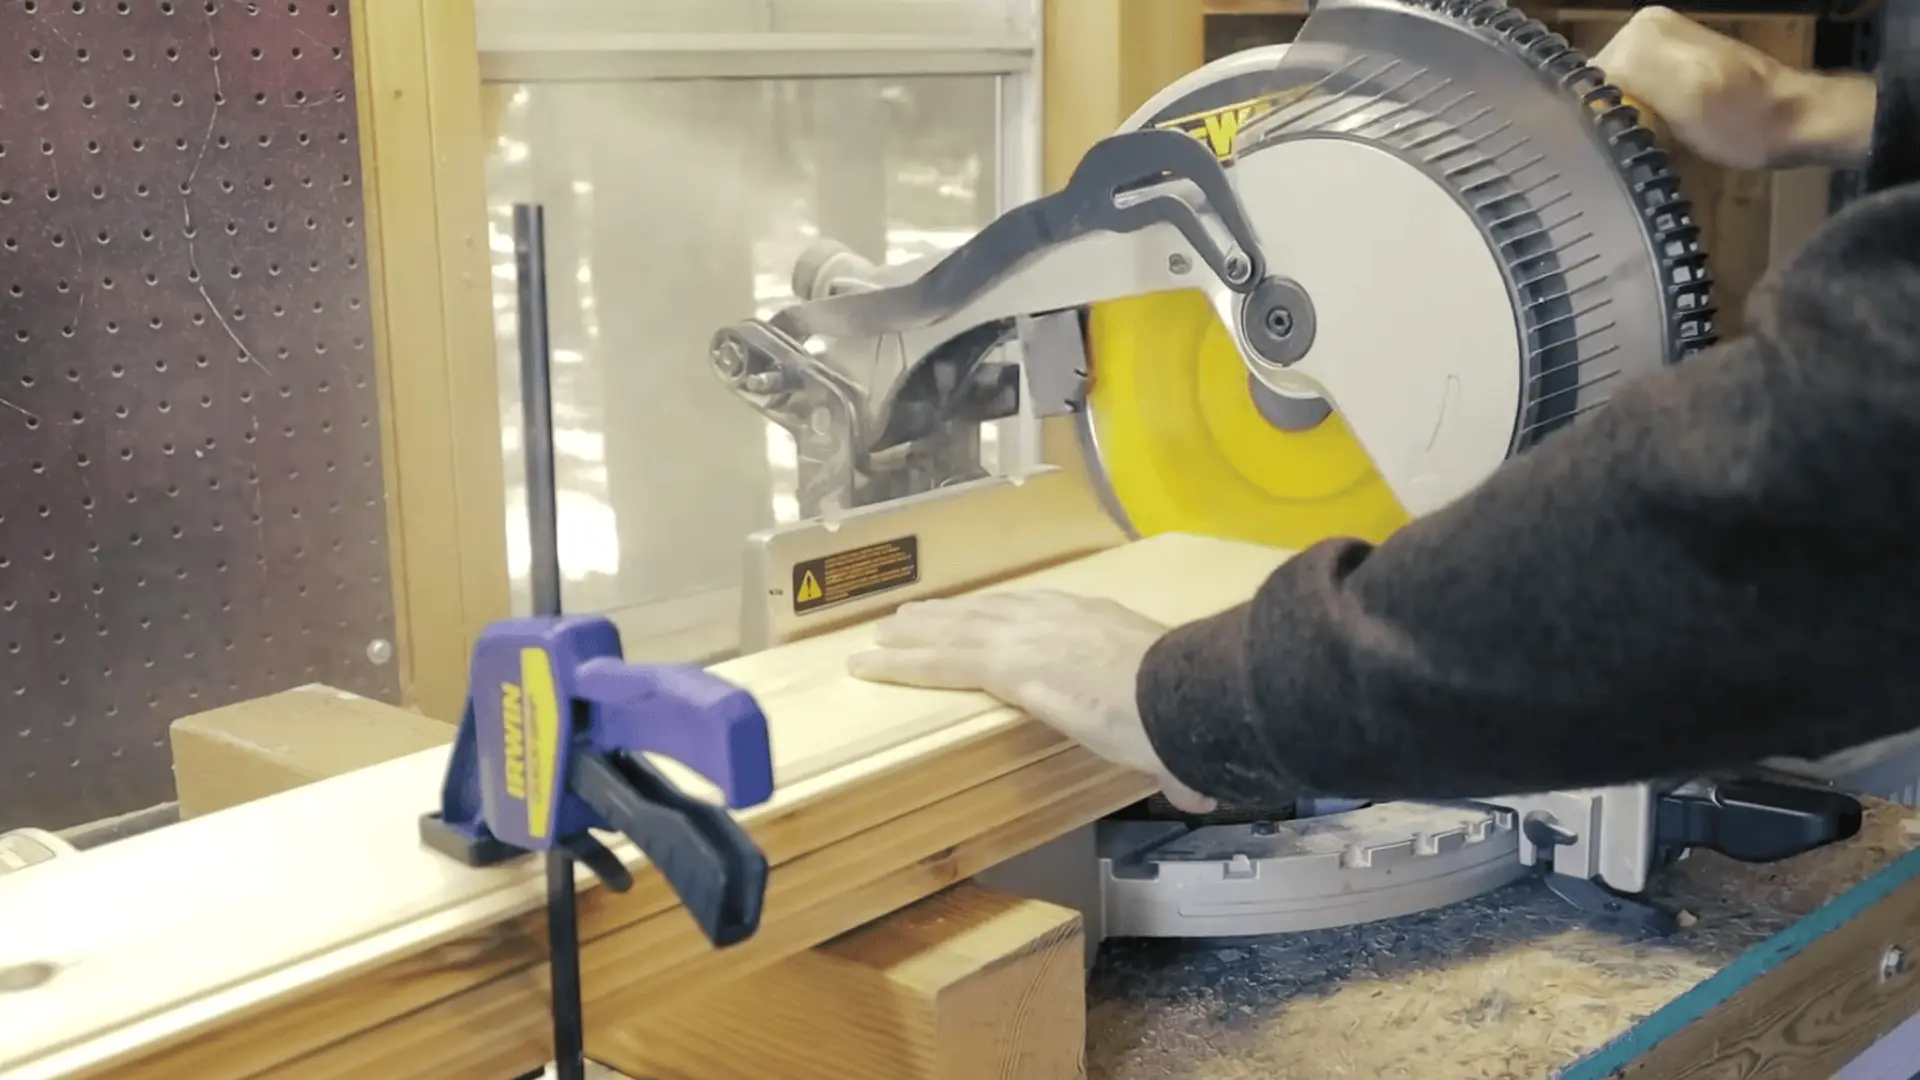
Cut the tongue-and-groove boards and the two side boards to the full door height.
If the boards together make the door wider than needed, trim a small amount from the outer boards so the final width matches the planned size and both sides stay flat.
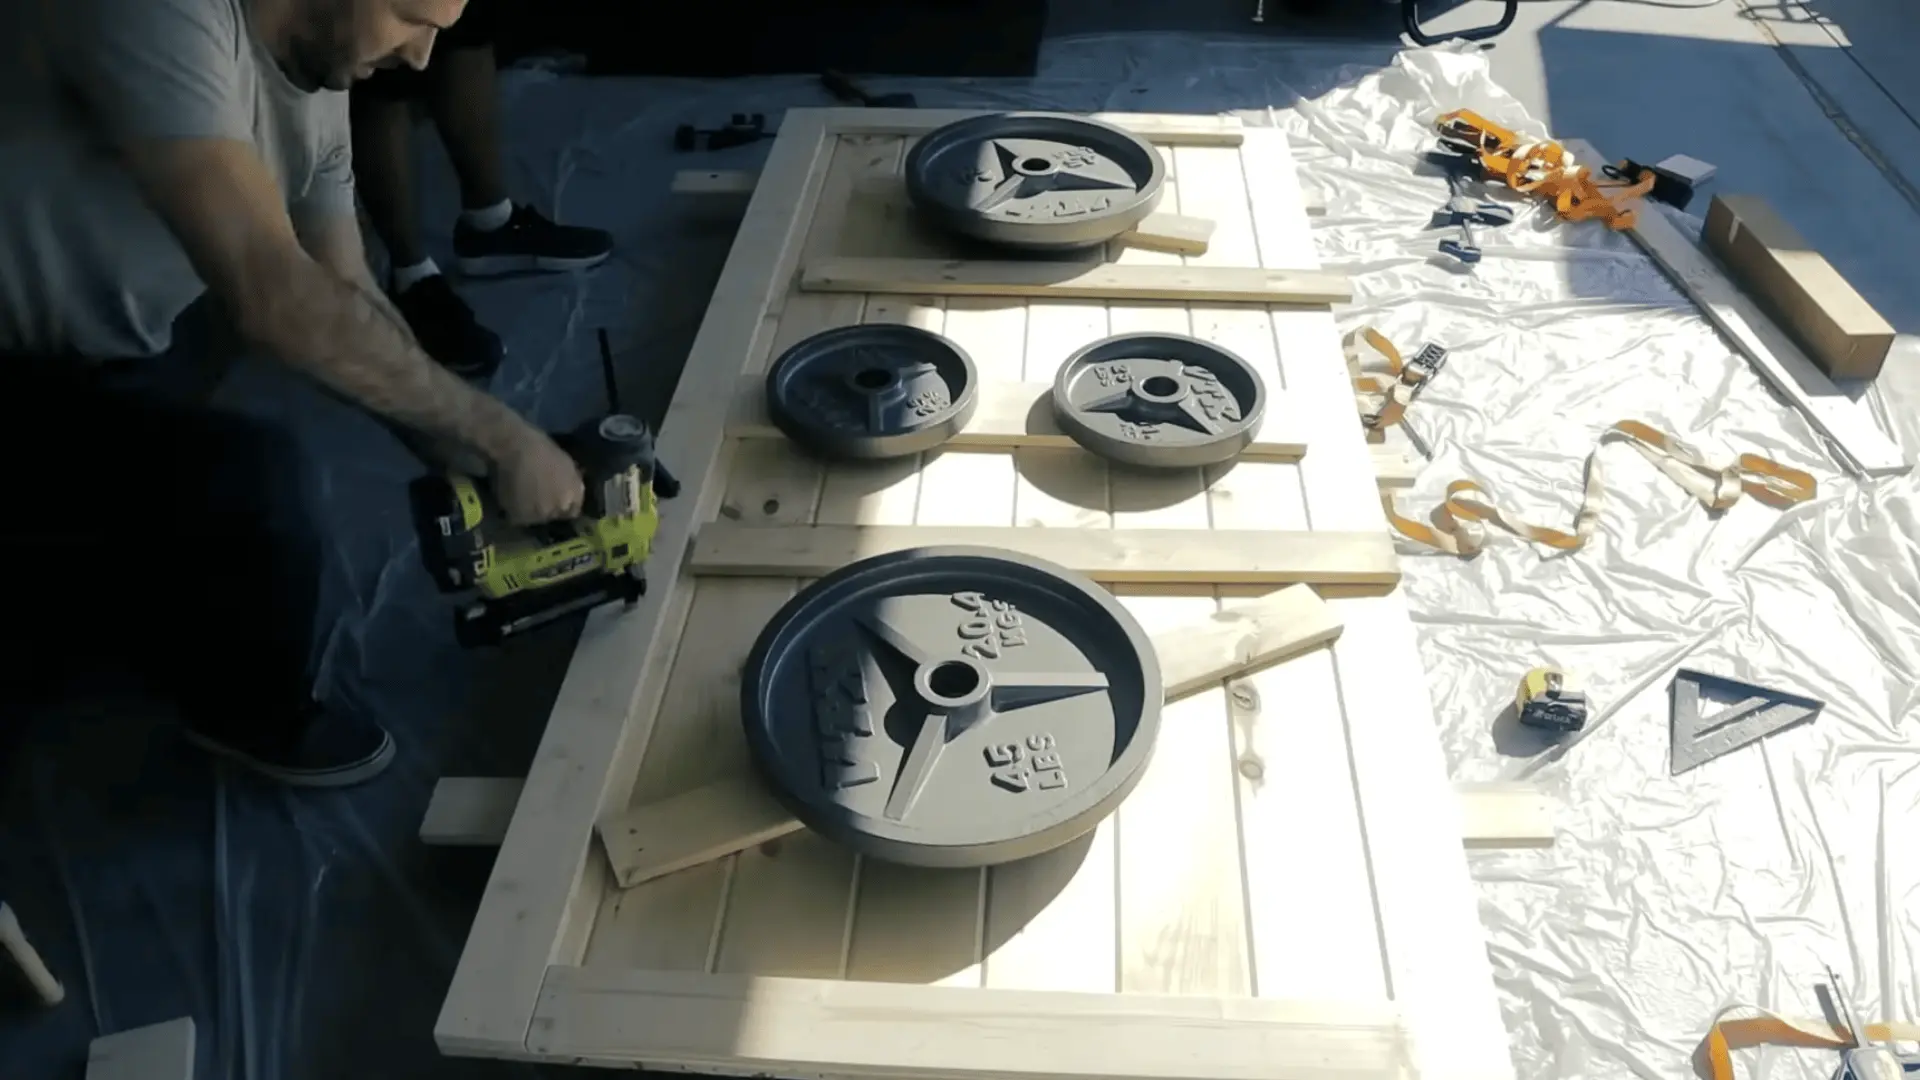
Step 3: Join the Boards
Lightly sand the edges of each board so they fit smoothly. Apply wood glue along the edges and press the boards together.
Use clamps or ratchet straps to hold everything tight while the glue sets. Make sure the top and bottom edges stay aligned.
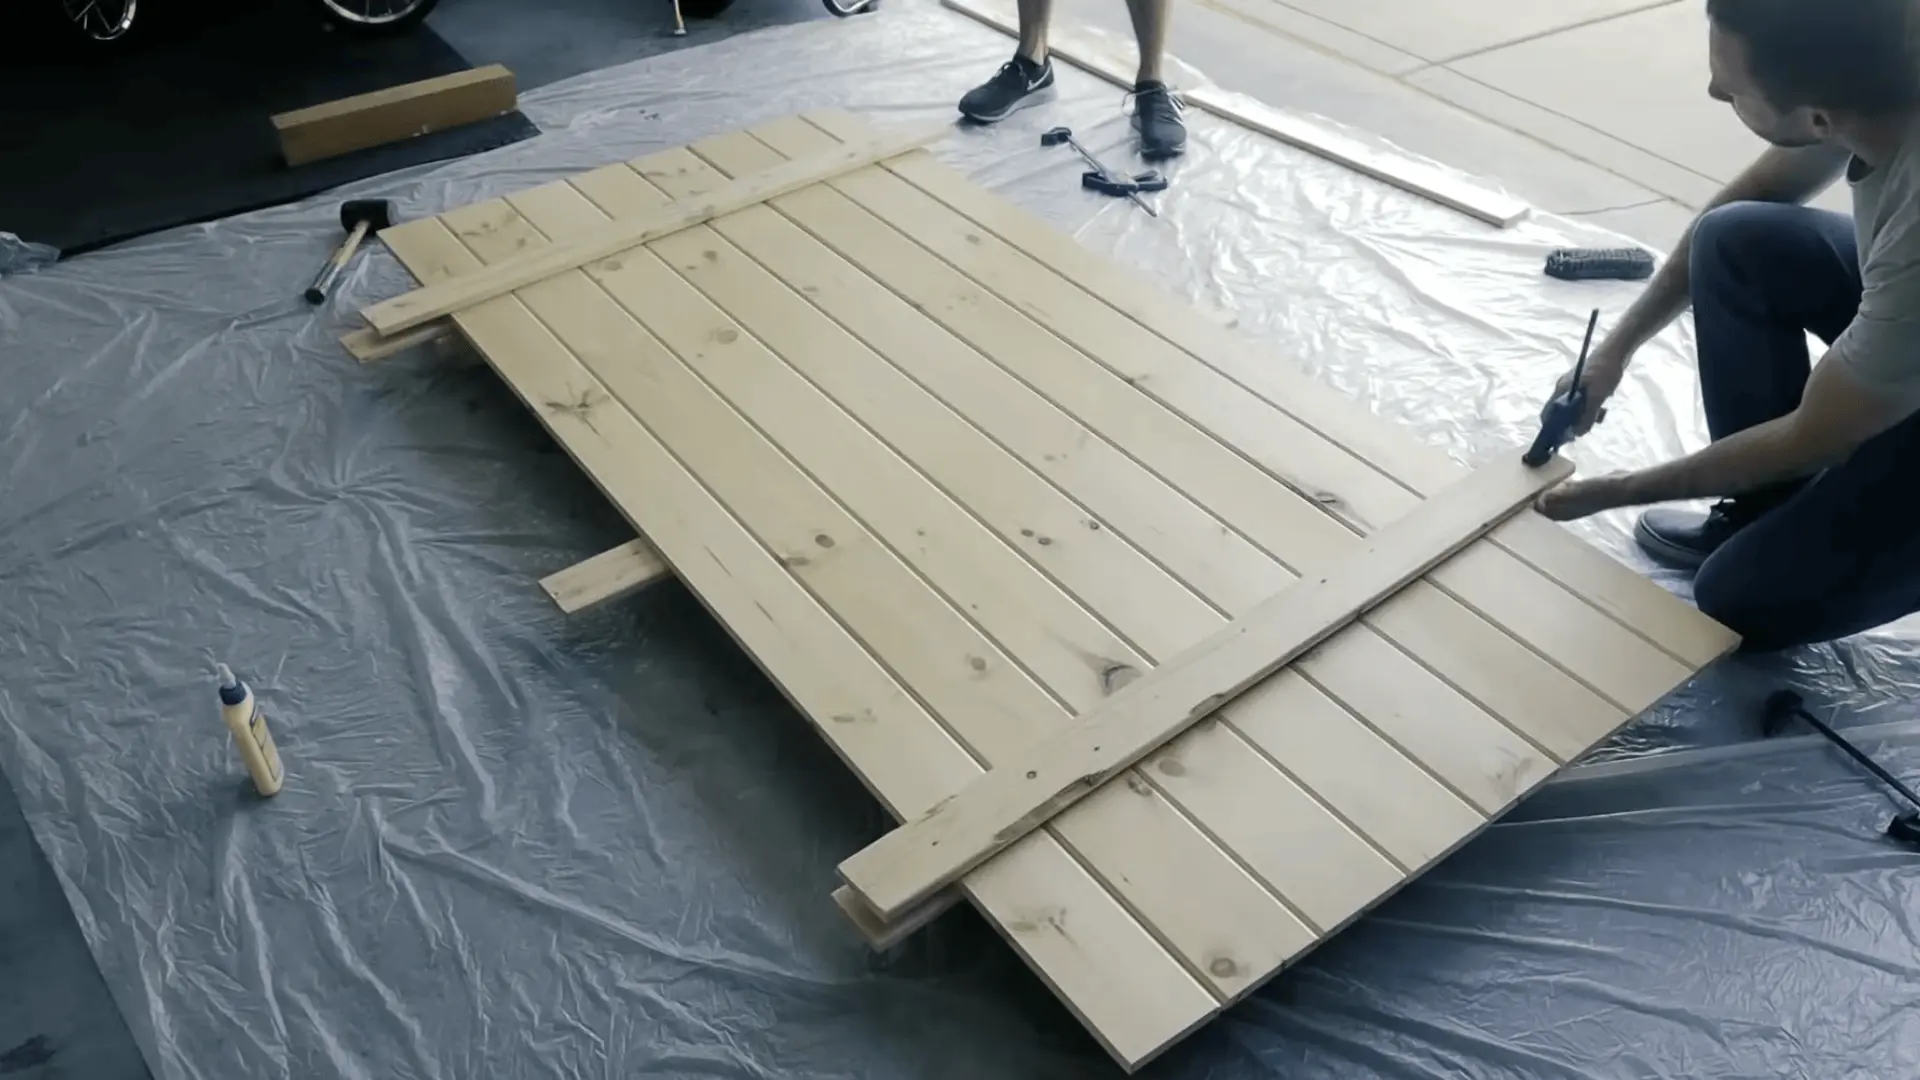
Step 4: Add Support Boards
Cut three horizontal support boards to the door width, subtracting the width of the two vertical side pieces.
Attach:
- One near the top
- One near the bottom
- One centered in the middle
Secure them with wood glue and brad nails. Then attach the two vertical side boards and the center board.
Step 5: Sand and Finish the Door
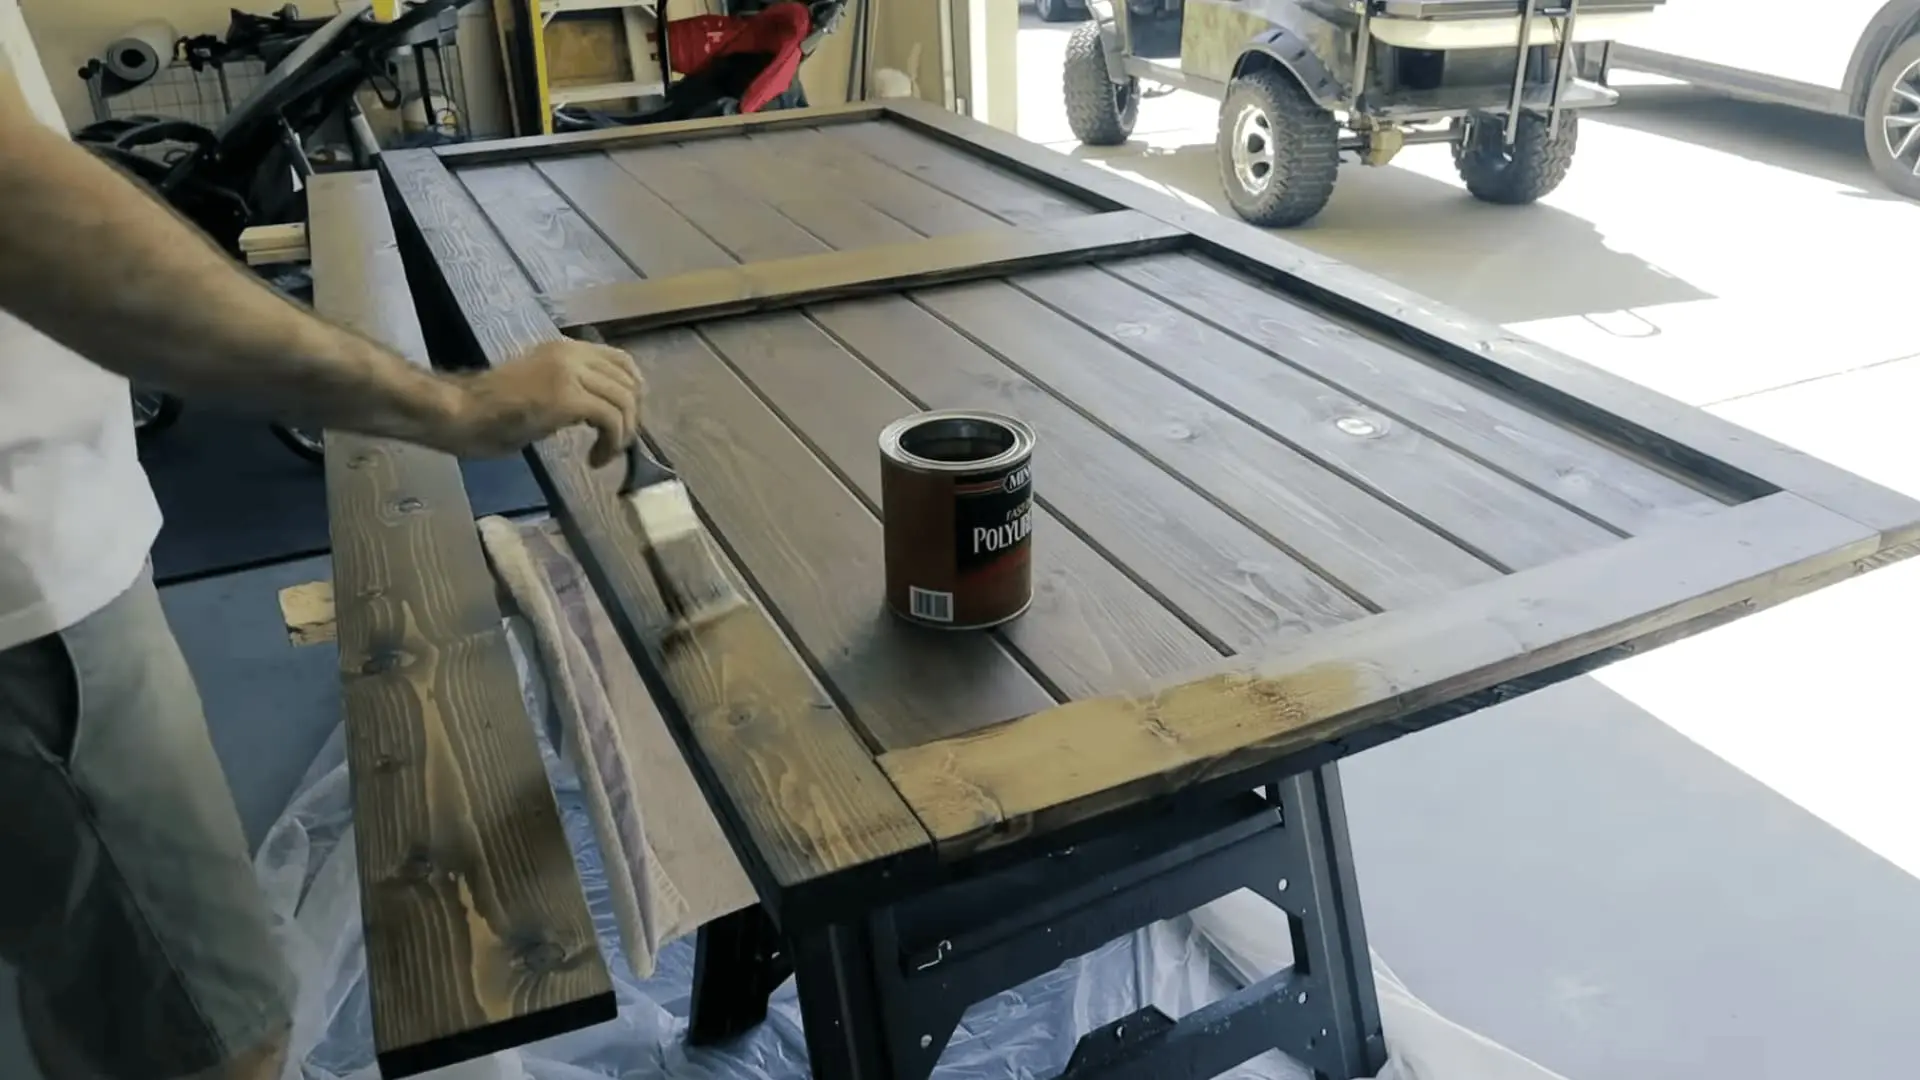
After the door is fully assembled, sand the entire surface to remove rough spots and create an even finish.
Apply a wood stain to achieve the desired color and allow it to dry completely, which typically takes about 24 hours.
Once the stain has dried, apply two coats of clear protective finish to seal the wood and improve durability.
Step 6: Install the Door Hardware
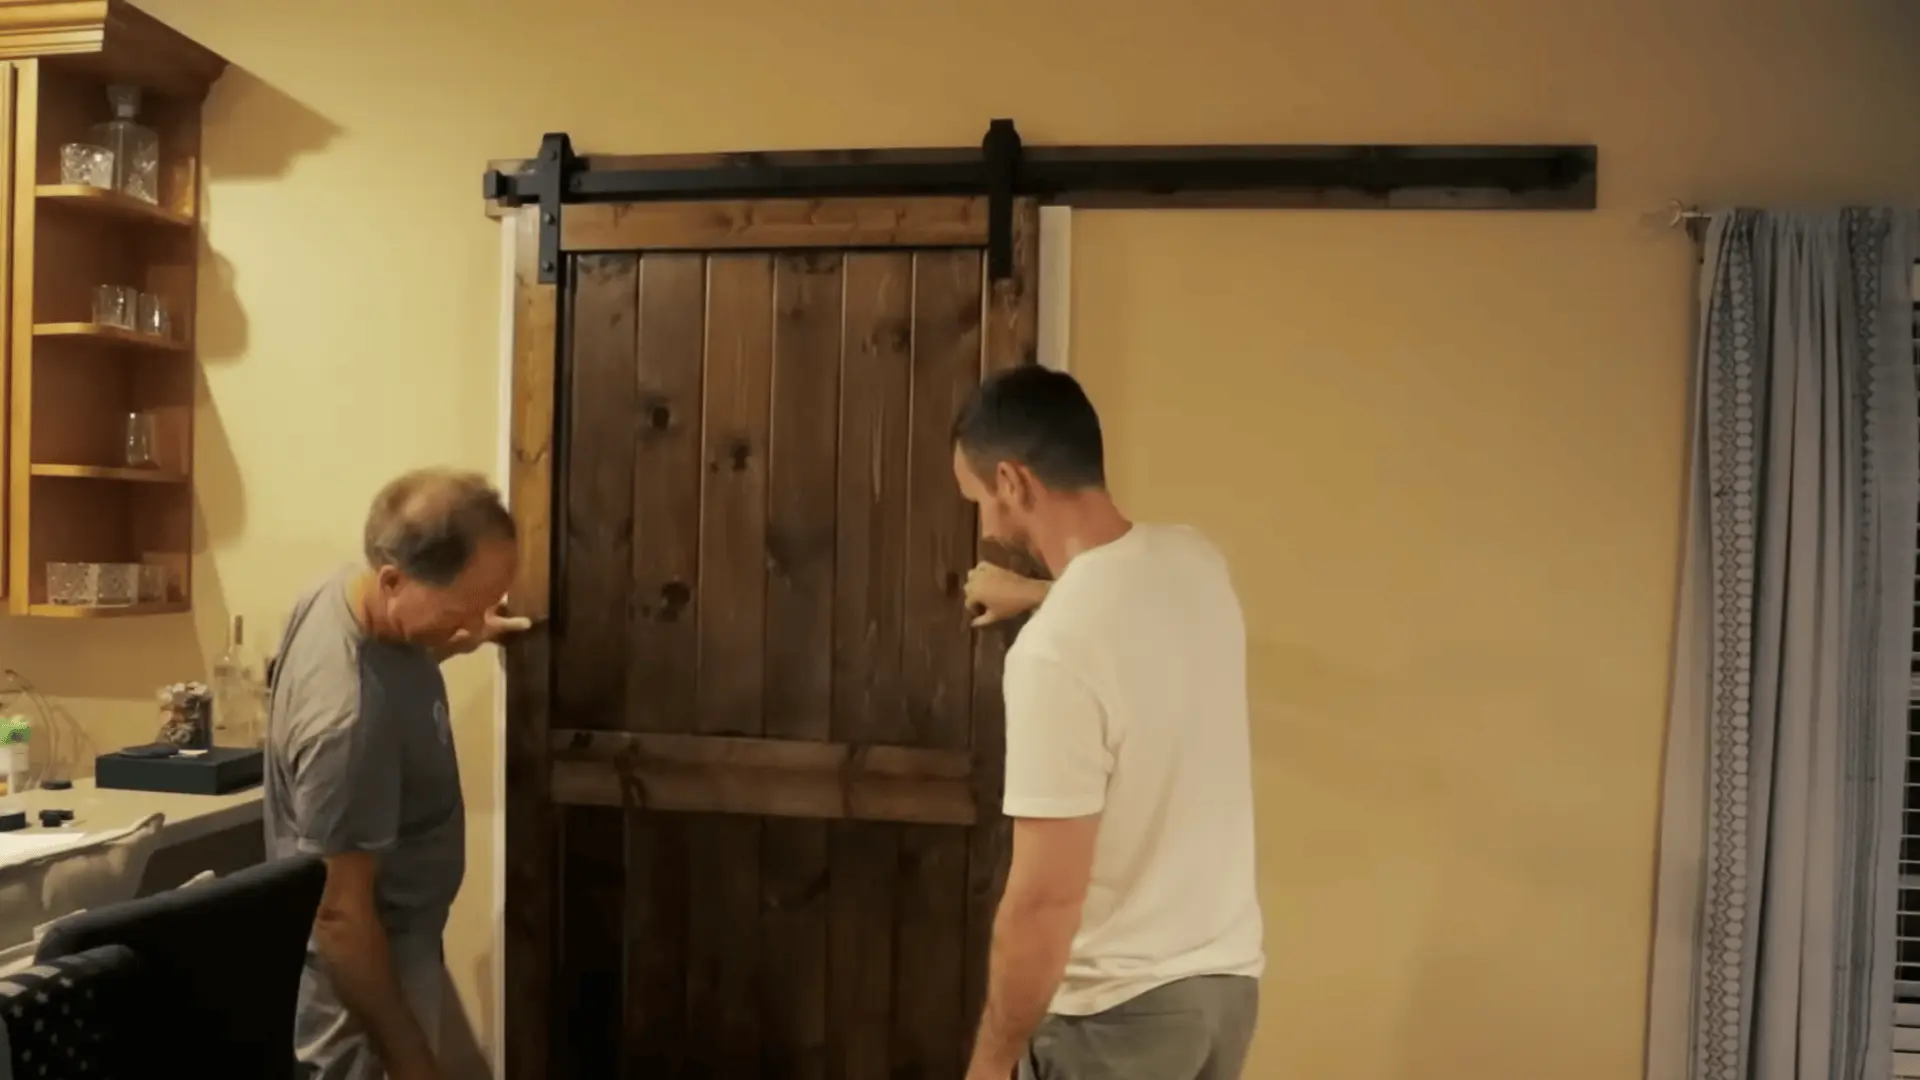
Attach a header board above the doorway and fasten it securely to the wall studs. Mount the sliding rail to the header board.
Finally, install the rollers on the door and hang it on the rail to complete the barn door installation.
For a complete walkthrough of the process, check out the complete video tutorial below:
Common Mistakes to Avoid When Building a Barn Door
Small mistakes during planning or installation can affect how smoothly the door slides and how long it lasts. Avoiding these issues helps create a stronger and more reliable barn door.
- Choosing Wood That Is Too Thin or Weak: Thin boards can warp or bend over time. A finished door thickness of about 1¼ to 1¾ inches helps maintain strength.
- Incorrect Door Sizing For The Opening: A door the same size as the opening can leave gaps. Extend the door about 2–3 inches past the sides and 1–2 inches above the opening.
- Poor Brace Placement Causing Sagging: Large doors need proper support. A Z-brace, diagonal brace, or strong outer frame helps keep the door from sagging.
- Installing Hardware Without Proper Wall Support: Tracks should be secured to wall studs with lag bolts. A header board can provide a stronger mounting surface if needed.
How to Finish and Protect the Barn Door
Finishing improves the appearance of the door and protects the wood from daily wear. Most finishing methods include sanding the surface, applying stain or paint, and sealing the door with a protective topcoat.
Sanding and Surface Preparation
Sanding creates a smooth surface and helps the finish stick evenly to the wood. Start with medium-grit sandpaper and move to a finer grit for a smoother result.
During preparation, follow these steps:
- Sand with the grain of the wood
- Smooth edges and joints
- Fill screw holes with wood filler
- Remove dust before applying any finish
Proper surface preparation helps the final finish look clean and even.
Staining a Barn Door for a Natural Look
Staining enhances the natural grain and texture of the wood. This option works well if you want a warm and rustic appearance.
Follow these basic steps:
- Apply wood conditioner if the wood requires it
- Brush or wipe the stain evenly across the surface
- Work in small sections for consistent coverage
- Wipe away excess stain
- Allow the stain to dry fully
Darker stains often create a rustic farmhouse feel, while lighter stains give the door a softer and more natural appearance. A clear protective coat can be added afterward for durability.
Painting a Barn Door for a Modern Finish
Painting gives a barn door a smooth, solid color that suits modern interiors. Start by applying primer and lightly sanding the surface once it dries.
Then apply two thin coats of paint for an even finish. Popular choices include white, black, gray, and soft earth tones. A clear topcoat can improve durability and protect the surface.
Adding a clear topcoat after painting can improve durability and help protect the surface from scratches.
Interior Barn Doors vs. Exterior Barn Doors
Interior and exterior barn doors serve different purposes, so their construction and materials are not the same. The table below highlights the key differences between the two.
| Feature | Interior Barn Doors | Exterior Barn Doors |
|---|---|---|
| Purpose | Mainly decorative and used inside the home | Built for protection and durability outdoors |
| Common Materials | Pine, plywood, or MDF | Thicker lumber and weather-resistant materials |
| Design Style | Often includes decorative Z-brace or X-brace patterns | Focuses more on strength than decoration |
| Typical Locations | Bedrooms, closets, bathrooms, and interior spaces | Garages, barns, sheds, or exterior building entrances |
| Hardware | Decorative sliding hardware designed for lighter doors | Heavy-duty hardware that supports heavier doors |
| Structure | Lighter construction with less structural reinforcement | Strong framing to prevent sagging over time |
| Weather Protection | Not designed to seal or protect against weather | Built to resist moisture, temperature changes, and outdoor conditions |
| Room Sealing | Does not completely seal a room | Designed to close tightly for better protection |
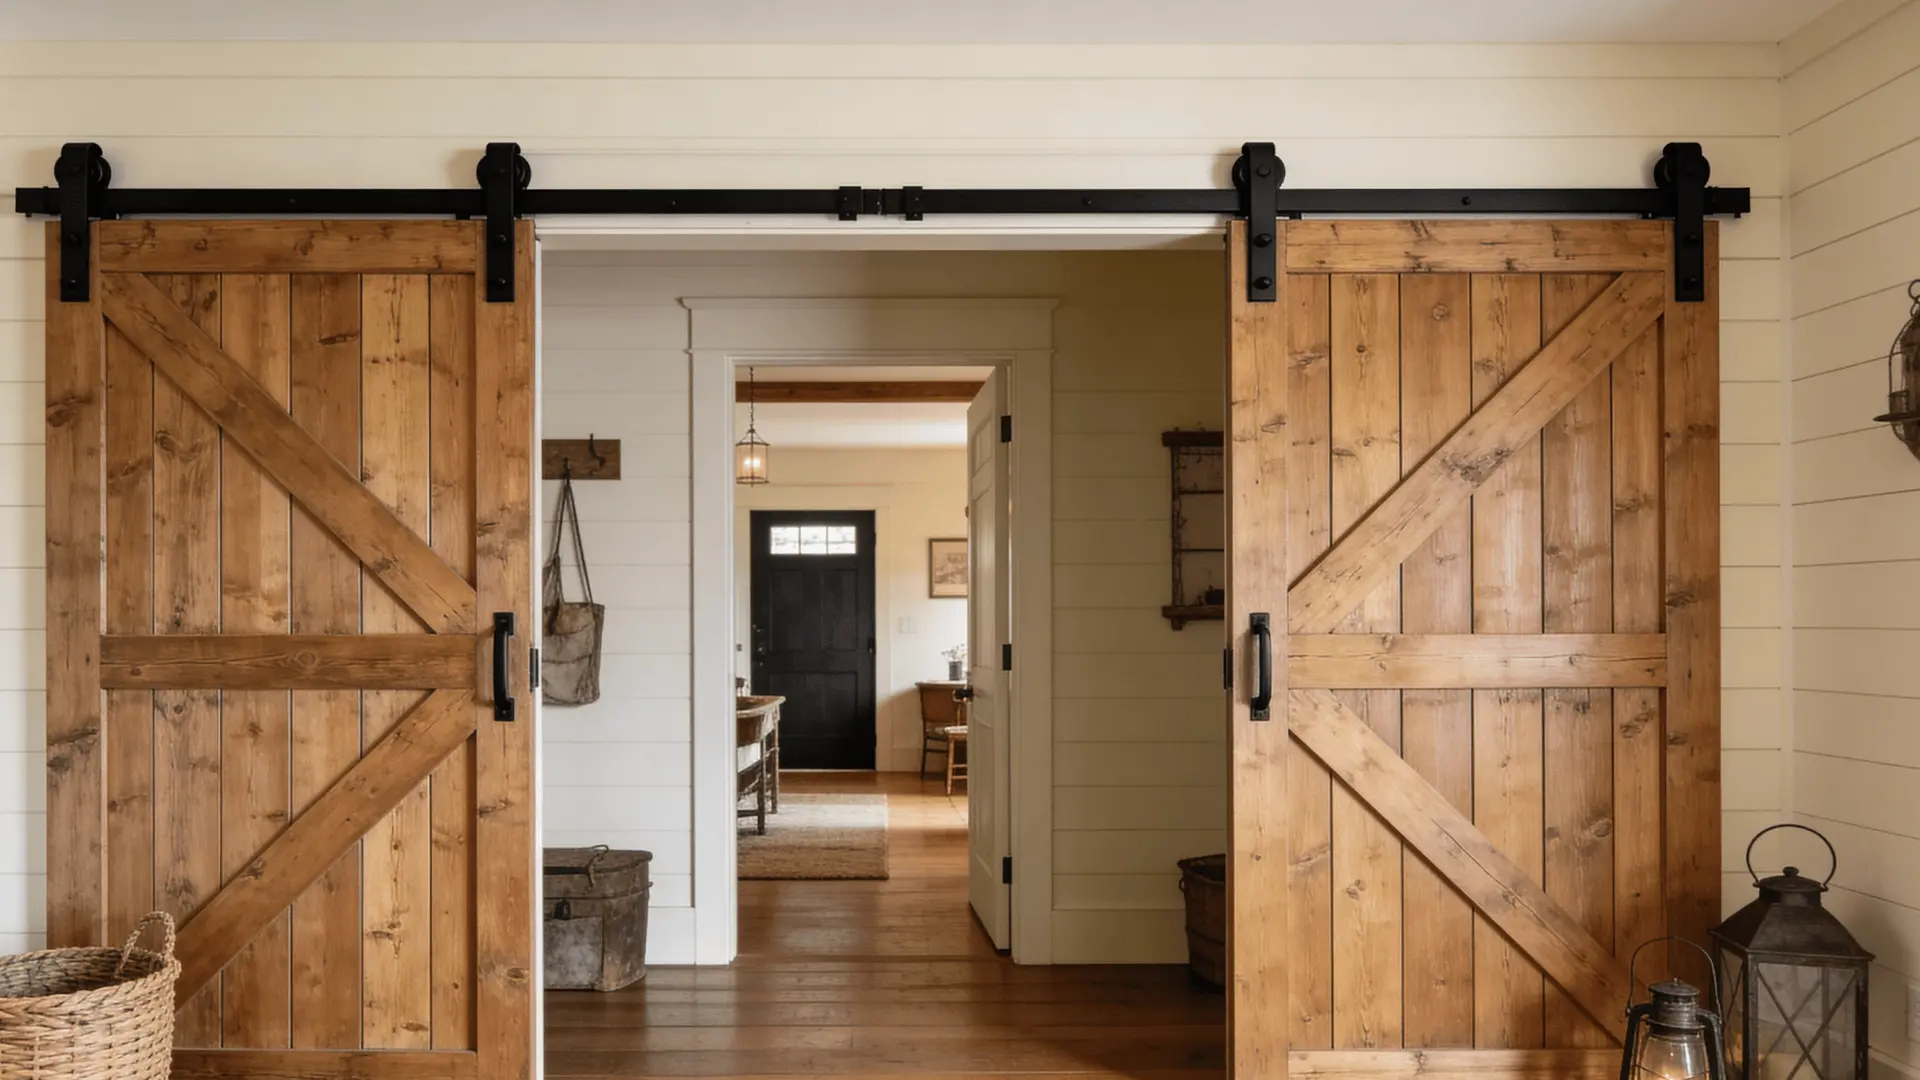
Popular Barn Door Design Styles You Can Build
Barn doors come in several design styles, and the pattern you choose affects both the appearance and the strength of the door.
Many beginners prefer simple layouts that use straight boards and basic framing because they are easier to build and require fewer complex cuts.
1. Classic Z-Brace Barn Door
One of the most common and beginner-friendly designs. This style uses a top horizontal board, a bottom horizontal board, and a single diagonal brace that runs across the door.
The diagonal brace helps prevent the door from sagging over time while also creating a traditional farmhouse look that works well in many homes.
2. X-Brace Farmhouse Barn Door
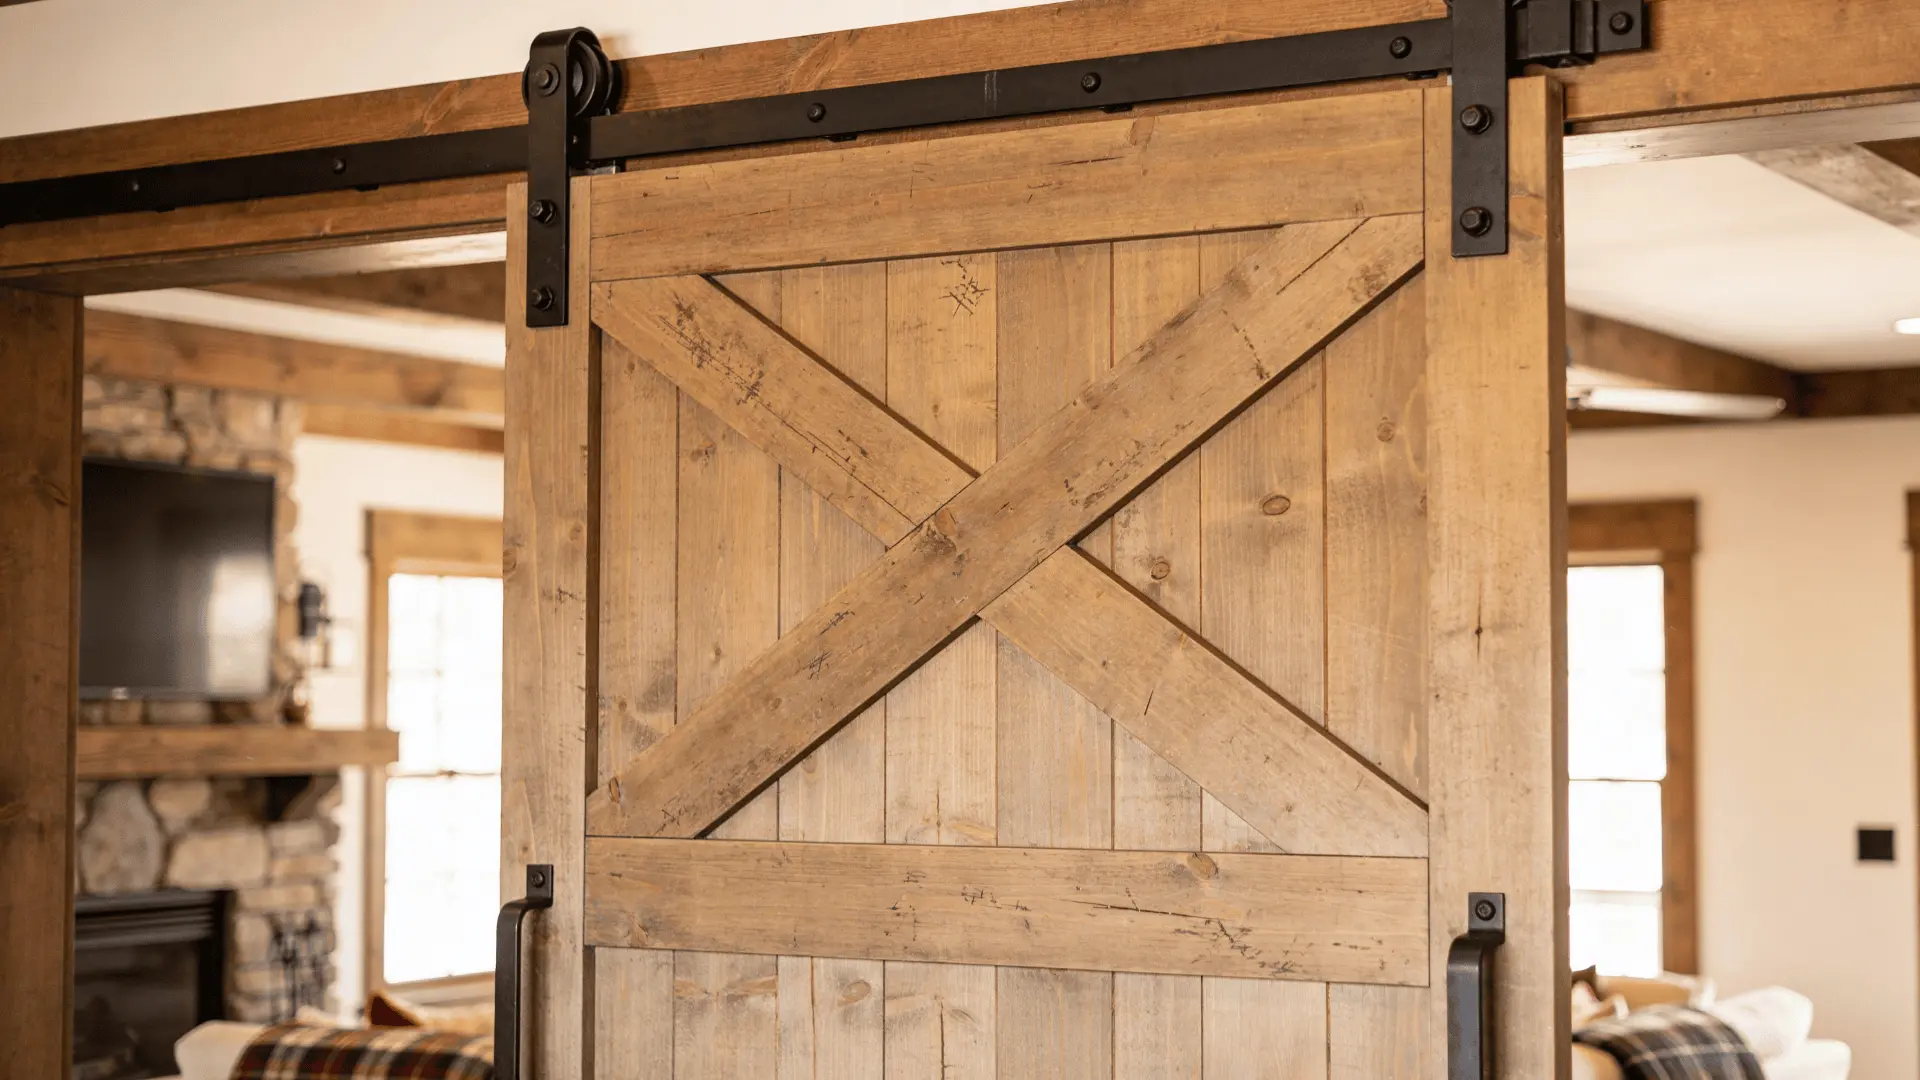
This design uses two diagonal boards that cross each other to form an “X.” The layout adds extra reinforcement, which makes it suitable for larger or heavier doors.
The symmetrical X pattern also creates a balanced design that is often associated with farmhouse interiors.
3. Modern Flat Panel Barn Door
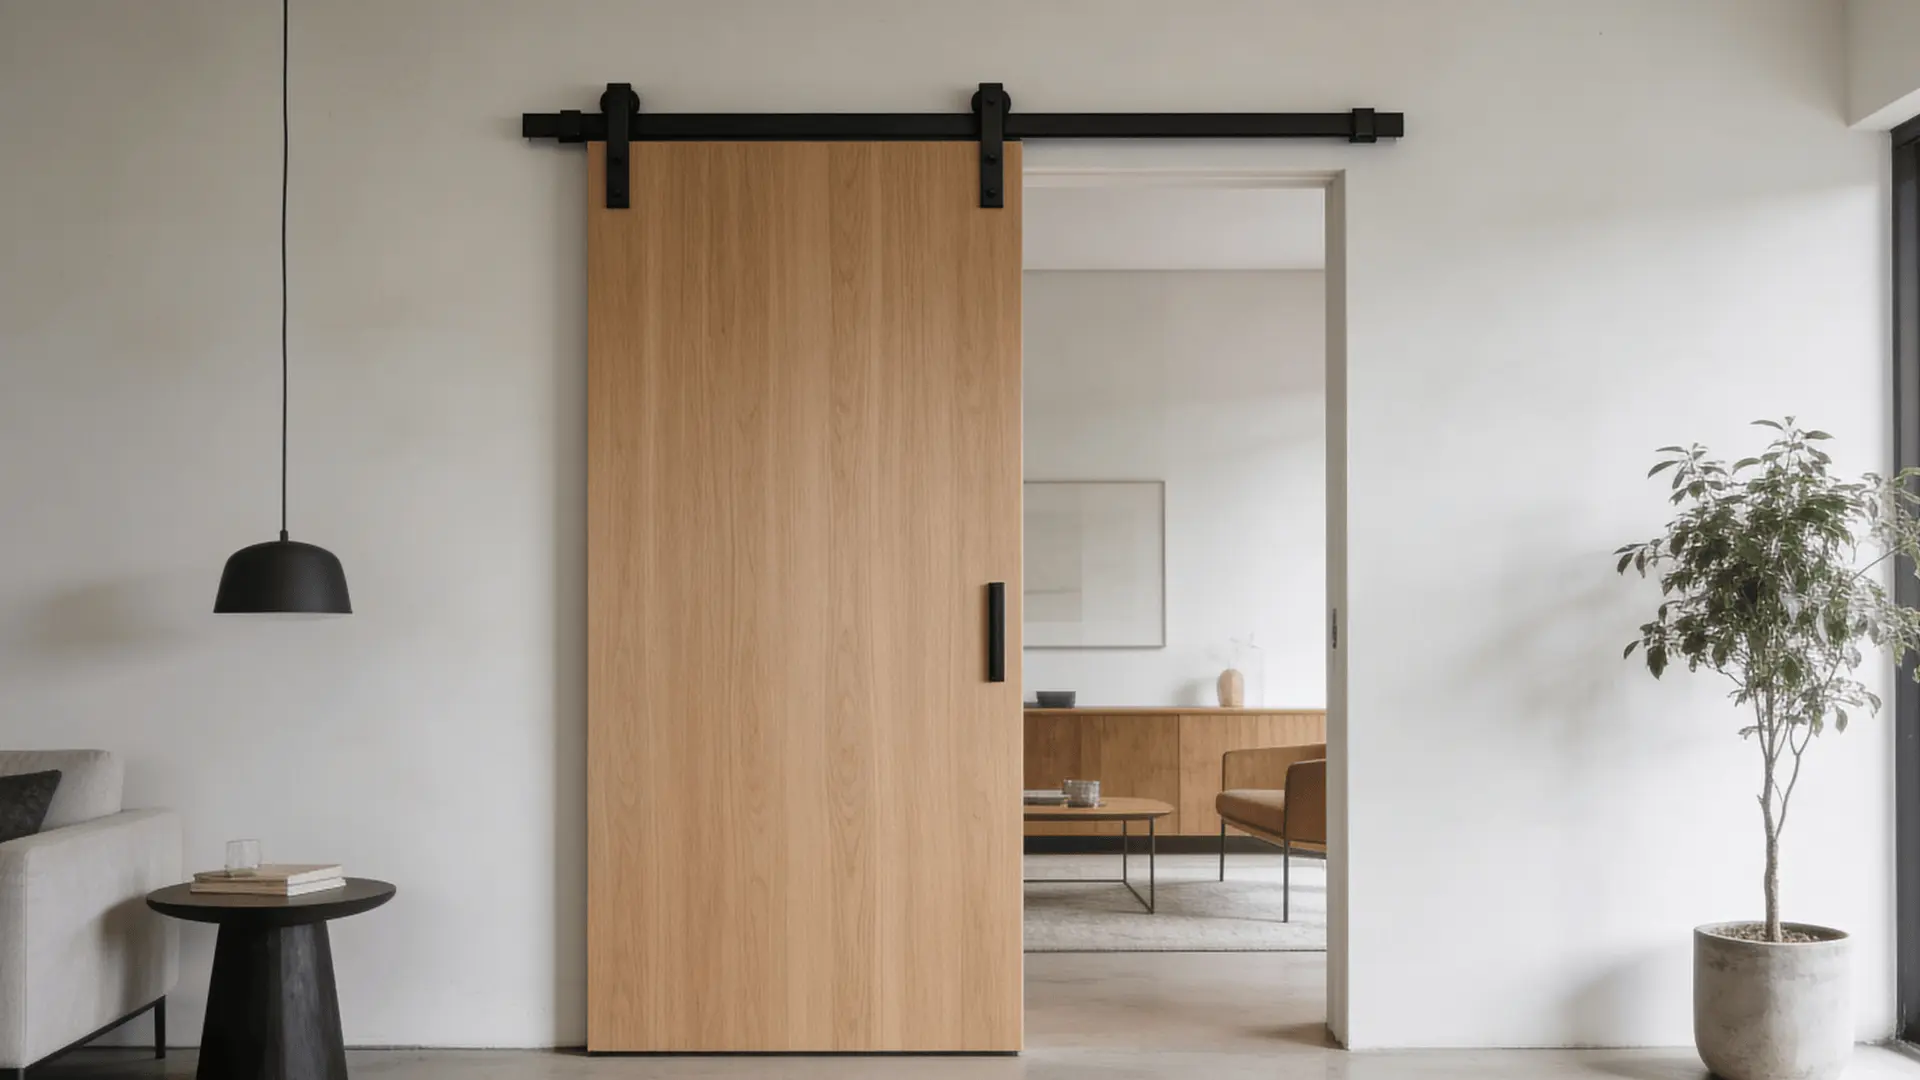
This style has a smooth surface without decorative braces. It is usually made from a plywood or MDF panel surrounded by a simple frame.
The clean lines and minimal details make it a good choice for modern or contemporary interiors.
Conclusion
Learning how to build a barn door can be a rewarding DIY project. With careful measurements, strong materials, and proper installation, you can create a door that looks great and works smoothly for years.
The key is taking your time with each step, especially when assembling the frame and installing the hardware.
A homemade barn door also gives you full control over the design, size, and finish so it fits your space exactly the way you want.
Have you built a barn door before, or are you planning your first one? Share your experience or questions in the comments below.
Frequently Asked Questions
Can You Turn a Regular Door Into a Barn Door?
Yes. A regular door can be converted into a barn door by attaching sliding barn door hardware to the top. The door must be strong enough and properly sized to cover the opening.
How Much Does It Cost to Build a DIY Barn Door?
Most DIY barn doors cost between $50 and $200 depending on the wood, hardware, and finish. Using basic pine boards and an affordable hardware kit helps keep the cost lower.
Do Barn Doors Provide Privacy for Bedrooms or Bathrooms?
Barn doors provide visual privacy but they do not seal tightly like hinged doors. Small gaps around the edges can allow sound and light to pass through.
Do Barn Doors Work on All Walls?
No. Barn doors require enough empty wall space beside the doorway for the door to slide open. The wall must also be strong enough to support the hardware and door weight.
Can You Install a Barn Door without Drilling Into Studs?
It is possible but not recommended. Barn door tracks should be mounted into wall studs or a solid header board to safely support the weight of the door.
How Long Does It Take to Build a Barn Door?
Most basic DIY barn doors can be built in one day. Drying time for stain or paint may add additional time before the door can be installed.