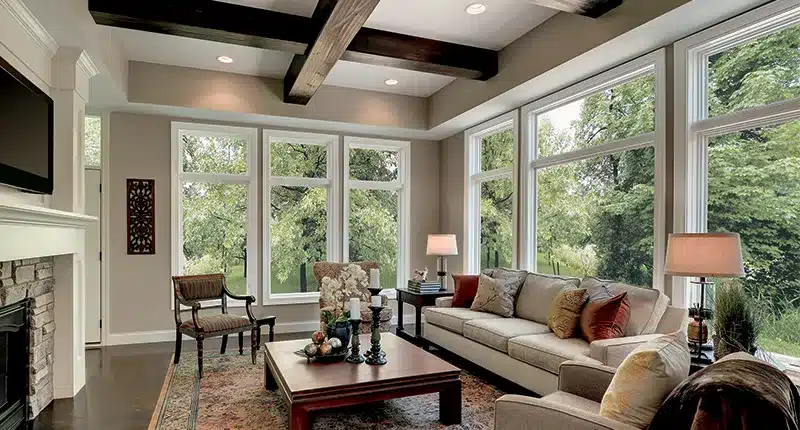
Horizontal Shadowbox Fence Inspiration & Installation Guide
A horizontal shadow box fence can make any yard look better while keeping some privacy.
A horizontal shadow box fence adds style and privacy to any yard. But is it the right choice for your home? Let’s find its pros, styles, and installation process.
We look at the advantages and disadvantages of shadow box fencing, the many styles available, and how to build one step by step.
We also share tips to keep your fence looking good for years.
By the end, you’ll know if a shadow box fence is right for your yard and how to maintain it.
Guide to Building a Shadowbox Fence
To build a shadow box fence with ease, follow these steps one by one.
1. Clear the Area and Remove the Old Fence
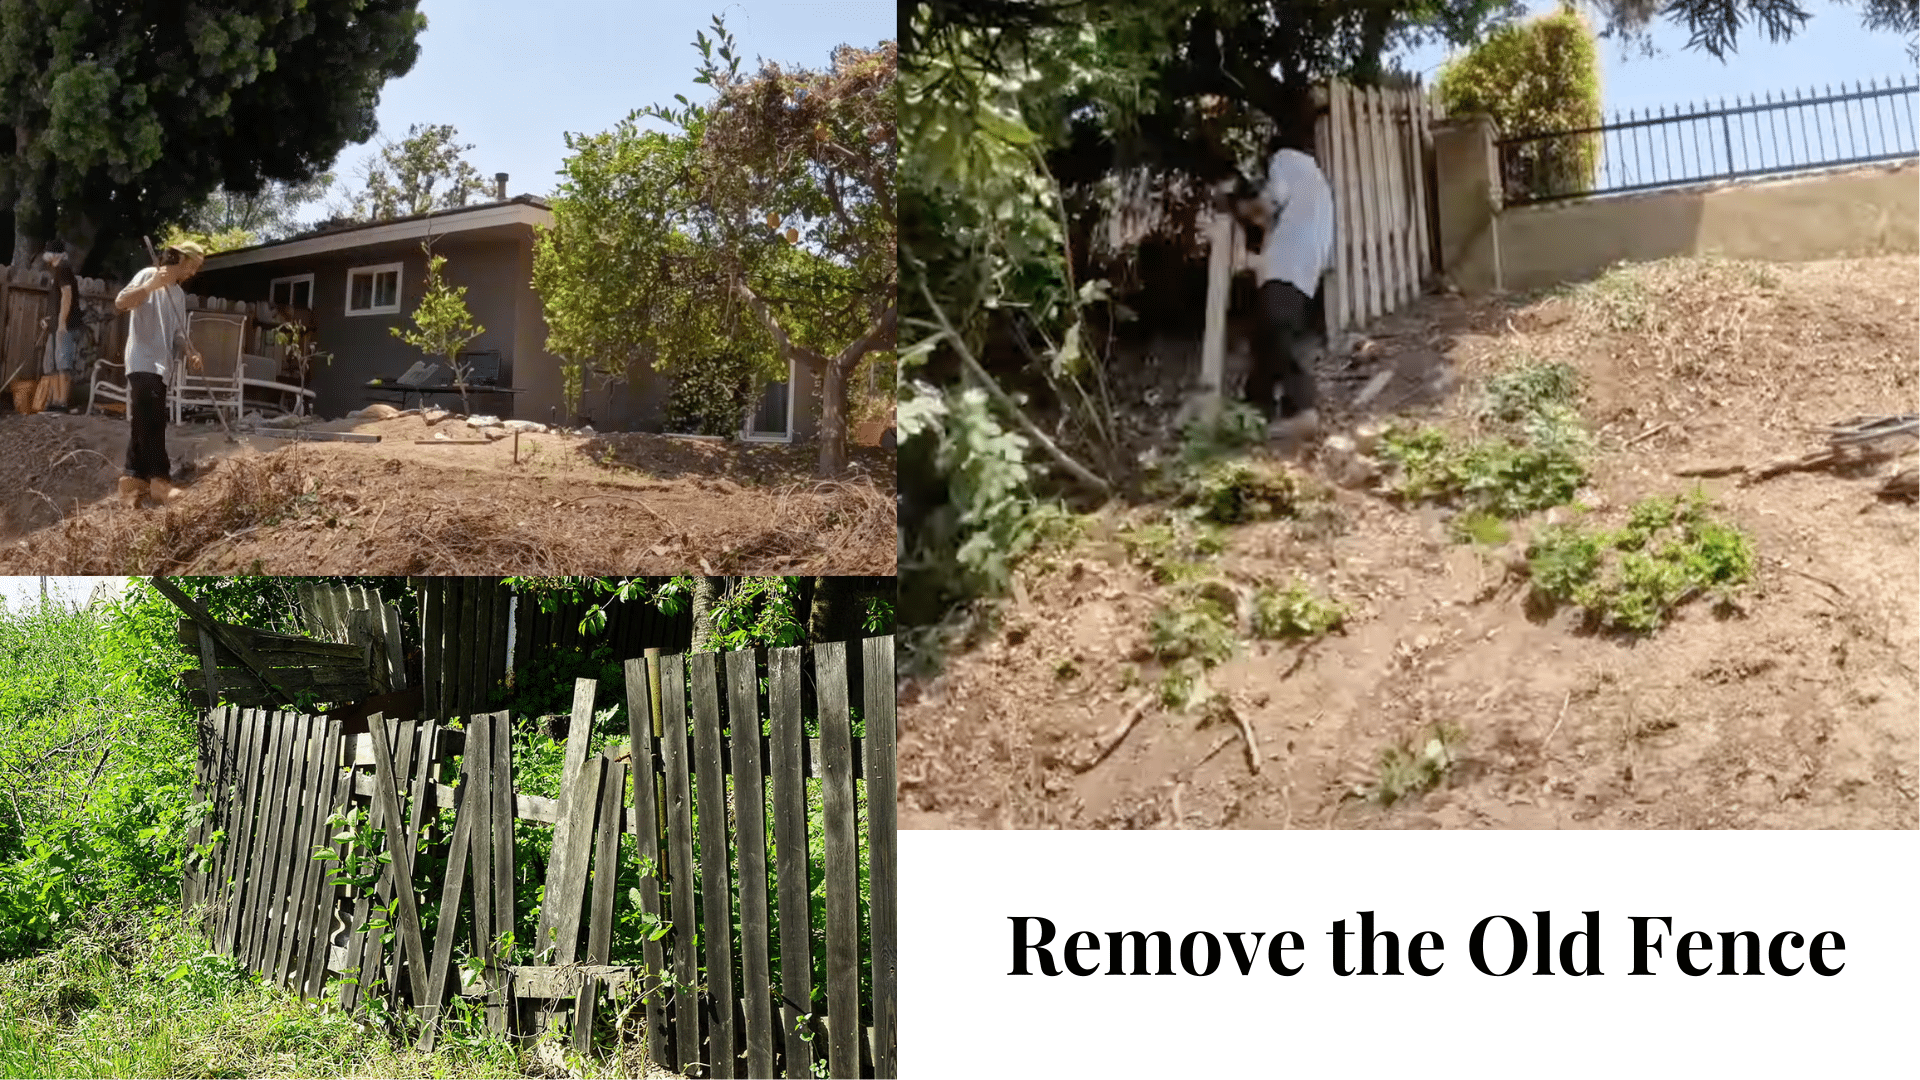
Start by taking down the old fence. Remove posts, boards, and any leftover nails or wires.
Clear away rocks, trash, or anything in the way. A clean space makes the new build easier and safer.
It also helps the layout stay straight from the first post to the last board.
2. Set Posts in Concrete
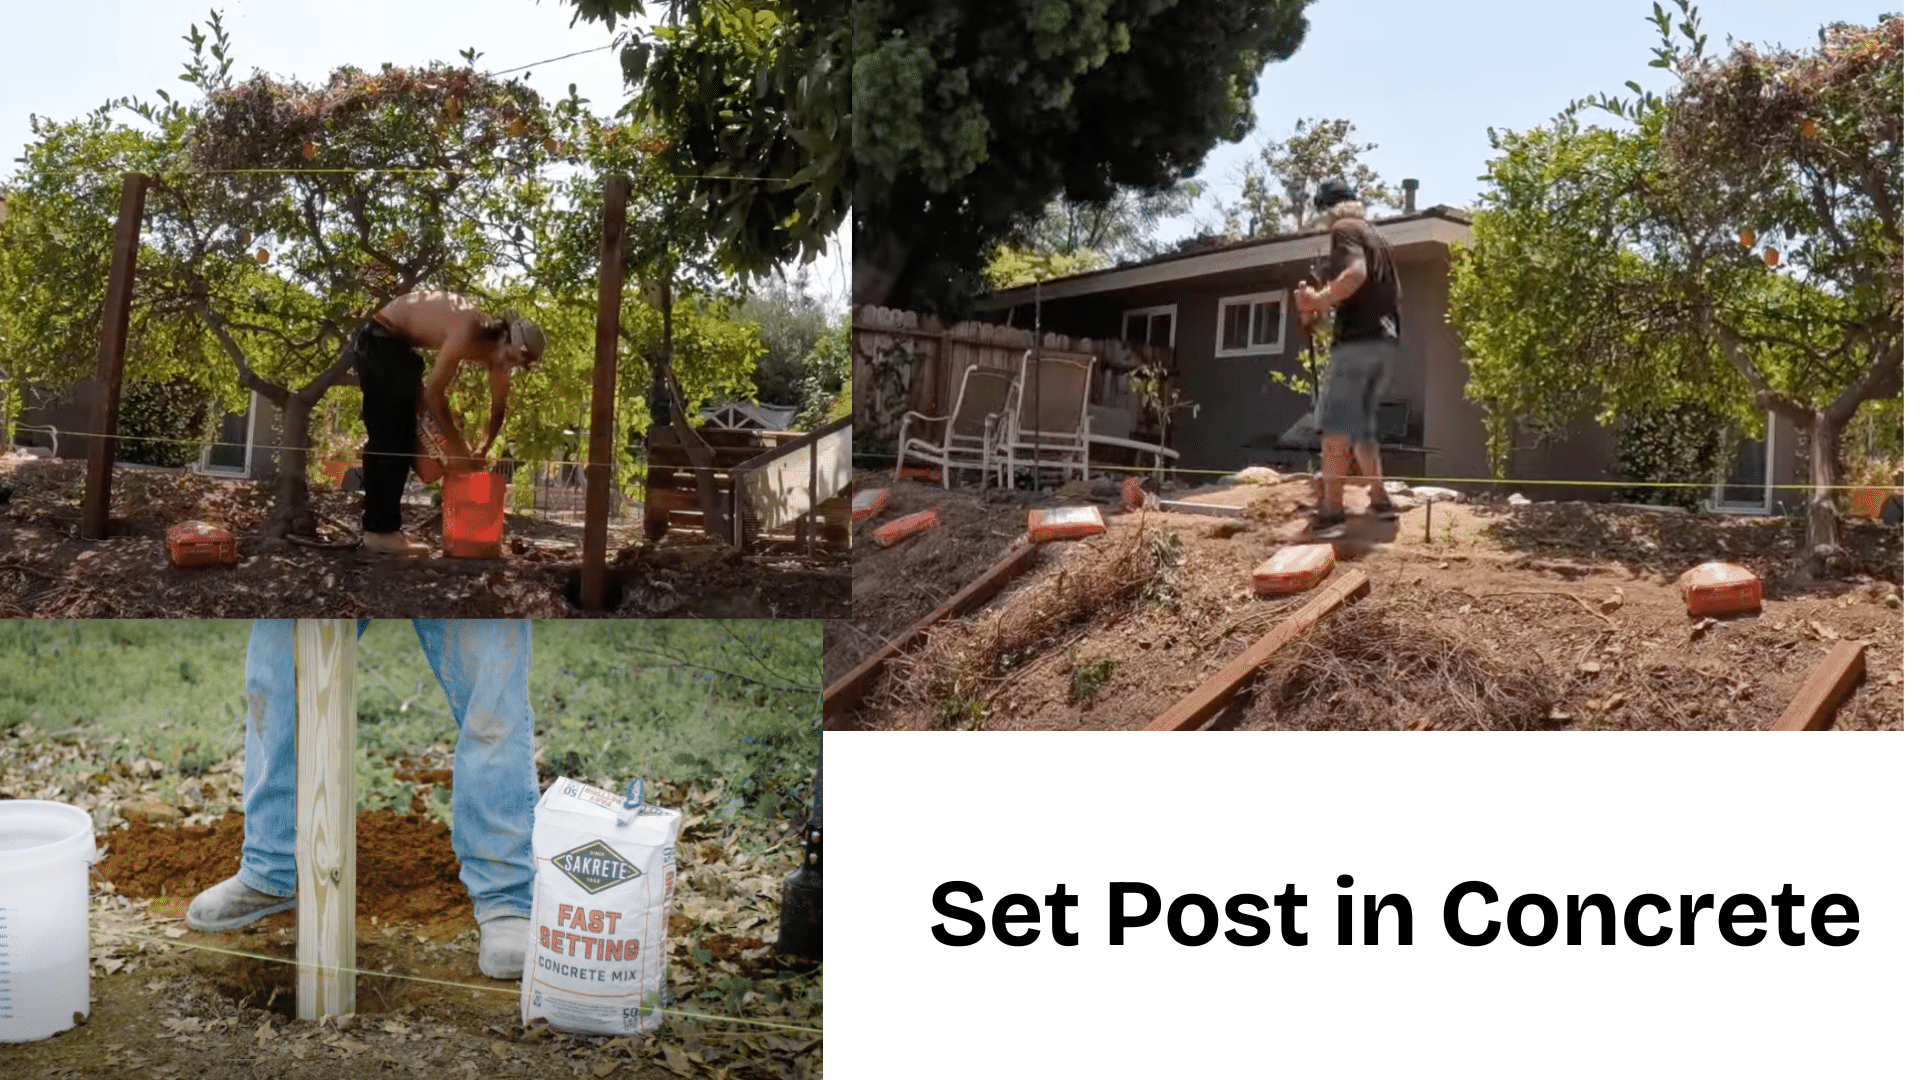
Mark post spots and dig deep holes. Line up each one using a string. Mix concrete in a bucket using a drill and paddle.
Place each post in the hole. Pour the concrete around it.
Check that each post is straight. Let it set firm before moving to the next step.
3. Cut and Prep Boards
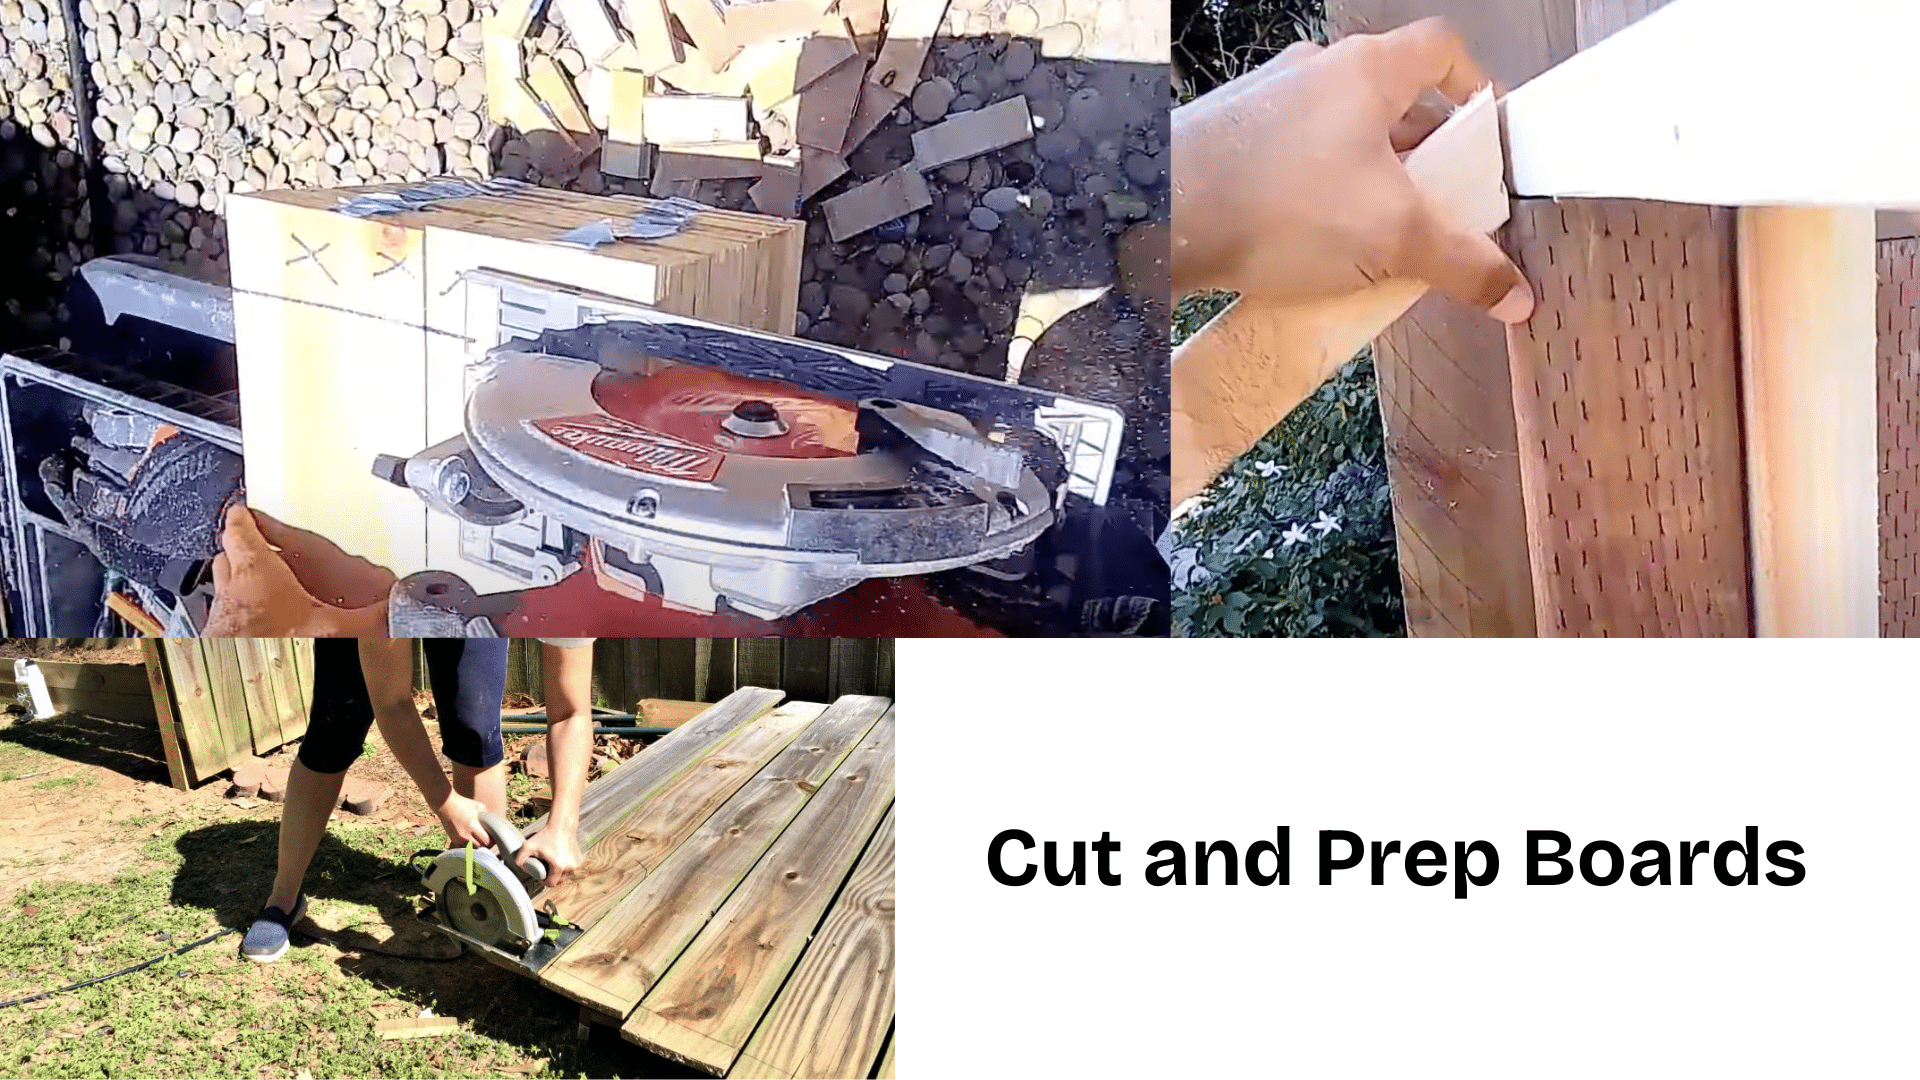
If the ground is uneven, cut boards shorter where needed. Use a 2×4 to mark lines across the posts for cutting. This helps each board fit neatly.
Cutting them to match slopes or dips in the land gives a better look and keeps the fence strong from top to bottom.
4. Install Rails and Attach Boards
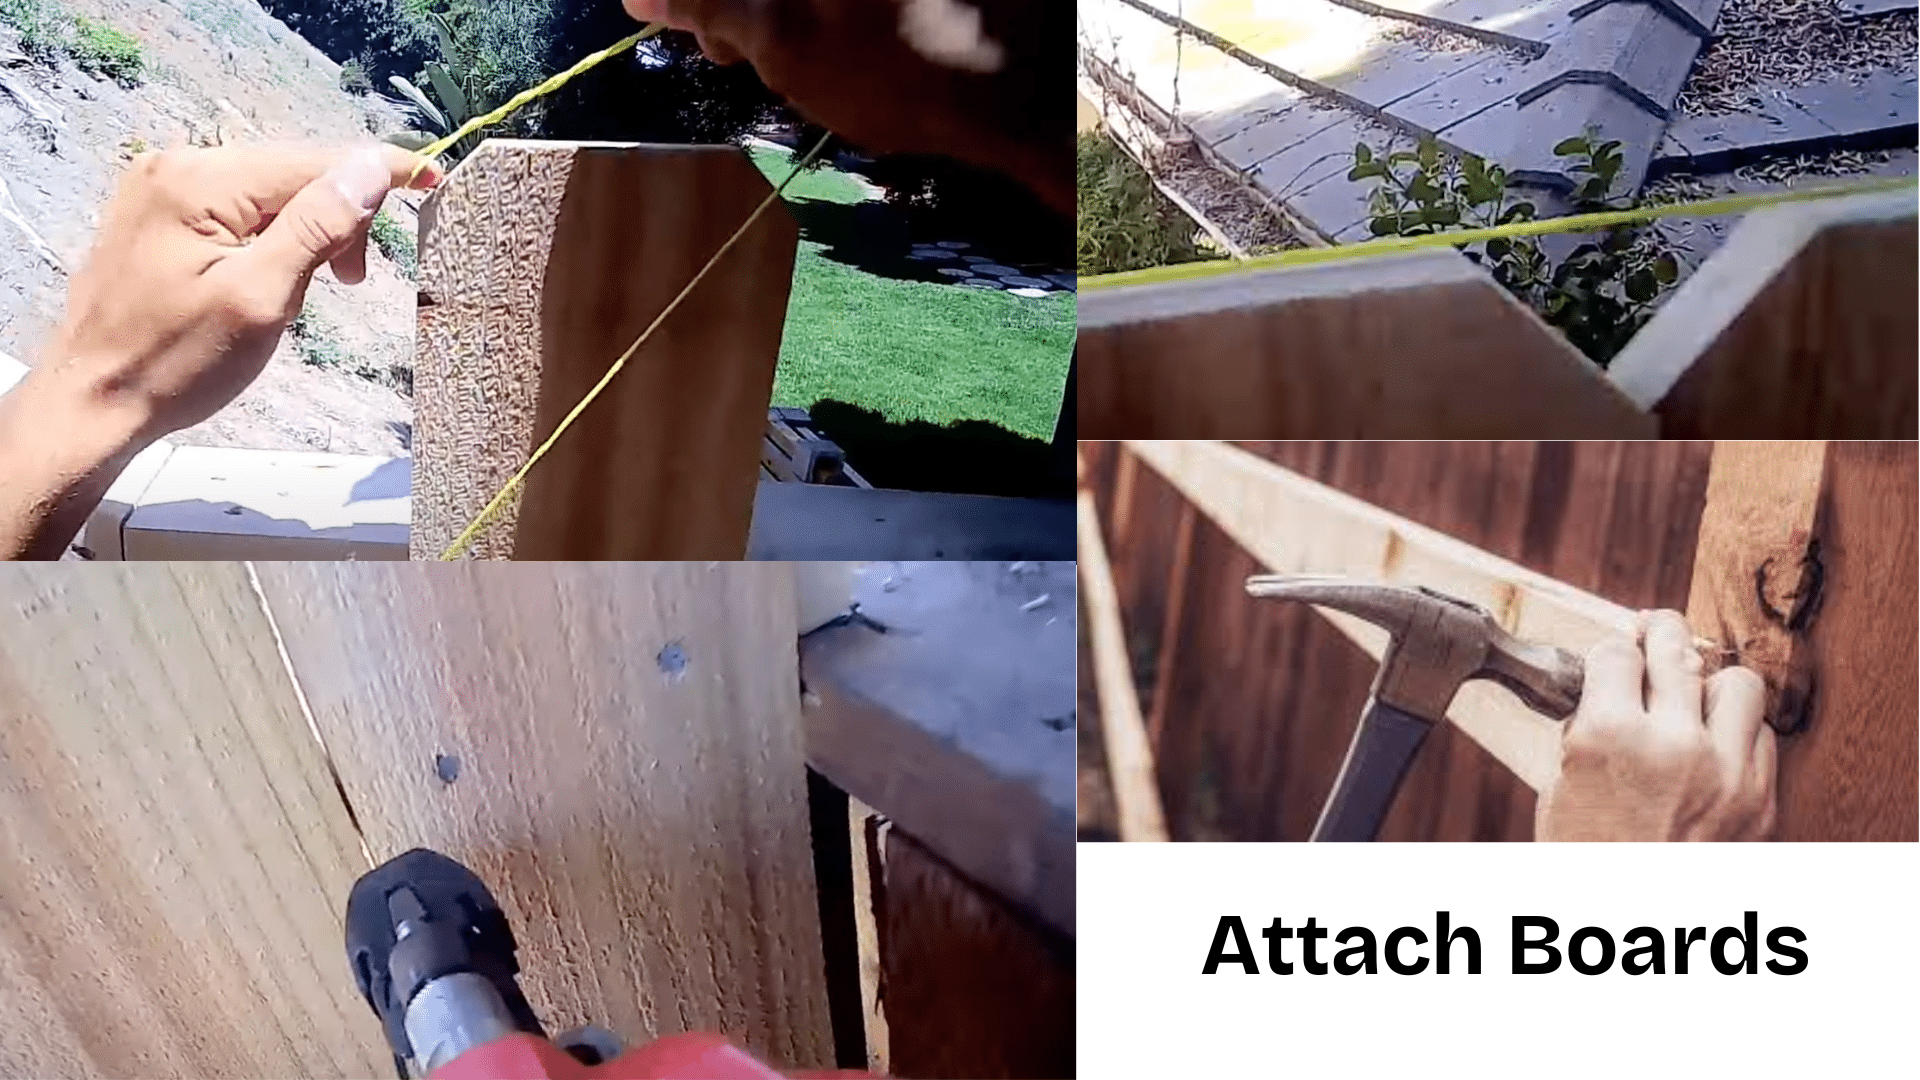
Attach the top and bottom rails across all posts, laying them flat. Then, nail the boards tightly together on one side.
On the other side, space the boards evenly to make a shadow box style. Keep nails straight and centered.
Make sure all boards stand straight and match the height lines across the fence.
5. Build and Hang the Gate
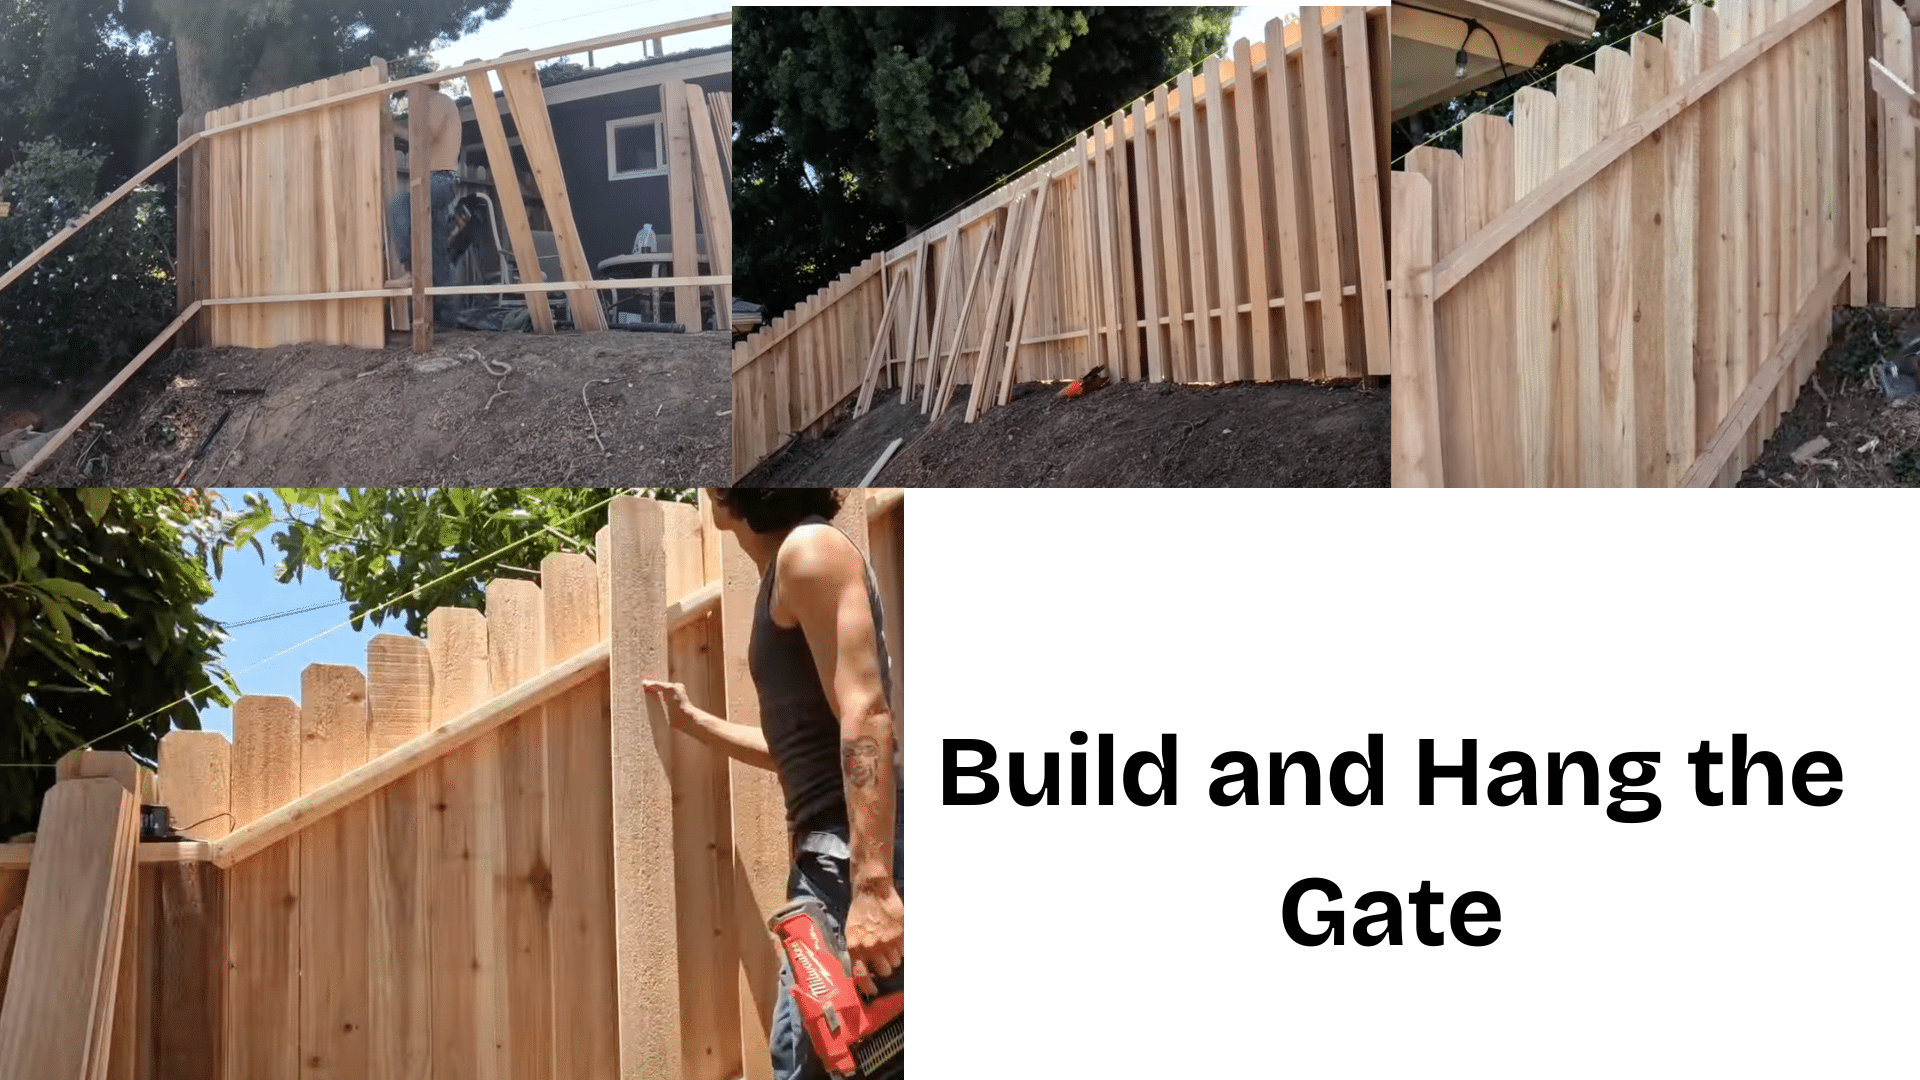
Pick a spot for the gate. Build it with the same boards and rails. Check that it lines up with nearby posts.
Hang it using strong hinges. Test how it swings. Make sure it opens and closes without trouble. A well-built gate should be strong, steady, and easy to use daily.
6. Paint or Prime the Fence
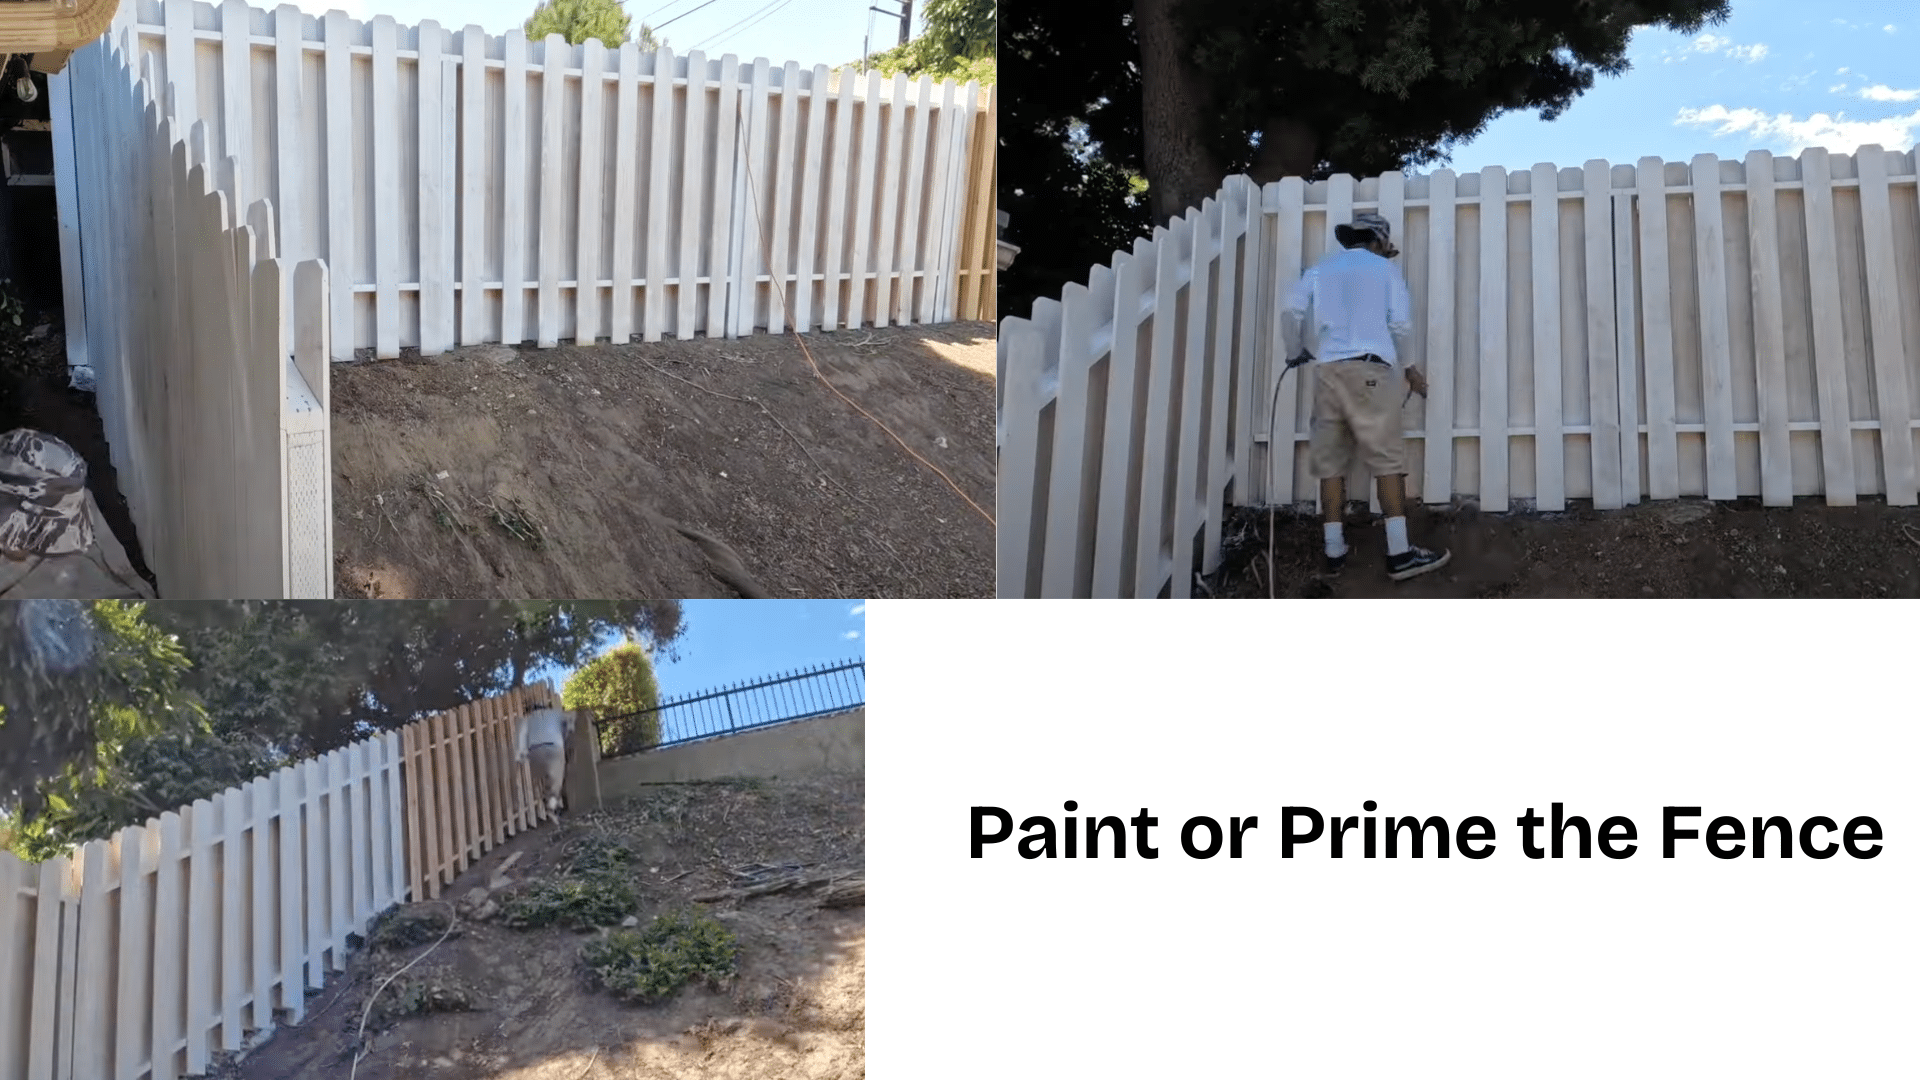
Use outdoor paint that includes primer. It saves time and gives a smooth finish. For longer protection, start with BIN primer.
Then, paint two full coats. This helps keep moisture out and protects the wood from cracking, fading, or peeling.
Let each coat dry fully before adding the next layer.
Pros and Cons of Horizontal Shadowbox Fencing
| Pros | Cons |
|---|---|
| Both sides of the fence look nice for you and your neighbors | Costs more than basic fence styles |
| Gaps allow light and air to pass through | It needs regular cleaning and wood treatment |
| The design stands up well against strong winds | It provides less privacy than solid fences |
| Can boost your home’s look and value | It takes longer to install due to the design |
| Works well on sloped yards with adjustable panels | It may require more repairs as it ages |
Popular Shadowbox Fence Styles
There are different popular shadowbox fence styles by material and design styles; all are covered below.
Different Materials
Shadowbox fences are available in different materials to match your needs and budget. Each option has its look, cost, and lifespan.

- Wood (redwood, cedar, pine): A classic, natural-looking option available in various colors and durability levels.
- Vinyl: This metal is a low-upkeep option that won’t rot or need paint. It comes in many bright colors for years.
- Composite: A mix of wood fibers and plastic that needs little care. It looks like wood but lasts longer without rot.
- Aluminum: This is a metal option that won’t rust or bend. It’s good for areas with harsh weather or near water.
- Mixed materials (hybrid designs): combine two or more materials to maximize each’s strengths. For example, wood is often paired with metal posts for strength.
Shadowbox Fence Design Styles
| Design Style | Description |
|---|---|
| Flat-top | It has a simple, clean look, with boards cut straight across the top. It is easy to build and fits most yards. |
| Arched | Curved top that adds a soft, flowing look. It is more eye-catching than flat designs but needs more skill to make. |
| Lattice top | The main fence with a crisscross pattern on top. Adds style while letting more light and air through. |
| Dog ear | Boards with corners cut at angles. It gives a softer look than sharp corners and sheds water better. |
| Horizontal boards | The boards run side to side instead of up and down, creating a modern look that stands out from normal fences. |
| Multi-height or staggered | Boards at different heights create a step pattern. Adds visual interest and can mark boundaries. |
| Multi-colored/stained | Using two or more colors of wood stain. Creates patterns or highlights certain parts of the fence. |
| With planters, trellis, lighting, picket accents | Add-ons that make the fence more useful. It can hold plants, support vines, light paths, or add style. |
Maintenance and Care Tips
- Clean wood fences with mild soap and a soft brush, vinyl with water and cloth, composite with soap and water, and aluminum with soapy water and a soft brush.
- Apply new sealer or stain to wood fences every 2-3 years when you see peeling or fading or when water stops beading on the surface.
- Keep plants trimmed at least 6 inches from the fence to prevent moisture damage.
- Check for loose boards, screws, or nails twice a year and fix issues quickly before they become bigger problems.
- Remove fallen leaves and debris from the base of your fence to prevent rot and insect damage, especially after storms and in autumn.
Shadowbox Fence Inspiration Gallery
Before-and-After Transformations

See the stunning difference shadowbox fencing can make with real-life changes.
These before-and-after comparisons showcase how well-designed fences can turn dull.
Uninspired yards into stylish, secure outdoor spaces that enhance curb appeal and property value while maintaining an open, airy feel.
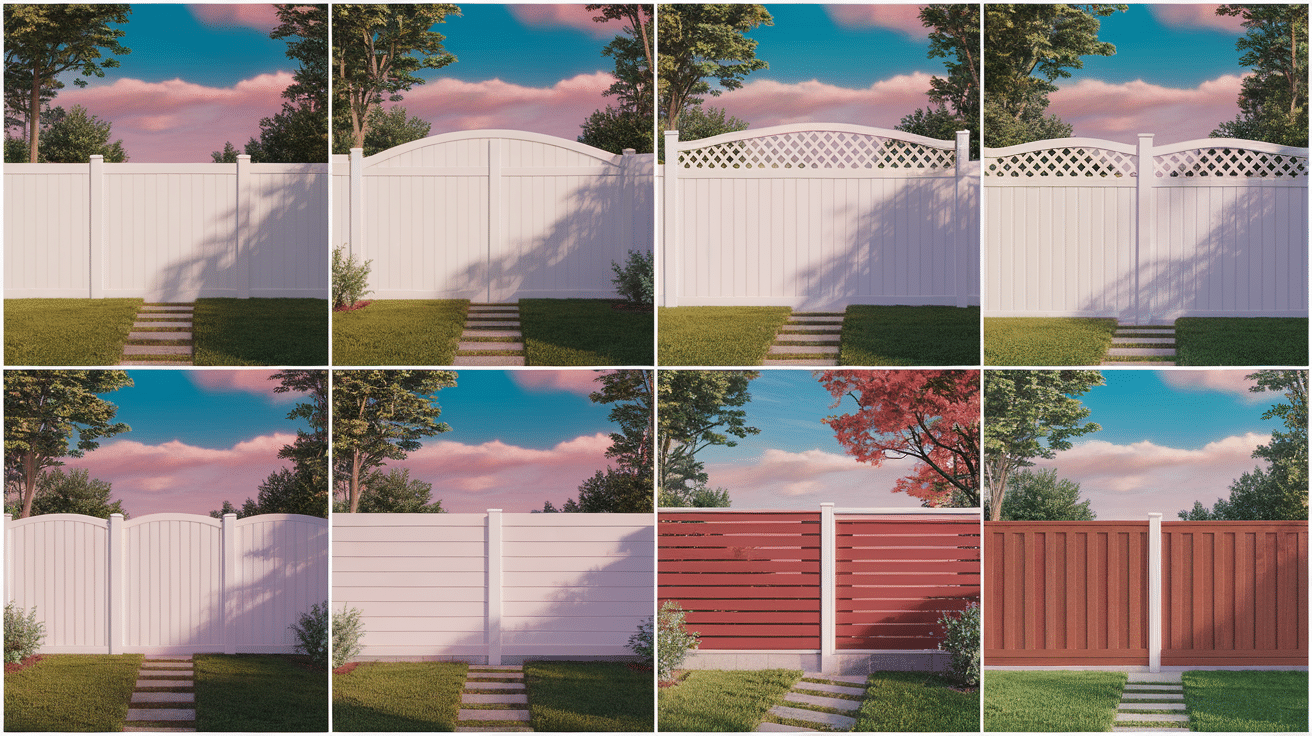
Different Color and Design Examples
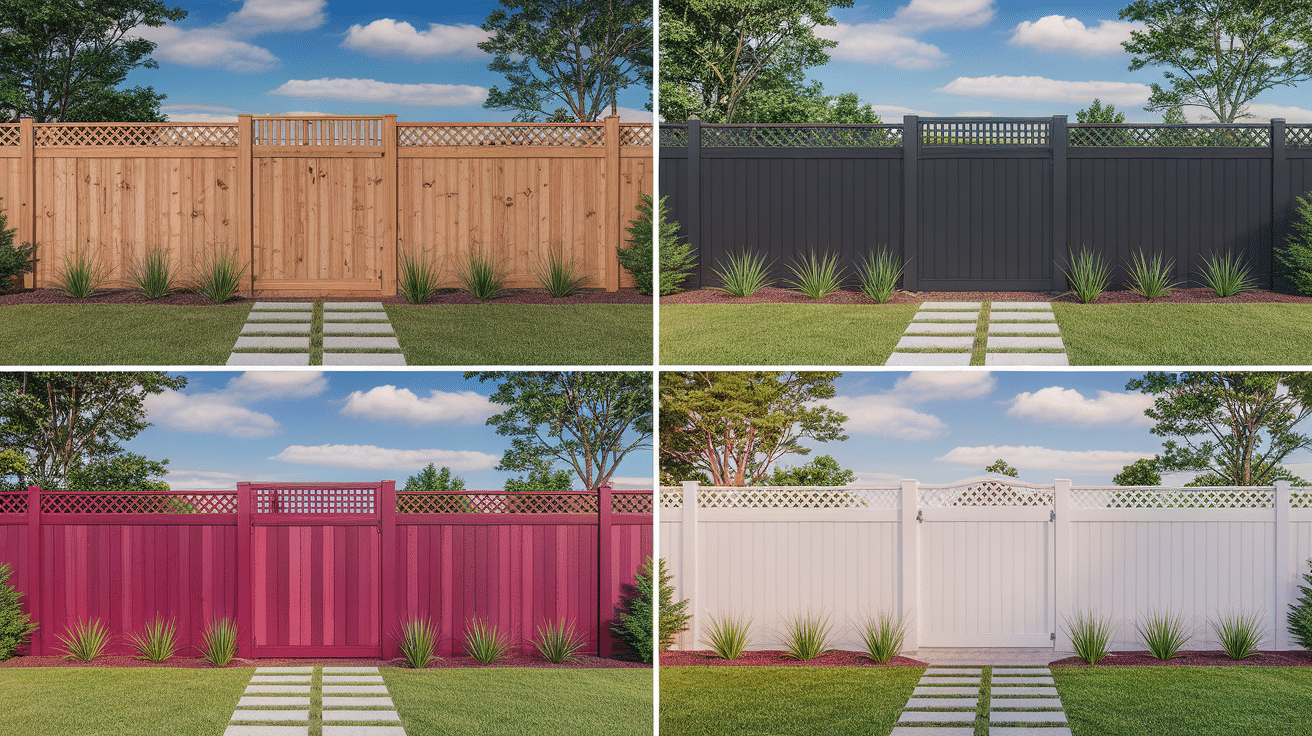
Check out different fence colors and styles. Natural wood adds warmth. Painted finishes offer bold contrast.
Find classic or modern designs. Each option enhances the home’s exterior while keeping a balance of privacy and airflow. Pick the perfect look.
Examples of Fences on Sloped Terrain
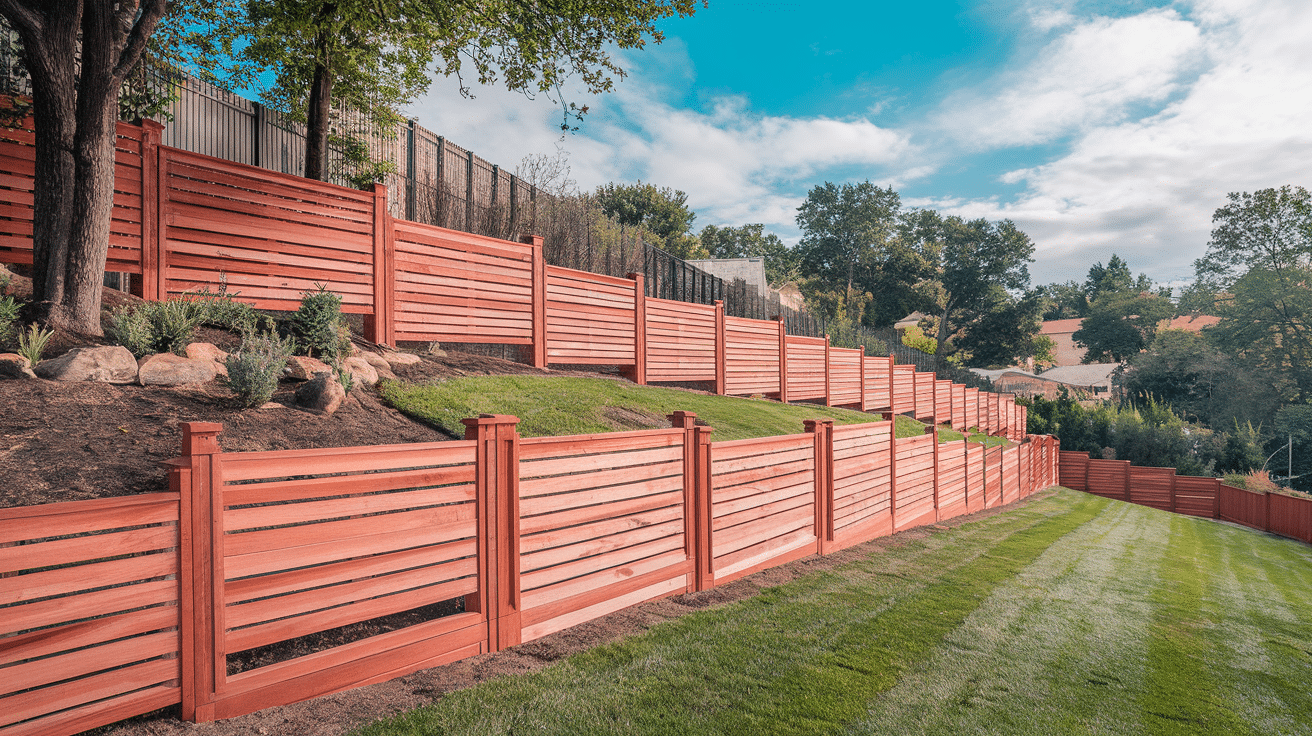
Sloped yards require special fence designs. Shadowbox panels adjust for a smooth finish, and posts align for a sturdy setup.
Gaps stay even for a clean look. See how to install a fence that works on any terrain without issues.
Wrapping Up
Shadow box fences offer many advantages—they look nice from both sides, let air and light pass through, and withstand strong winds.
A horizontal shadow box fence works best for homes where style matters as much as function.
These fences fit well in yards that need some privacy but not total blocking from view.
If you’re a DIY enthusiast or hiring a pro, a horizontal shadowbox fence is a stylish, durable choice that can enhance your outdoor space for years.
Some people might want to do it themselves, while others may choose to hire experts.
Either way, picking the right fence can make your yard look better for years to come. To learn more about fences, read more blogs related to fences on our website.
Frequently Asked Questions
Are Shadowbox Fences More Expensive?
Yes, they cost more than basic fences because they need extra wood and take longer to build.
What is the Difference Between a Shadow Box and a Stockade Fence?
Shadowbox has gaps between boards for light and air. Stockade has no gaps for full privacy.