Horizontal Deck Skirting Installation Guide: Ideas and Tips
Want to make your deck look better?
Deck skirting adds style to your outdoor space while hiding the area under your deck.
This guide walks you through horizontal deck skirting options and installation steps.
Horizontal deck skirting uses boards placed side-by-side around your deck’s base.
It’s different from vertical designs because the boards run parallel to the ground.
This style can make your deck appear wider and more modern.
In this guide, you’ll learn
- Step-by-step installation tips
- Design ideas that work for various styles
- Maintenance basics for long-lasting skirting
I’ve kept things simple with clear instructions and practical tips.
By the end, you’ll know exactly what you need to start your deck skirting project.
Choosing the Right Material for Horizontal Deck Skirting
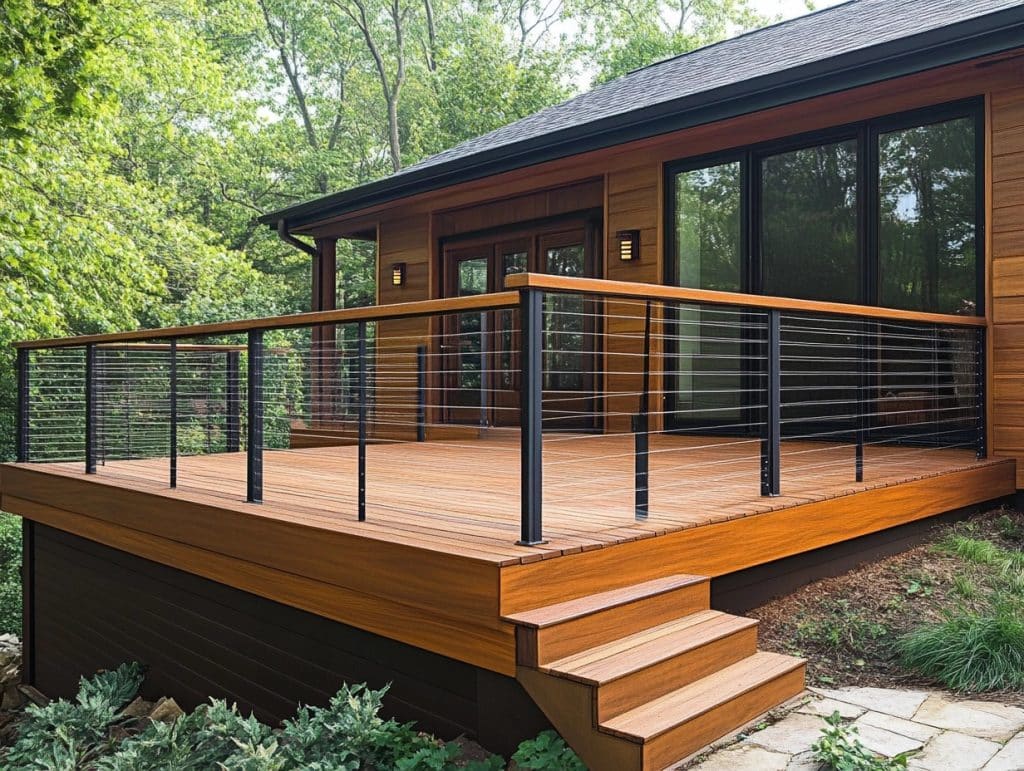
Picking the right material for your skirting matters for looks and function.
Here’s what you need to know about each option to make the best choice for your home.
Wood
Wood remains a top pick for deck skirting. Here’s what to consider:
Common Types
- Cedar: Lasts long, fights off bugs
- Pine: Budget-friendly, needs more care
- Redwood: Stands up well to weather
Maintenance
- Seal every 2-3 years
- Check yearly for loose boards
- Fix any water damage quickly
- Clean with soap and water yearly
Composite
Made from mixed plastic and wood fibers, composite offers several benefits:
Benefits
- Needs little upkeep
- Won’t rot or warp
- It keeps its color well
- Lasts 25+ years
Cost Factors
- Higher upfront cost
- Lower yearly costs
- Less frequent fixes needed
Metal
Metal skirting gives your deck a different look:
Options
- Aluminum: Light and won’t rust
- Steel: Strong and long-lasting
- Corrugated panels: Add texture
Key Points
- It won’t rot or attract bugs
- Handles weather well
- Easy to clean
- Many color options
- It can dent if hit hard
Step-by-Step Installation of Horizontal Deck Skirting
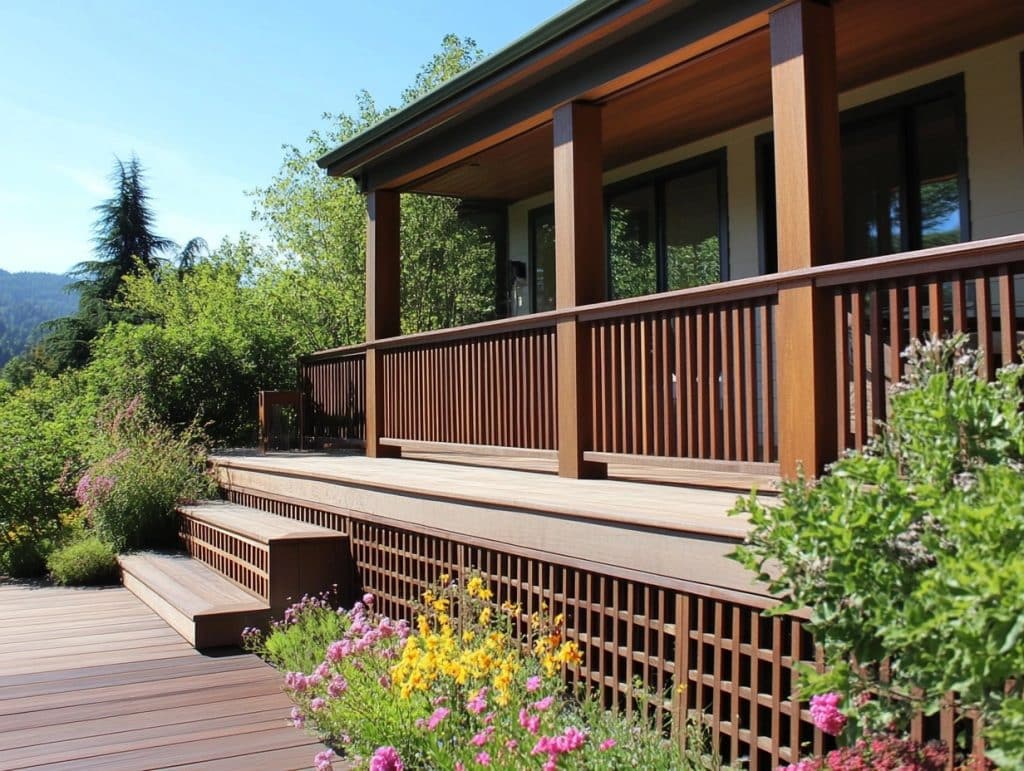
Let me walk you through putting up deck skirting.
I’ve done this many times, and these steps will help you do it right.
What You’ll Need
- Measuring tape
- Level
- Saw (circular or hand)
- Drill and screws
- Skirting material of your choice
- 2×4 lumber for framing
- Pencil
- Safety gear (gloves, goggles)
1. Measure Your Space
First, let’s get the right measurements.
Take your tape measure and write down:
- The length of each side
- The height from ground to deck
- Any spots where pipes or vents stick out
Pro tip: Add 10% extra to your measurements for waste and mistakes.
2. Build the Frame
Start with the frame – it’s like making a backbone for your skirting.
- Put in corner posts first
- Add top and bottom 2x4s between posts
- Space vertical supports every 4 feet
- Check everything with your level
Important: Make sure all wood touches the ground sits on concrete blocks.
3. Add Ventilation Planning
Your deck needs to breathe.
Here’s how to plan for it:
- Mark spots for vents every 8-10 feet
- Cut holes before putting up skirting
- Use vent covers that match your skirting color
4. Prepare Your Skirting Boards
Time to get your boards ready:
- Cut them to the right length
- Sand rough edges
- Pre-drill holes if needed
- Apply sealant if using wood
Safety note: Always wear safety glasses when cutting.
5. Start Installing Boards
Now for the main part:
- Begin at one corner
- Place first board at the bottom
- Use spacers for even gaps
- Check level after every few boards
- Work your way up
Remember: Keep checking that everything stays straight as you go up.
6. Work Around Obstacles
Got pipes or vents?
Here’s how to handle them:
- Mark their spot on your board
- Cut holes slightly bigger than needed
- Use split flanges to cover gaps
7. Finish Up
Almost done!
Just a few final touches:
- Add trim pieces at corners
- Fill any screw holes
- Clean up any marks
- Check all screws are tight
Common Problems and Fixes
Sometimes things don’t go as planned.
Here’s help:
- Uneven ground? Use gravel to level it
- Boards don’t line up? Double-check your measurements
- Gaps too big? Use trim pieces to cover them
Tips for Success
- Work on a calm, dry day
- Have someone help you hold boards
- Take breaks to step back and look
- Keep your cuts straight
- Clean up as you go
Last Checks
Before you call it done:
- Walk around and look at all sides
- Check all vent spaces work
- Make sure nothing wobbles
- Clean up any dirt or marks
Need to access under your deck later? Install one section with screws instead of nails for easy removal.
Why Choose Horizontal Deck Skirting?
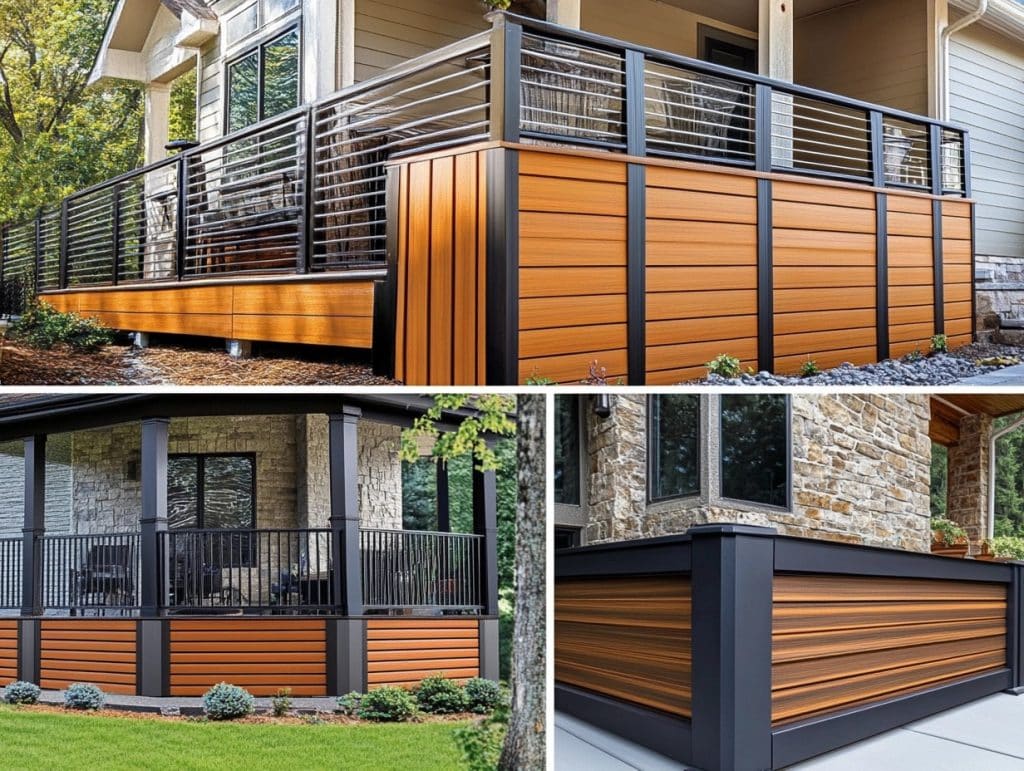
Adding skirting to your deck makes a big difference in how it looks and works.
Horizontal skirting adds clean lines to your deck’s look.
The side-to-side pattern creates a smooth, modern finish that fits well with many home styles.
This layout can make your deck look wider and more grounded.
Functional Benefits of Horizontal Deck Skirting
Let’s look at what makes horizontal skirting a good choice for your outdoor space.
1. Enhanced Privacy
- The area under your deck becomes a perfect storage space for outdoor items.
- Your yard tools and seasonal items stay hidden from view while staying protected.
- The clean skirting lines create a neat border that improves your yard’s look.
- Support posts and deck structure remain hidden from plain sight.
- The storage space stays dry and ready to use year-round.
2. Improved Ventilation
- Proper spacing between boards creates natural airflow patterns.
- Fresh air movement reduces the risk of mold and mildew growth.
- Consistent air circulation helps wooden parts dry quickly after rain.
- Summer heat disperses better with planned ventilation gaps.
- Strategic vent placement prevents moisture from getting trapped.
3. Protection Against Pests
- When skirting blocks their entry, small animals can’t make nests under your deck.
- Proper installation prevents larger pests from finding ways inside.
- The barrier stops stray animals from using the space as shelter.
- Insects have fewer places to build homes near your deck structure.
- The design allows air to flow while keeping rodents out.
4. Structural Protection
- Support posts stay protected from harsh weather conditions year-round.
- Direct sunlight can’t damage sensitive deck components.
- Rain and snow bounce off the skirting instead of hitting support structures.
- The deck foundation stays more stable with less exposure to elements.
- Regular maintenance becomes easier with better access to structural parts.
Tips for Better Air Flow:
- Maintain a consistent 1/8-inch gap between each board for optimal air movement.
- Keep the ground beneath your deck clear of debris for better air circulation.
- Check and clean vents twice a year to maintain good airflow.
Horizontal vs. Vertical Deck Skirting: Which is Right for You?
Choosing between horizontal and vertical skirting shapes how your deck looks and works.
Here’s a clear look at both options to help you decide:
| Aspect | Horizontal Skirting | Vertical Skirting |
|---|---|---|
| Ease of Installation | Often easier to install | It may require more precision on sloped ground |
| Water Drainage | Water runs off better with horizontal boards | Standard, but may hold water in some cases |
| Visual Effect on Yard Size | Creates an illusion of a larger yard | Less impact on perceived yard size |
| Repair Simplicity | Repairs are simpler with individual boards | It can be more challenging to repair |
| Suitability for Sloped Ground | It may not be ideal on slopes | Works better on uneven or sloped ground |
| Under-Deck Cleanliness | Keeps area clean and concealed | Keeps area clean and concealed |
Visual Comparison
Let’s look at how each style affects your deck’s look:
- Horizontal boards create wide, straight lines that make your deck appear more spread.
- Vertical boards draw the eye up and down, making your deck look taller.
- Horizontal patterns match well with modern home styles and clean designs.
- Vertical layouts work nicely with traditional homes and classic designs.
- Horizontal lines blend naturally with your deck’s top surface.
Practical Considerations
Installation
- Horizontal boards line up more easily during setup.
- Vertical boards need more support pieces behind them.
- Horizontal styles often cost less to install.
- Vertical designs might need extra cutting and fitting.
Maintenance
- Water runs off horizontal boards more smoothly.
- Vertical boards might collect less dirt between gaps.
- Both need regular cleaning for the best looks.
- Fixing horizontal boards is often simpler.
Reader Recommendations
Based on Your Style
- Pick horizontal if you want your deck to look wider and more open.
- Choose vertical if you want your outdoor space to feel taller.
- Go horizontal for easier upkeep and simpler fixes.
- Select vertical if you have a sloped yard.
Based on Your Budget
- Horizontal designs often use fewer materials.
- Vertical styles might need extra backing support.
- Both can work with wood, metal, or composite.
- Factor in long-term care costs for each style.
Based on Your Setting
- Match your home’s main design style.
- Think about your yard’s shape and size.
- Consider what your neighbors have done.
- Plan around your outdoor furniture style.
Creative Horizontal Deck Skirting Ideas
Want to make your deck look better?
Let me show you some great ways to cover the space under it.
I’ve tried many different styles, and these are the options that work best.
1. Classic Wood Lattice
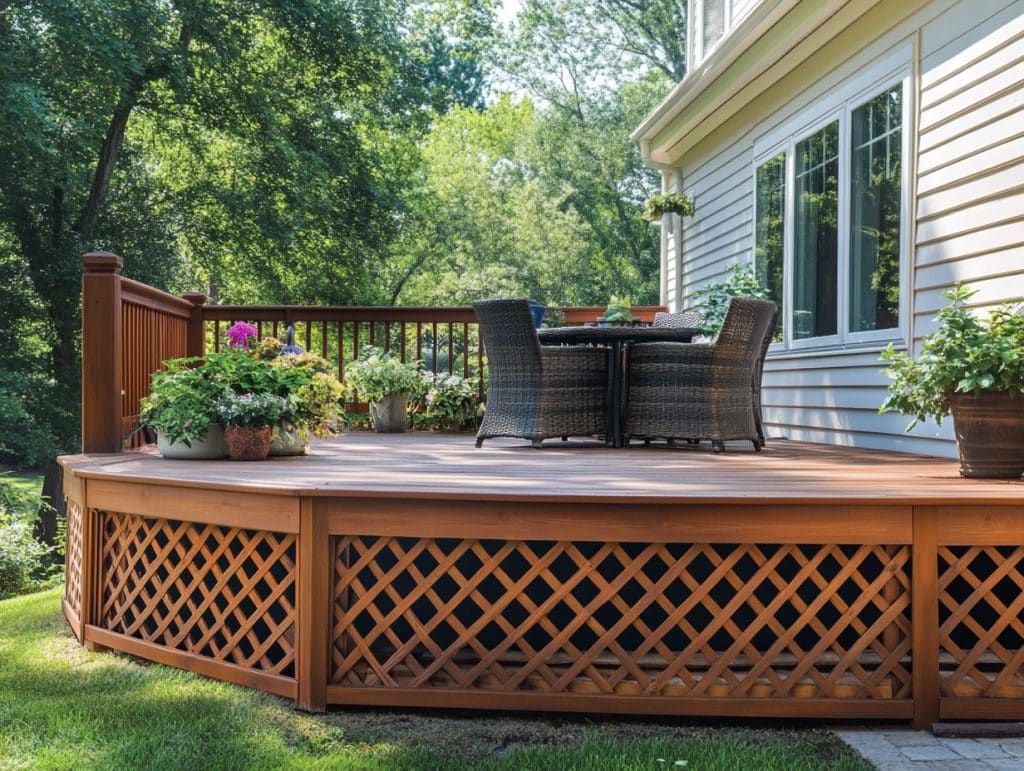
The tried-and-true wood lattice gives your deck a clean, traditional look.
I love how it lets air flow while hiding what’s underneath.
You can paint it to match your deck or house.
Unique features:
- Easy to install with pre-made panels
- Good airflow prevents moisture buildup
- Can be painted any color
- Simple to replace damaged sections
2. Horizontal Cedar Planks
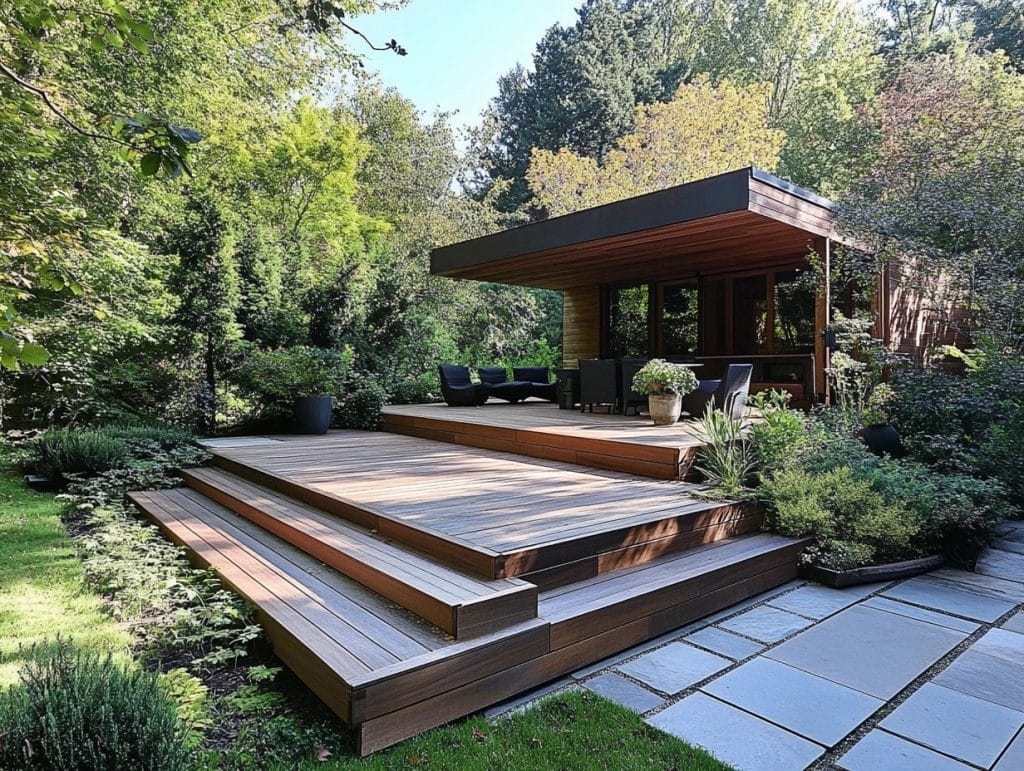
Cedar planks laid side-by-side create a modern, sleek look.
The natural wood grain catches the eye, and cedar resists rot naturally.
Plus, it smells great!
Unique features:
- Natural pest resistance
- Weather-resistant properties
- Ages to a nice silver-gray color
- Minimal maintenance needed
3. Metal Panel Design
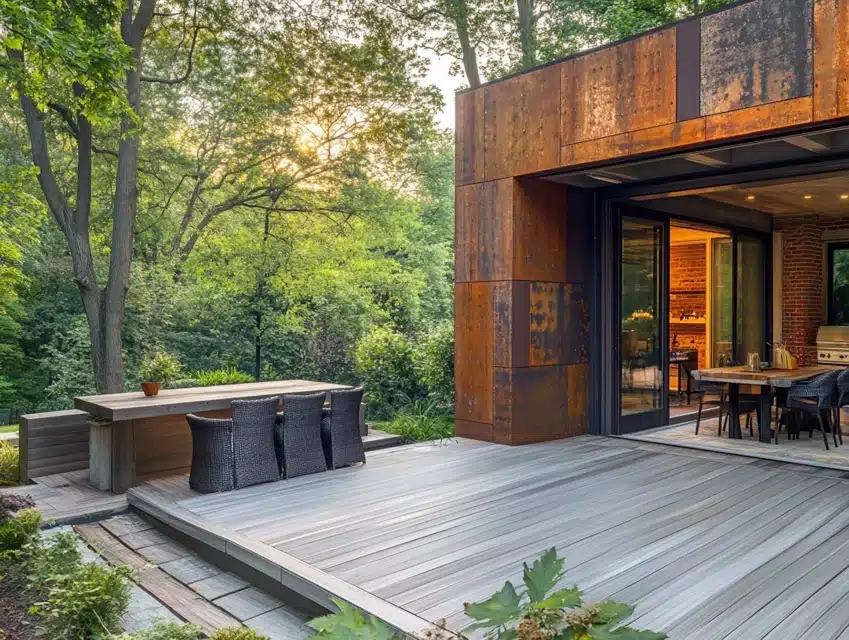
Sheet metal panels offer a modern twist on deck skirting.
They’re strong and last a long time.
You can choose from different patterns and colors to match your style.
Unique features:
- Rust-resistant coating options
- Many pattern choices
- Stands up to harsh weather
- Low upkeep requirements
4. Composite Board Layout
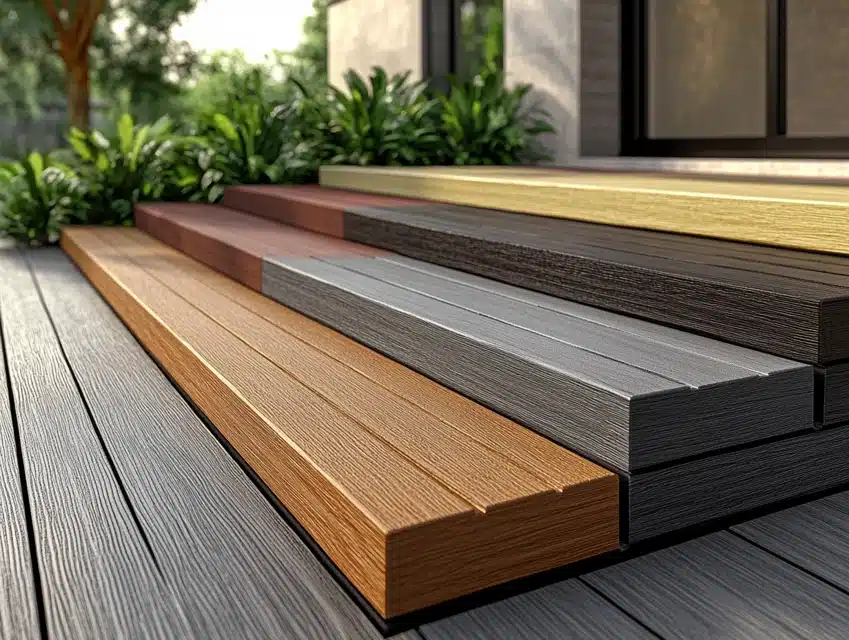
Made from recycled materials, composite boards give you the look of wood without the maintenance.
They come in many colors and won’t rot or crack.
Unique features:
- Never needs painting
- Won’t split or warp
- Resists fading
- Easy to clean
5. Natural Stone Veneer
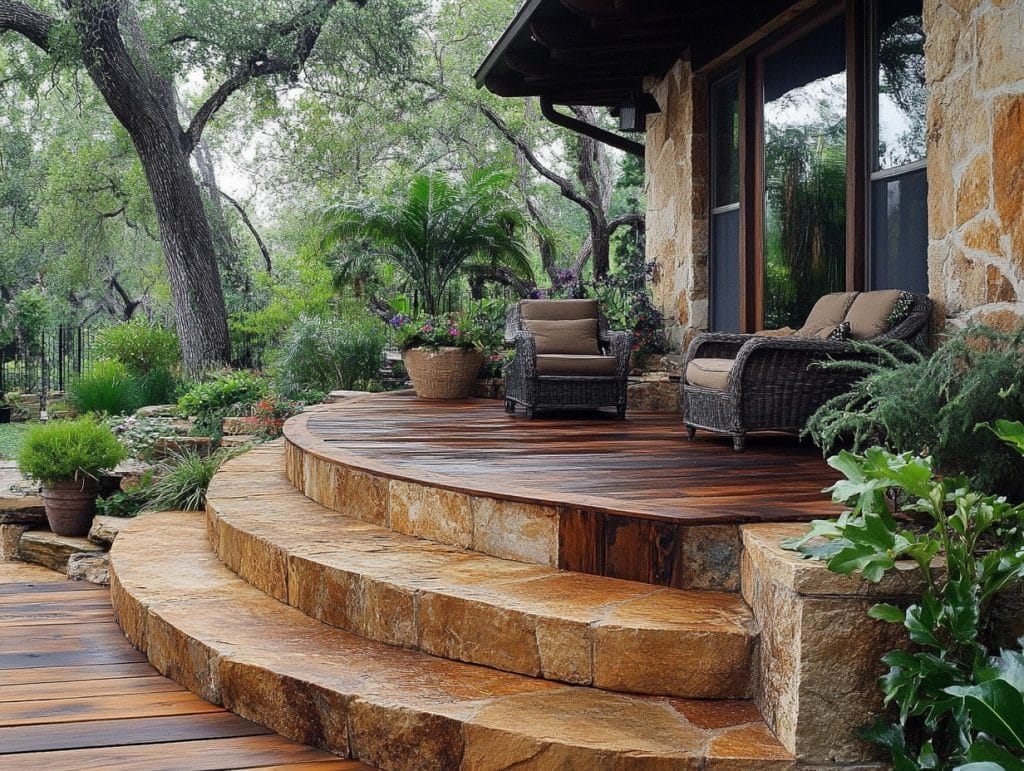
Stone veneer panels add a touch of nature to your deck.
They work great with garden landscapes and make your deck look like it belongs there.
Unique features:
- Each stone pattern is one-of-a-kind
- Adds texture and depth
- Matches well with landscaping
- Very long-lasting
6. Bamboo Roll Screens
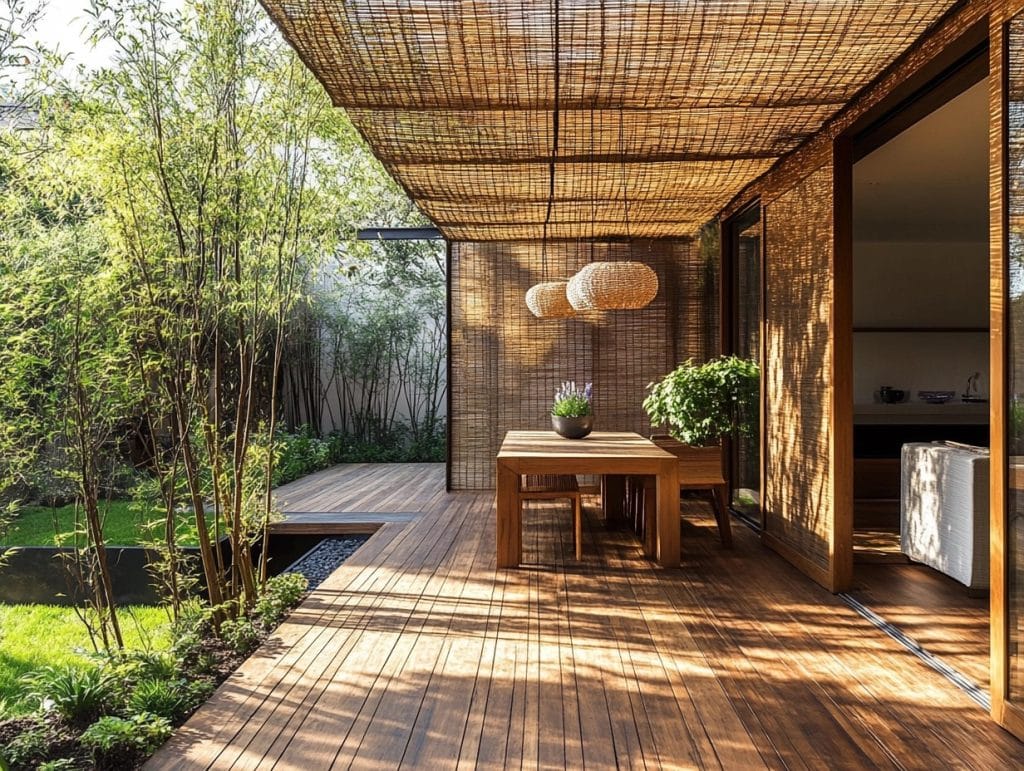
Light and eco-friendly, bamboo rolls create a natural screen.
They’re perfect if you want something different that’s also good for the environment.
Unique features:
- Quick installation
- Earth-friendly material
- Light filtering properties
- Can be rolled up for access
7. PVC Board Design
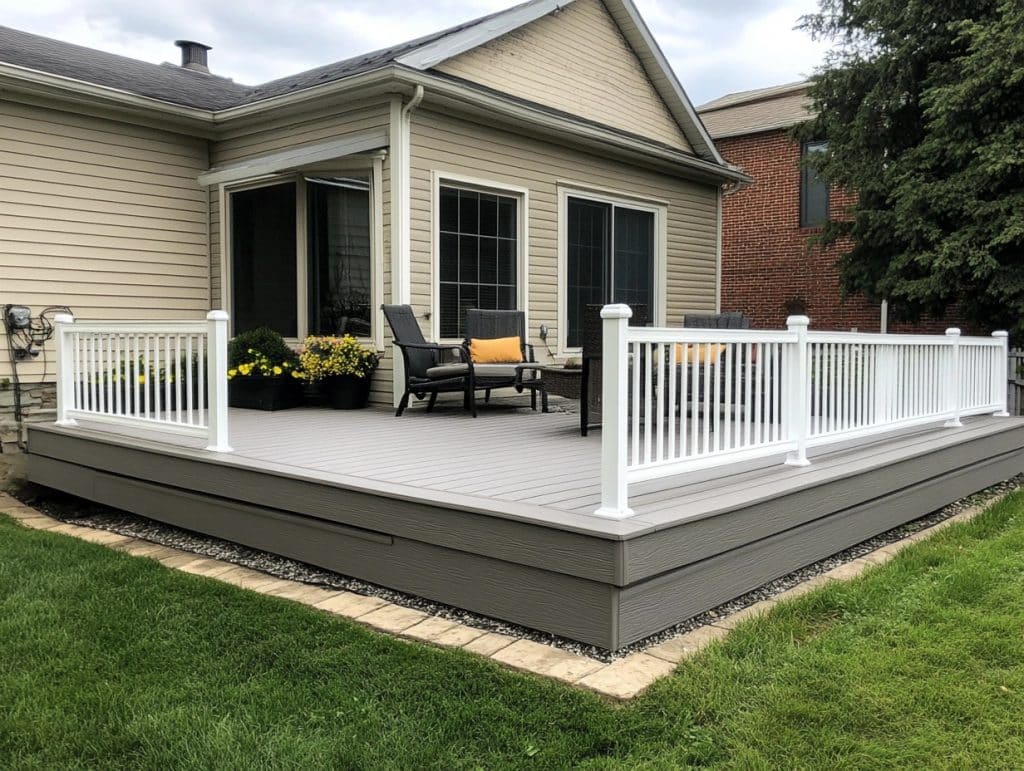
PVC boards are perfect if you want something that will last.
They don’t rot, and insects can’t eat them.
Just wash them off when they get dirty.
Unique features:
- Complete moisture resistance
- No painting needed
- Won’t crack or split
- Easy to clean
8. Corrugated Metal Sheets
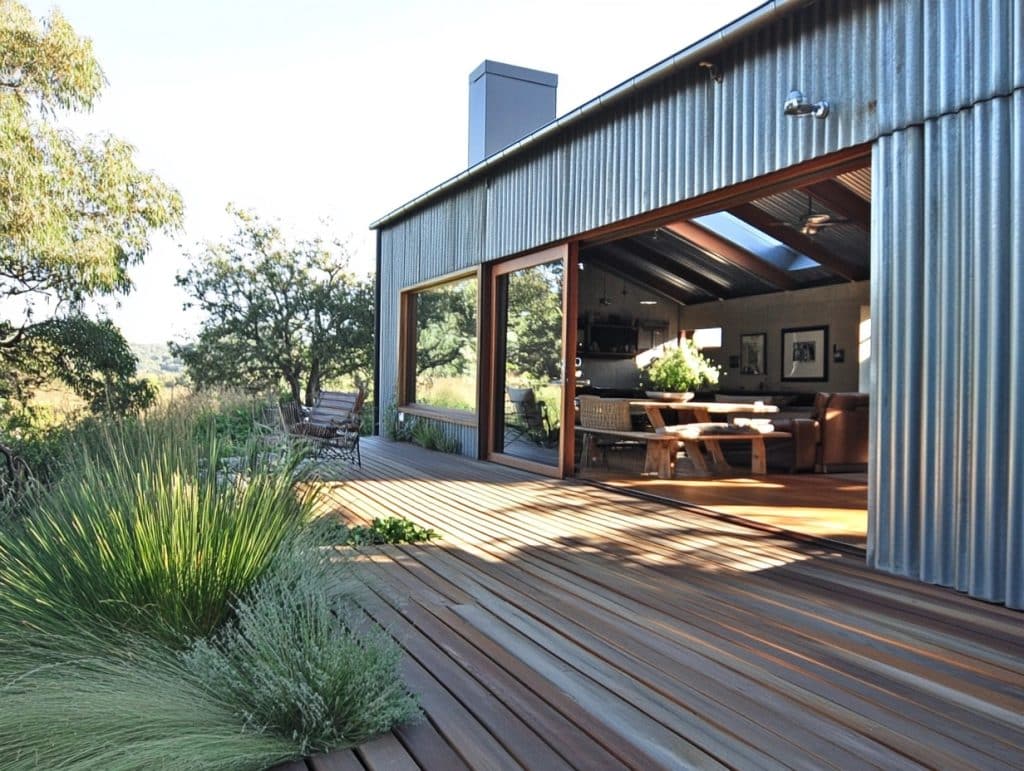
These metal sheets add a bit of farm-style charm to your deck.
They’re strong, and the wavy pattern creates nice shadows throughout the day.
Unique features:
- Strong and durable
- Creates interesting light patterns
- Many color options
- Quick to install
9. Privacy Screen Panels
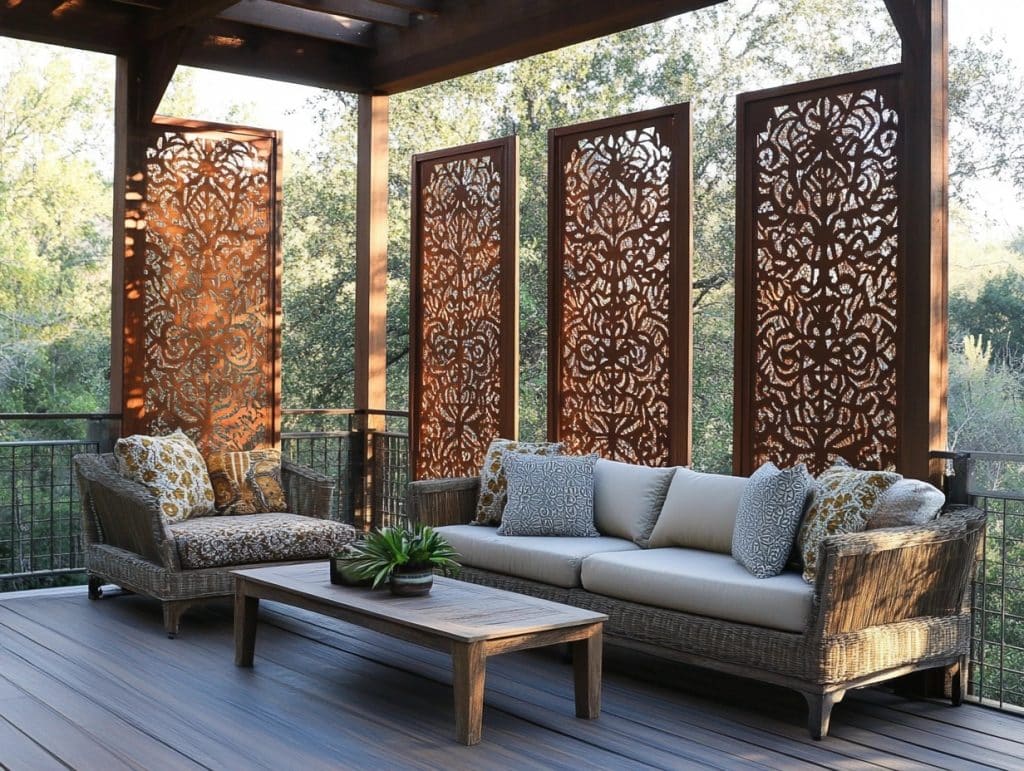
These panels keep things hidden while looking good.
You can find them in many styles, from simple to fancy patterns.
Unique features:
- Total privacy
- Different pattern options
- Easy to remove for access
- Good ventilation designs
10. Mixed Material Approach
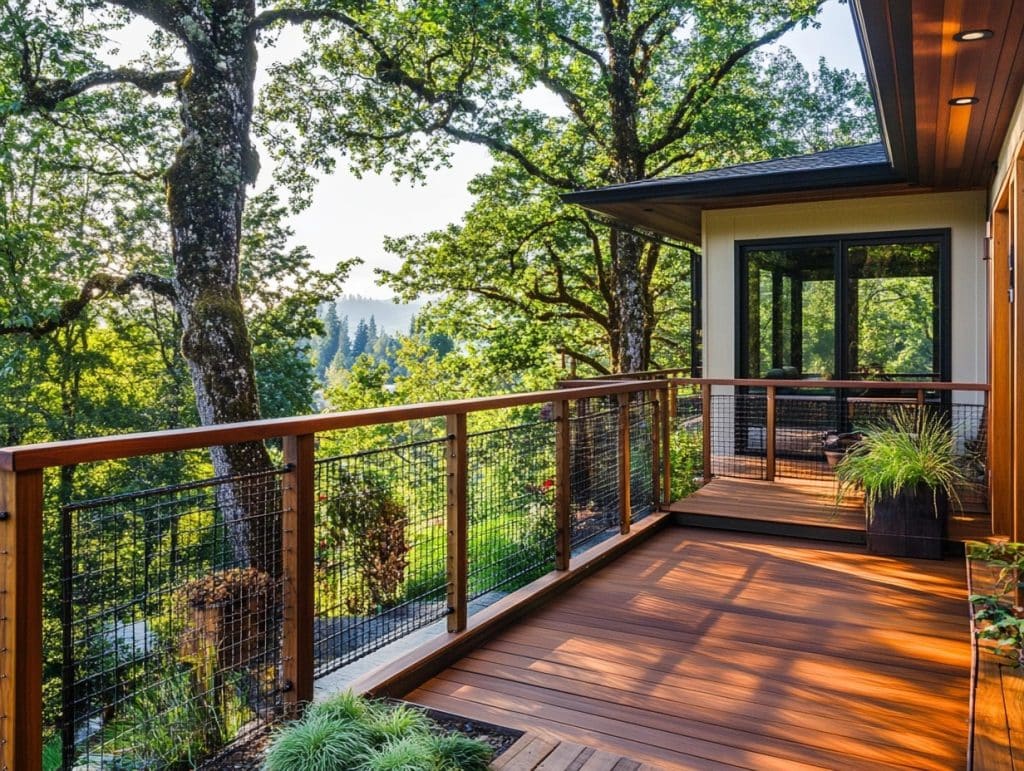
Can’t pick just one?
Mix different materials like wood and metal for something special.
It’s your chance to create a look that’s all your own.
Unique features:
- Custom design options
- Interesting visual appeal
- Flexibility in repairs
- Makes your deck stand out
Remember, the best choice depends on your deck’s style and how much time you want to spend on upkeep.
Pick something that makes you happy when you look at it!
Conclusion
Horizontal deck skirting does more than hide the space under your deck.
It adds style, keeps pests away, helps with airflow, and protects your deck’s structure.
From wood to composite to metal, you have many options to match your home’s look and budget.
Choosing between horizontal and vertical skirting comes down to your needs.
Horizontal styles offer easier upkeep and better water flow, making your space look wider.
Plus, they often cost less to install.
Ready to start your deck project?
Measure your space and select your materials.
Need more ideas?
To create your perfect outdoor space, check out my guides on deck maintenance, outdoor lighting, and deck rail designs.
Share photos of your deck skirting project in the comments below!
Frequently Asked Questions
Should Deck Skirts Be Horizontal or Vertical?
Choose horizontal for a wider look and easier water flow.
Pick vertical if you want your deck to look taller or have a sloped yard.
What Can I Use for Deck Skirting?
Wood (cedar, pine, redwood), composite boards, or metal panels (aluminum, steel) work well.
Each material fits different budgets and needs.
How Do I Enclose the Underside of a Deck?
Install a frame using pressure-treated lumber.
Add your chosen skirting material.
Leave small gaps between boards for airflow. Include access doors for storage.


