Growing Avocado Seeds: A Beginner’s Guide to Success
I get it—growing avocado seeds can seem tricky. I’ve seen many folks struggle with getting their trees to thrive, facing issues like slow growth or a lack of fruit.
But don’t worry! I’m here to help you turn your green thumb greener.
In this guide, I’ll share simple, effective tips to grow healthy avocado trees that bear delicious fruit. I’ll cover everything from selecting the right variety to planting, watering, and care techniques.
By the end, you’ll know how to nurture your avocado tree from a tiny seed to a fruit-bearing plant. Ready to start your avocado-growing adventure?
Let’s dig in and set you up for success!
Is It Safe To Consume Avocado Seeds?

I often get asked about eating avocado seeds, and I’m here to clear up the confusion. While some claim these seeds are packed with nutrients, the truth is more complex.
First off, avocado seeds contain compounds that can be harmful if eaten in large amounts. These include:
- Persin, which can cause stomach upset
- Tannins, which may interfere with nutrient absorption
- Cyanogenic glycosides, which can be toxic in high doses
However, small amounts of ground avocado seed are unlikely to cause serious harm. Some people add a bit to smoothies or teas, but there’s little scientific proof of health benefits.
My advice? Stick to the creamy green flesh – it’s where the proven health perks are. If you’re curious about the seed, talk to your doctor first.
Remember, sometimes, the simplest approach is the safest!
Nutritional Information of Avocado Seed
I’ve done some digging into the nutrition of avocado seeds, and I’ve found some interesting facts to share with you. While we usually toss these large pits away, they do contain some nutrients:
| Nutrient | Amount per 100g |
|---|---|
| Carbohydrates | 64.9% |
| Sugars | Varies (includes fructose, glucose, sucrose) |
| Calcium | 0.82 mg |
| Potassium | 4.16 mg |
| Phosphorus | 0.09 mg |
| Zinc | 0.18 mg |
| Iron | 0.31 mg |
| Copper | 0.98 mg |
| Vitamin A | 10 mg |
| Thiamin (Vitamin B1) | 0.33 mg |
| Riboflavin (Vitamin B2) | 0.29 mg |
| Niacin (Vitamin B3) | 0.06 mg |
| Ascorbic Acid (Vitamin C) | 97.8 mg |
Different Avocado Varieties
I’ve tried growing various types of avocados, and here’s what I’ve learned:
- Hass avocados: These are common and often grow well from seed.
- Fuerte avocados: They have large seeds that tend to sprout easily.
- Reed avocados: Their seeds are also good candidates for growing.
- Pinkerton avocados: These can be a bit trickier but still possible to grow.
Remember, your growing tree might not produce fruit exactly like the parent avocado. But that’s part of the fun – you never know what you might get!
Step-by-Step Guide to Plant an Avocado Seed in Water
Materials and Tools Required
| Materials | Tools |
|---|---|
| Avocado Seed | Toothpicks |
| Water | Glass |
| Potting Soil | Small Pot |
| Well-draining Pot | Gardening Gloves (optional) |
| Sunlight (location choice) |
Instructions to Plant an Avocado Seed in Water
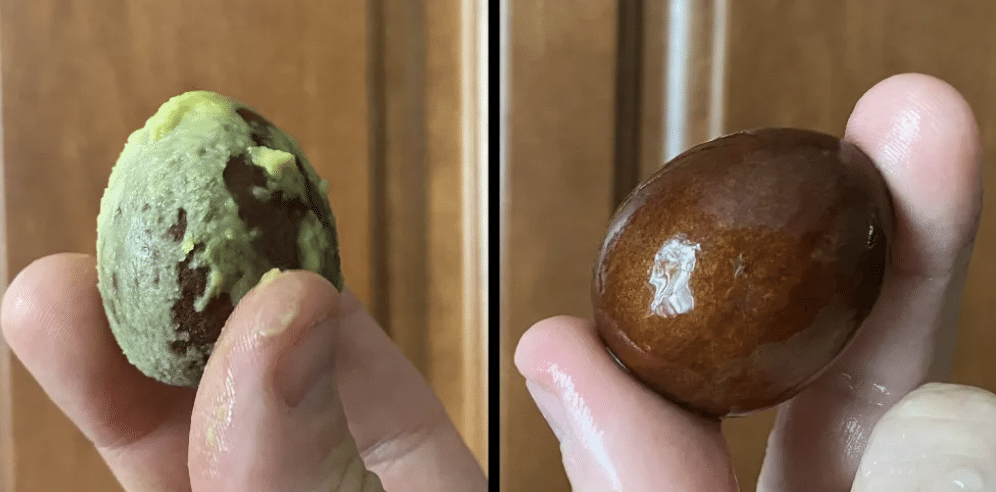
Step 1: Prepare the Seed
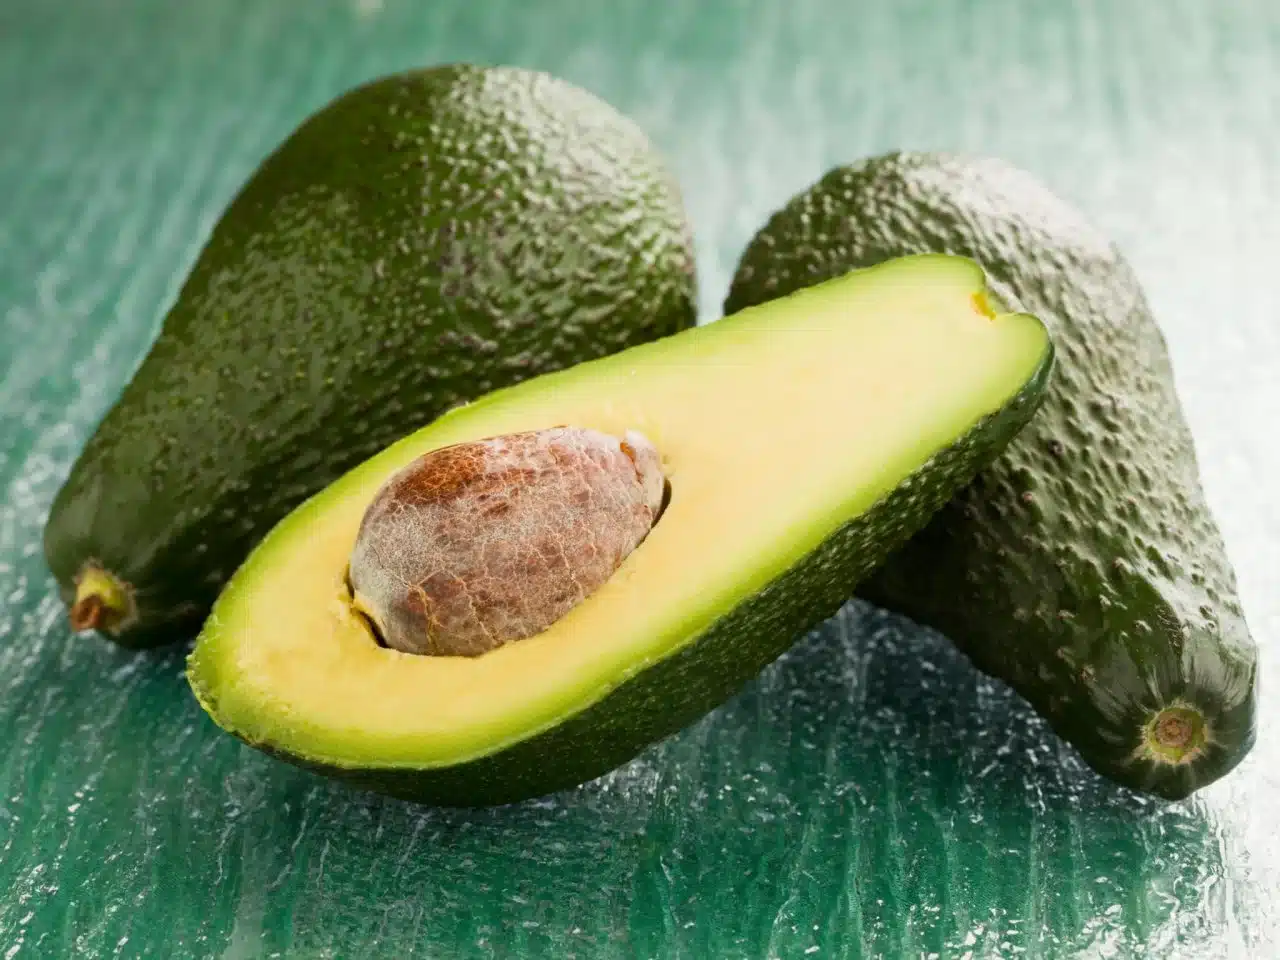
- Start by choosing a ripe avocado. Carefully remove the seed, clean off any remaining flesh, and let it dry.
- Peel away the thin brown layer around the seed to allow for better growth.
- Identify the top and bottom of the seed: the bottom is slightly rounder, and the top comes to a slight point.
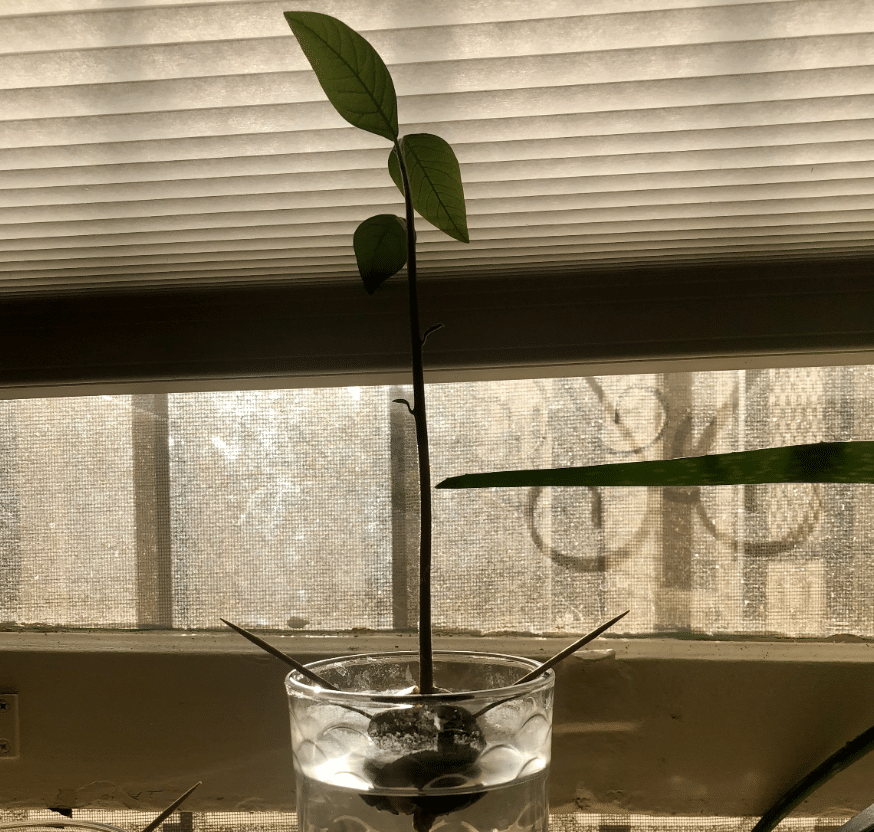
Step 2: Set the Seed in Water
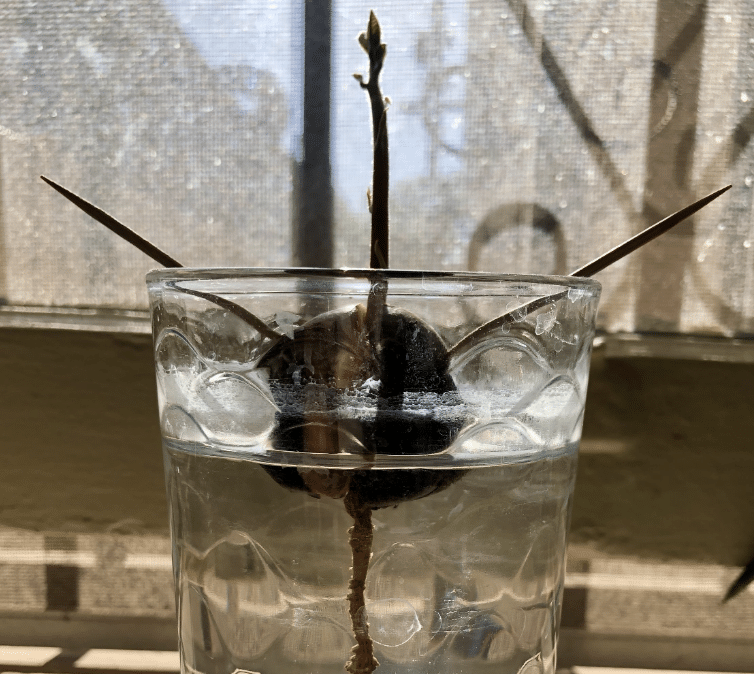
- Insert three toothpicks at an equal distance around the middle of the seed. This will allow you to suspend it.
- Fill a glass with water and place the seed so the bottom is submerged while the top remains dry. Ensure the water reaches only halfway up the seed.
- Place the glass in a spot that receives plenty of sunlight.
Step 3: Wait for the Seed to Sprout
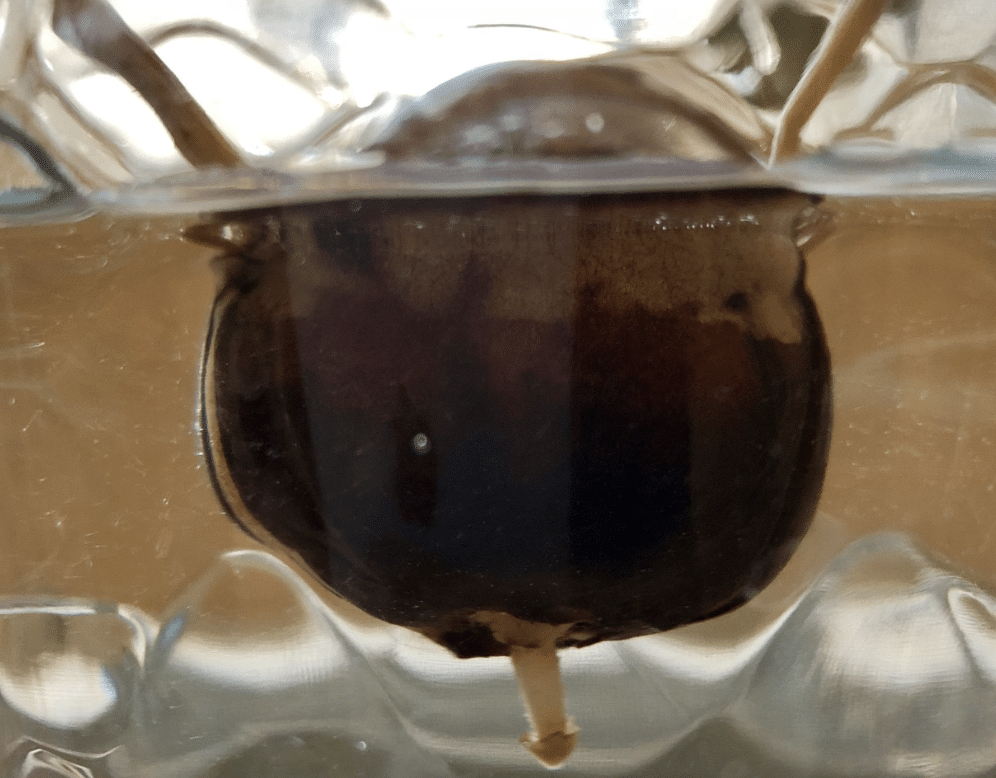
- Refill the water regularly, making sure the seed’s bottom remains submerged.
- The seed may begin to split over the next 4-6 weeks, and a taproot will emerge from the bottom.
- Continue to add fresh water as needed. If the water turns brown, replace it.
Step 4: Transfer to Soil
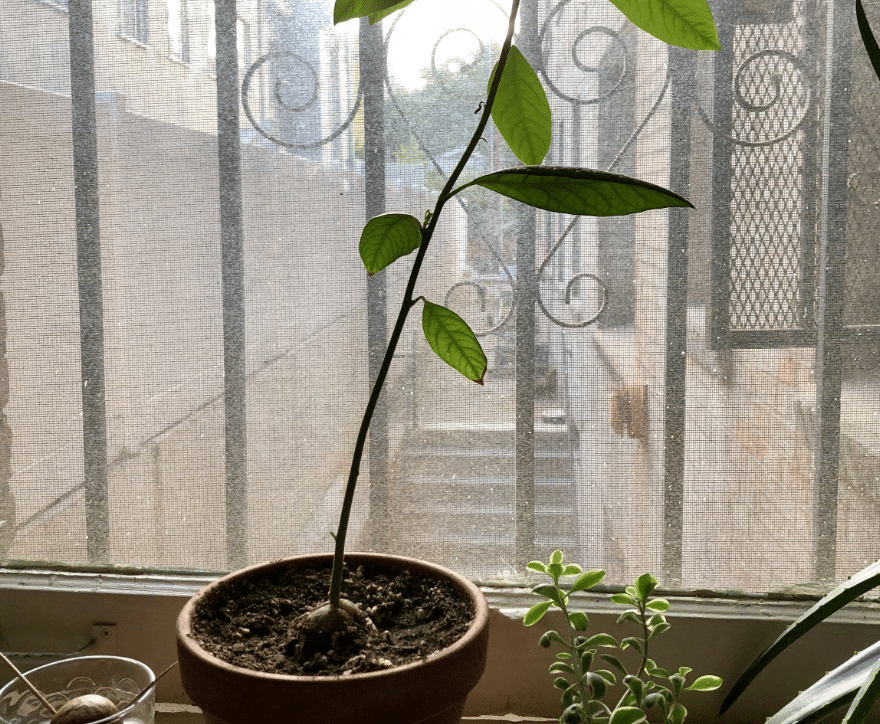
- Once the taproot has developed and a small stem emerges, prepare a pot with loose, well-draining soil.
- Remove the toothpicks, plant the seed, and taproot it down so the top half of the seed is exposed above the soil.
- Firmly press the soil around the seed to secure it, and place the pot in a sunny location.
Step 5: Maintain Growth
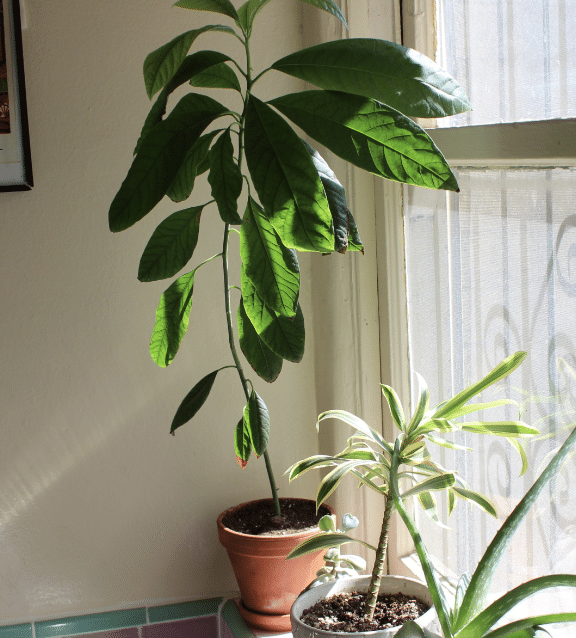
- As the tree matures, consider pinching off new buds to encourage a bushier growth.
- During warm months, monitor for leaf browning and adjust the light exposure if needed.
- Continue to water and provide sunlight, and your avocado tree will flourish with patience and consistent care.
Step-by-Step Guide to Plant an Avocado Seed in Soil
Materials and Tools Required
| Materials | Tools |
|---|---|
| Avocado Pit | Ziploc Bag |
| Water | Small Pot |
| Paper Towels | Gardening Gloves (optional) |
| Potting Soil |
Instructions to Plant an Avocado Seed in Soil
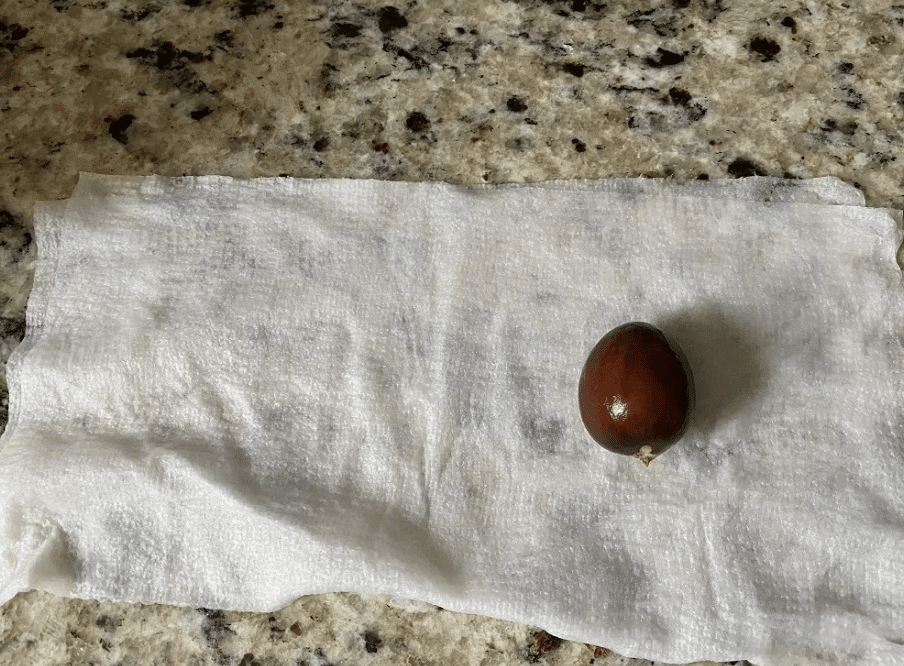
Step 1: Clean the Avocado Pit
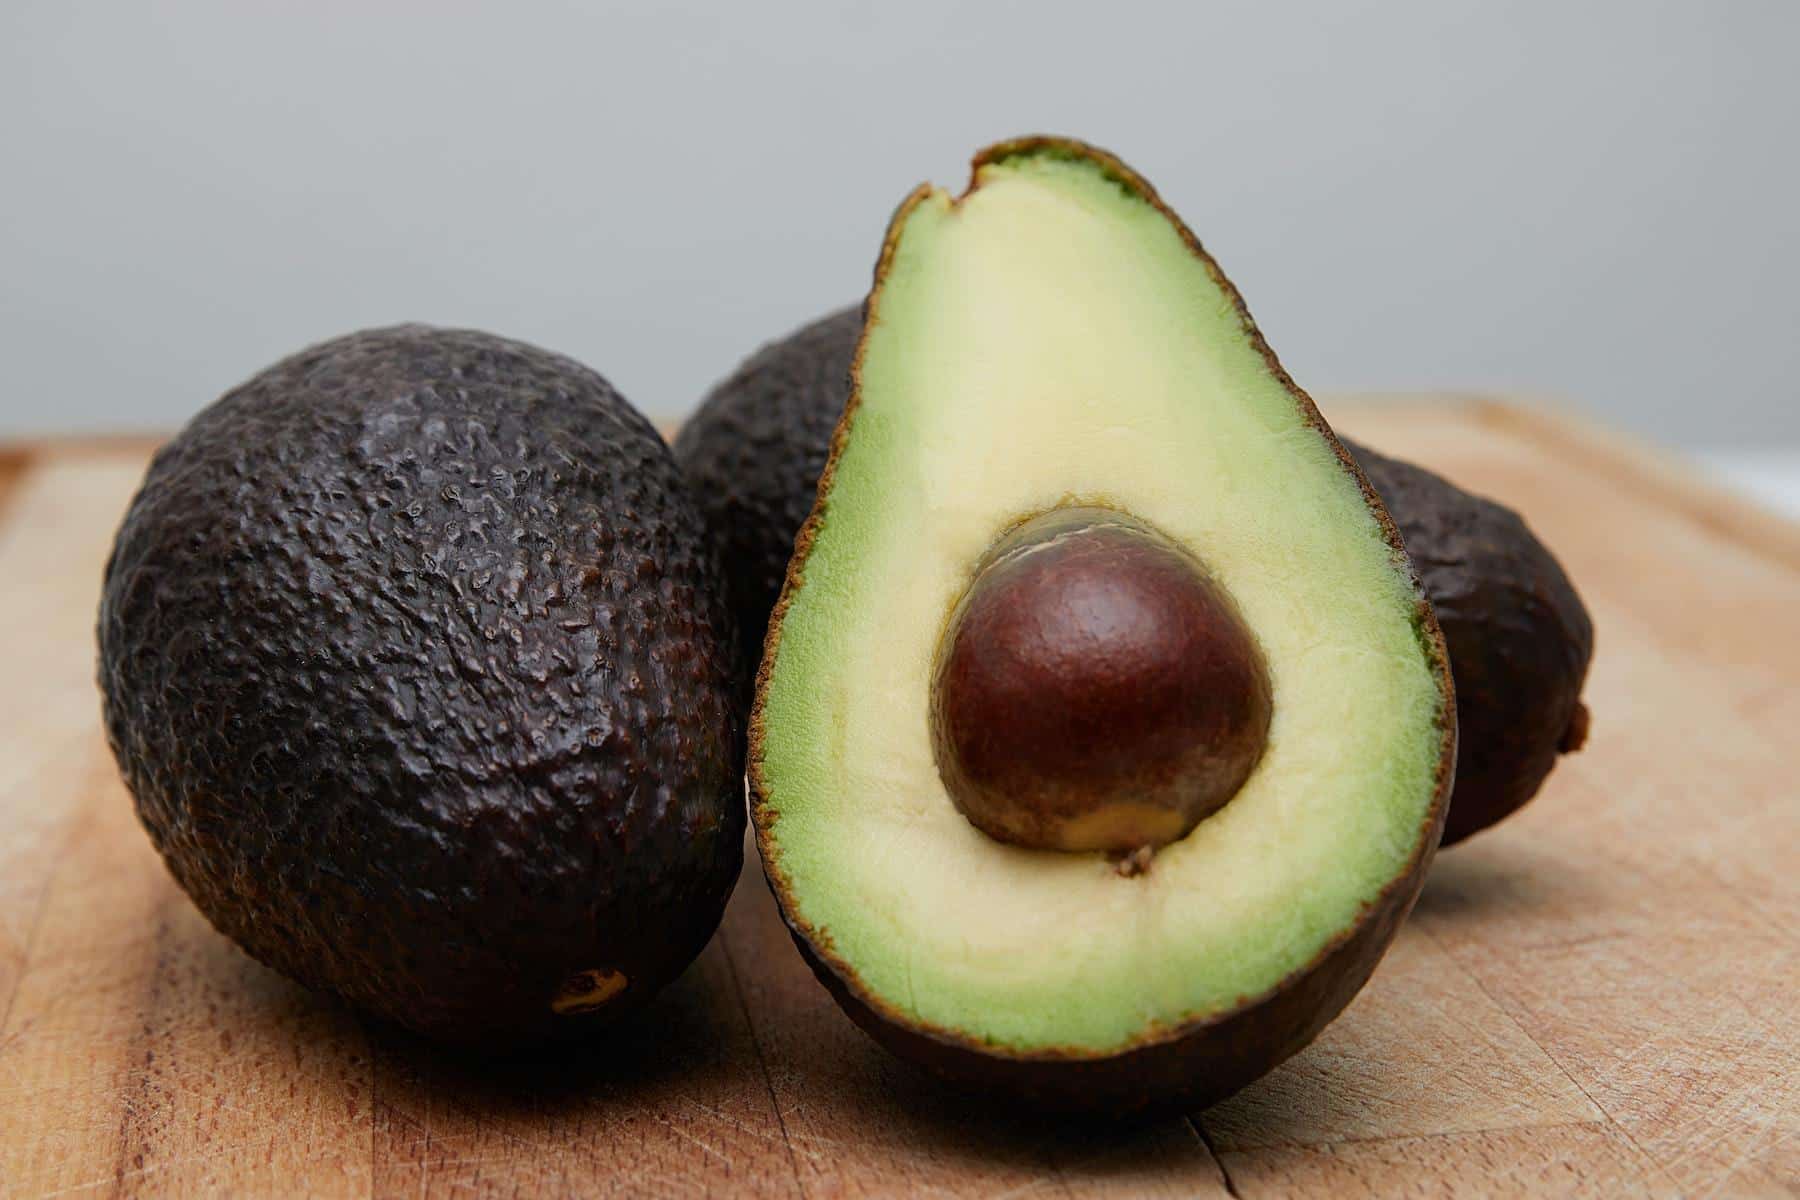
- Carefully cut open a ripe avocado and remove the pit using a spoon or your fingers, ensuring it does not damage its outer shell.
- Rinse the pit thoroughly under water to remove avocado flesh, as leftover bits can lead to mold and rot.
Step 2: Wrap It Up!
- Wet a paper towel and wrap it around the cleaned pit. This will keep the pit consistently moist, a key factor for germination.
- Ensure the paper towel is damp, not dripping, to avoid mold growth.
Step 3: Place the Wrapped Pit in a Ziploc Bag
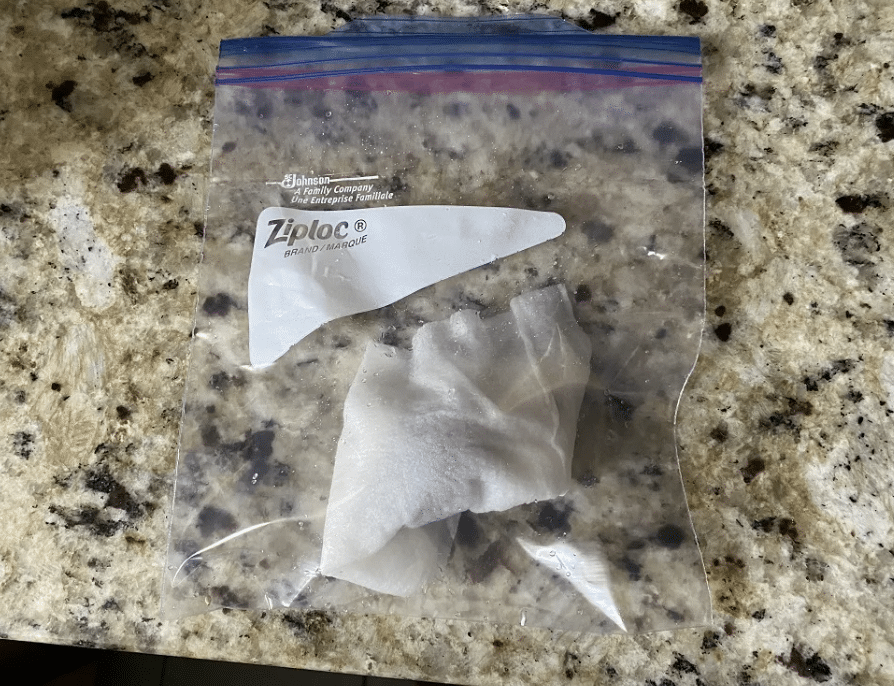
- Put the wrapped pit inside a Ziploc bag, sealing it to trap moisture and prevent the towel from drying out.
- Store the bag in a warm area, away from direct sunlight. Check every week to ensure the towel remains moist.
Step 4: Check for Sprouting and Plant in Soil
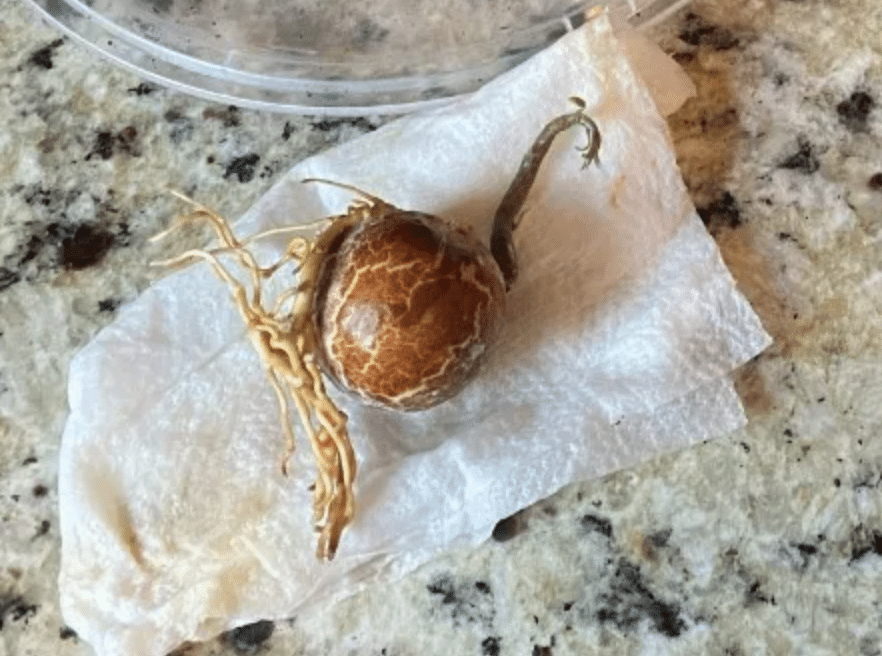
- After about 4-6 weeks, the pit should split, revealing a small root and possibly a shoot. Once you see both, it’s ready for planting.
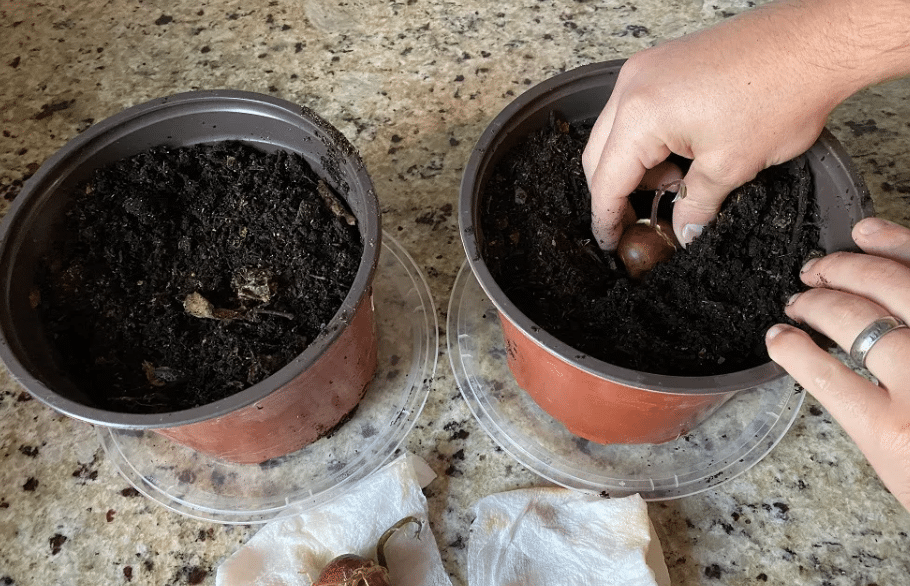
- Fill a 6-inch pot with well-draining soil, make a hole in the center, and place the pit in the soil with the root pointing down. Leave the top half of the pit exposed.
Step 5: Care for Your Seedling
- Water the soil thoroughly, ensuring it remains moist but not soggy. Place the pot in a warm location with plenty of sunlight.
- Water every few days, ensuring the soil doesn’t dry out completely. With time, the shoot will grow into a stem, and leaves will begin to form.
Where Would Avocado Seeds Germinate Faster – Soil or Water?
I’ve tried both methods, and I can tell you that each has its pros and cons. Let’s break it down:
Germinating in Water:
- This method is faster. I usually see roots in 2-6 weeks.
- It’s fun to watch! You can see the roots grow day by day.
- There’s less risk of the seed rotting.
- However, the transition to soil later can be tricky.
Germinating in Soil:
- This takes longer, often 6-8 weeks, before you see sprouts.
- It’s more natural and mimics how avocados grow in the wild.
- The seedling doesn’t need to be moved later.
- But there’s a higher risk of the seed rotting if the soil is too wet.
So, which is faster? In my experience, water wins for speed. But speed isn’t everything!
I prefer starting in soil. Yes, it’s slower but less stressful for the plant in the long run. Plus, there’s something magical about seeing that first green shoot pop up from the earth.
Growing Tips for Your Avocado Seedling
I’ve nurtured many avocado seedlings over the years, and I’m excited to share my top tips with you:
- Light: Your seedling loves bright, indirect sunlight. I place mine near a window, but not in direct sunlight, which can burn the leaves.
- Water: I keep the soil moist but not soggy. Overwatering is a common mistake I’ve learned to avoid.
- Temperature: Avocados like it warm! I try to keep the room between 60-80°F (15-27°C).
- Soil: I use a well-draining potting mix. Avocados don’t like wet feet!
- Pot size: Start small and move up. I begin with a 6-8 inch pot.
- Pinching: When your plant reaches about 6 inches, I suggest pinching off the top two leaves. This helps it branch out.
- Fertilizer: I feed my seedlings with a balanced, water-soluble fertilizer every 2-3 weeks during the growing season.
- Patience: Growth can be slow at first. My seedlings often seem to do nothing for weeks, then suddenly shoot up!
- Humidity: If your home is dry, mist the leaves occasionally. I find this helps keep them happy.
Are There Any Risks Associated with Consuming Avocado Seeds?
From my research and experience, I’ve found that eating avocado seeds does come with some risks we should be aware of:
- Digestive issues: The seeds contain substances that can upset your stomach. I’ve heard of people experiencing nausea or discomfort after eating them.
- Potential toxicity: Avocado seeds have compounds that can be harmful in large amounts. One of these is called persin, which can cause problems if consumed in high doses.
- Nutrient interference: The seeds contain tannins, which might make it harder for your body to absorb certain nutrients from other foods.
- Choking hazard: The seeds are quite large and hard. If not ground properly, they could pose a choking risk.
- Limited research: Little scientific study exists on the long-term effects of eating avocado seeds regularly, which makes me cautious.
I always remind folks that the fleshy part of the avocado is where we find the known health benefits. It’s tasty, nutritious, and safe to eat.
While some people claim benefits from eating the seeds, I prefer to stick with what we know is good for us.
Wrapping It Up
Growing avocado trees from seeds is a rewarding journey that I hope you’ll try. Remember, it’s all about patience and care.
Start by properly preparing your seed. Choose between water and soil germination based on your preference, and follow the growing tips I’ve shared.
While we’ve explored the nutrition and potential risks of consuming avocado seeds, I recommend enjoying the delicious fruit.
Your homegrown avocado tree may take years to bear fruit, but the process is incredibly fun and educational.
Whether doing this as a hobby or aiming to harvest your avocados someday, you’re now equipped with the knowledge to get started.
So why not give it a go? Grab an avocado, save that seed, and start your little green adventure today!