Gravel Shed Base: Build a Stable, Dry Foundation
Are you tired of dealing with leaning sheds, rotting floors, or water pooling underneath? The real problem might be your shed’s foundation. Choosing the right gravel base can help you fix these issues before they even start.
In this guide, I’ll walk you through everything you need to know, from the best types of gravel to how deep and wide your base should be. If your yard is flat or sloped, you’ll get simple, step-by-step instructions to build a strong, dry, and level foundation that lasts.
You don’t have to spend a fortune or hire experts. With some basic tools and a little effort, you can make your shed stable and worry-free for years to come.
Why Choose a Gravel Base for Your Shed?
When building a shed, picking the right base is super important. A good base keeps your shed strong, dry, and level. One of the best and easiest choices? Gravel.
Gravel may not look fancy, but it does the job exceptionally well. It’s one of the top picks for both new and experienced shed builders. Let’s break down why.
Key Benefits of Gravel
- Drainage: Water flows through gravel, so no puddles under your shed.
- Cost-efficiency: Gravel is inexpensive and doesn’t require professional installation.
- Longevity: Gravel holds up well over time and doesn’t crack.
- Easy DIY installation: Simple tools and a free weekend are all you need.
Gravel vs. Concrete vs. Plastic: Which One’s Right for You?
Let’s compare the three most common shed base types: gravel, concrete, and plastic. Each one has its good and bad points.
| Base Type | Pros | Cons |
|---|---|---|
| Gravel | Drains well, low-cost, easy to fix | Needs digging and leveling |
| Concrete | Very strong, works well for heavy sheds | Costs more, needs expert help, hard to move |
| Plastic | Light, fast to build, no digging | Can sink if the ground is soft, not best for large sheds |
Top Gravel Options for a Strong Shed Base
The best gravel types for shed foundations are #57 stone, ¾” clean stone, and crusher run. They drain well, stay in place, and create a strong, level base for your shed.
1. #57 Stone
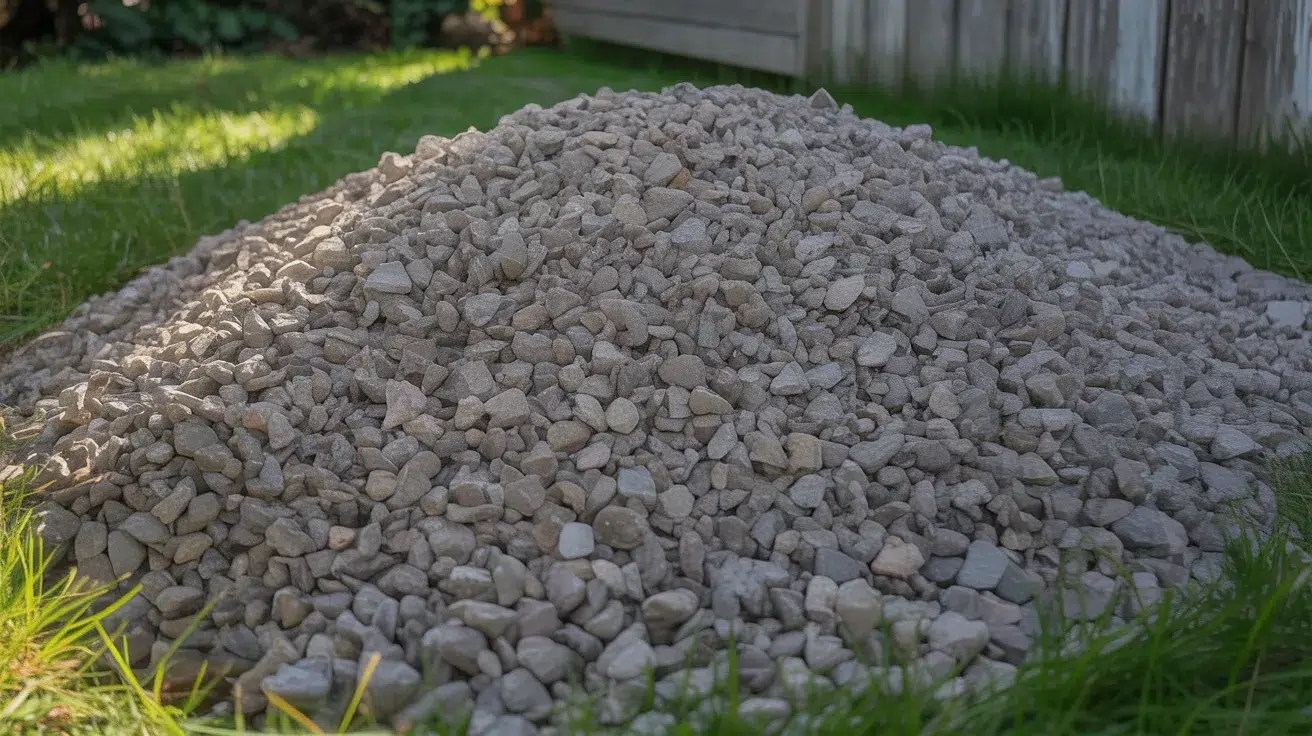
#57 stone is a mix of small, crushed stones about the size of nickels. It allows water to pass through easily, which helps prevent moisture buildup under your shed.
It packs down well for a solid base but still gives good drainage. It’s one of the top choices for shed foundations.
2. ¾” Clean or Washed Stone
This type of gravel is screened and washed to remove dirt and dust. The clean surface helps keep water flowing and avoids compacting too much.
It’s best for sheds that need good drainage and a flat, even base. It doesn’t shift easily, making it a safe, steady choice for many small to medium sheds.
3. Crusher Run (With Compaction)
Crusher run is made of crushed stone and fine dust. When packed tightly, it locks together, creating a very strong, smooth surface.
It’s ideal if you want extra strength and plan to use heavy items in your shed. Just make sure to compact it well to stop shifting or settling over time.
Step-by-Step: How to Build a Gravel Shed Base
Building a gravel shed base is easy when you follow the right steps. You just need basic tools, a simple plan, and a bit of time.
Tools and Materials Needed
- Gravel (use a gravel calculator to estimate the right amount)
- Shovel for digging and moving gravel
- Rake to spread gravel evenly
- Wheelbarrow for hauling gravel
- Level to check for flatness
- Tamper or compactor to press and tighten gravel layers
- Weed barrier fabric to block plant growth
- Wooden boards or edging to frame the base and hold gravel in place
- Safety gear like gloves and boots for protection while working
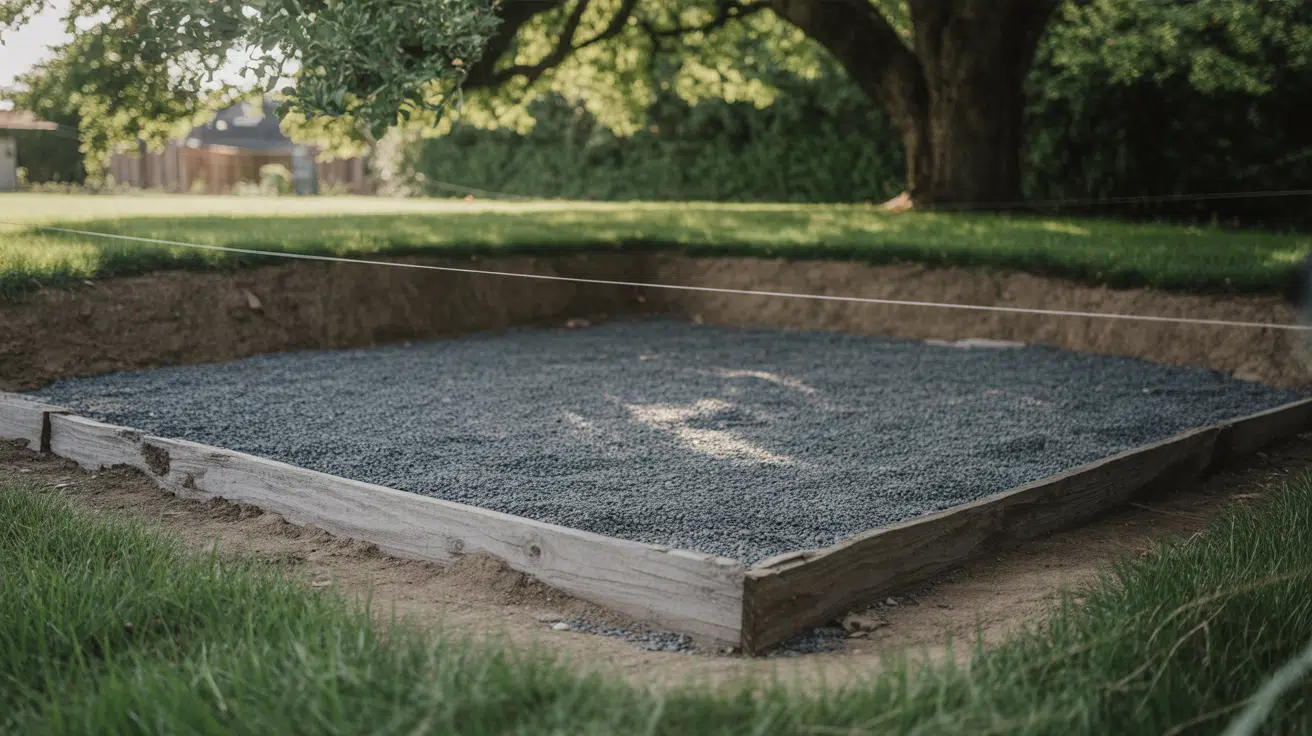
Step 1: Preparing the Site

Clear grass, roots, or debris. Measure your shed’s size and mark the area. Use a level to check the ground and adjust where needed.
Dig down 4–6 inches. For big sheds, you may need deeper digging. Double-check measurements to avoid any base that’s too small. Smooth out the bottom and lay your weed barrier.
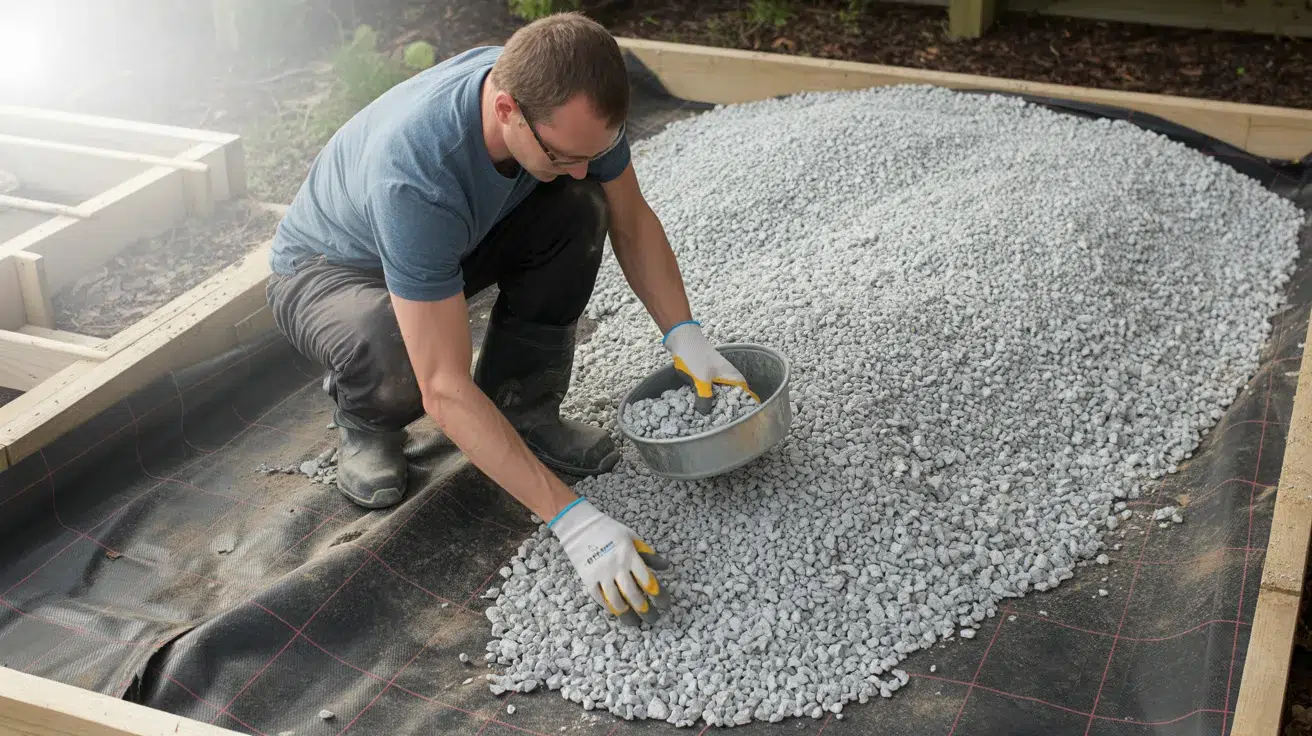
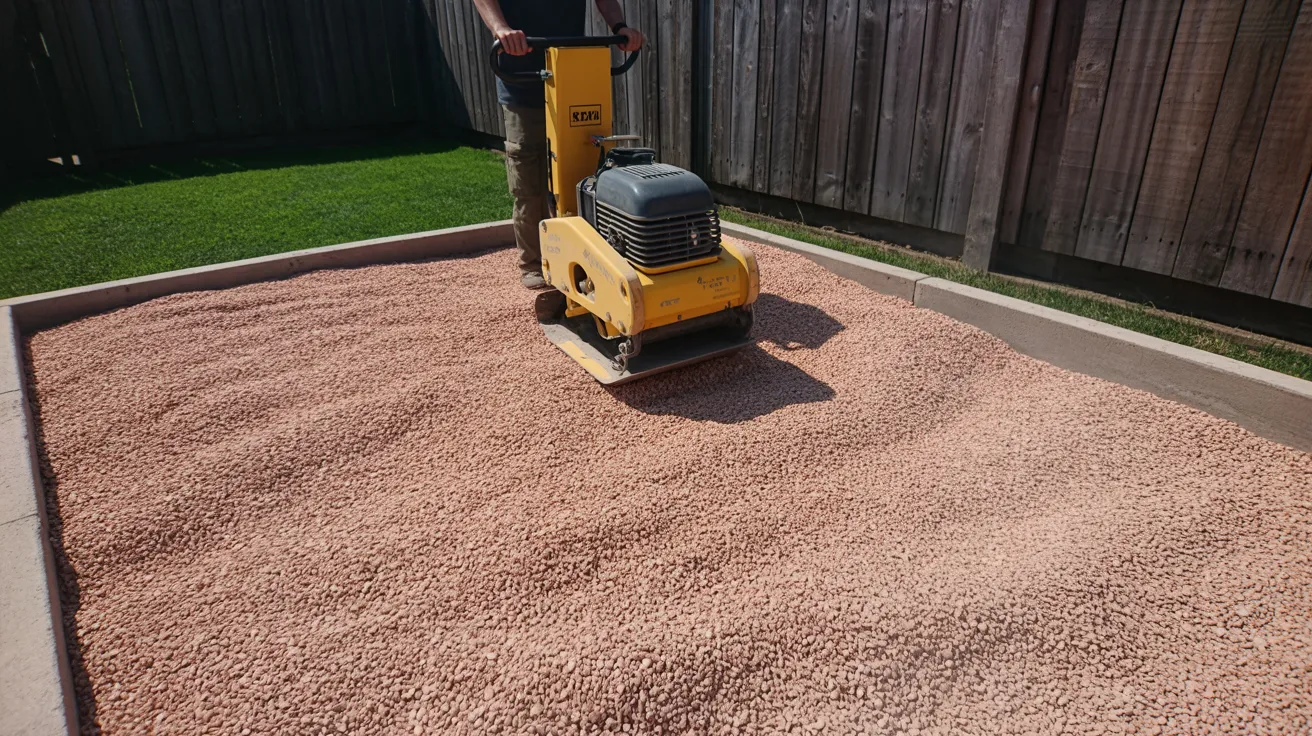
Step 2: Installing the Gravel

Start by laying about 2 inches of gravel at a time. Spread it evenly with a rake. Then use a hand tamper or plate compactor to press it down.
Keep adding layers and compacting until you reach your full base depth. Make sure the top layer is level and slightly sloped to help water drain away.
Step 3: Handling Sloped Yards

If your yard isn’t flat, dig deeper on the high side until the base is level. Use timber edging or blocks to keep the gravel from sliding.
Add extra gravel on the low side if needed. You can also build a retaining wall for steep slopes. A level string line helps check your work as you go.
Step 4: Framing and Checking the Base
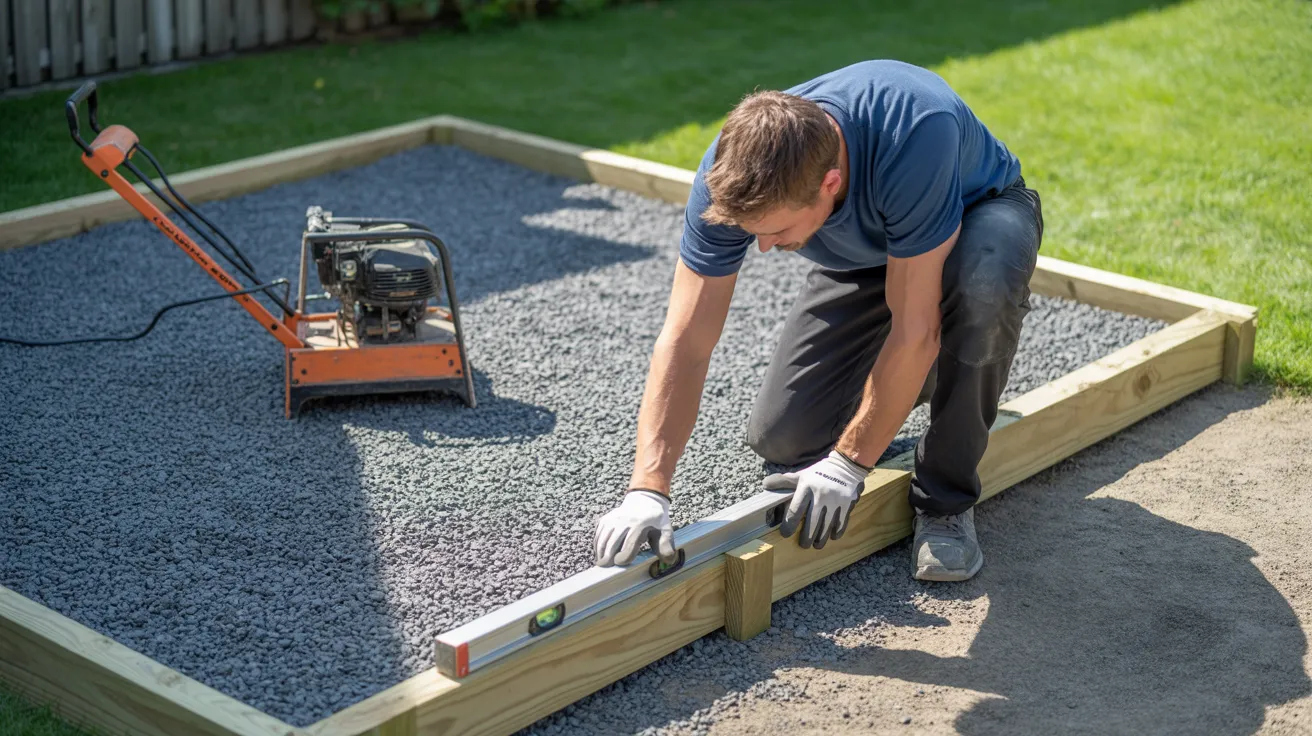
After compacting the gravel, place edging (wood or blocks) to hold the gravel in place. Re-check the surface with a level from side to side.
Add more gravel if needed and compact again. Ensure the base is flat, firm, and sized appropriately for your shed. Now your base is ready, dry, stable, and strong enough for your shed build.
Step 5: Final Look of the Gravel Base

Take a moment to check your finished gravel base. It should be level, firm, and framed neatly with edging.
The surface must be flat and compacted, with no soft spots or loose gravel. There should be a slight slope to allow water to drain off.
It’s clean, solid, and ready for your shed. No sinking, no shifting, and no moisture issues ahead.
How Deep and Wide Should Your Gravel Base Be?
Getting the size right for your gravel base helps your shed last longer. Too small or too shallow, and problems show up fast. Here’s how to do it right.
Standard Dimensions
For most small to medium sheds, dig the base about 4 to 6 inches deep. This gives enough room for drainage and stability.
As for width, add 1 foot extra on each side of the shed. For example, if your shed is 8×10 feet, make the base 10×12 feet.
Recommendations for Heavy Structures
For sheds that hold heavy tools, equipment, or vehicles, go deeper. A base 8 to 12 inches deep works better. You can also use stronger gravel, like crusher run, for more support.
It helps keep the shed from sinking over time, especially if the soil underneath is soft or gets wet often.
Width and Perimeter Guidelines
Always make your gravel base wider than the shed. Aim for 12 inches extra on all sides. This gives space for water to drain and keeps the edges from breaking down.
The extra room also helps with airflow under the shed, stopping moisture and rot. Use wooden edging to keep the gravel from spreading out.
Wrapping Up
Building the right gravel base makes a significant difference in how long your shed lasts and how well it withstands weather.
Now that you know which gravel to choose, how to size your base, and the common mistakes to avoid, you’re ready to get started with confidence.
Take your time, follow the steps, and you’ll have a sturdy, dry foundation that keeps your shed safe and solid. If you want a simple, cost-effective solution that works, gravel is the way to go.
Save this guide, share it with friends, and get ready to build a shed base you can count on.