Fixing a Leaky Faucet: A Step-by-Step Guide to DIY Plumbing Solutions
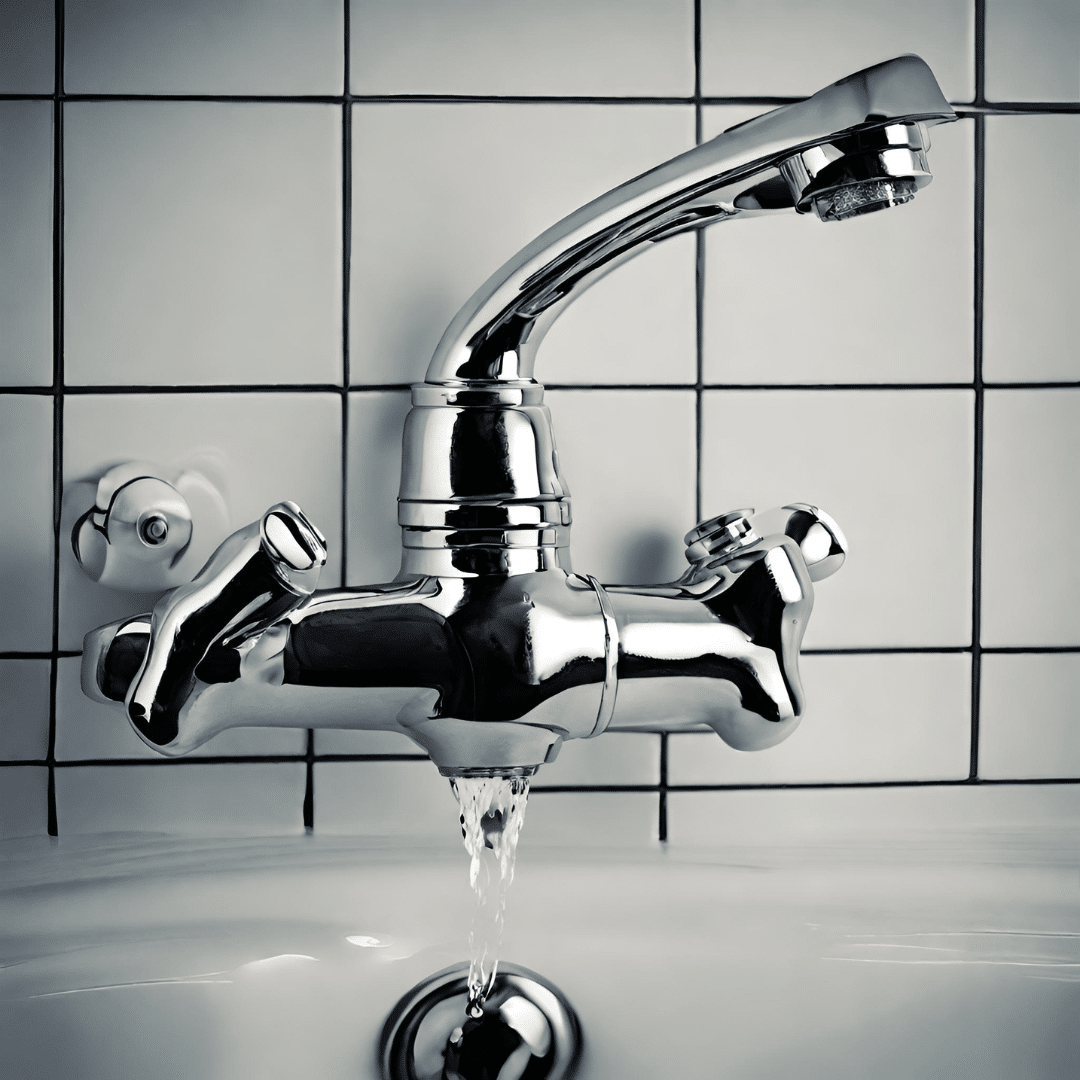
A leaky faucet can be a common household nuisance, causing an irritating dripping sound, potential water wastage, and increased utility bills. While some plumbing issues may require professional intervention from plumbing services, tackling a leaky faucet is often a manageable DIY task. This comprehensive guide will guide you through the sequential process of fixing a leaking faucet. We will offer insights into prevalent causes and advice on handling plumbing emergencies.
Step 1:
Collect the required tools and materials before starting the repair. Essential items include an adjustable wrench, a screwdriver, a pipe wrench, replacement washers and O-rings, plumber’s tape, and a bucket or towels containing water drips.
Step 2:
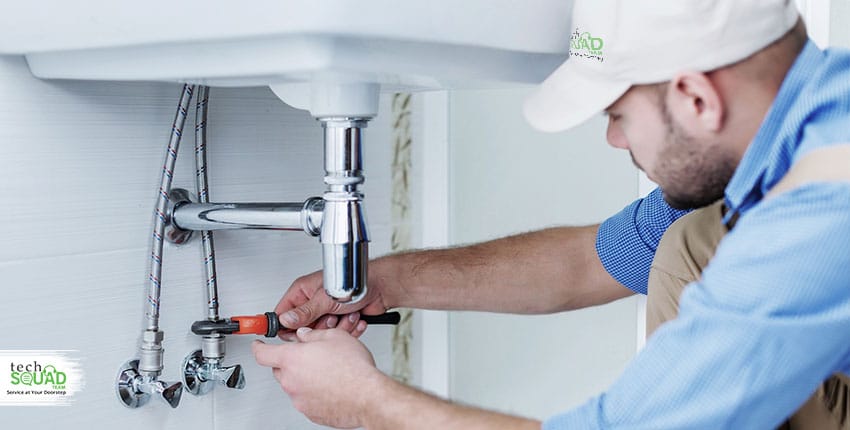
Switch off the water supply by locating and shutting the shut-off valves beneath the sink. Without specific shut-off valves for the faucet, it might be necessary to shut off the main water supply to your residence. This crucial step ensures a mess-free and controlled environment during the repair.
Step 3:
Disassemble the Faucet. Utilize a screwdriver to detach the faucet handle, revealing the internal components. Keep in mind that different faucets may have various disassembly methods. Make a careful note of the sequence in which you disassemble the components to facilitate ease of reassembly later on.
Step 4:
Identify and substitute any defective parts by examining them for indications of wear or damage. Common culprits for leaks include worn-out washers and O-rings. Substitute any impaired components with new ones, ensuring a precise fit. It’s advisable to take the old parts to a hardware store for accurate replacements.
Step 5:
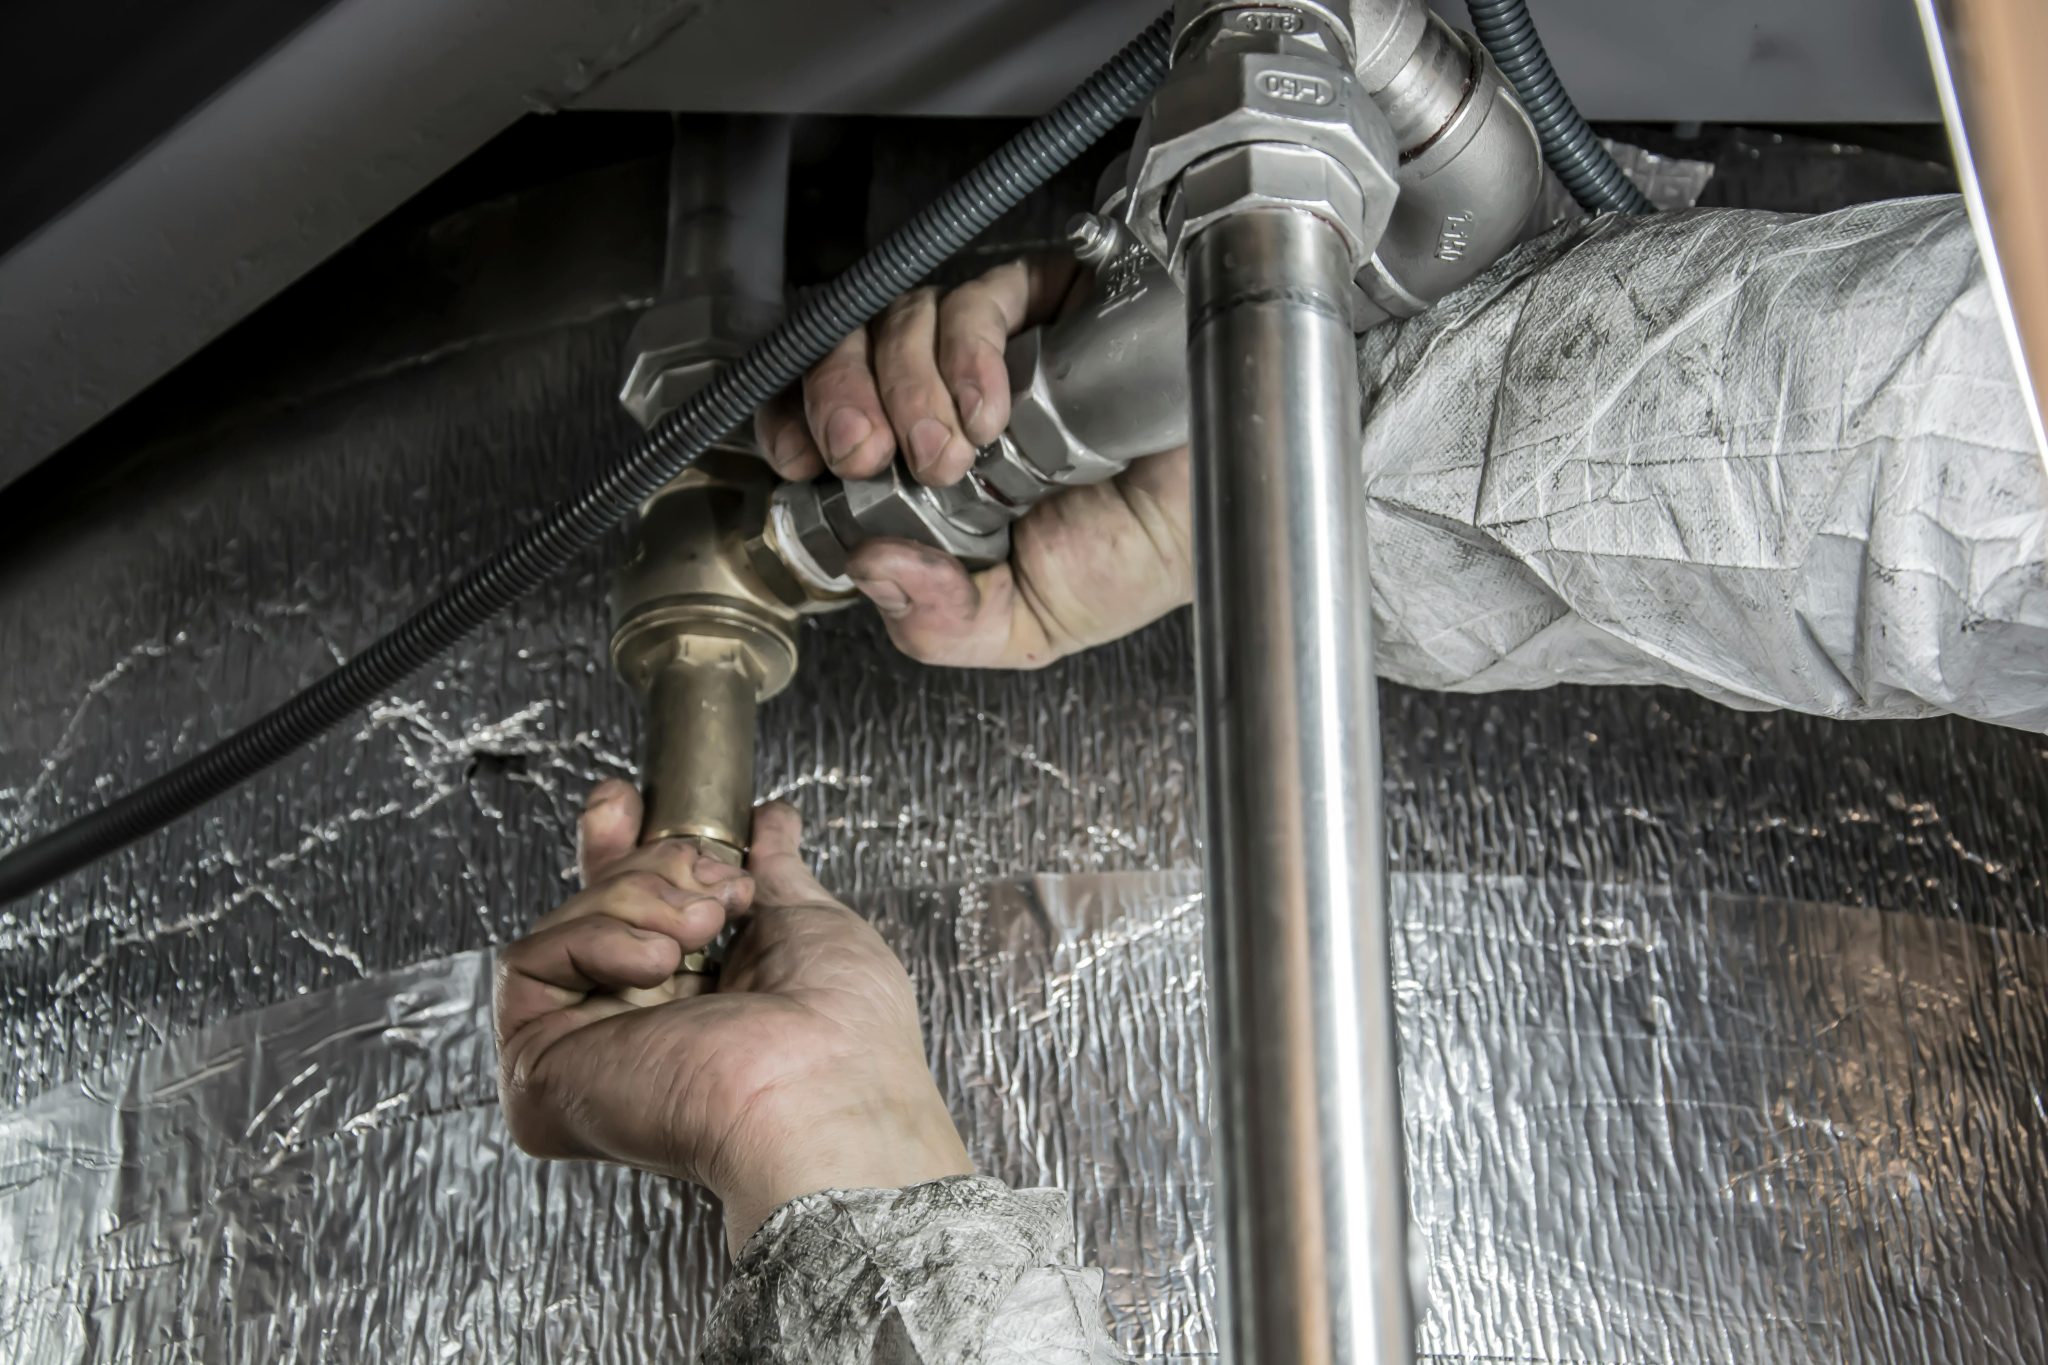
To avoid potential leaks in the future, encircle the threads of pipe connections with the plumber’s tape. This process creates a stable, waterproof seal and extra protection against leaks.
Step 6:
Carefully reconstruct the faucet by following the reverse order of disassembly. Tighten all connections securely but avoid over-tightening, which can lead to damage.
Step 7:
Turn On the Water Supply. After reassembling everything, gradually restore the water supply and inspect for leaks. Keep a close eye on the faucet to detect any indications of dripping or unusual water flow. If you encounter issues, retrace your steps to identify and rectify the problem.
Emergency Plumbing Tips:
If you encounter unexpected challenges or the leak persists, it’s crucial to know when to seek emergency plumbing services. Signs such as a sudden increase in water flow, persistent leaks, or issues with shut-off valves may indicate a more complex problem that requires professional attention. If uncertain, contact a dependable emergency plumbing service to promptly address the issue.
Step 8:
Check for Additional Leaks. After turning on the water supply, thoroughly inspect the entire faucet for any new leaks. Pay close attention to connections, joints, and the base of the faucet. If you notice any unexpected drips, promptly identify and address the source to prevent further damage.
Step 9:
Examine the Faucet Cartridge For faucets with cartridge-style mechanisms, carefully inspect the cartridge for signs of wear or damage. Cartridges are common in single-handle faucets. If you find any issues, consider replacing the cartridge with a compatible one, readily available at most hardware stores.
Step 10:
Inspect Seals and Gaskets. Leaky faucets can also result from deteriorated seals or gaskets. Examine these components closely and replace any that show wear or damage. Properly fitted and functioning seals are crucial for maintaining a watertight seal and preventing leaks.
Step 11:
Clean Aerator Screens As time passes, mineral deposits and debris may gather in the faucet’s aerator, impacting water flow and leading to leaks. Unscrew the aerator and meticulously clean it, eliminating any accumulated buildup.
This straightforward action can enhance water pressure and eliminate possible causes of leaks.

Conclusion
Following these additional steps and the comprehensive guide outlined above, you can confidently address and fix a leaky faucet. Consistent maintenance and immediate attention to plumbing problems are key to maintaining a smoothly running home. Yet, if you encounter difficulties beyond your expertise or if the leak persists, do not hesitate to seek professional assistance from plumbing services. Taking proactive steps ensures the longevity of your plumbing fixtures and helps you avoid costly repairs in the long run.


