
DIY Wainscoting Made Simple: A Step-by-Step Guide
If you’ve ever looked at a wall and thought, “I could make that look better,” then you’re in the right place.
With a bit of planning and the right tools, you can take on a DIY wainscoting project yourself, and I’ll show you how.
In this guide, I’ll walk you through picking a style, measuring your space, choosing materials, and installing everything step by step.
You don’t need to be a pro; follow along and you’ll get results you’ll be proud of. Let’s get into it.
Getting to Know Wainscoting
Wainscoting is a wall covering method using wood or panels on the lower portion of walls to add depth, structure, and design character.
Wainscoting began as a way to protect walls from moisture and wear. Over time, it evolved into a design detail used in both formal and casual spaces.
While older styles featured rich woods and carvings, today’s wainscoting includes simpler forms like board and batten or beadboard.
Homeowners now use it to define spaces, provide balance to walls, or add subtle detail without being overwhelming.
Why Install Wainscoting?
Wainscoting brings polish and structure to your room, giving it a more finished look without needing a full remodel. It adds visual interest by breaking up plain walls and introducing depth and symmetry.
It also protects against scuffs, furniture damage, and wear, especially in busy areas. If you’re thinking about resale value, this classic wall detail tends to appeal to most buyers.
Unlike shiplap, which leans rustic or coastal, wainscoting works well with both traditional and modern styles. It’s a smart choice if you want something that grows with your home’s changing design.
Common Rooms for Installation
Wainscoting works well in various spaces, offering practical and visual benefits. It’s often installed in dining rooms to frame the area with structure. Entryways and hallways benefit from its durability in high-traffic areas.
Bathrooms gain a more polished look and added moisture resistance when panels are used. Bedrooms and stairwells can use wainscoting to bring a sense of balance or softness to long walls.
DIY Wainscoting: Step-By-Step Installation Guide
Now that you have a better understanding of why wainscoting can be good for you, let’s go through every stage of installation, from wall prep to finishing, so that you can complete the project with clean, accurate results.
Tools and Materials
Gather all necessary tools and materials before starting your wainscoting project to ensure smooth progress and consistent results.
- Measuring tape
- Level (bubble or laser)
- Stud finder
- Miter saw or handsaw
- Caulking gun
- Nail gun or hammer with finish nails
- Sandpaper or sanding block
- Paintbrush and small roller
- Safety gear (gloves, goggles, dust mask)
- Wainscoting panels (MDF, plywood, or beadboard)
- Trim (battens, rails, or frame molding)
- Construction adhesive
- Paintable caulk
- Wood filler
- Primer (if needed for material type)
- Paint (satin or semi-gloss for durability)
Step 1: Measure and Plan Your Wainscoting Layout
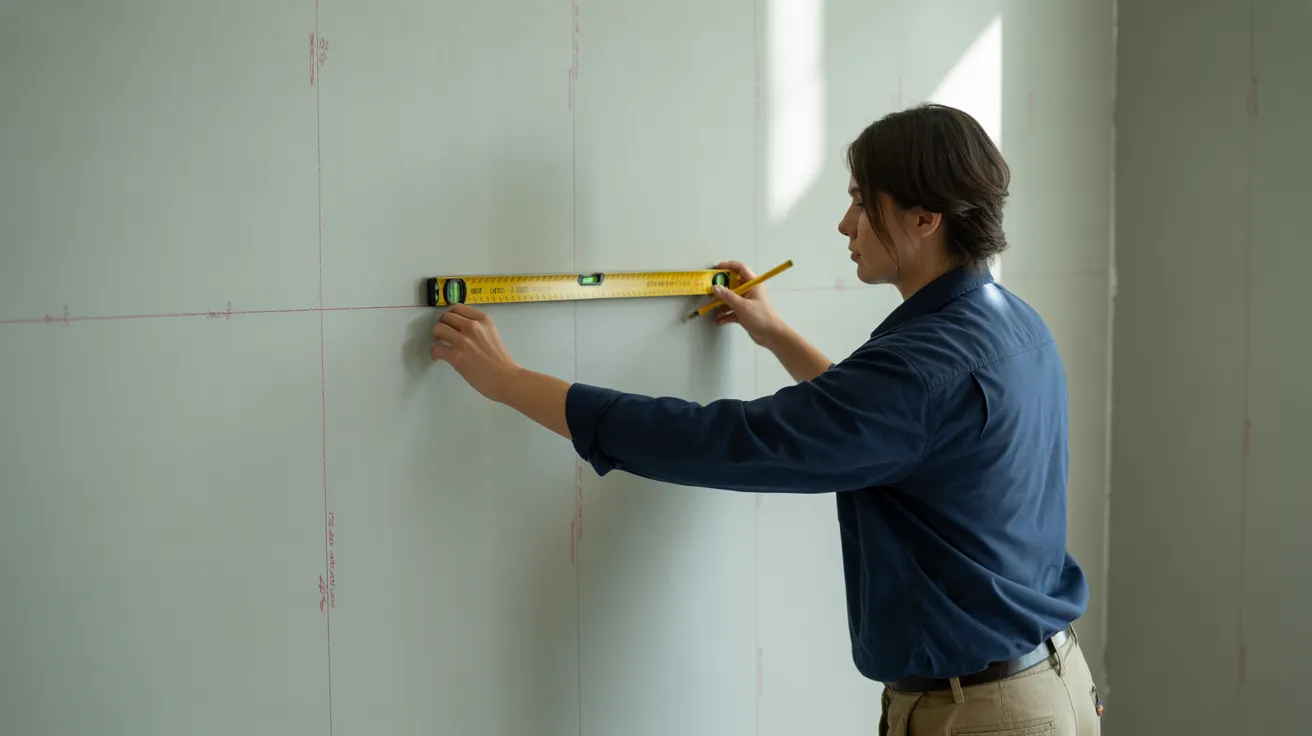
Begin by deciding the height of your wainscoting; 32 inches is standard unless you have tall ceilings. Use a chair rail or draw a line where the slope of your ceiling hits the wall.
This sets your horizontal guide. Then, measure the wall width and divide it evenly to ensure all rectangular boxes have consistent widths, which helps avoid an uneven final layout.
This prep work makes the next installation steps easier and visually cleaner.
Step 2: Install Top and Bottom Horizontal Boards

Use plain boards cut at 90° angles for the top rail and bottom base of your design. Nail them at the measured chair rail height and above your baseboard, or use the same trim for both if you’re starting fresh.
These create the boundary lines for your vertical batten boards and set the structure. Install carefully to keep everything aligned. This part is simple and creates the foundation for the rest of your pattern.
Step 3: Add Vertical Battens for Framed Boxes

Now, attach the vertical boards to build the rectangular panel frames.
Start by installing a batten at each wall end, then add evenly spaced pieces to match your earlier layout. This creates a clean box grid and gives that classic board and batten look.
Secure the battens with nails or adhesive. Double-check vertical alignment using a level to avoid crooked sections, especially if your wall is uneven. Stop here if you’re not adding arches.
Step 4: Design and Cut Custom Arches

To add arches, trace a corbel shape onto baseboard trim that matches the thickness of your battens.
Use a jigsaw to cut along your traced lines carefully; this step takes patience, and every arch may look slightly different since it’s handmade. You’ll need to repeat this process for each arch section you plan to install.
These curved pieces elevate the basic wainscoting design and bring in a soft, custom aesthetic that feels unique and decorative.
Step 5: Attach Arches to Wainscoting Panels

Once all arches are cut, simply nail them into place above your vertical battens to complete each framed section. Installation is quick once the pieces are prepped.
This changes the rectangular board and batten design into a visually interesting feature with curved, architectural beauty.
The arches give the space a bespoke, handcrafted quality that sets it apart from standard wainscoting. Be sure each arch aligns properly with its supporting battens for a clean finish.
Step 6: Finish With Caulk, Sanding, and Paint
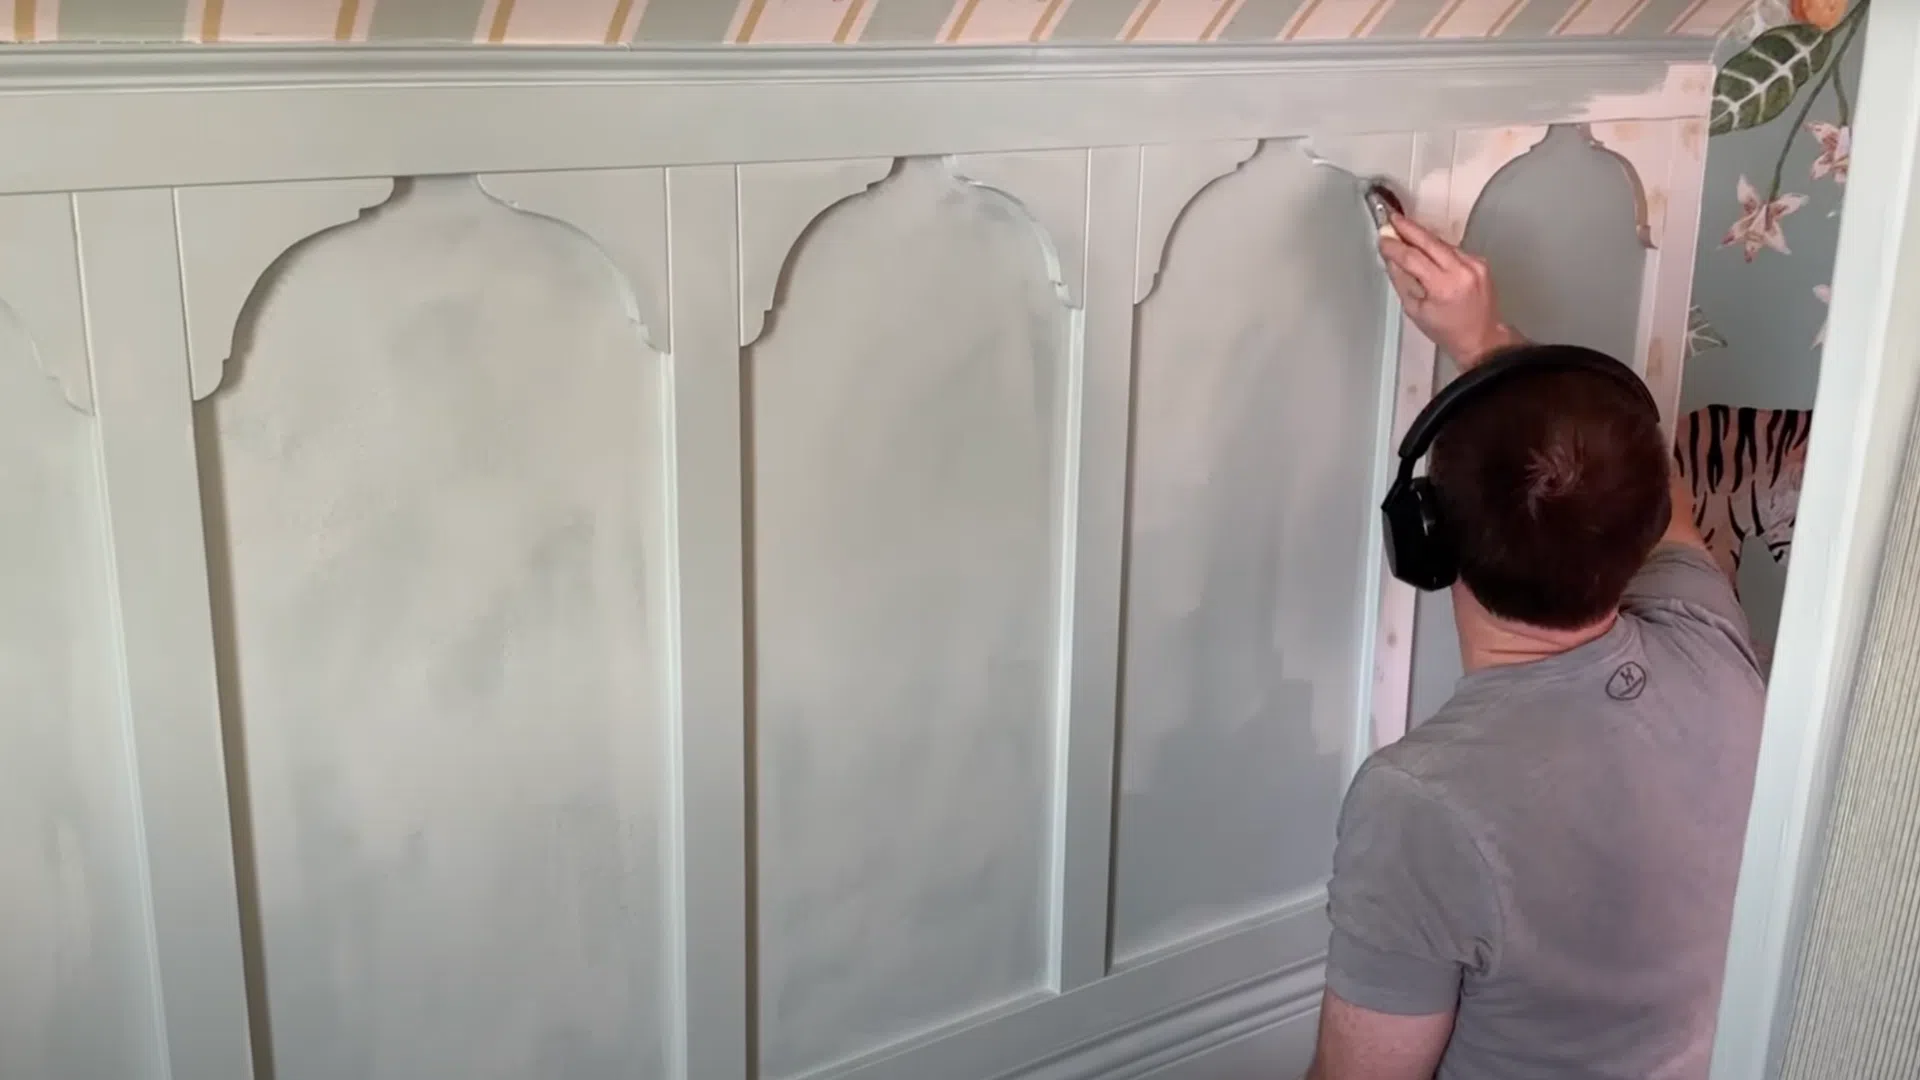
Fill nail holes with wood filler and use caulk on all seams and edges. Let everything dry, then sand until smooth. This step ensures a seamless look before painting.
Apply coats of paint in your chosen color. Ashley used Teresa’s Green by Farrow & Ball. Use one uniform color to avoid cutting in and simplify the painting process.
Watch How to Do It: Diy Wainscoting Video Tutorial
For a more in-depth walkthrough of the process, check out the complete video here:
Choosing the Right Style
Pick a style that complements your room’s structure and balances detail with ease of installation.
Board and Batten

Board and batten involves attaching vertical battens over flat panels, creating clean lines and rhythm on the wall.
It’s often used to add height to a space and works exceptionally well in entryways or areas with tall walls. Its bold, simple layout makes it a favorite for modern interiors while maintaining traditional appeal.
Picture Frame

This style uses horizontal and vertical trim to build framed rectangles directly on the wall. It creates a refined grid pattern that works well in formal settings like dining rooms.
It’s flexible in size and spacing, allowing you to adjust it to the wall proportions. This approach suits both classic homes and transitional spaces.
Beadboard

Beadboard features narrow vertical planks with small ridges or “beads” between them. This style gives walls a gentle texture and is commonly used in cottage-style or farmhouse interiors.
It’s ideal for bathrooms, laundry areas, or kitchens due to its subtle and easy-to-clean surface. Beadboard also adds warmth without feeling heavy.
Wainscoting Materials to Choose From
Pick materials based on the room’s moisture level, wall smoothness, and your preferred finish.
| Material | Strength | Best For | Finish Type |
|---|---|---|---|
| MDF | Smooth, budget-friendly | Low-moisture rooms | Paint only |
| Plywood | Light, stable | Any room | Paint or stain |
| Hardwood | Durable, long-lasting | High-use areas | Paint or stain |
Budgeting
Before you begin, set a realistic budget based on the space size and your style choice. Simple trim with flat panels will typically be more affordable, while full rail systems or hardwoods may increase costs.
Consider if you’re purchasing all raw materials or using pre-cut kits to minimize labor and tool requirements.
Best Wainscoting Approaches for Different Rooms
Each room benefits from a specific approach to layout and material.
Bathroom

In bathrooms, use moisture-resistant materials like sealed MDF or PVC beadboard to withstand humidity and splashes. Wainscoting height should be kept low, approximately one-third of the wall, to prevent visual overcrowding.
Smooth finishes are easier to maintain, and a satin or semi-gloss paint ensures durability and wipe-clean convenience.
Consider matching or contrasting colors with tile or cabinetry for visual balance. It’s also smart to seal gaps with mildew-resistant caulk to extend the life of your installation in wet areas.
Hallway
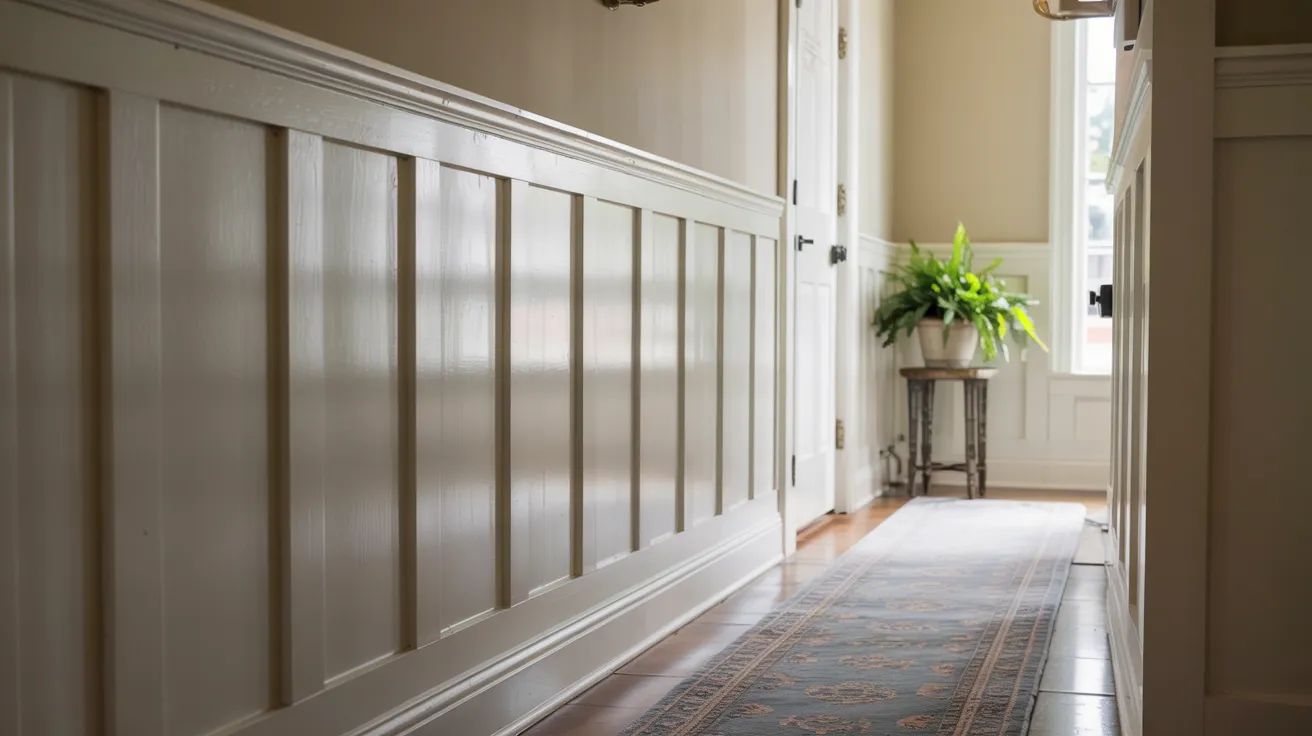
Hallways often see heavy foot traffic and need both protection and visual balance. Board and batten or flat panel styles work well to break up long, narrow walls, creating a more visually appealing space. Ensure battens are evenly spaced and aligned for a neat look.
The added structure helps prevent scuffs from backpacks, carts, or furniture. Use mid-height designs to avoid overwhelming the narrow space.
White or light colors help maintain brightness in enclosed hallways, and trim details can be repeated on adjacent door casings for a cohesive result.
Stairwell
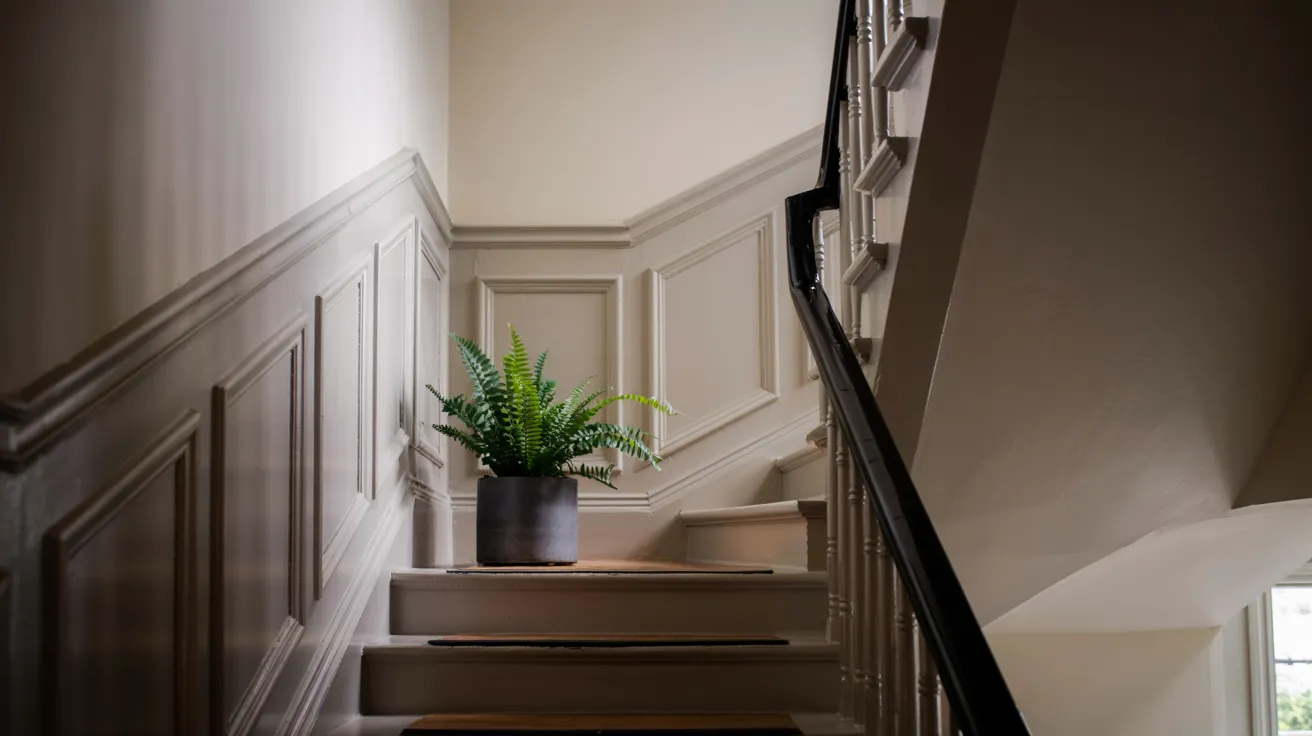
Stairwells call for a unique approach since the wall angle follows the steps. Angled wainscoting or stair-stepped trim must be planned with precision.
Use a laser level to match the slope and maintain consistent panel height. Wider frames or board and batten can help support visual flow and depth in tall vertical areas.
Since stairwells often lack natural light, it is recommended to use light and reflective paint colors. Adjust trim size to account for rising steps, and always pre-fit pieces before final installation.
Bedroom
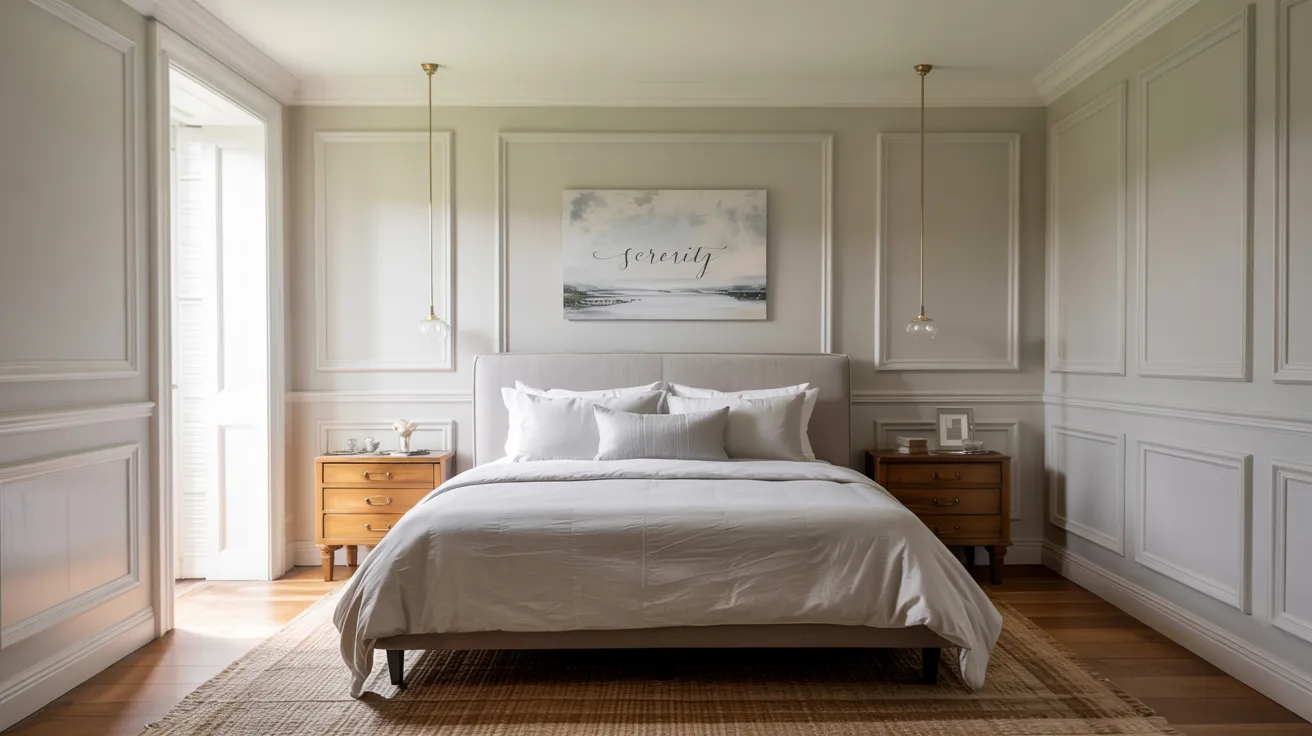
In bedrooms, wainscoting adds comfort and structure without being intrusive. Wide panels or picture frame molding work exceptionally well to create a relaxed and balanced appearance.
Try aligning horizontal rails with furniture lines, such as the height of a nightstand or headboard, for a seamless look. Colors should be neutral or soft for a calm atmosphere.
For added character, consider accent walls with wainscoting behind beds or desks. This touch can subtly define areas within the room while keeping the design restful and simple.
Common Mistakes to Avoid
Even simple DIY projects can hit snags without the right planning. Watch out for these common missteps:
- Skipping wall prep: Dirty, uneven, or damaged walls can prevent panels from sticking and cause uneven results.
- Using weak adhesive or skipping nails: Not securing boards to studs may lead to sagging or separation over time.
- Inconsistent spacing: Uneven batten gaps ruin the balanced look you’re aiming for.
- Ignoring outlets or switches: Forgetting to measure around electrical components can delay your progress or ruin panels.
- Leaving nail holes unfilled: Unpatched holes can stay visible, even under paint.
- Painting too soon: Applying paint before the caulk dries leads to cracking and an uneven surface.
Take your time with prep and alignment, and your finished wall will look clean, cohesive, and professional.
Conclusion
Wainscoting has been one of my favorite ways to add style and structure to a room without tearing everything apart.
Now that you know the steps, from choosing a style to installing arches, you’re ready to take on your own DIY Wainscoting project. You’ve got the tools, tips, and clear guidance to make it work.
Just be sure to measure carefully, prep your walls, and go at your own pace. I’ve learned that even small details can make a big difference.
If this guide helped, don’t stop here. I’ve got plenty more smart, doable DIY projects on the website to help with whatever you’re planning next. Don’t forget to check them out.


