
DIY Vertical Shiplap Wall: A Step-by-Step Guide
Tired of plain walls?
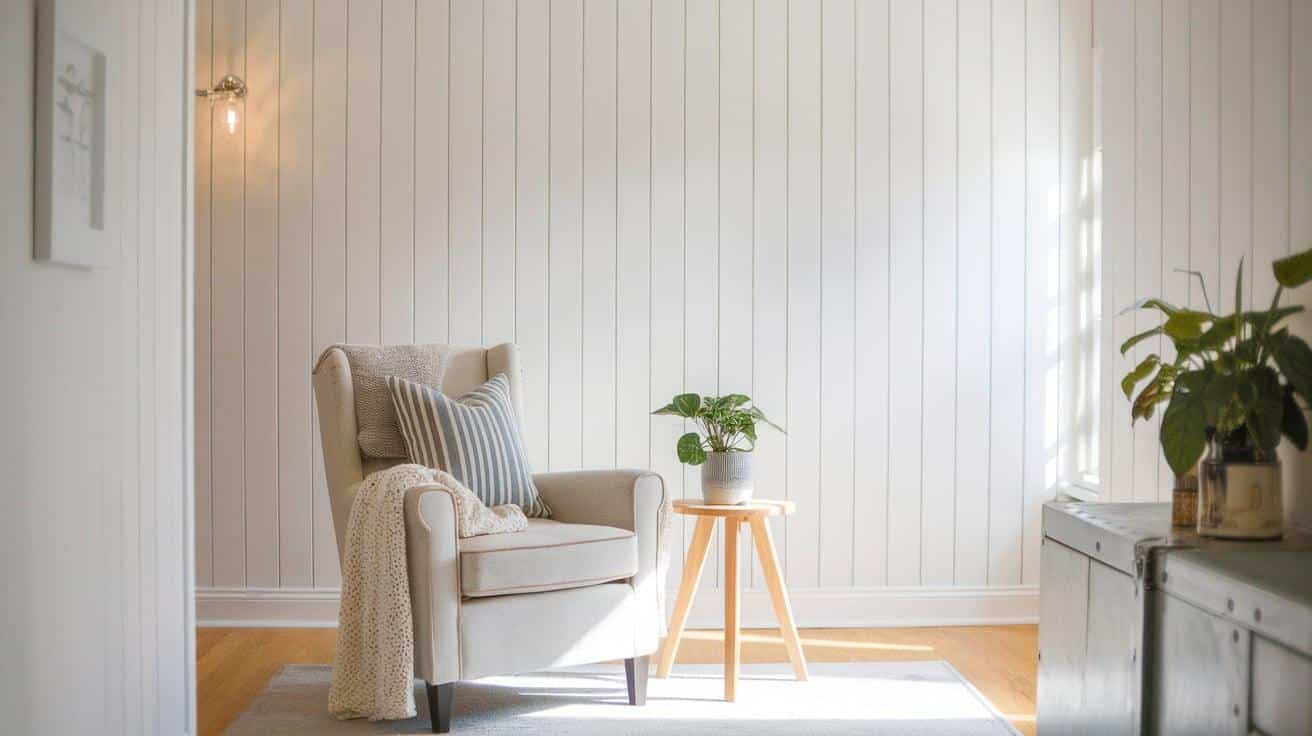
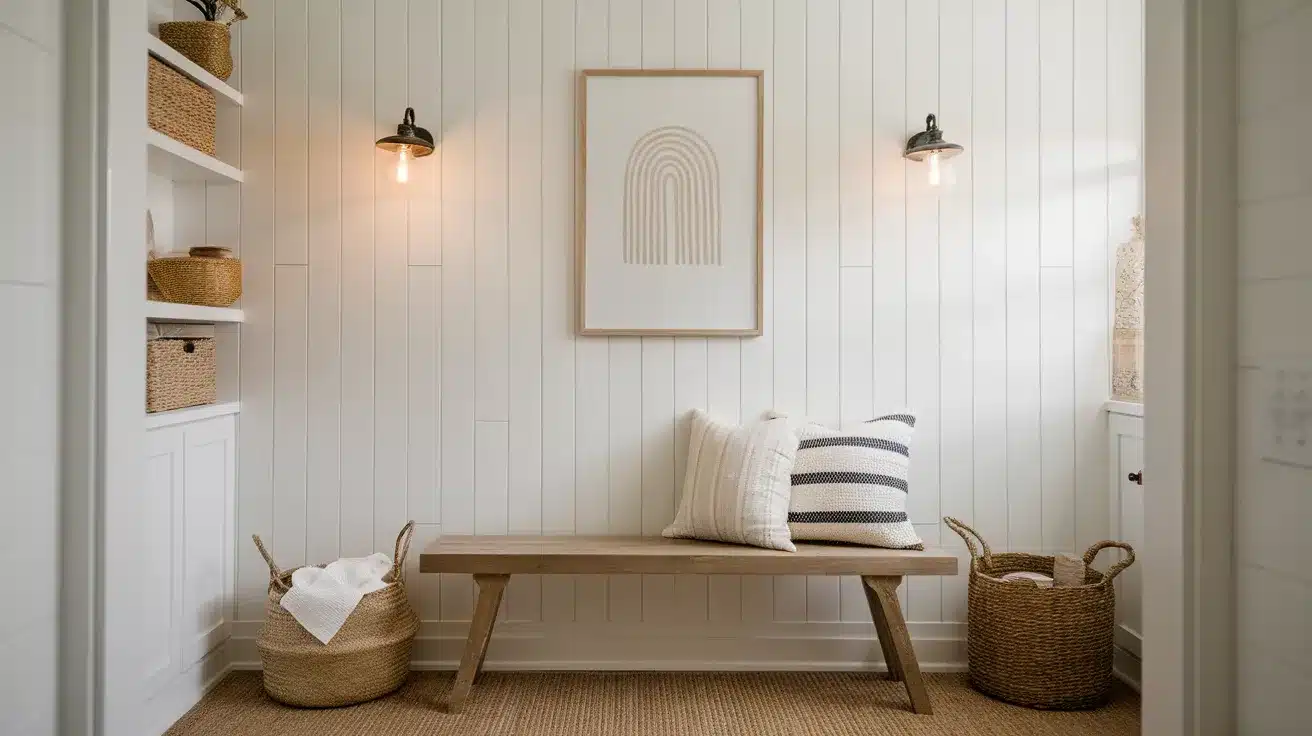
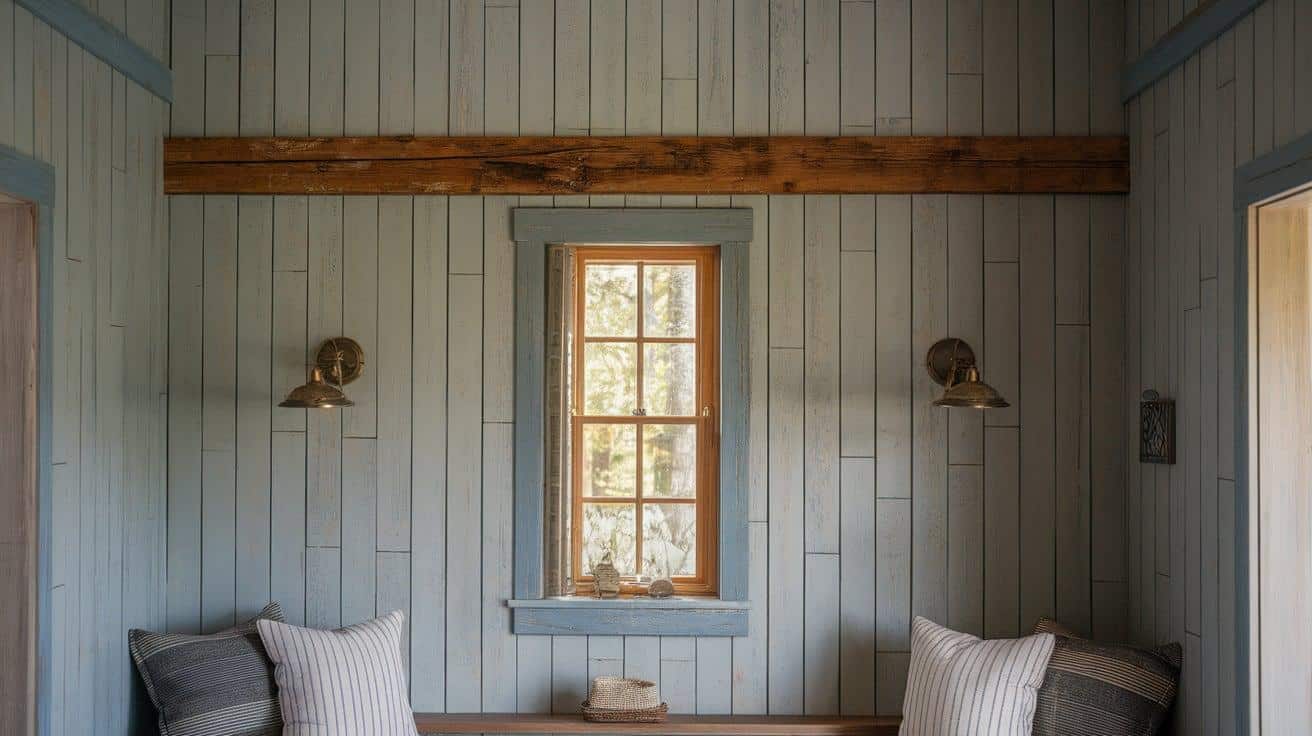
A vertical shiplap wall brings character to any room without breaking the bank.
These wooden panels, installed upright instead of horizontally, can make your ceiling look taller and add visual interest to your space.
Many people think installing shiplap requires professional help – but it doesn’t.
You can create this beautiful wall feature over a weekend with basic tools and guidance.
In this guide, you’ll learn:
- The exact materials and tools you need
- How to measure and prep your wall
- Tips to avoid common mistakes
I’ve helped dozens of homeowners complete this project successfully.
Follow along, and I’ll show you every step of building your vertical shiplap wall.
Materials and Tools Needed
Let me walk you through everything you’ll need for this project.
I’ve divided the list into two parts: materials you’ll use up and tools you’ll want to have on hand.
Materials
- Shiplap boards (measure your wall first – I’ll show you how)
- Construction adhesive (1-2 tubes)
- Brad nails (2-inch length works best)
- Caulk (white or paintable)
- Paint or stain of your choice
- Sandpaper (medium and fine grit)
Tools
- Measuring tape
- 4-foot level
- Saw (circular or miter)
- Nail gun (or hammer if you prefer)
- Stud finder
- Clean paintbrushes
- Pencil
- Safety glasses
- Work gloves
- Dust mask
Preparing Your Space
Let’s get your wall ready.
Good prep work makes the whole project go more smoothly, and I’ll guide you through each step.
Remove Everything From the Wall
First, take down any pictures, nails, or wall decor.
Next, remove the baseboards using a pry bar.
Work slowly to avoid damaging them – you’ll put them back later.
Patch any holes with spackle and let it dry.
Find Those Wall Studs
Take your stud finder and locate each wall stud.
Mark their positions with a pencil from floor to ceiling.
I like to use small X marks – they’re easy to see but will hide under the shiplap.
Make marks every few feet so you won’t lose track of the stud locations.
Clean and Check the Wall
Your wall needs to be:
- Clean (wipe it down with a damp cloth)
- Dry (wait 24 hours after cleaning)
- Smooth (sand any bumps)
- Free of loose paint or wallpaper
Pro tip: Run your hand over the wall surface.
You’ll feel problems that you might miss by just looking. Fix any spots that don’t feel smooth.
Measuring and Cutting Shiplap Boards
Let me show you how to get your boards ready.
Making careful measurements now saves headaches later.
Measure Wall Height
Start at the floor and measure up to the ceiling.
Do this in three spots – left, middle, and right.
Why?
Floors and ceilings aren’t always level. Use the shortest measurement to cut your boards.
Plan Around Obstacles
- Mark outlet locations on paper
- Note light switch heights
- Check for air vents or thermostats
- Leave 1/8 inch gaps for outlets and switches
Cutting Your Boards
Set up your saw in a well-lit area.
I recommend cutting outside or in a garage for better dust control.
Make one test cut first. Check that it fits before cutting all your boards.
Safety Note: Always wear safety glasses when cutting boards.
Keep your fingers at least 6 inches from the saw blade.
If a cut feels unsafe, stop and ask someone to help hold the board.
Installing the Vertical Shiplap
1. Starting the First Board
Pick a corner, and let’s begin.
Apply a zigzag line of construction adhesive on the back of your first board.
Press the board into the corner, ensuring it sits straight up and down.
Check it with your level. This first board sets the tone for all others.
Nail it into each stud mark you made earlier.
2. Setting the Right Gaps
Place nickels between boards as spacers.
These create perfect gaps that match those seen in professional work.
Keep the spacers in place until you’ve nailed in the next board.
This small step makes a huge difference in the final look.
3. Adding More Boards
Keep going board by board.
Put adhesive on the back, press it against the wall, check that it’s straight with your level, and then nail it in.
Work in sections of 3 to 4 boards at a time.
This way, you can adjust if things start looking uneven.
4. Handling Outlets and Switches
When you reach an outlet, hold the board in place and mark where you need to cut.
Add 1/8 inch to your marks for wiggle room.
Cut the holes with a jigsaw before putting up the board.
5. Finishing the Wall
The last board might need to be cut lengthwise to fit.
Measure the gap at both the top and bottom—walls aren’t always straight.
Mark your measurements and cut carefully.
Take your time with this final piece. It needs to fit just right to look good.
Remember to step back every few boards to check your work. It’s easier to fix small issues early than big problems later.
Painting Your Vertical Shiplap Walls
Let’s make your wall look clean and finished.
I’ve painted dozens of shiplap walls, and I’ll share the exact steps that work best.
Fill the Holes
Put wood filler in each nail hole.
Press it in firmly with your finger or a putty knife.
Once it dries (usually 2-4 hours), sand each spot until smooth.
Run your hand over the wall – if you feel any rough spots, sand them again.
Seal the Edges
Run a thin bead of caulk where the shiplap meets the ceiling and corners.
Wet your finger and smooth the caulk line.
This makes the wall look like one smooth piece.
Let it dry completely.
Paint Like a Pro
Start with a primer if your boards aren’t pre-primed. Then follow these steps:
- Paint the gaps first using a thin brush
- Roll the flat surfaces with a foam roller
- Apply thin coats – thick paint can drip
- Wait for each coat to dry before adding another
Give the paint 24 hours to dry before hanging anything on your new wall.
This prevents marks or dents in your fresh paint job.
Finishing Touches
Your wall is almost done!
These last steps will give it a clean, finished look that will make people wonder who did the work.
Putting Back the Trim
Time to reinstall your baseboards.
If you saved the old ones, clean them up and give them a fresh coat of paint before putting them back.
Measure and mark your cuts carefully.
Secure the baseboards with a nail gun, hitting the studs you marked earlier.
Clean and Touch Up
Look at your wall in a different light – morning, afternoon, and with room lights on.
This helps spot areas that need touching up. Keep a small brush and your paint handy for quick fixes.
Wipe away any dust or fingerprints with a soft cloth.
Making It Yours
Now comes the fun part. Your vertical shiplap wall works well with:
- A simple mirror
- Wall sconces
- Family photos
- Simple wall art
- Single statement piece
Give yourself a pat on the back – you’ve just created a feature wall that would cost hundreds more if done by professionals.
Common Mistakes to Avoid
I’ve seen these issues come up often, but you can easily prevent them.
Let me share what I’ve learned from both my successes and mistakes.
1. Missing the Wall Studs
Don’t rush past finding studs.
I once had to redo an entire wall because the boards started pulling away after a few months.
Mark every stud clearly before you start.
Double-check your marks with the stud finder – sometimes the first reading isn’t right.
2. Unpainted Board Edges
Trying to paint board edges after they’re up is like trying to tie your shoes while running.
Paint all edges before installation.
This includes the cuts you make for outlets and corners.
You’ll thank yourself later when you’re not trying to squeeze a brush into tiny gaps.
3. Skipping the Spacers
“I can eyeball it” – famous last words that led to crooked gaps.
Use proper spacers between every board.
Two nickels stacked together work perfectly.
Keep several sets handy so you won’t be tempted to skip this step.
4. Wall Problems
Take time to fix wall issues before starting.
A bump the size of a pencil lead can throw off your whole wall.
Feel the wall with your hands – they’ll catch problems your eyes miss.
Fix every spot that doesn’t feel smooth.
Quick Check: Before you start installing boards, ask yourself:
- Did I mark all the studs?
- Are my board edges painted?
- Do I have enough spacers?
- Is my wall completely smooth?
If you answer “no” to any of these, pause and fix it.
Small problems at the start become big headaches at the end.
Maintenance and Care
Let me share some simple tips to keep your shiplap wall looking as good as day one.
These steps take just minutes but make a big difference over time.
1. Regular Cleaning
Dust your wall every two weeks with a soft microfiber cloth.
For stuck-on dirt, use a slightly damp cloth – never soak the wood.
I like to clean from top to bottom in straight lines, following the boards.
Pay extra attention to the gaps where dust tends to settle.
2. Checking for Problems
Look at your wall once every season.
Run your hand along the boards to feel for any loose spots.
Listen for hollow sounds when you tap – they might mean a board is coming loose.
Fix small issues right away with a dab of caulk or a few new nails.
3. Keeping the Paint Fresh
Keep some of your wall paint in a sealed container.
Write the date and color name on the lid. When you spot a scratch or scuff:
- Clean the spot with a damp cloth
- Let it dry completely
- Dab on paint with a small brush
- Blend the edges while wet
Water Warning: If you notice water stains, find the source immediately.
Water is your shiplap’s worst enemy. Check nearby windows, pipes, and your roof if needed.
Fix any leaks before they can damage your beautiful wall.
With these simple care steps, your vertical shiplap wall can stay looking fresh for many years.
Conclusion
Building a vertical shiplap wall might seem like a big task at first, but as you’ve seen, it breaks down into simple steps anyone can follow.
Not only will you save money by doing it yourself, but you’ll also get the exact look you want for your space.
Plus, there’s nothing quite like walking into a room and knowing, “I built that.”
I’d love to hear how your project turns out.
Drop a comment below to share photos of your finished wall or ask any questions you have.
Remember, even if you’ve never tackled a wall project before, you can do this.
Take your time, follow the steps, and watch your room transform.
Want more home improvement tips?
Sign up for my weekly newsletter below.
Frequently Asked Questions
How Long Does a Vertical Shiplap Wall Installation Usually Take?
For a standard 10×8 foot wall, expect to spend 1-2 days.
Day one is for prep and installation, and day two is for painting and finishing touches.
Can I Install Vertical Shiplap in My Bathroom?
Yes, but use water-resistant boards, apply several coats of moisture-resistant primer and paint, and seal all edges well with waterproof caulk.
How Much Does a DIY Vertical Shiplap Wall Cost?
Materials for a 10×8 foot wall typically cost between $200-400, depending on board quality and your location.
This includes boards, nails, adhesives, and paint.


