DIY Textured Wall Art to Transform Your Space
Your plain walls might feel empty and boring – I know mine did. Every time I looked at them, I wanted something unique, but store-bought art was too costly.
Making your own textured wall art is easier than you think. I’ve tried several methods, from simple paint techniques to mixed media, and found ways to create beautiful pieces without spending much money.
In this guide, I’ll show you five basic wall art ideas you can make at home. You’ll learn which materials work best, how to plan your design and step-by-step instructions for each project.
Plus, I’ll share tips on picking the right colors and textures that match your room’s style.
Step-by-Step Guide to Creating Textured Wall Art
Materials & Tools Required
- Canvas
- Wood glue (construction grade)
- Fabric
- Acrylic paint
- Paint brushes
- Scissors
- Staple gun
- Wall primer
- Spray bottle
- Water
- Protective covering (newspaper or plastic sheet)
- Gloves
- Canvas wedges
- Hammer
Step-By-Step Process to Create This
1. Canvas Preparation
I start with strengthening the canvas.
- Take the canvas wedges and place them in each corner
- Use a hammer to tap them in gently but firmly
- This step keeps your canvas tight and prevents sagging
2. Workspace Setup
Before starting the messy part:
- Cover your table with newspaper or plastic sheets
- Put on protective gloves
- Keep all materials within easy reach
- Fill a spray bottle with clean water
3. Glue Preparation
The right glue mix is key to success:
- Pour construction-grade wood glue into a container
- Add small amounts of water gradually
- Mix until you get a smooth, spreadable paste
- The mix should be thick but not too runny
4. Fabric Setup
Now comes the first big step:
- Place your fabric over the canvas
- Leave about 2-3 inches extra on each side
- Cut the fabric to size
- Start by stapling just one side to the back of the frame
- Pull fabric snug but not too tight
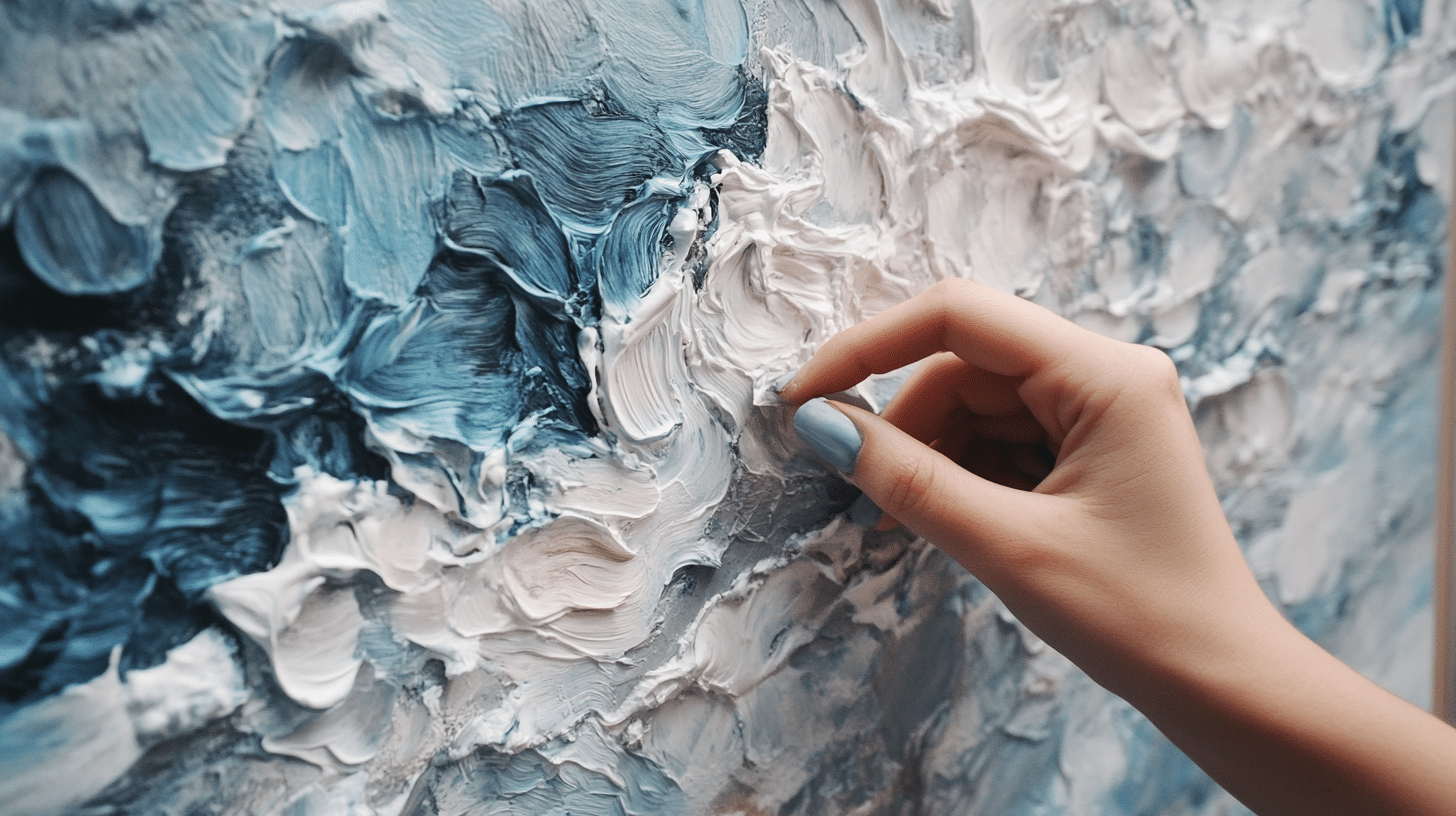
5. Creating the Texture
This is where the magic happens:
- Brush the wood glue mixture onto the canvas surface
- Work in sections to prevent drying
- Spray water on the fabric to help it absorb the glue
- Place fabric over the glued area
- Shape and mold the fabric into your desired pattern
- Keep spraying water as needed while working
- Make sure every part of the fabric is coated with glue
- Continue shaping until you’re happy with the design
6. Drying Phase
Patience is important here:
- Let your work dry for a full 24 hours
- Keep it flat and undisturbed
- Make sure it’s in a well-ventilated area
- After drying, trim excess fabric from the back
- Staple the remaining sides to the frame
7. Priming Stage
Preparing for paint:
- Mix wall primer with water in your spray bottle
- Spray the entire fabric surface evenly
- Make sure to coat all textured areas
- Allow 8 hours for the primer to dry completely
8. Painting Process
The final creative touch:
- Mix your acrylic paints to get your base color
- For a gradient effect, start with your darkest shade
- Add white paint gradually for lighter shades
- Apply the first coat of paint
- Let it dry for 5 hours
- Add a second coat for better coverage
- Pay attention to texture details while painting
- Make sure paint gets into all the crevices
Approximate Cost to Create a Basic DIY Textured Wall Art
| Item | Description | Price Range | Notes |
|---|---|---|---|
| Canvas (16×20 inches) | $10 to $15 | Cheaper options are often available at craft store sales | |
| Construction Wood Glue | 16oz bottle | $5 to $8 | One bottle can make 2 to 3 pieces |
| Fabric | Cotton or linen per yard | $3 to $6 | Approximately half a yard is needed per piece |
| Acrylic Paint | Basic colors per tube | $3 to $4 | |
| White paint | $3 to $4 | ||
| Total paint cost | $12 to $15 | ||
| Tools (one-time investment) | |||
| Paint brushes set | $5 to $8 | ||
| Staple gun | $10 to $15 | ||
| Scissors | $5 | ||
| Spray bottle | $2 | ||
| Wall Primer | Small bottle | $5 to $7 | Works for multiple projects |
| Total Cost Breakdown | First-time project (including tools) | $55 to $75 | |
| Each additional piece | $25 to $35 |
Benefits of Creating Your Own Textured Art
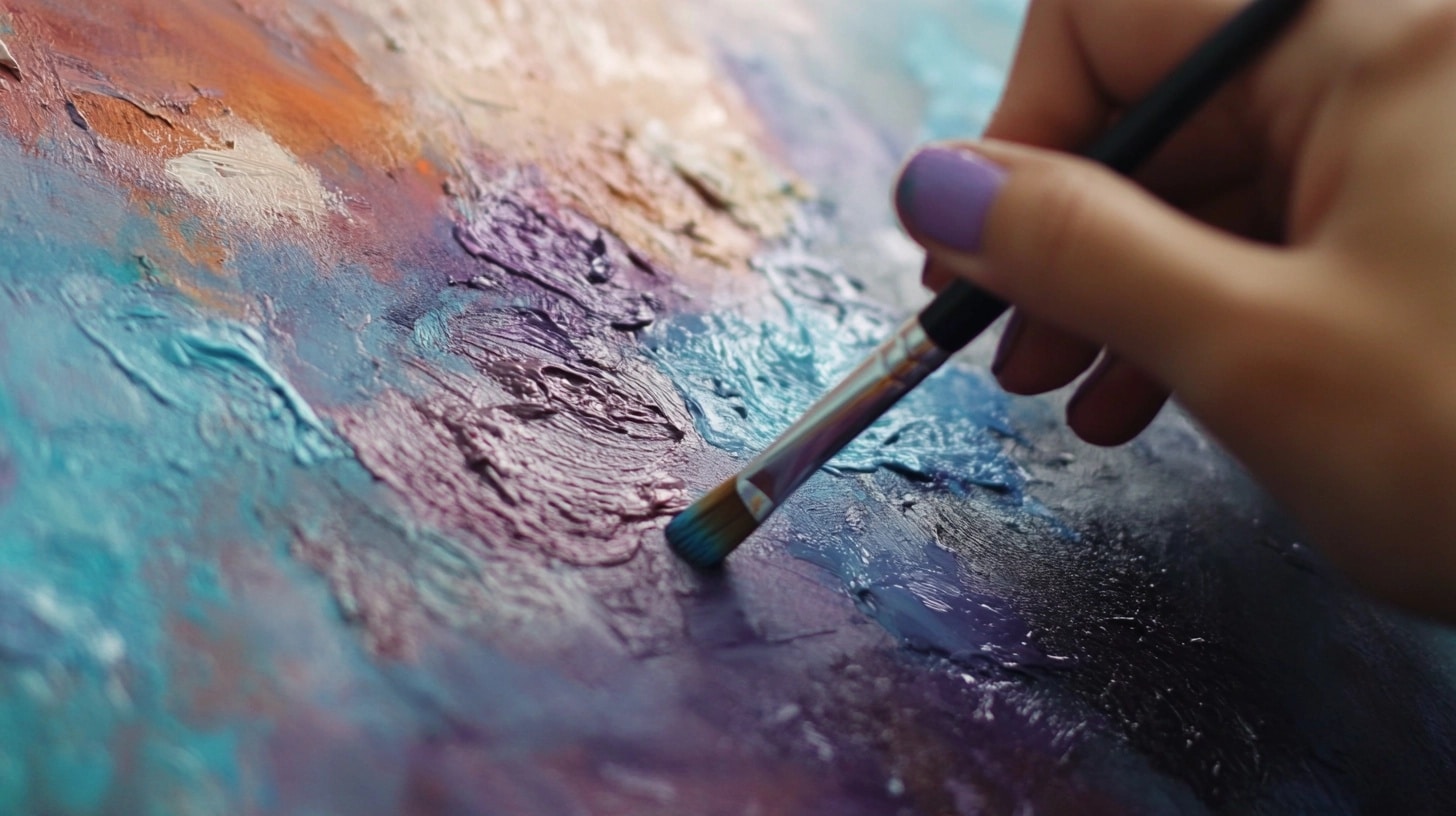
Personal Creative Benefits
1. Express Your Style
- I get to pick my own colors and patterns
- Each piece fits my space perfectly
- The art matches my room’s exact color theme
2. Learn New Skills
- Build basic art techniques
- Master working with different materials
- Gain confidence in making things
3. Personal Achievement
- Feel proud of your handmade creation
- Share your skills with family
- Start new hobby projects
Practical Benefits
1. Save Money
- Much cheaper than store-bought art
- One set of tools makes multiple pieces
- Create gift pieces for others
2. Perfect Fit For Your Space
- Choose the exact size you need
- Control the colors and design
- Make pieces that work together
3. Quality Control
- Pick your own materials
- Fix any issues right away
- Make changes anytime
Home Improvement Benefits
4. Better Than Store Options
- Unique pieces no one else has
- Custom sizes for odd spaces
- Change designs as your taste changes
5. Easy Maintenance
- Know how to clean it properly
- Can touch up if needed
- Fix any damage yourself
Common Mistakes to Avoid While Creating
Material-Related Mistakes
1. Wrong Glue Mix
- Making glue too watery
- Not mixing glue well enough
- Using regular craft glue instead of wood glue
2. Poor Fabric Choice
- Using fabric that’s too thin
- Picking stretchy materials
- Not having enough fabric for edges
3. Paint Problems
- Using too little primer
- Applying paint too thick
- Not letting layers dry fully
Process Mistakes
4. Rushing the Steps
- Not letting the glue dry completely
- Painting too soon
- Skipping the primer step
5. Poor Work Setup
- Not covering workspace well
- Not wearing gloves
- Working in small spaces
6. Shaping Issues
- Making shapes too deep
- Not wetting fabric enough
- Over-working the design
Planning Mistakes
7. Size Issues
- Wrong canvas size for space
- Not measuring fabric right
- Making patterns too small
8. Time Management
- Not planning for drying time
- Rushing the paint job
- Working when tired
How to Fix The Issues with Simple Solutions
| Category | Problem | Solution |
|---|---|---|
| Fixing Material Issues | Glue Problems | Too watery: Add more wood glue slowly until paste-like |
| Not mixed well: Stir longer, removing all lumps | ||
| Wrong glue: Start fresh with construction-grade glue | ||
| Lumpy spots: Spray water and smooth while wet | ||
| Fabric Issues | Too thin: Double layer your fabric | |
| Stretchy fabric: Switch to cotton or linen | ||
| Not enough fabric: Join pieces carefully at the back of the canvas | ||
| Torn fabric: Remove and start with a new piece | ||
| Process Fixes | Timing Problems | Check glue dryness with a gentle touch; it should be fully hard |
| Wait 24 hours between glue and paint. | ||
| Mark the calendar with drying times | ||
| Set timer for each drying phase | ||
| Workspace Solutions | Move to a bigger space if possible. | |
| Add extra covering beyond the work area. | ||
| Keep cleaning supplies ready. | ||
| Work in good light | ||
| Design Corrections | Shape Problems | Too deep: Gently push back while still wet |
| Not wet enough: Spray more water and reshape | ||
| Over-worked: Let dry slightly, then reshape | ||
| Uneven texture: Add more glue mixture to low spots | ||
| Paint Solutions | Patchy color: Add another thin coat | |
| Too thick: Thin paint with water | ||
| Missed spots: Use a small brush for touch-ups | ||
| Wrong color: Let dry and apply a new coat | ||
| Planning Fixes | Size Corrections | Make a paper template first |
| Test pattern on scrap fabric | ||
| Measure twice, cut once | ||
| Keep extra materials handy. |
Some Creative Variations & Ideas to Explore
Pattern Variations
1. Wave Patterns (Basic Cost Range – $45 – $65)
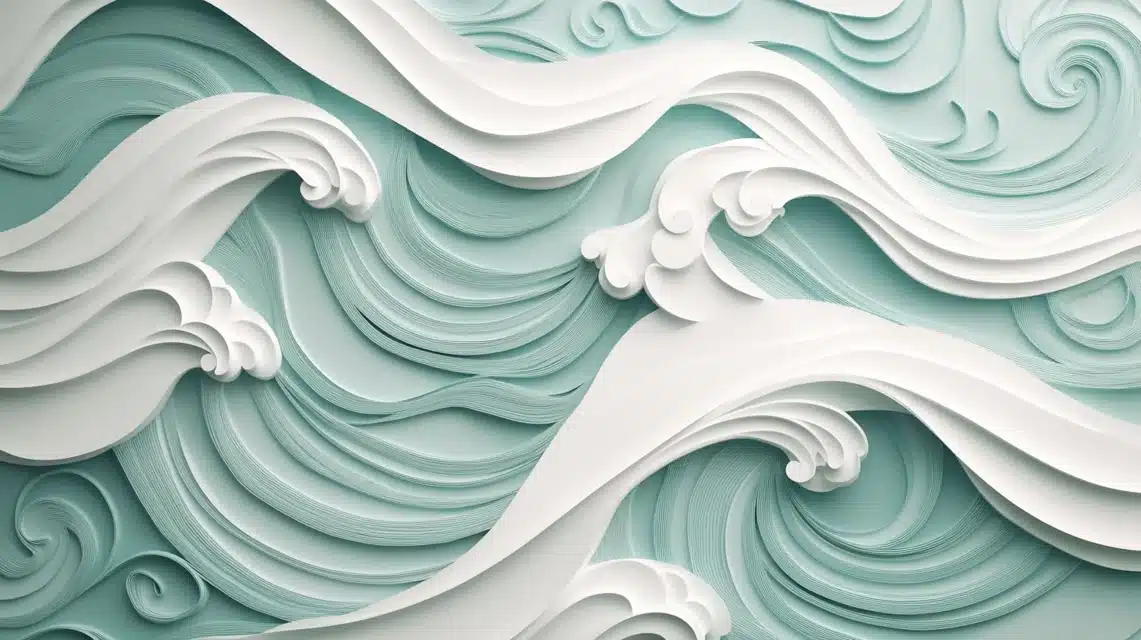
- Create flowing lines across the canvas
- Mix high and low waves
- Make ripple effects
- Add gentle curves
2. Mountain Ranges (Basic Cost Range – $45 – $65)
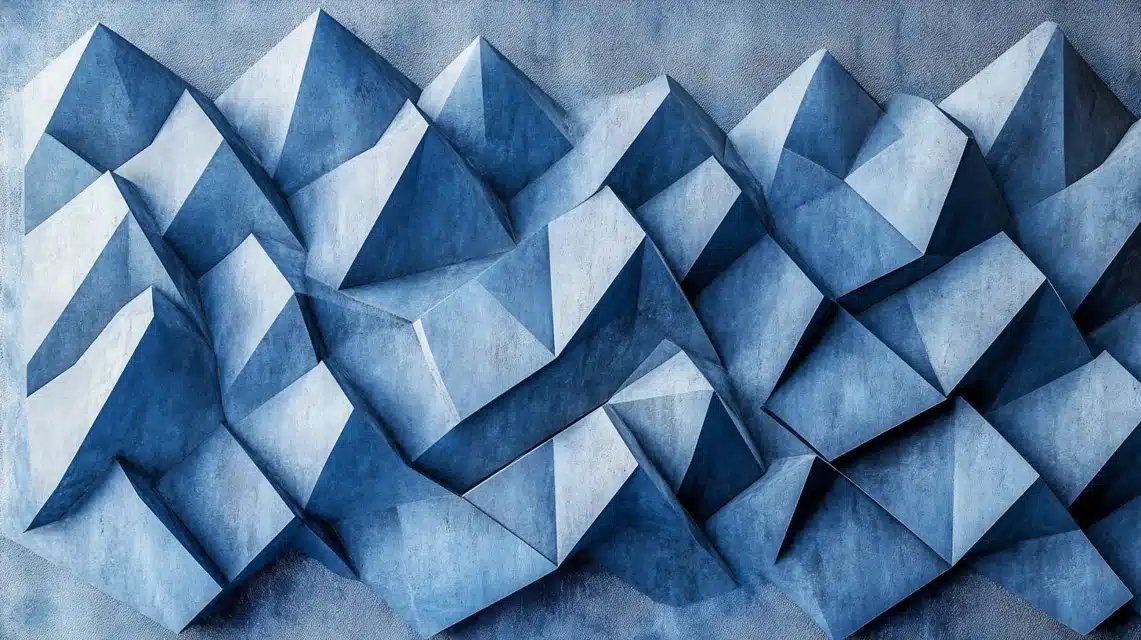
- Build peaks and valleys.
- Layer different heights
- Make sharp angles
- Create soft slopes
3. Geometric Shapes (Basic Cost Range – $45 – $70)
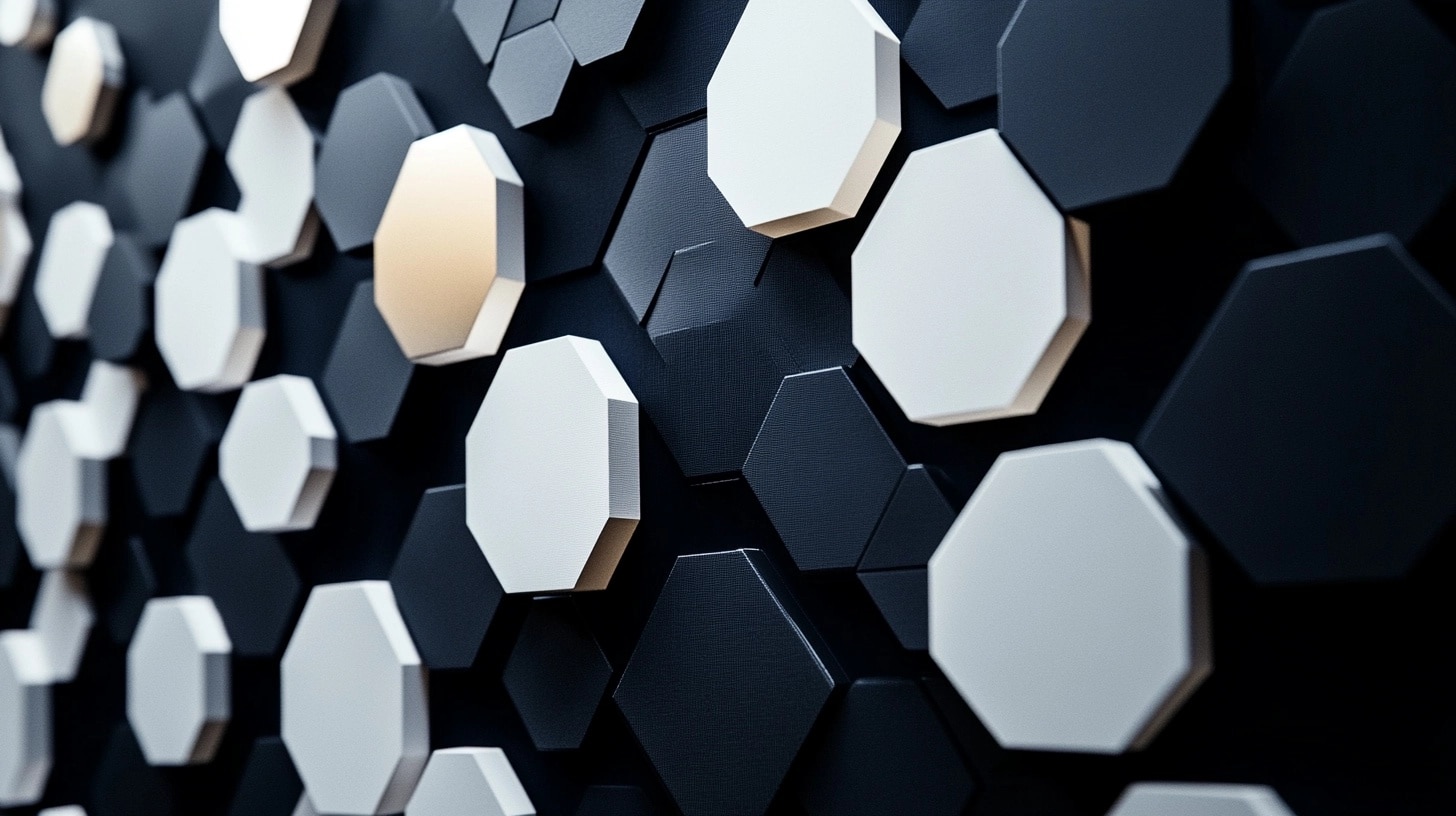
- Form squares and triangles
- Make circular patterns
- Create hexagon clusters
- Build diamond shapes
Color Ideas
1. Single Color With Shades (Basic Cost Range – $40 – $60)
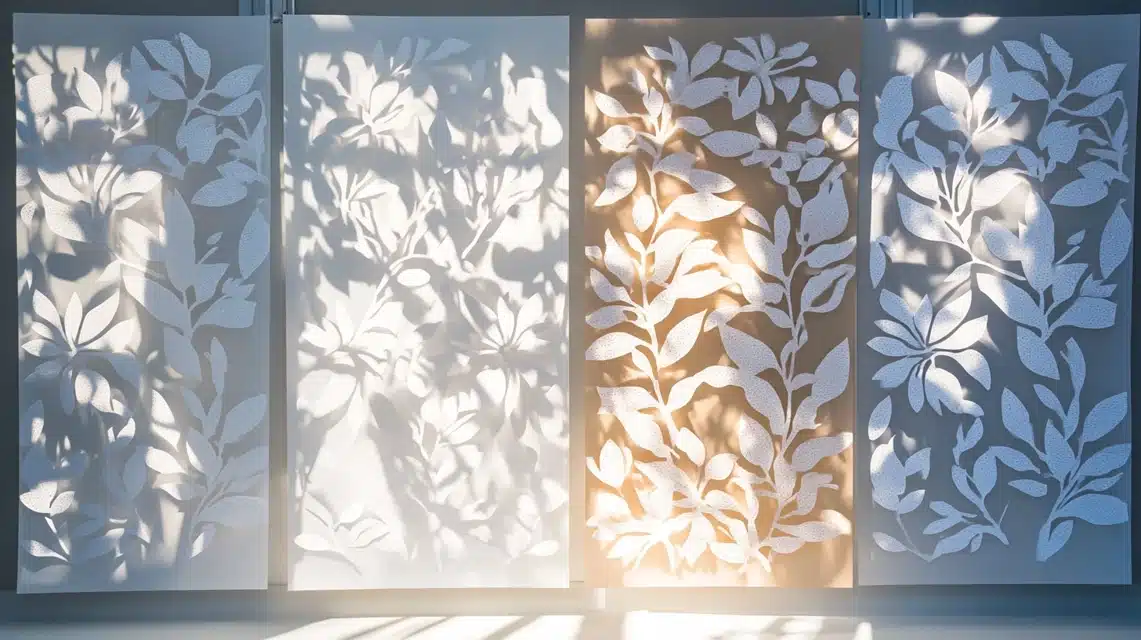
- Use one color in different tones.
- Make light-to-dark shifts
- Create shadow effects
- Add white highlights
2. Color Blending (Basic Cost Range – $50 – $70)
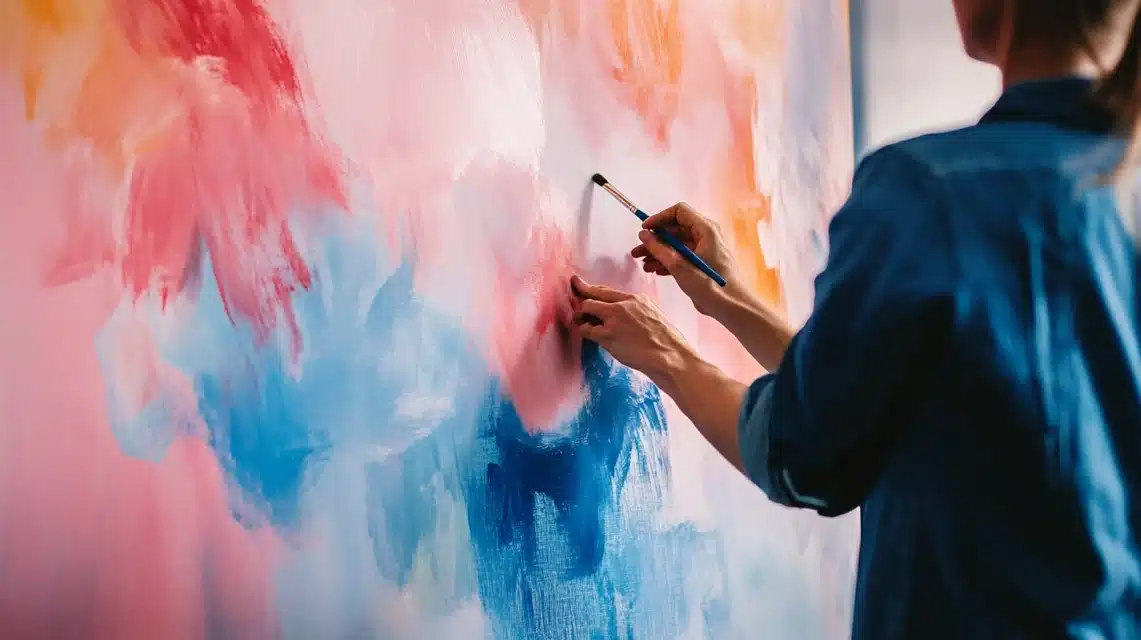
- Mix two close colors
- Make soft color shifts
- Blend at texture points
- Use the dry brush technique
Material Mix
1. Texture Combos (Basic Cost Range – $50 – $70)
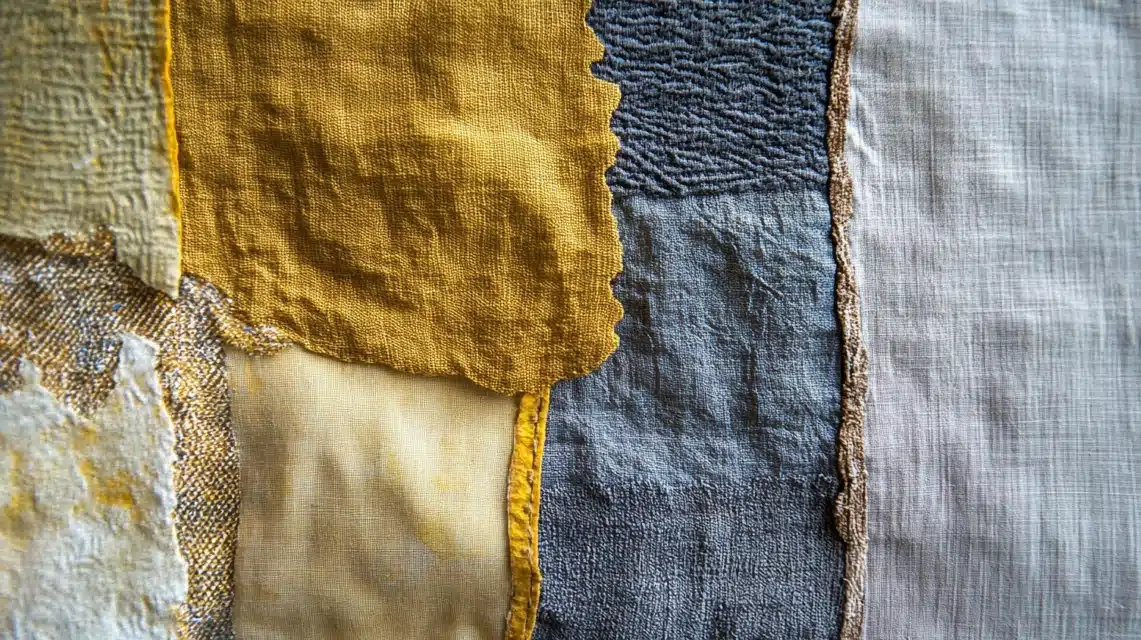
- Mix smooth and rough fabrics
- Layer thin over thick
- Combine different weaves
- Add fabric strips
2. Surface Effects (Basic Cost Range – $55 – $80)
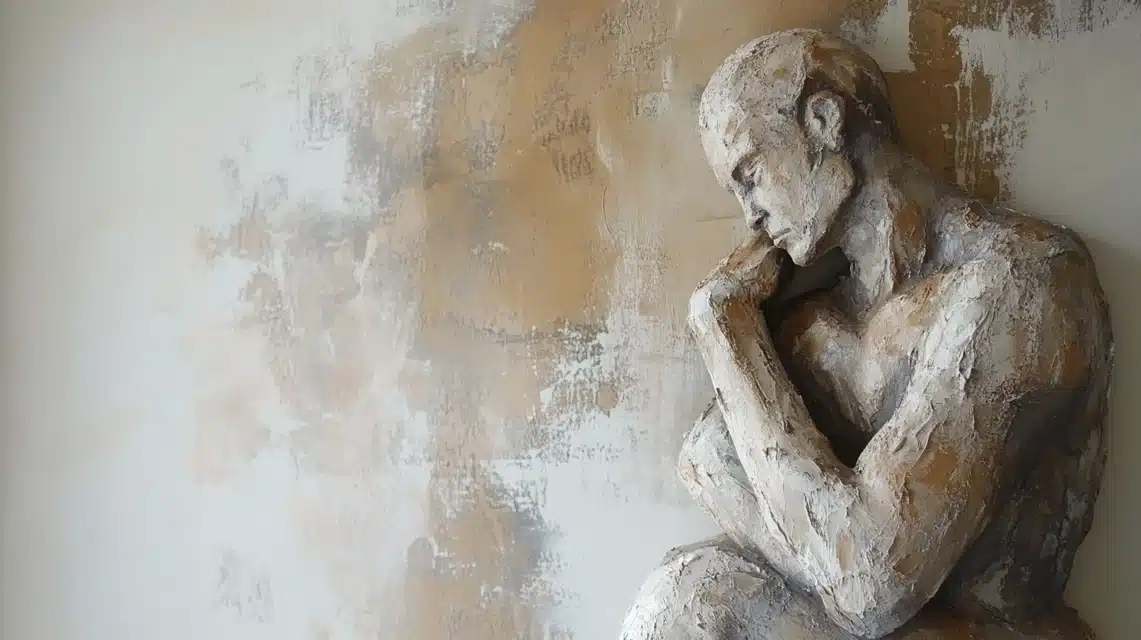
- Try the dry brush technique.
- Paint light coats for depth.
- Add metallic touches
- Create matte areas
Size Options
1. Multi-Panel Designs
| Design Type | Total Cost Range | Best For |
|---|---|---|
| Two-Panel Sets | $55 to $75 | Small walls or starting out |
| Three-Panel Small Size | $65 to $85 | Narrow spaces |
| Three-Panel Medium Size | $85 to $105 | Standard walls |
| Large Statement Set | $120 to $150 | Big walls or main rooms |
- Make three matching pieces.
- Create split images
- Line up patterns
- Mix sizes in groups
Conclusion
Making your own textured wall art brings joy – both in creating and displaying it. I still smile when I look at my first piece hanging in my living room.
By following these steps and avoiding common mistakes, you can create beautifully textured art that perfectly fits your style.
The best part? You’ll save money while making something unique.
Ready to start your own textured wall art? Begin with simple patterns and basic colors. Take pictures of your creation – I’d love to see what you make!
Leave a comment below sharing which design you plan to try first, or ask me if you need help picking materials.
Remember, even small spaces shine with personal touches.
Happy Creating!

