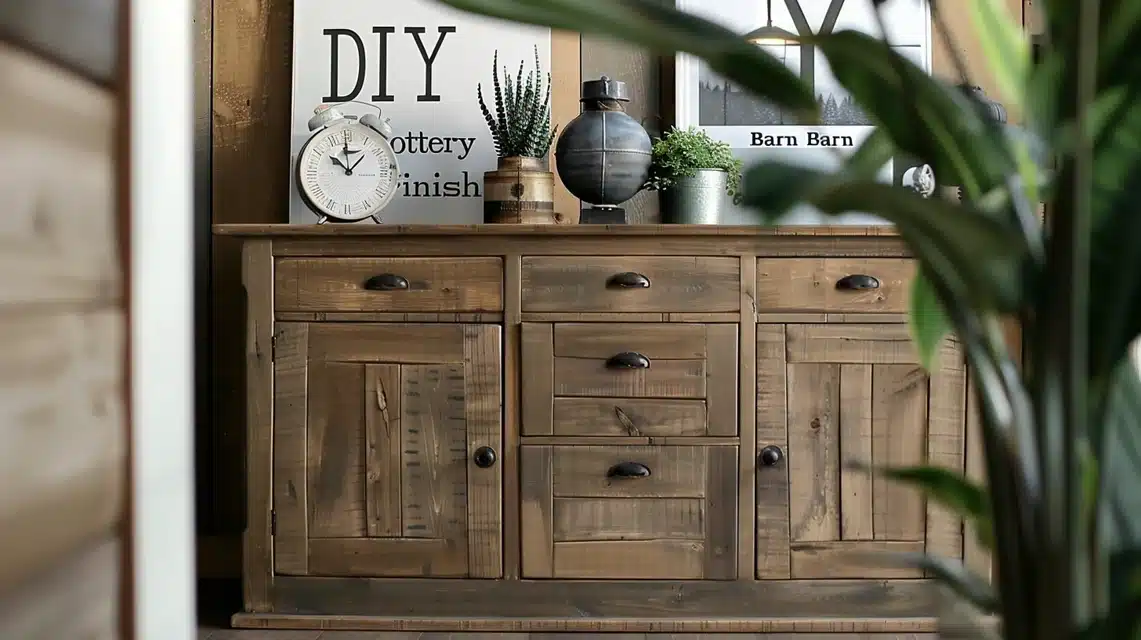
DIY Pottery Barn Finish: Stepwise Guide
Recreating a Pottery Barn finish at home lets you add luxury touches to your space without the steep price tag.
This guide breaks down major furniture makers’ professional techniques, such as distressed wood, seadrift, and fog finishes.
Whether updating an old piece or starting fresh, understanding these layered glazing methods helps you create rich, lasting finishes.
The key lies in patient application and proper technique rather than expensive materials.
By mastering these methods, you’ll have the skills to transform any wood piece into a high-quality item that fits perfectly with your home’s style.
TLDR
-
Gather Materials: High-quality brushes, gloves, paper plates, damp towels, antiquing glaze, clear mixing glaze, dark brown and silvery gray paint samples.
-
Prepare Sample Board: Test and layer glaze to find your preferred look.
-
Base Coat: Paint furniture with a tan base (e.g., Sherwin Williams Antler Velvet).
-
Apply Glazes:
- First Layer: Light silvery glaze for the undertone.
- Second Layer: Dark brown antiquing glaze for wood grain depth.
- Final Layer: Midtone glaze for a “wood board” effect.
-
Feather and Blend: Use long, light brush strokes, tapping as needed for texture.
-
Dry Time: Allow each layer to dry for at least 2 hours; overnight for the final glaze.
-
Seal with Polyurethane: Apply 2-3 coats of matte polyurethane, sanding lightly between coats.
-
Quick Tips: Practice on sample boards first, and use fresh brushes for each glaze layer.
Stepwise Guide for a DIY Pottery Barn Finish
Materials Needed
- High-quality brushes (preferably straight, wide brushes)
- Paper plates
- Gloves
- Damp paper towels
- Antiquing glaze (recommended: Val spar antiquing glaze)
- Clear mixing glaze
- Dark brown and silvery gray paint samples (suggested colors: Sherwin Williams Antler Velvet for base, Repose Gray for silvery tone)
- Base Coat (e.g., Sherwin Williams Antler Velvet)
Step 1: Prepare Sample Boards
- Paint a sample board with the base color.
- Layer various glazes and colors until you are satisfied with the look.
- Compare it with other furniture or decor items in your room to ensure harmony.
Step 2: Layering Glazes for a Distressed Look
- Lightest Color: Start with a silvery-tone glaze mixed with a clear glaze for an undertone.
- Darkest Color: Follow with a dark brown glaze.
- Midtone Color: Apply the midtone shade.
- Final Glaze: Complete with a top glaze to set the tone of the wood.
- Mixing Glaze and Paint: Combine four parts of paint with 1 part of clear glaze to allow easy manipulation and longer drying time.
Step 3: Applying the First Glaze Layer (Silvery Tone)
- Application Technique: Dip the brush lightly in the glaze, then blot the excess on a paper plate.
- Brush Strokes: Use long, light strokes for a natural wood grain effect.
- Texture and Patterning: Tap the brush for texture and wipe with a damp paper towel if the glaze appears too thick in areas.
Step 4: Adding Depth with the Antiquing Glaze
- Antiquing Glaze: Use a dark brown glaze to mimic natural wood grain.
- Careful Application: Remove as much glaze as possible from the brush before applying to avoid over-layering.
- Blending: Use the brush to blend gently for a wood grain effect. If necessary, wipe off excess glaze with a damp paper towel.
Step 5: Final Layer with Midtone Glaze
- Mix the Midtone Color: Mix the final color (e.g., Universal Umber) with clear glaze in a 1:1 ratio for a smooth consistency.
- Application Method: Apply as you would paint, creating the look of individual wood boards.
- Smooth Transition: Feather the glaze into previous layers for a cohesive distressed look.
Step 6: Finishing Touches
- Inspect and Feather: Check all surfaces and feather any glaze as needed for consistency.
- Drying Time: Allow each glaze layer to dry for at least 2 hours, with an overnight drying period for the final glaze.
Optional: Seal the Finish with Polyurethane
- Polyurethane Finish: For durability, apply matte polyurethane (3 coats on the top, 2 on the sides). Lightly sand between coats with 220-grit sandpaper.
Useful Tips for Perfection
- Practice on Sample Boards: Ensure you’re comfortable with the technique before applying it to the final piece.
- Mindful Brush Use: Use fresh or thoroughly clean brushes between layers for best results.
Understanding Specific Pottery Barn Finishes
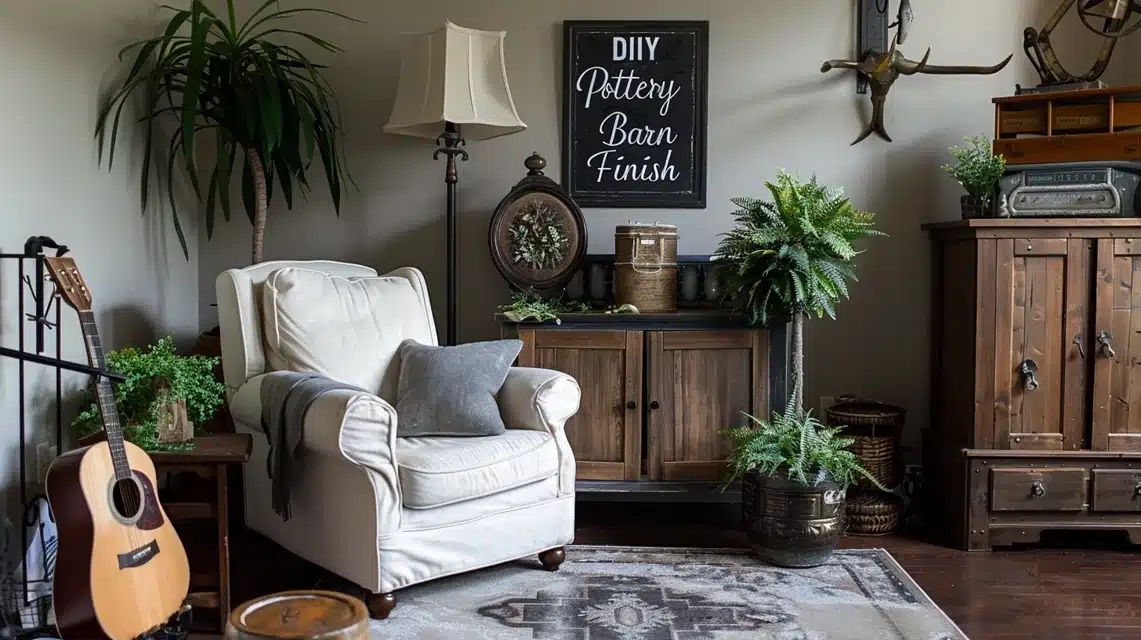
The two most common wood treatments at Pottery Barn are Seadrift and Fog finishes. Here’s what makes each one stand out.
Seadrift Finish
- A light, washed-out wood tone with gray undertones
- Made using water-based stains layered over pine or spruce
- It shows natural wood grain patterns through the finish
- Works well with white, gray, and neutral furnishings
Fog Finish
- A mid-tone gray-brown wood coloring
- Created with oil-based stains and light sanding
- It has subtle color variations across the wood surface
- It pairs nicely with both warm and cool color schemes
Making These Finishes at Home
- Start with unfinished pine or spruce wood
- Sand the surface until smooth
- Apply white or gray wash stain as your base
- Layer additional stains to match the desired depth
- Finish with a matte clear coat for protection
Remember that each piece of wood takes stain differently, so test your technique on scrap pieces first.
Summing Up
Pine and spruce work best because they absorb stains well and show natural grain patterns. Oak and maple also work but need extra preparation for even stain coverage.
We’ve covered the essential steps, from selecting materials and testing on sample boards to applying multiple glaze layers and securing the finish with polyurethane.
Each step adds to the final result, turning basic wood into professionally crafted pieces. Remember that great results come from patience and attention to detail.
Take time with each layer, learn how glazes interact, and don’t rush the drying process.
Frequently Asked Questions
Can I Achieve This Finish without Sanding?
No, sanding is essential for proper stain absorption and smooth results. Light sanding between layers ensures good adhesion and a professional-looking final finish.
How Durable Is the Finish for Daily Use?
The finish withstands daily wear with 2-3 coats of polyurethane. Regular cleaning with soft cloths keeps it looking fresh for years.
Can I Use This Technique on Non-Wood Surfaces?
Yes, but only on surfaces that accept paint well, like MDF or laminate. The finish looks most natural on real wood surfaces.

