DIY IKEA Learning Tower: A Step-by-Step Guide for Parents
Want to make cooking with your toddler less stressful? A learning tower could be your answer.
This raised platform with safety rails lets small children reach counter height, changing kitchen time from a challenge into a chance to learn together.
Parents find that learning towers help children develop skills while joining in daily tasks. Instead of keeping toddlers away from kitchen activities, these towers create a safe space for them to watch, help, and grow.
While many companies sell ready-made towers, building one using an IKEA BEKVÄM stool offers a cost-effective option.
Let’s explore how to create this useful tool that supports your child’s natural desire to learn and help.
What is a Learning Tower?
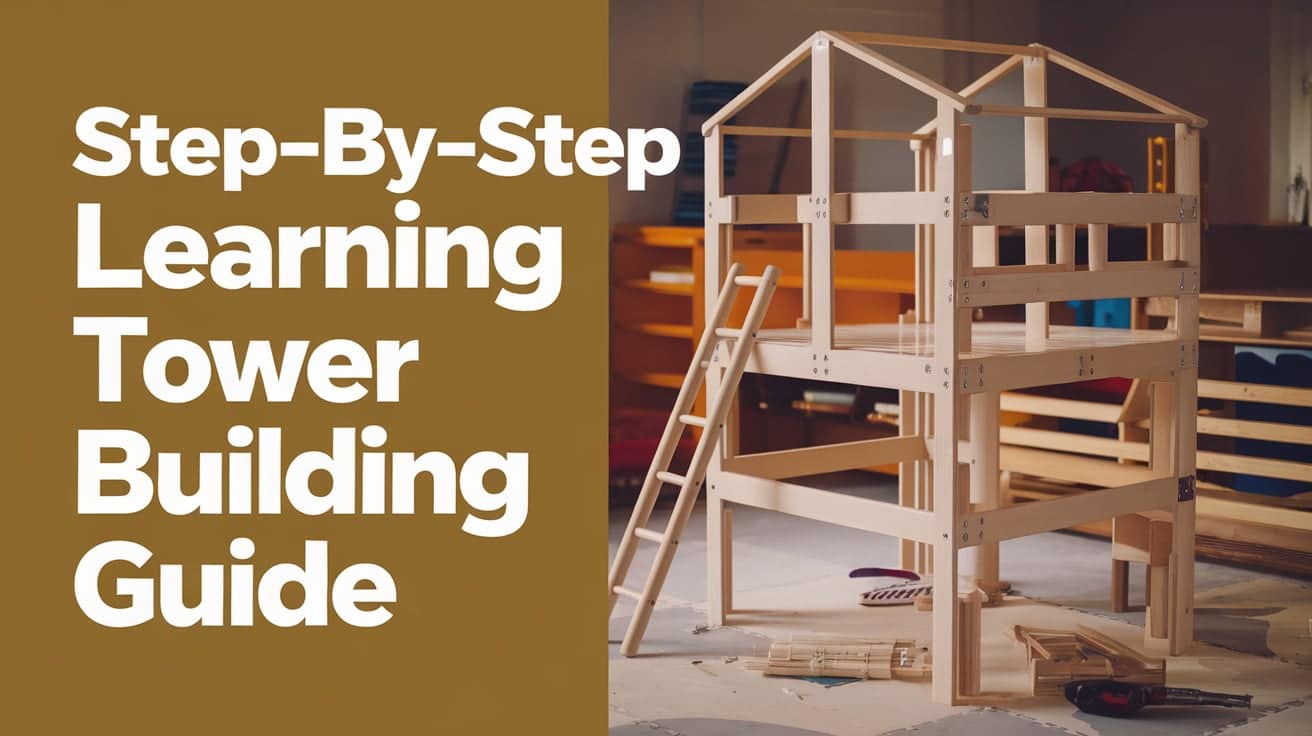
A learning tower is a raised platform that safely raises children to counter height. It features protective sides and a stable base, distinguishing it from regular step stools.
This design stems from Montessori teaching methods, which focus on involving children in real-world activities. Children learn best when they can work alongside adults in daily tasks.
Benefits of Using a Learning Tower

Children gain confidence when they can reach counters and work surfaces independently. The tower creates a secure space where they can practice new skills without constant physical support from parents.
Working at counter height lets children naturally participate in kitchen activities. They can help wash fruits, mix ingredients, or watch how meals come together.
The physical act of climbing into and standing in the tower builds strength and balance. Children learn to coordinate their movements while having a safe space to practice.
Age Recommendations
Most children begin using learning towers between 18 months and 7 years old. The right starting age varies based on each child’s physical abilities and maturity.
Look for signs that your child is ready, such as steady walking, stair climbing with support, and following simple directions. Your child should also show interest in joining counter-height activities.
Constructing an IKEA Learning Tower
Materials Needed
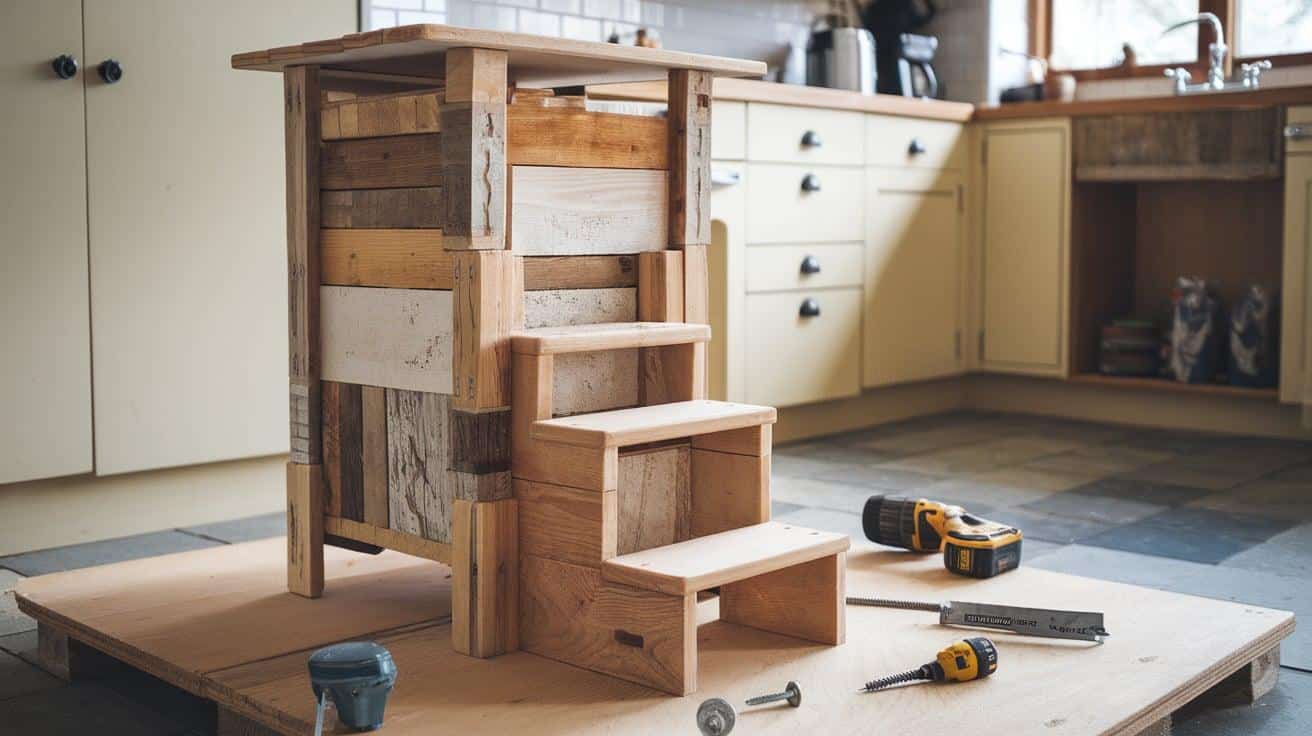
The IKEA BEKVÄM step stool forms the base of this project. You’ll also need wood for sides, screws, and basic tools like a drill and saw.
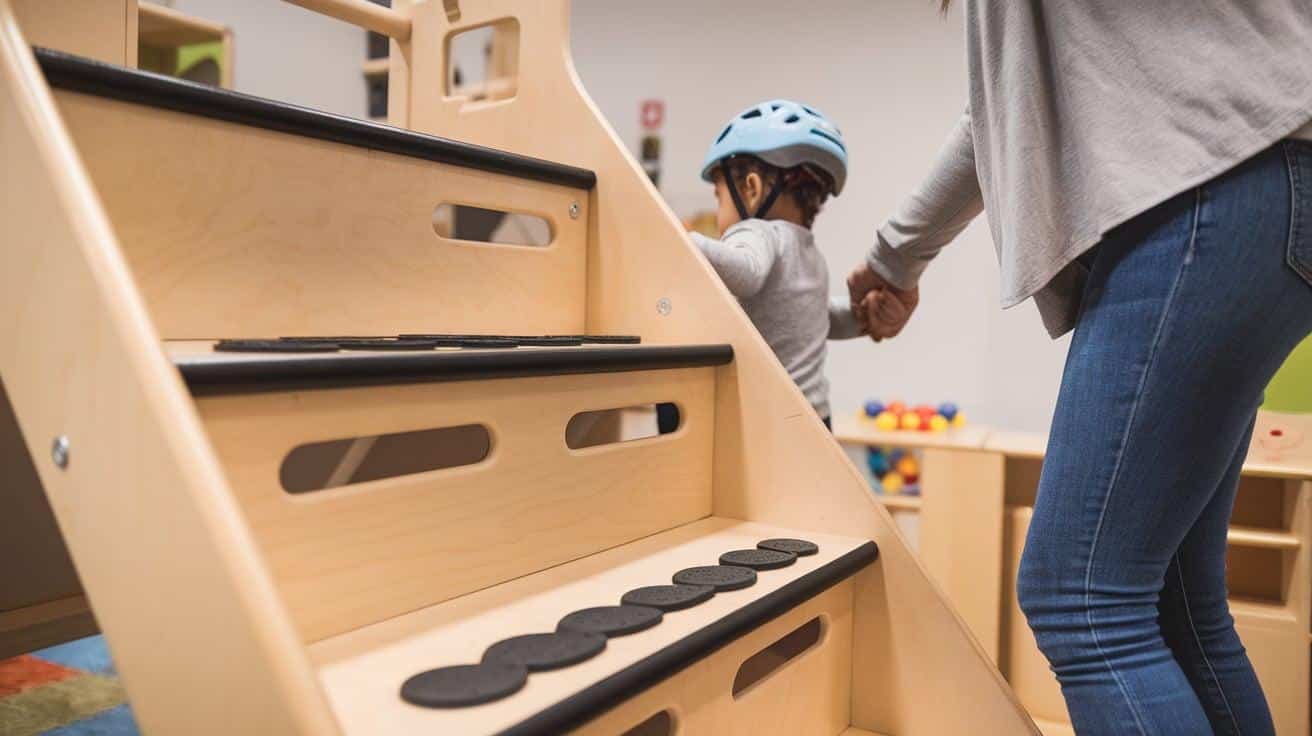
Paint or stain helps match the tower to your kitchen decor. For extra safety, consider adding non-slip strips to the steps.
A Step-By-Step Building Guide
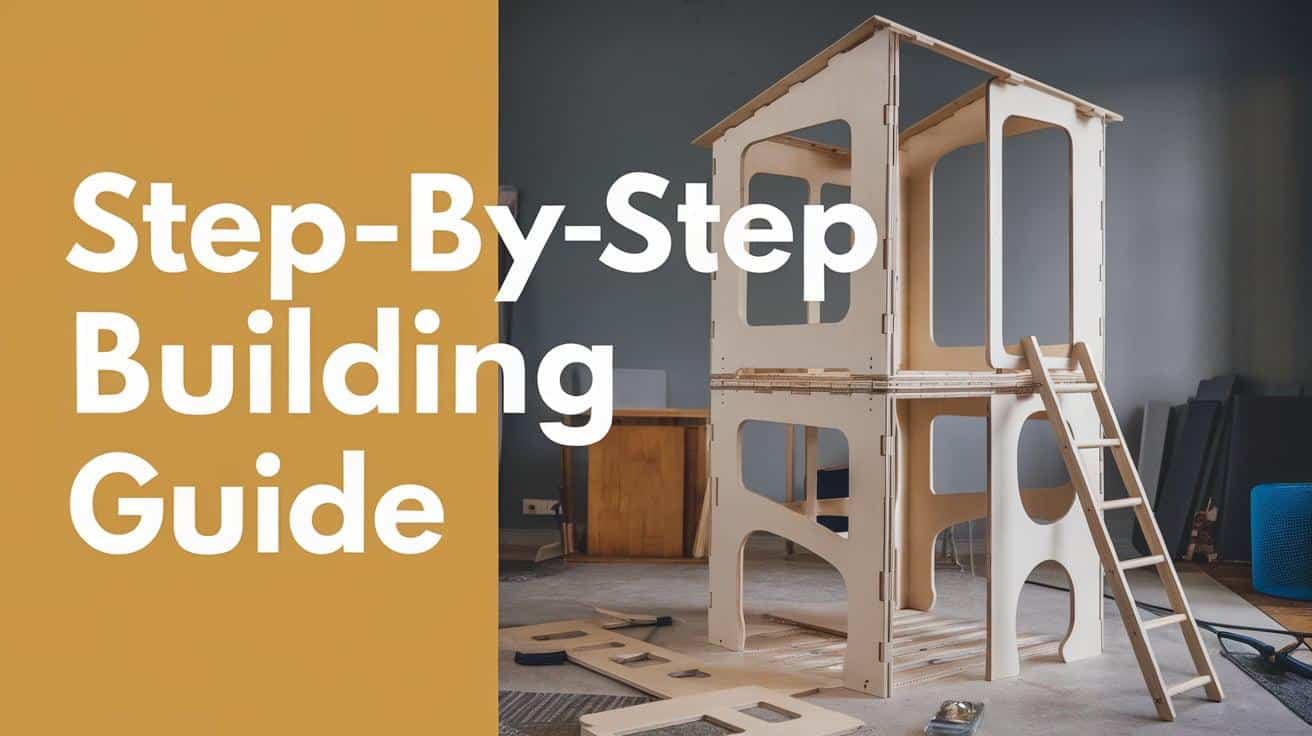
STEP 1: Gather Materials
Choose a durable sheet of plywood, preferably maple, and other basic supplies like a jigsaw, screws, glue, a router, and sandpaper. Make sure to have your tools and workspace ready.
STEP 2: Cut the Panels
Using a circular saw, roughly cut the plywood into manageable sections. Follow a template or diagram to minimize waste and ensure accurate dimensions for all parts.
STEP 3: Smooth the Edges
Smooth all edges using a belt sander and a random orbital sander. Round the corners to ensure safety, especially since this project is for children.
STEP 4: Create Side Panels
Design two identical side panels by cutting shapes and handle cutouts using a jigsaw. Sand and refine the panels with a file for a polished finish.
STEP 5: Prepare Connecting Pieces
Cut support boards for the back, platform, and step. Add slight curves for design and use a round-over bit to smooth the edges, making them child-friendly.
STEP 6: Assemble the Tower
Attach the side panels and supports with screws and threaded inserts. Ensure all parts are aligned and secure for a sturdy, easily removed structure.
STEP 7: Add Adjustable Strips
Attach strips inside the side panels to adjust the platform height. Secure these with glue, nails, and screws for long-lasting durability.
STEP 8: Apply Finish and Assemble
Apply Danish oil to highlight the wood grain, followed by polyurethane for added protection. Reassemble the tower, adjusting the platform to the desired height.
Video Tutorial
For more details, check out this video tutorial by Make It Now.
Safety First: Using a Learning Tower
Essential Safety Features
Check that all parts are firmly attached each time before use. For proper support, the protective rails should reach your child’s chest height.
Keep the tower away from hot stoves and sharp objects. Place it where you can easily supervise your child’s activities.
Supervision Guidelines
Always stay within arm’s reach when your child uses the tower. Teach them how to climb in and out safely, using proper hand holds.
Set clear rules about standing still in the tower. Remind children not to lean over the sides or climb on the rails.
Expenses and Cost Considerations

1. Cost Breakdown
Building your own IKEA learning tower saves significant money compared to pre-made versions.
The base cost starts with the BEKVÄM stool at $20-25, making it an affordable foundation for your project.
The additional materials needed include wood for safety rails, screws, paint, and non-slip strips, adding about $30-40 to your total.
The complete project typically costs $60-70, far less than store-bought towers priced between $150-300.
2. Value Over Time
This investment makes sense when considering how often your child will use the tower. Many families use their learning towers daily for several years, making the cost per use quite small.
The sturdy IKEA base and quality materials ensure the tower lasts through multiple children. Many families pass their towers to younger siblings or other families, extending the value further.
3. Maintenance and Upgrades
Basic maintenance keeps costs minimal over time. You might need occasional touch-up paint or new non-slip strips. Some families add features like a chalkboard side panel or storage pockets for an extra $10-20.
Consider your kitchen space and family needs before adding extra elements. Simple designs often work best, especially in smaller kitchens.
Regular cleaning and basic care help protect your investment without adding significant costs.
Maximizing the Learning Tower Experience
Daily Activities
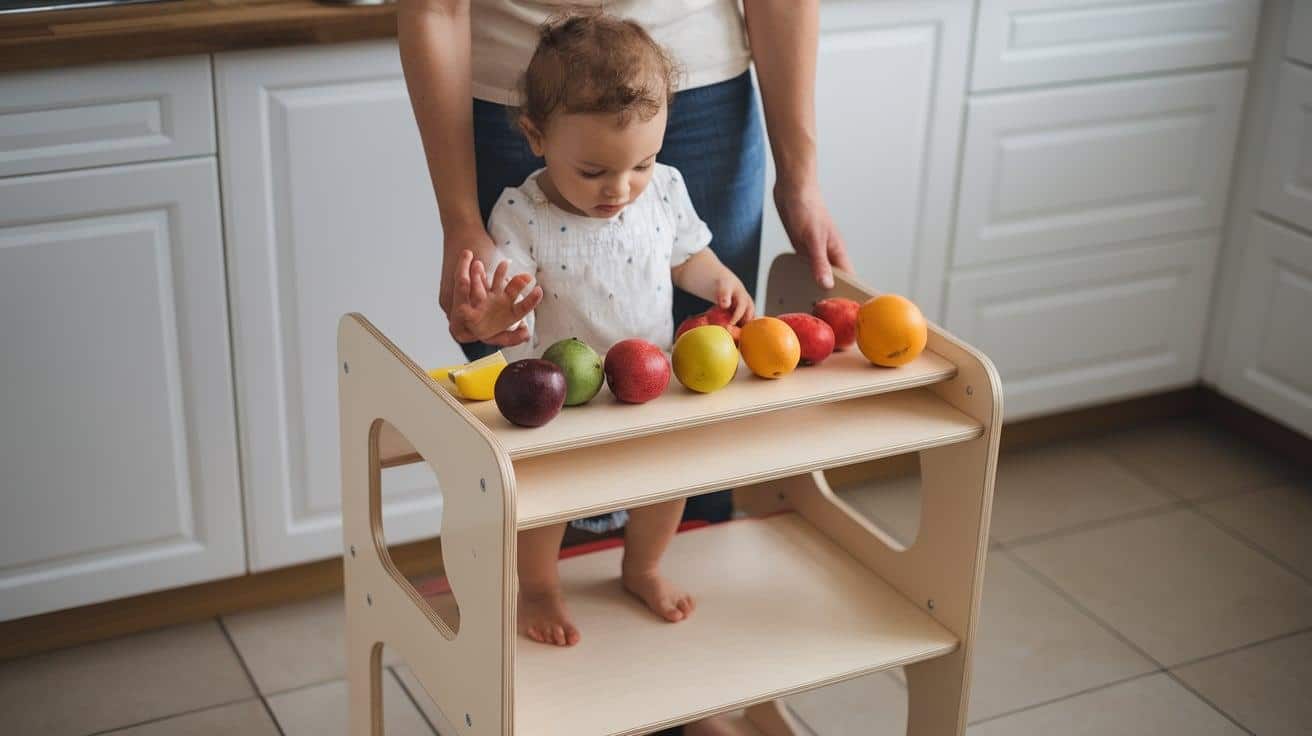
Include your child in simple cooking tasks, such as washing vegetables or stirring cold ingredients. These activities build fine motor skills and confidence.
Use tower time to learn numbers and words naturally. Count ingredients together or name kitchen tools as you use them.
Make the tower part of daily routines, such as helping to set the table or prepare snacks. This builds responsibility and life skills.
Creating Habits
Set up regular activities that use the tower, like weekend baking or morning meal prep. Children thrive on routine and predictable opportunities to help.
Keep safe kitchen tools within reach so children can grab them independently. This promotes self-sufficiency and reduces frustration.
The learning tower becomes more than just a tool—it creates spaces for learning, growth, and family connection. Children develop skills that last far beyond their tower days through consistent use.
Remember to adjust activities based on your child’s age and abilities. Start simple and add complexity as their skills grow. This approach keeps them engaged and learning while staying safe.
Final Words
The IKEA learning tower creates a special spot where children can safely join their parents in kitchen tasks.
This simple project supports your child’s growth and learning with careful building and constant supervision.
Remember to pick materials that match your needs and follow safety guidelines closely. The effort pays off when you see your child confidently helping with daily activities.
We’d love to hear about your learning tower experiences in the comments. What kitchen tasks does your little one enjoy most? Your stories could inspire other families to start their projects.

