DIY Guide to Magnetic Boards: Tips & Tricks
Have you ever walked into a room full of scattered papers, loose notes, and photos with nowhere to put them? A magnetic board could be your perfect solution.
Not just any magnetic board – one you made yourself, exactly how you want it. Building a magnetic board might sound tricky, but don’t worry.
This guide covers everything you need to know, from picking the right materials to assembling your finished board.
You’ll learn which metals work best, how to build a sturdy frame, and how to make your board look great in any room.
We’ll cover simple builds for beginners and more detailed projects for those ready to try something bigger.
By the end of this guide, you’ll have all the knowledge you need to create a useful, good-looking magnetic board for your space.
Understanding Magnetic Boards
What Is a Magnetic Board?
A magnetic board is a practical home item that combines a metal surface with a wood frame. It works well in many spaces, from offices to playrooms to kitchens.
You can place them anywhere to show off items, keep track of papers, or make a display wall.
Benefits of DIY Magnetic Boards:
- Money-Saving: Making your board costs less than buying one from a store. You can get materials from common home improvement stores or local metal supply shops.
- Made Your Way: You can pick:
- The size that fits your space
- The wood finish you want
- The frame style that matches your room
- Where to put the hanging hardware
- Personal Project: These boards are great for:
- Showing off collections
- Displaying children’s artwork
- Organizing office papers
- Holding kitchen recipes
- Keeping craft supplies in order
Materials and Tools Required

1. Magnetic Materials
Sheet Metal:
- Galvanized steel works best for magnetic boards and won’t rust
- Important: Don’t use aluminum as it’s not magnetic
- Best choice: 16-gauge galvanized steel sheet (about 1/16-inch thick)
2. Framing Materials
Wood options:
- 1×4 boards (10ft length)
- 1x2x6 wood strips
- Pre-made frames (saves time and effort)
3. Additional Supplies
Screws:
- 3/4-inch screws for metal attachment
- 1-1/4 inch Kreg screws for frame building
Hardware:
- Corner braces
- Heavy-duty picture hangers (rated for 75 pounds)
- Cardboard backing (if using pre-made frames)
4. Tools Needed
Essential Tools:
- Miter saw or regular saw
- Drill
- Tape measure
- Clamps
- Screwdriver
- Sandpaper
Optional Tools:
- Kreg Jig (for pocket holes)
- Power sander
- Awl (for marking holes)
Choosing the Right Project for You
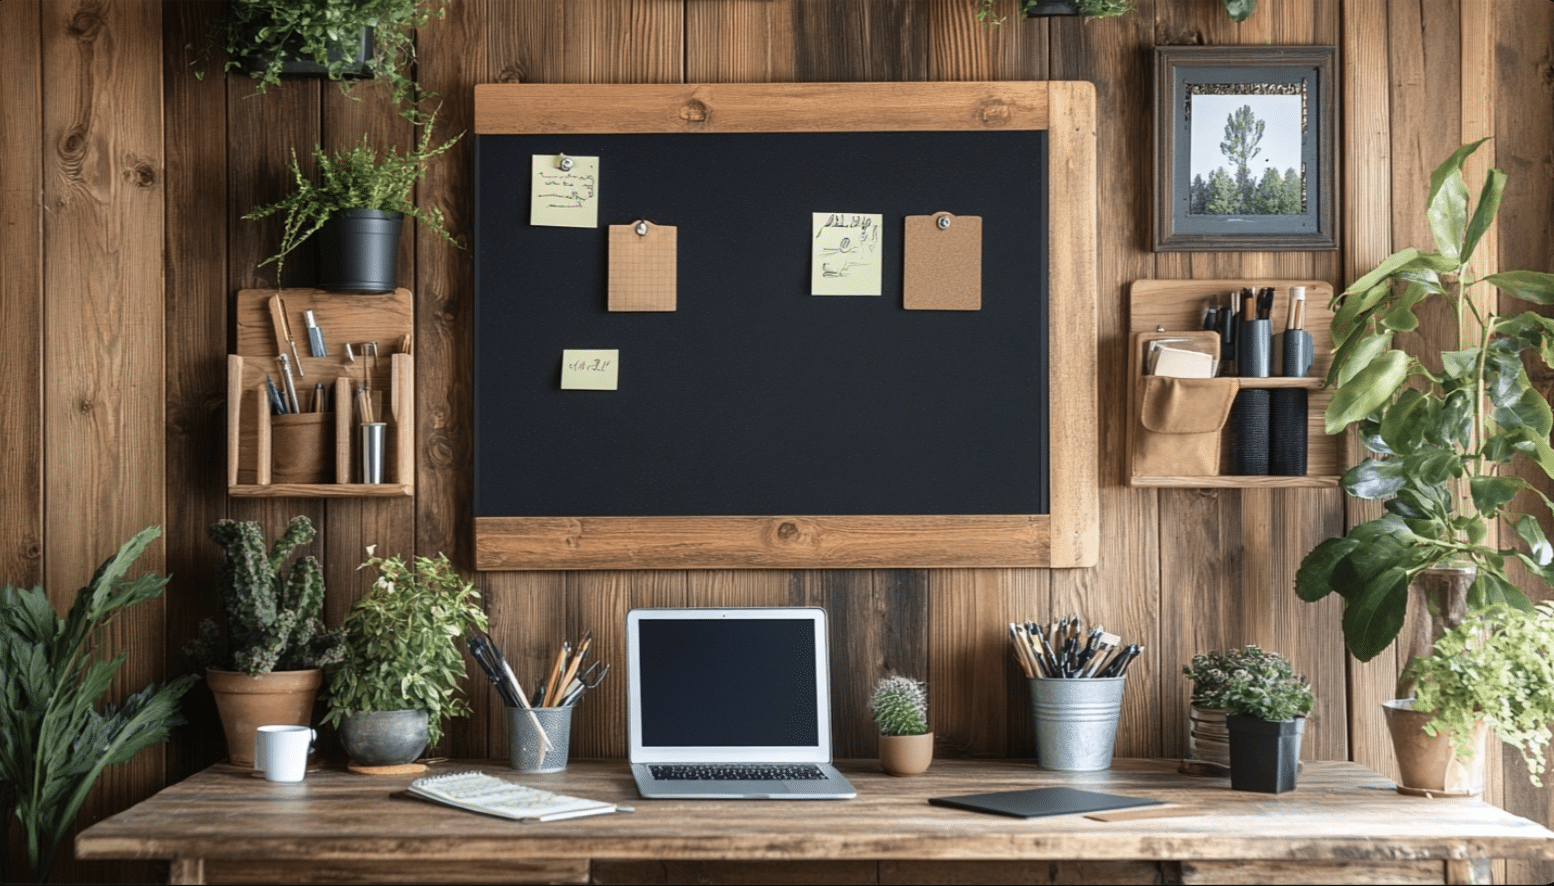
Depending on your skill level and tools, a magnetic board can be simple or complex. If you’re new to DIY projects, start with the pre-made frame method, which requires fewer tools and steps.
For more skilled builders, you might try making a custom frame with corner braces or pocket holes. These methods give you more control over your board’s appearance but need more tools and time.
Think about where you’ll put the board and what you’ll use it for. A board for a child’s room needs to be hung lower on the wall and very secure. An office board might need to be bigger to hold more papers.
Your style matters, too. Some people like the raw metal look with a simple wood frame, while others prefer to paint or stain it to match their room’s colors.
Look at your budget before picking your method. A basic board with a pre-made frame costs less and requires fewer supplies.
Building from scratch costs more upfront because you need to buy tools, allowing you to make more boards later.
The size of your space will also guide your choice. Small spaces work well with pre-made frames in standard sizes, while bigger spaces might need custom-sized boards that you’ll have to build yourself.
A Step-by-Step DIY Guide
STEP 1: Gather Your Supplies
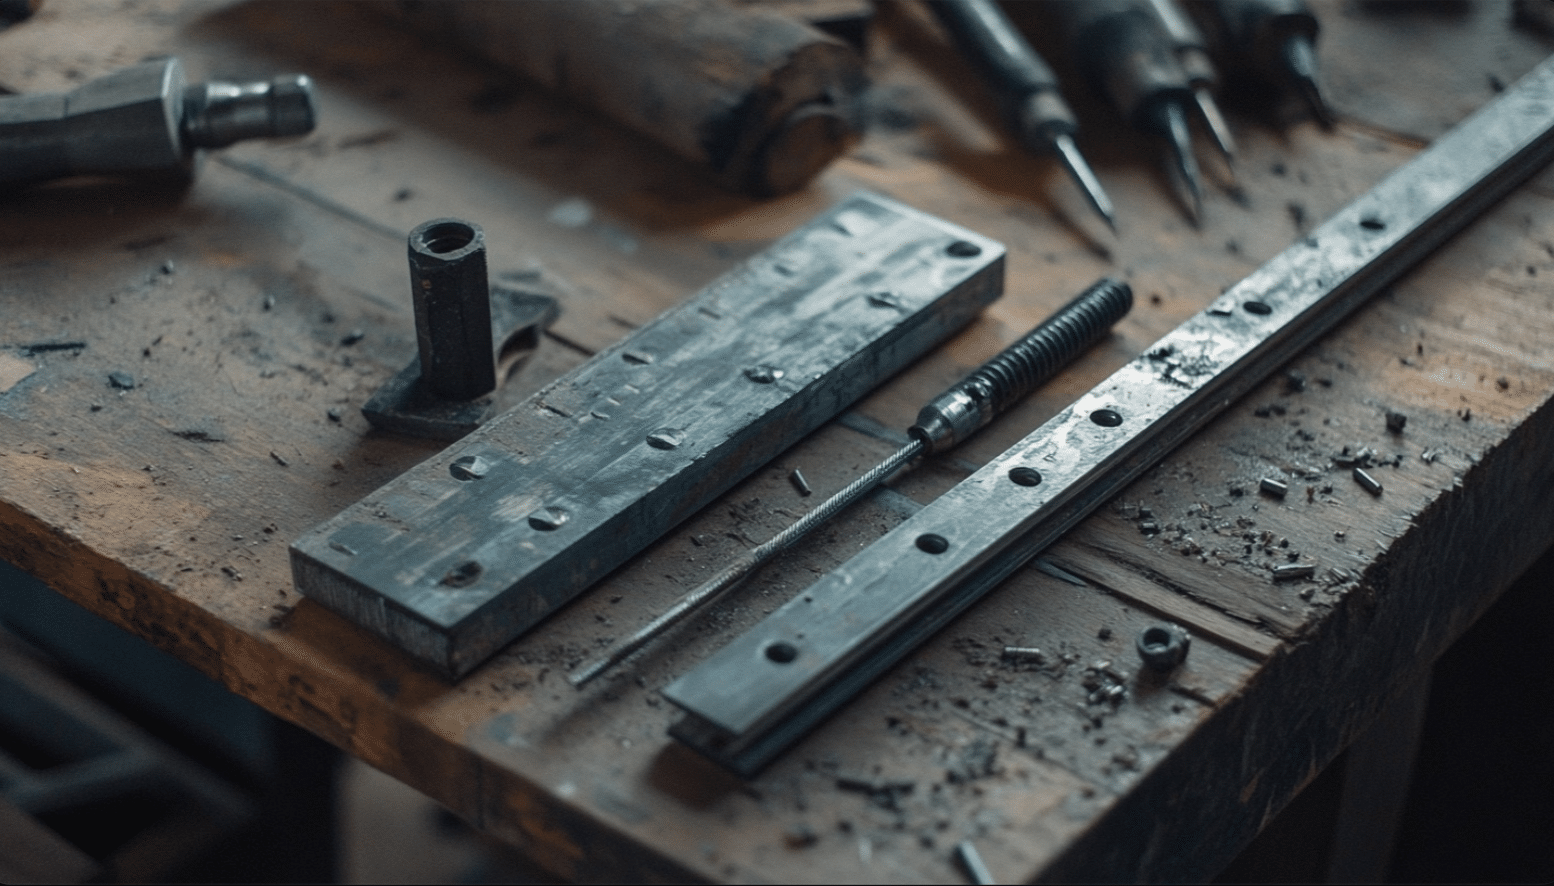
You’ll need a galvanized steel sheet, wood for the frame, screws, and basic tools like a drill and saw.
Get heavy-duty picture hangers since magnetic boards can be heavy. Write down all measurements before buying materials.
STEP 2: Prepare Your Frame
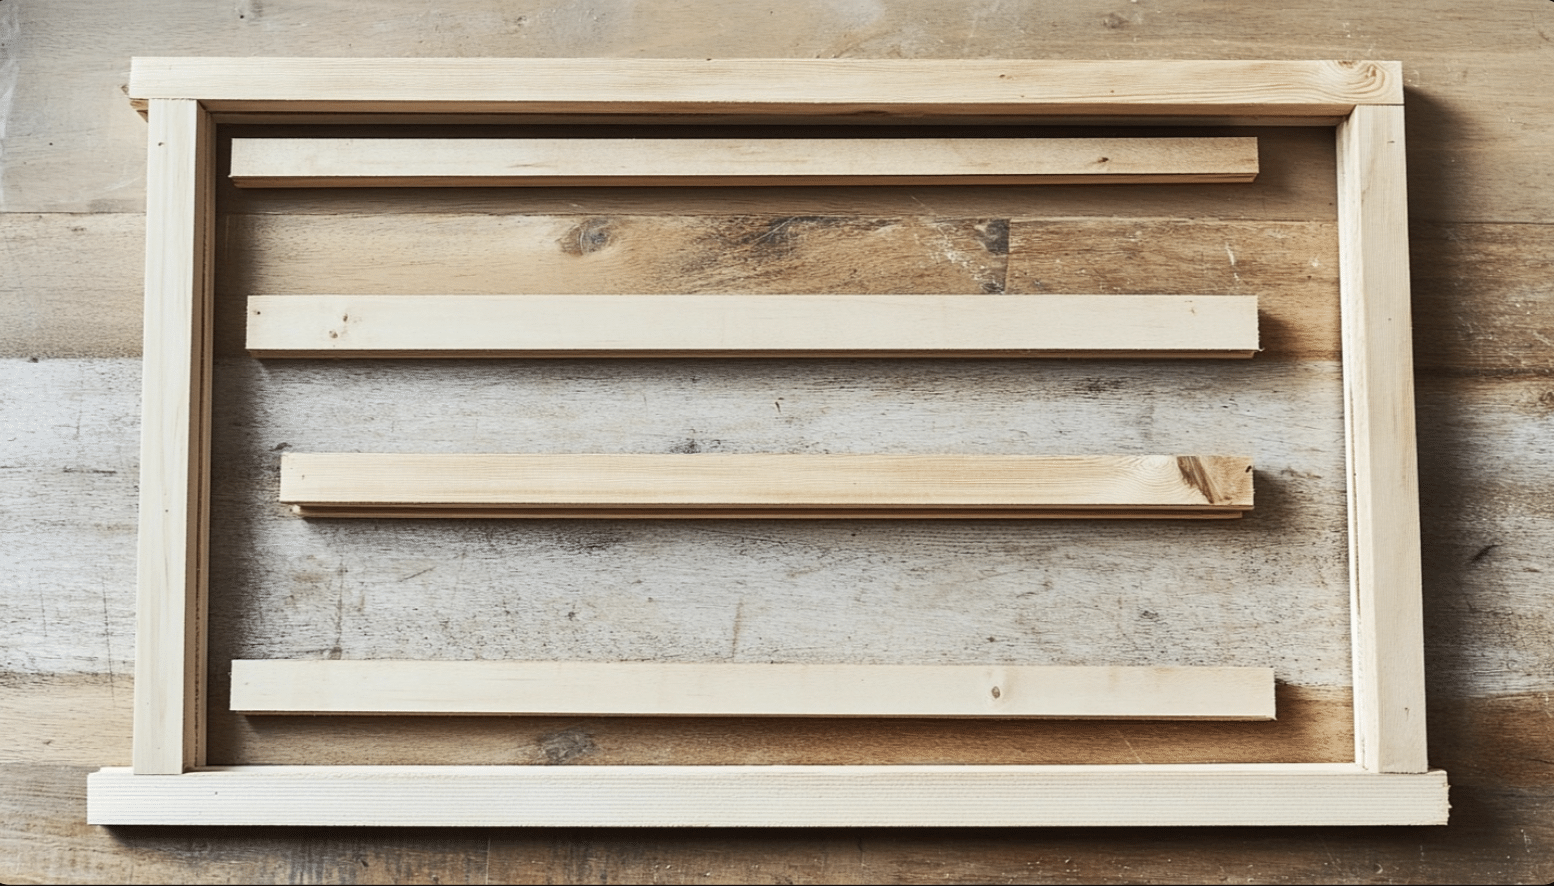
For the frame, cut your wood to size. Two pieces should match the length of your metal sheet, and two pieces should match the width.
Sand all the pieces smoothly to prevent splinters. Check that all pieces fit together perfectly before moving forward.
STEP 3: Build The Frame
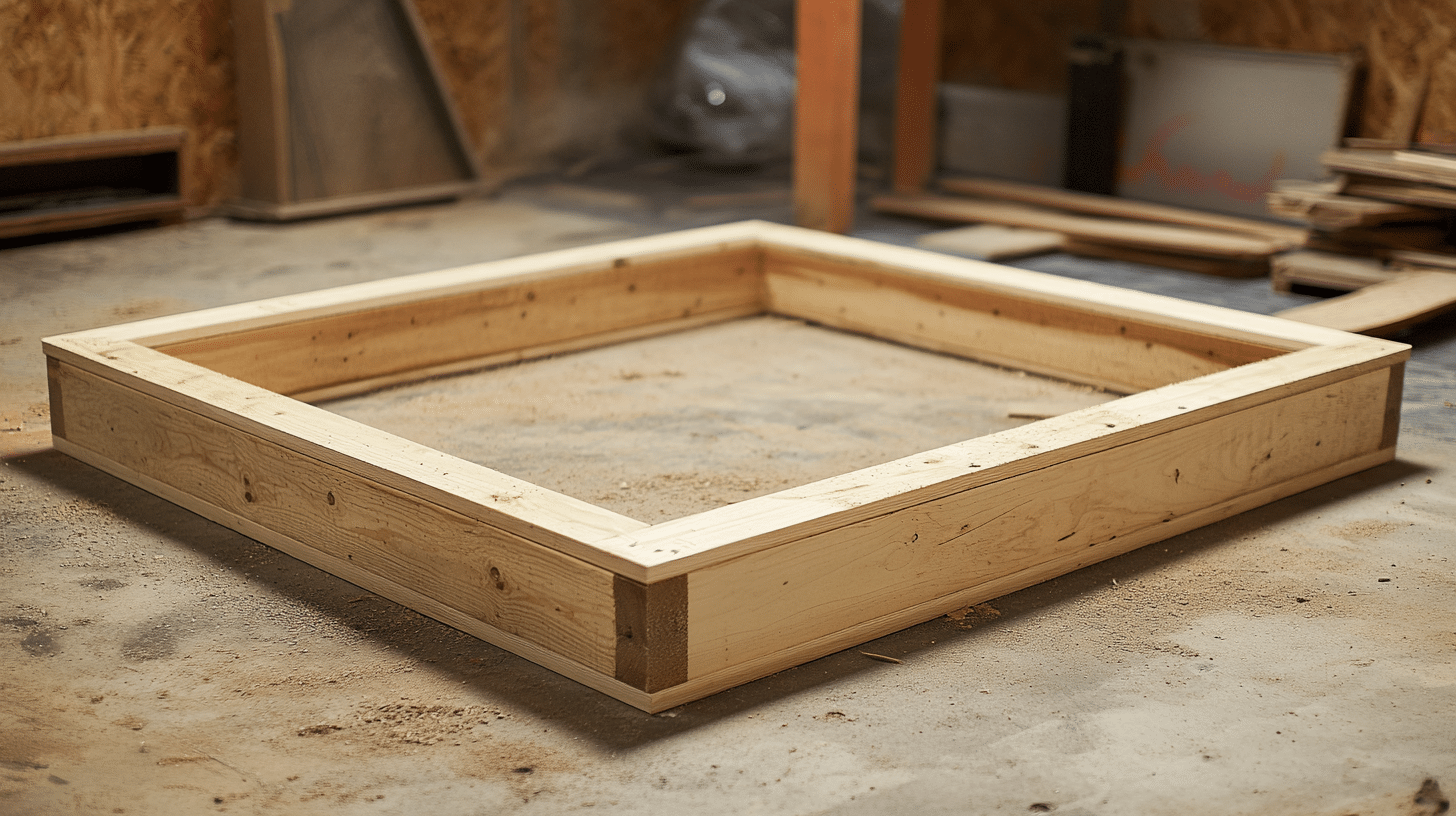
Put the frame pieces together using corner braces or pocket holes. If using corner braces, mark your spots first and drill starter holes to prevent wood splitting. Make sure your corners are square and tight.
STEP 4: Add The Metal Sheet
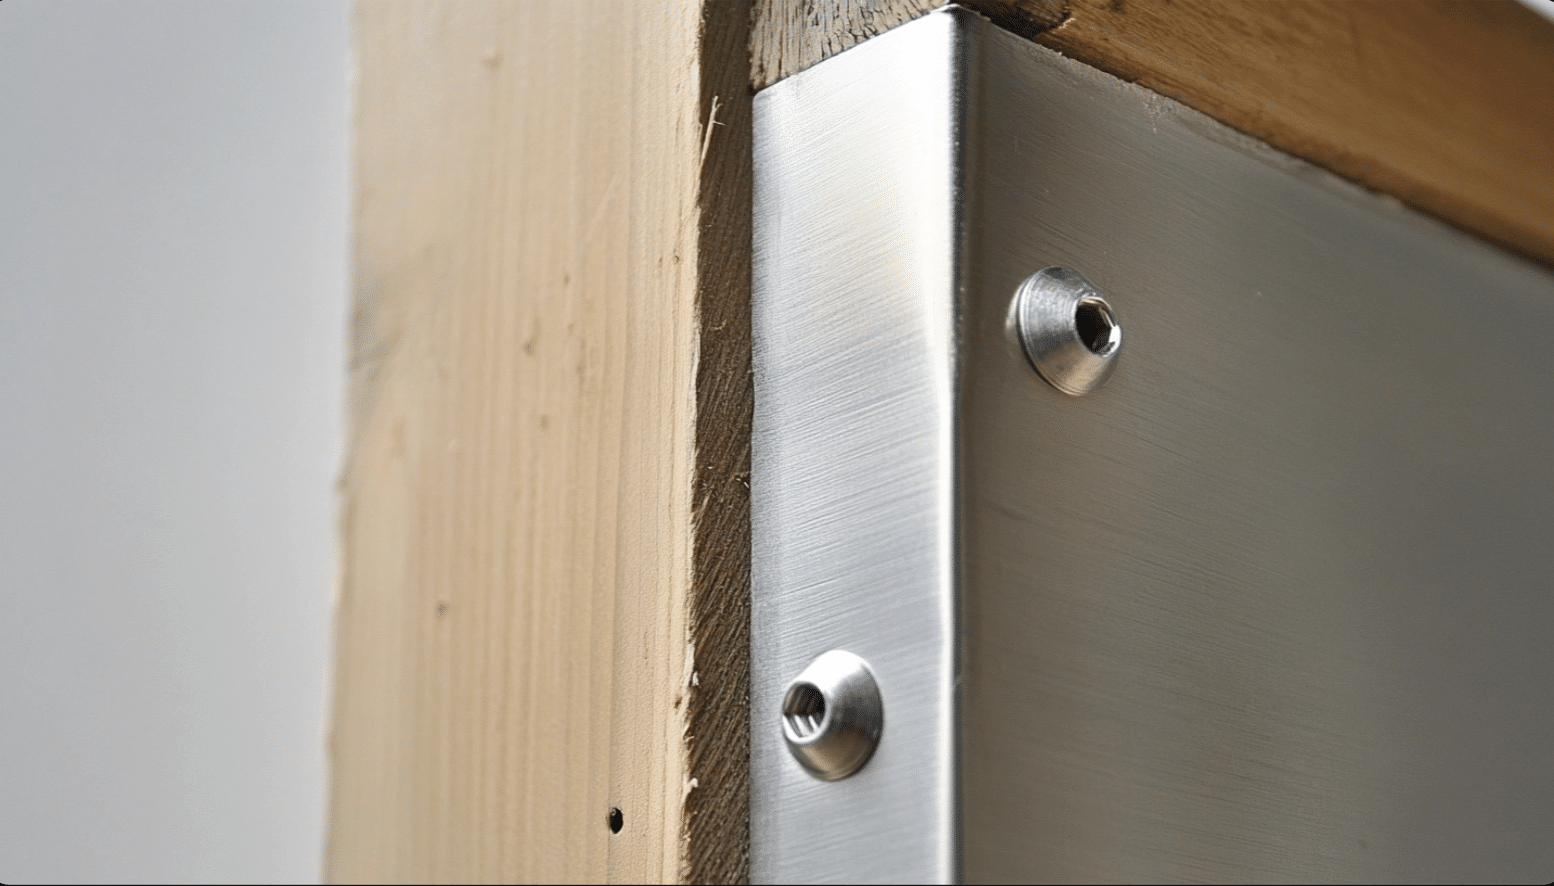
Place your metal sheet on the back of the frame. Mark where you’ll put the screws – start with the corners and add more along the sides.
Drill through the metal first, then the wood, but don’t go through to the front.
STEP 5: Secure Everything
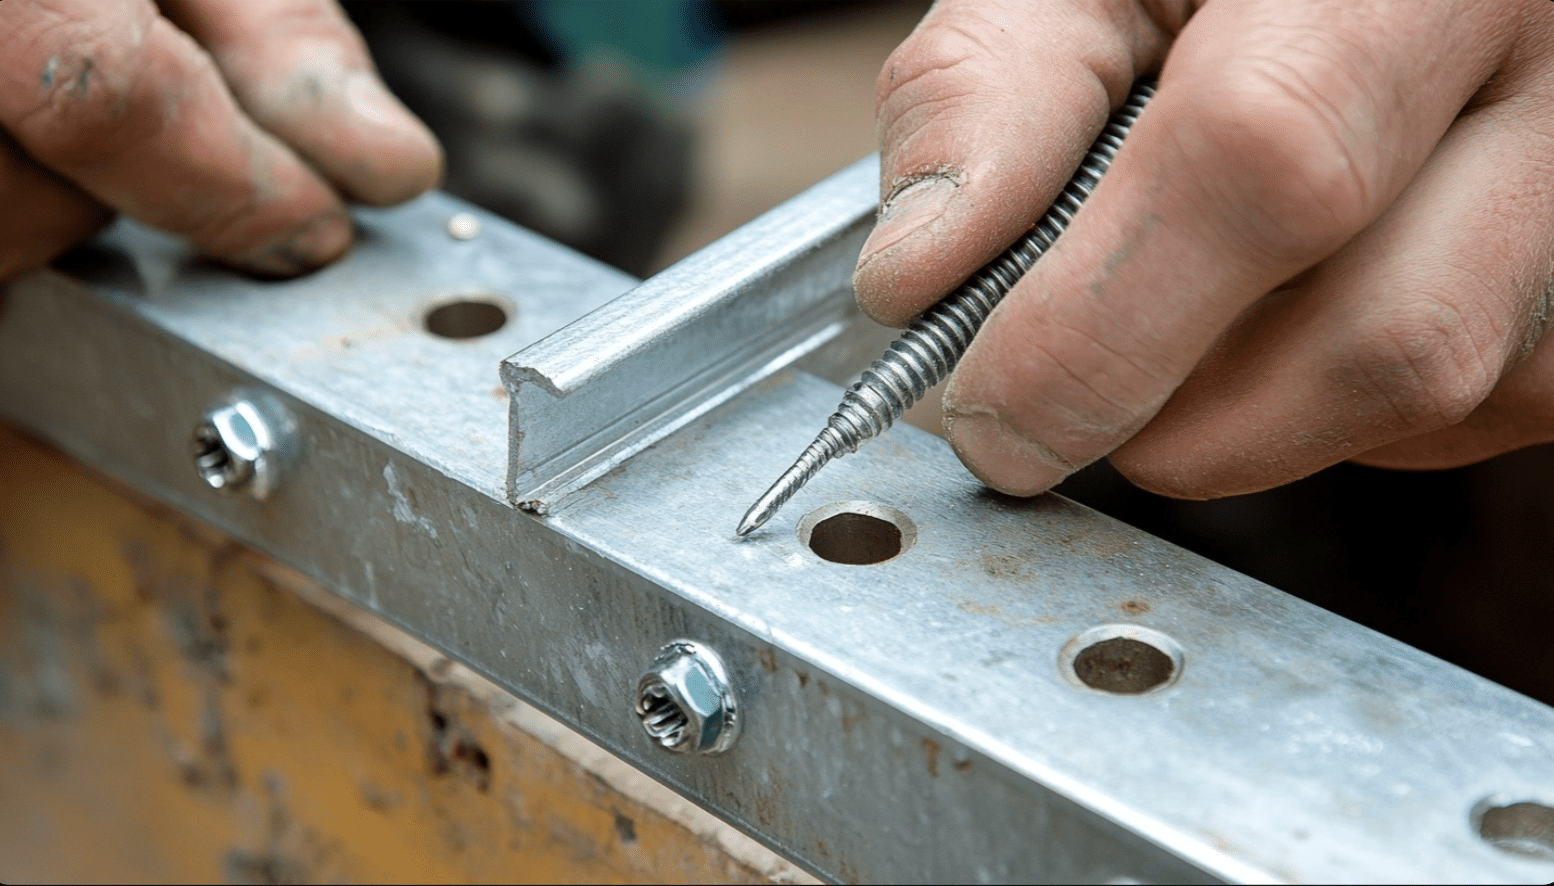
Put screws through your pre-drilled holes to attach the metal to the frame. Space them evenly around all sides to keep the metal flat against the frame. Don’t over-tighten it, or you might bend the metal.
STEP 6: Add Hanging Hardware
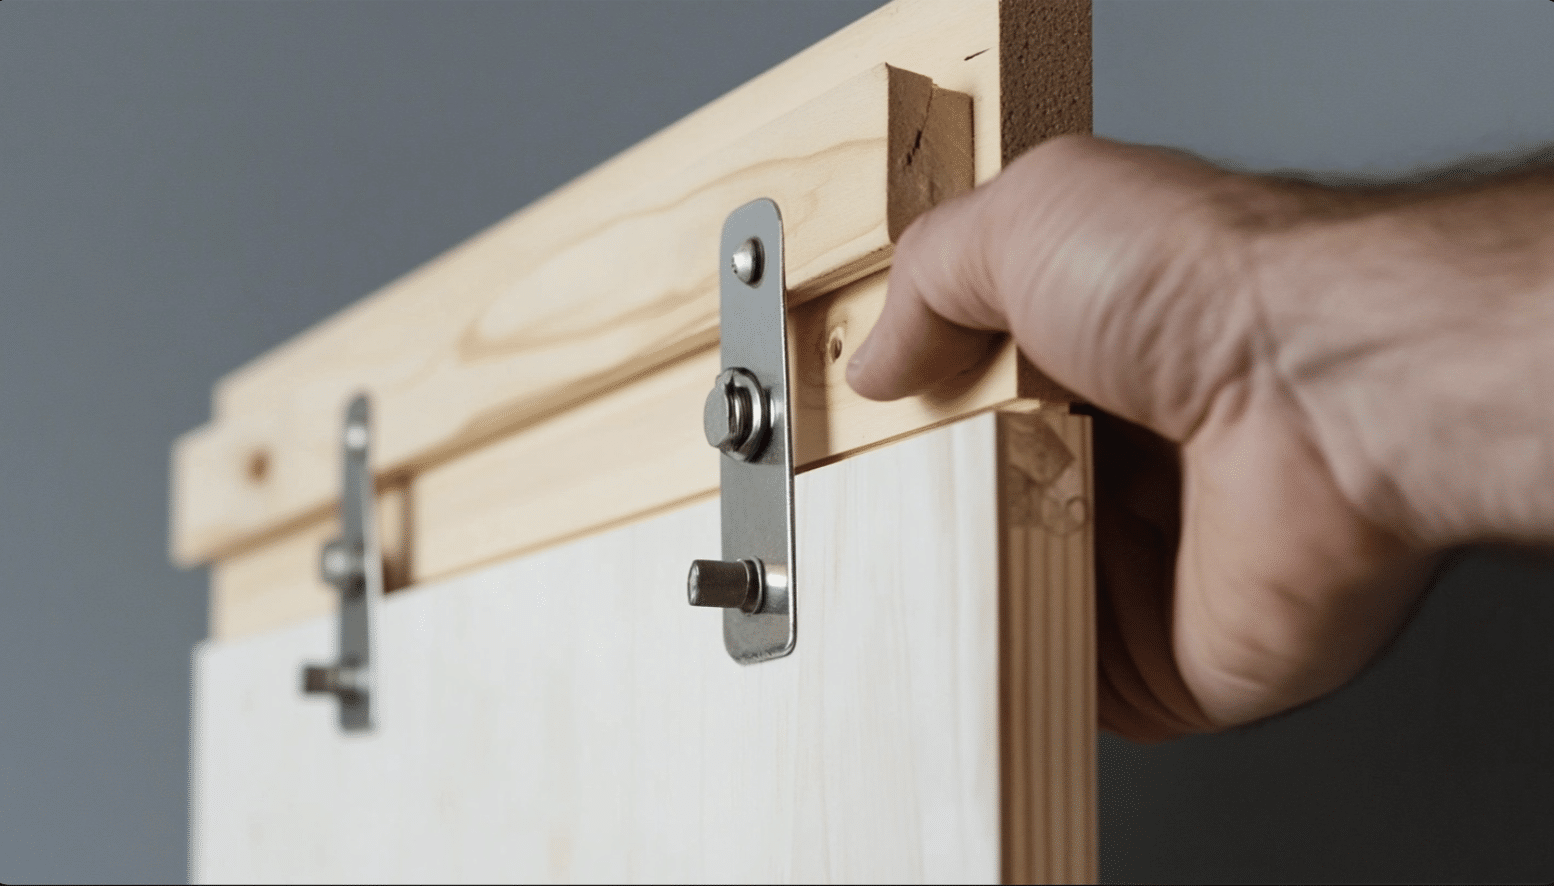
Attach your picture hanger to the back of the frame. Make sure it’s centered and level. For larger boards, use two hangers to spread the weight evenly.
Video Tutorial
For More Details, Check out This Detailed Visual Idea by the CKLN Family.
Customization and Personalization
1. Color Changes: Staining the wood frame can make your board match any room. Dark walnut gives a rich, warm look that works in many spaces.
If you prefer paint, sand the frame first, add a coat of primer, then your chosen paint color.
2. Frame Styles: Plain wood frames work well for simple spaces, but you can make them stand out by choosing different wood types.
The thickness of your frame makes a difference, too—thicker frames look more substantial, while thinner ones appear more modern.
3. Extra Features: Add useful touches to your board based on where you’ll use it. Office boards might need small shelves for papers.
Kitchen boards could use hooks for measuring spoons. Put clips on classroom boards to hold student work.
4. Different Sizes: Small boards work well near desks for quick notes. Medium boards fit nicely in kids’ rooms for artwork. Large boards make great statement pieces in offices or craft rooms.
5. Surface Options: The metal surface can stay plain for a modern look. But you could also paint it with special metal paint. Just make sure any paint you use won’t block the magnetic pull.
6. Placement Tips: Put office boards at eye level for easy reading. Children’s boards should sit lower on walls where little hands can reach. Kitchen boards work well near prep areas but away from heat and water.
Safety and Maintenance
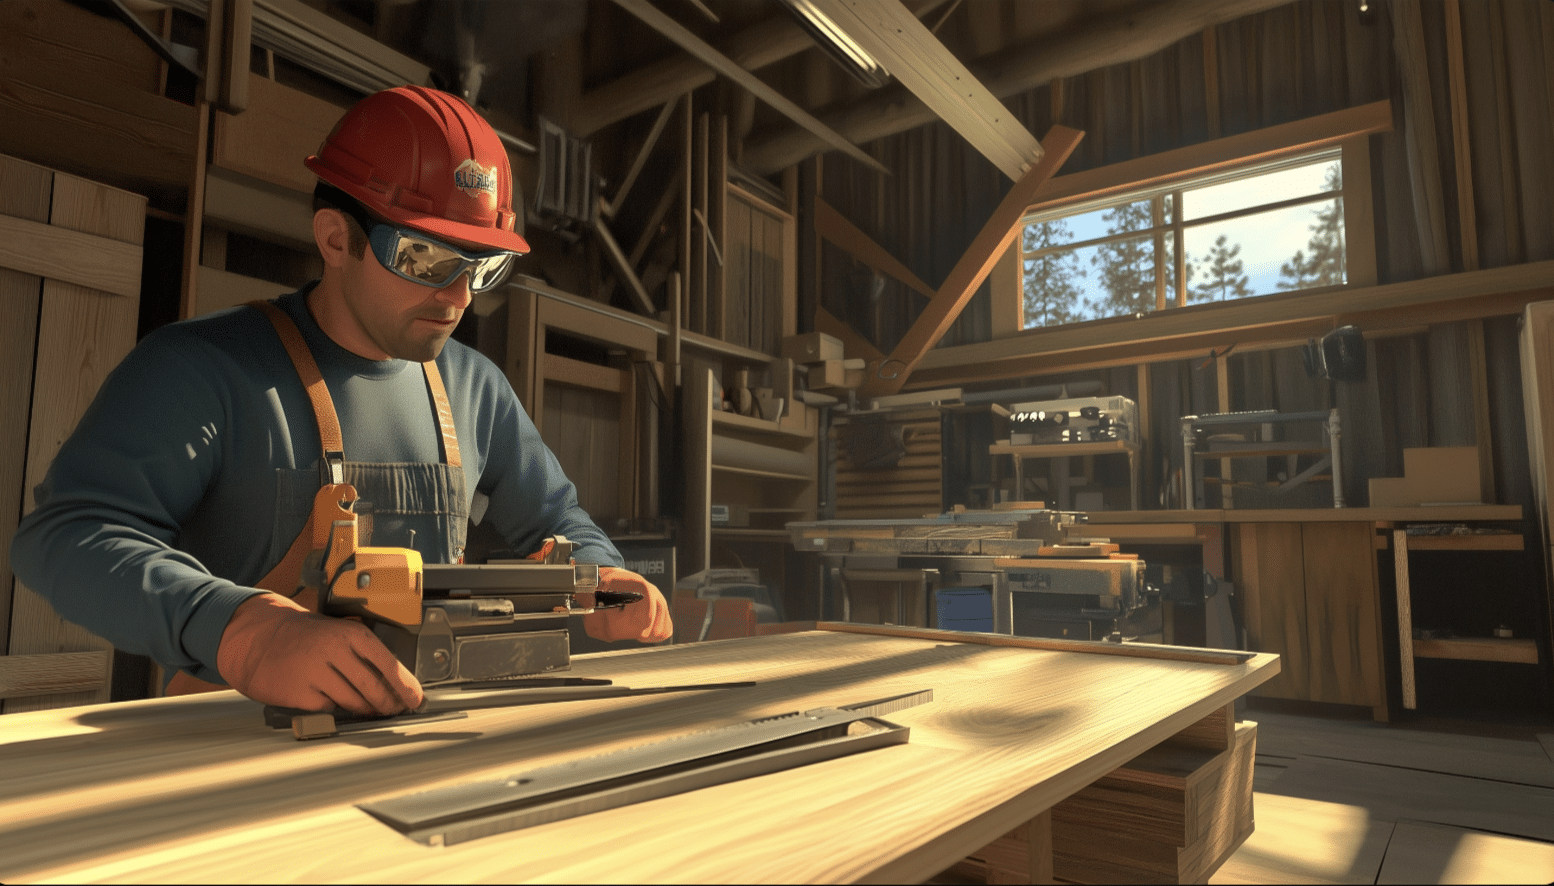
1. Safe Building Practices
Always wear safety glasses when cutting wood or drilling metal. Keep your fingers away from saw blades and drill bits. Work in a well-lit area with enough space to move around safely.
2. Safe Mounting
Use wall studs whenever possible to hang your board. For heavy boards, never rely on drywall anchors alone. Check the weight rating of your hanging hardware and stay well below it.
3. Board Care
Clean your magnetic board with a soft, dry cloth to remove dust. Use a slightly damp cloth for tougher marks, but dry the surface immediately. Keep water away from the wooden frame to prevent warping.
4. Metal Surface Care
Watch for rust spots on the metal surface, especially in damp rooms. If you see any rust starting, clean the spot right away. Use magnets with smooth coatings to prevent scratching the surface.
5. Frame Care
Check the frame joints every few months to make sure they’re tight. Look for any gaps between the metal and frame. Tighten screws if needed, but don’t force them, or you might split the wood.
6. Common Problems
If magnets aren’t sticking well, check if they’re too weak – stronger magnets might help. If the board starts to tilt, check the hanging hardware. Loose corner joints can be fixed by adding new screws in a slightly different spot.
Fun Facts Related to Magnets

Fact #1: Earth’s Natural Magnet
Our planet acts like a big magnet. This natural magnetic field helps birds and other animals find their way during migration and protects us from harmful space rays.
The magnetic field stretches far into space, creating a shield around our planet.
Fact #2: Ancient Uses
People first found natural magnets in rocks over 2,000 years ago. They used these stones to make simple compasses to find their way.
Old sailors would float magnetic rocks on wood in water to help them sail in the right direction.
Fact #3: Temperature Effects
Heat can change how well magnets work. When a magnet gets too hot, it can lose its magnetic power.
Each type of magnet has a different temperature at which this happens. This is why you should keep magnets away from very hot places.
Fact #4: Magnetic Animals
Some animals can sense magnetic fields. Sea turtles use the Earth’s magnetic field like a map to guide across oceans.
Certain birds have tiny magnetic particles in their beaks that help them know which way is north.
Fact #5: Medical Uses
Doctors use magnets in machines like MRI scanners to look inside people’s bodies without surgery.
These machines use strong magnets to create clear pictures of bones, muscles, and organs. They help doctors find and treat health problems.
Expenses and Cost Considerations
This table provides a clear breakdown of the various costs associated with different aspects of the project:
| EXPENSE CATEGORY | DETAILS | COST RANGE |
|---|---|---|
| 1. Basic Materials Cost | Metal sheet ($20-40), pre-made frame ($15-30) | $35 – $70 |
| 2. Tool Investment | Basic tools (drill, saw, measuring tape) | $50 – $100 |
| 3. Optional Add-ons | Wood stain/paint ($10-20), hardware ($5-15), magnets ($5-15) | $20 – $50 |
| 4. Money-Saving Tips | Check for discounted metal cuts, sales on frames, and share tools | Cost-saving tips only |
| 5. Long-term Value | Store-bought boards ($100+), savings from DIY skills | Cost-saving benefits |
| 6. Project Cost by Skill Level | Beginner: $50-80, Medium: $80-120, Advanced: $150+ | $50 – $150+ |
Final Words
Making your magnetic board puts you in control of your space organization. With just basic tools and materials from your local store, you can build something that fits your needs perfectly. The project takes a few hours but gives you a useful item that lasts years.
If you’re new to DIY, start with simpler methods or try more complex builds as your skills grow. No matter your choice, focus on secure construction and proper mounting. Your board can hold photos, notes, artwork, or whatever matters to you.
Pick the right metal, build a solid frame, and add any extra extras. With good care, your magnetic board will stay strong and useful in your home or office for many years.
Frequently Asked Questions (FAQs)
What Thickness of Metal Sheet Is Best for a Magnet Board?
A metal sheet thickness of 20-24 gauge works well for a magnet board, as it is sturdy enough to hold magnets while being easy to handle and install.
What Types of Magnets Work Best for Homemade Boards?
Neodymium magnets are ideal for homemade boards. They are strong and compact and provide a secure hold on most metal surfaces, even through layers like paper or fabric.
Are There Ways to Make Portable or Movable Magnetic Boards?
Magnetic boards can be made portable by attaching them to a lightweight backing, framing them with handles, or using a folding design for easy transport.

