DIY Farmhouse Vertical Shiplap Tutorial: Step-by-Step Guide with Video
Wooden boards on walls aren’t new, but they’re getting a fresh look. Shiplap, once used to dry barns, is now a home favorite.
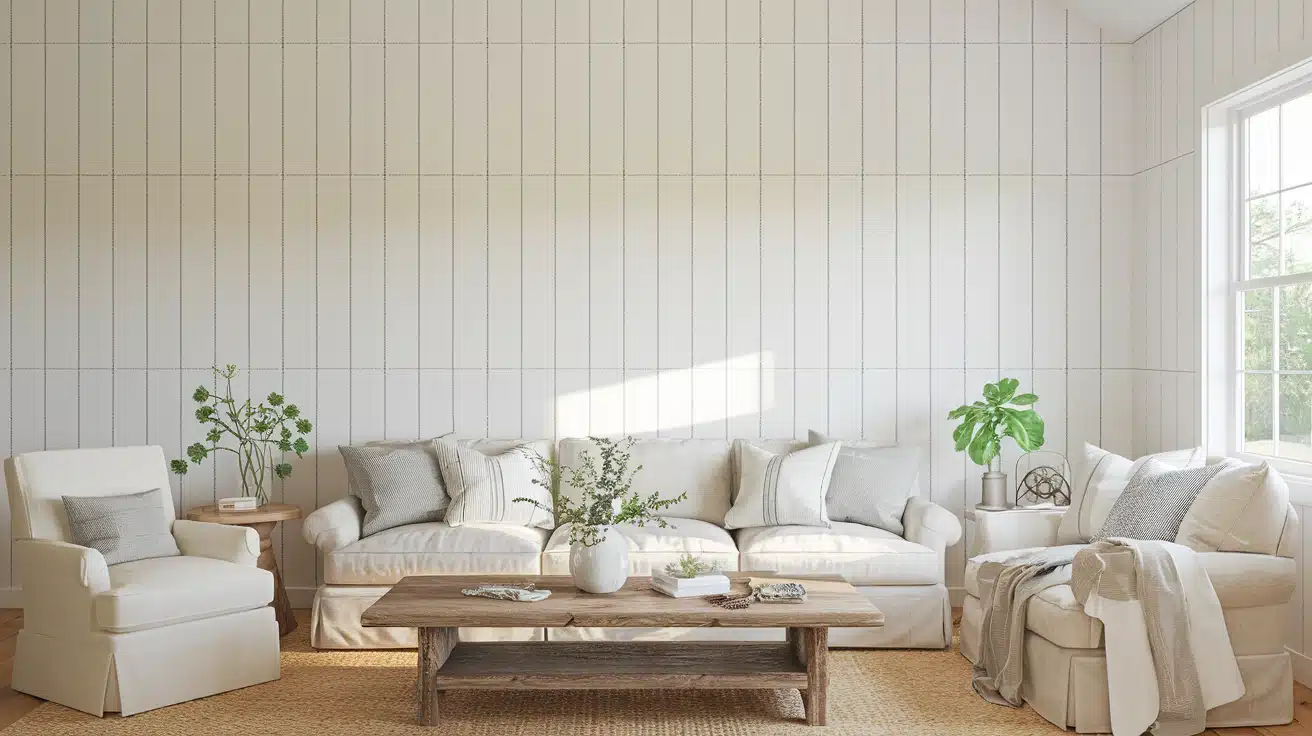
Most people think of shiplap as rows of horizontal boards, but there’s a new trend: vertical shiplap.
Vertical shiplap offers unique benefits. It can make rooms look taller by drawing the eye up. It’s also easier to clean than horizontal boards, as dust doesn’t collect as much on vertical surfaces. This style works well in many rooms, from kitchens to living areas.
People like farmhouse vertical shiplap for its mix of old and new. It keeps the cozy feel of traditional farmhouse style while adding a modern touch.
The vertical orientation gives a fresh spin to the classic farmhouse look. Whether you’re fixing up your home or building new, farmhouse vertical shiplap might be worth a look.
History of Shiplap
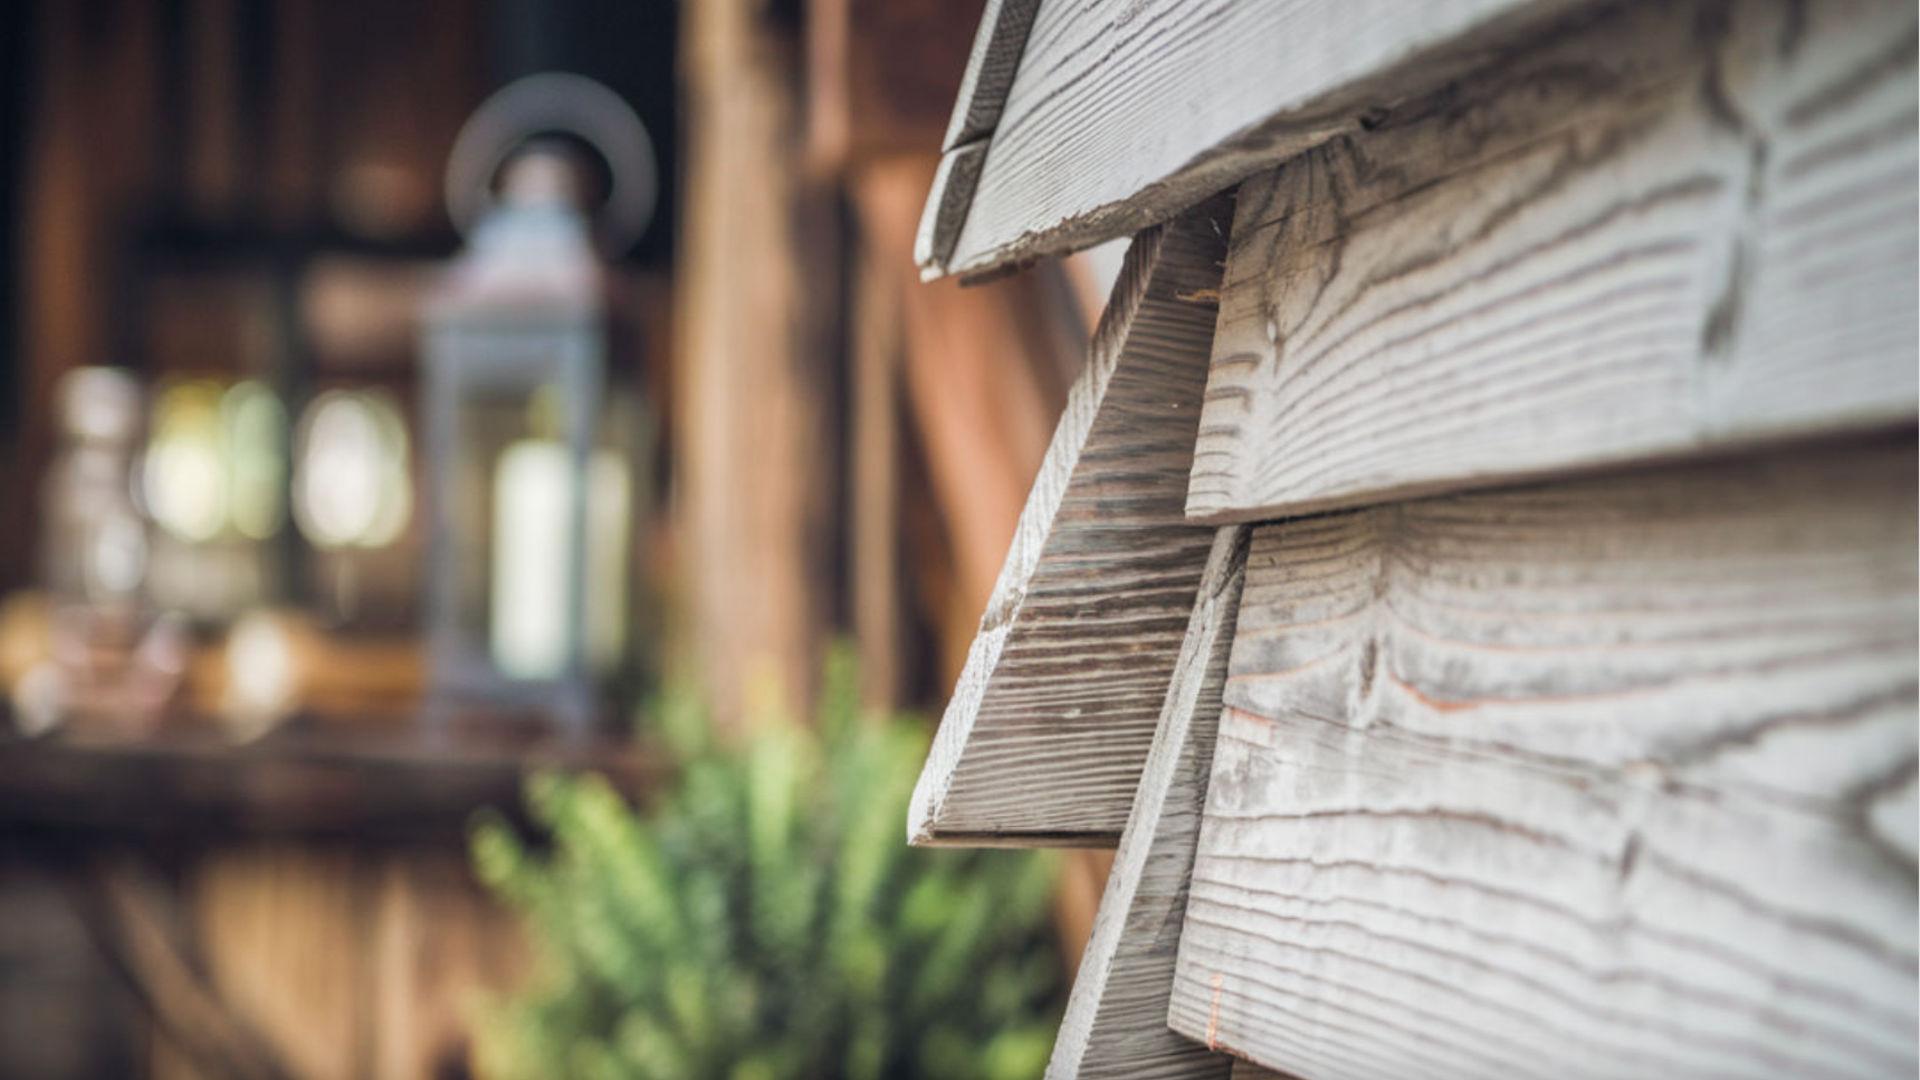
Shiplap has a long history, beginning as a functional method in shipbuilding and for homes near water.
Its overlapping boards were designed to keep water and moisture out, making it ideal for wet environments.
Originally, shiplap was hidden behind paint or wallpaper and used more for practicality than style.
Over time, modern construction techniques replaced its use, but it has since experienced a revival in interior design.
Popularized by farmhouse decor and home renovation shows, shiplap is now a sought-after design feature, especially vertical shiplap.
It adds a modern twist to the traditional farmhouse look and is used in various styles, including coastal and industrial.
The Durability of Shiplap Walls
Shiplap walls, including farmhouse vertical shiplap, are known for their strength and long life. They can withstand daily wear and tear better than many other wall coverings.
The design of the shiplap helps it last. The boards overlap, creating a strong barrier and making shiplap walls tough and stable.
Farmhouse vertical shiplap has some extra benefits. It sheds water more easily than horizontal boards. This can help prevent damage in damp areas.
Wood is the usual material for shiplap. If properly cared for, good-quality wood can last for decades.
Many homeowners choose pine for their farmhouse vertical shiplap. It’s affordable and durable. Cedar is another good choice, especially in humid places.
Shiplap can resist changes in temperature and humidity, making it less likely to warp or crack over time.
Painted shiplap is even more durable. A good coat of paint adds an extra layer of protection against moisture and wear.
If damage does happen, farmhouse vertical shiplap is often easy to fix. You can usually replace single boards without redoing the whole wall.
Proper installation is key to durability. When put up correctly, shiplap creates a sturdy, long-lasting surface.
Regular care can make farmhouse vertical shiplap last even longer. A quick dusting and occasional touch-ups are usually all it needs.
With its strength and easy care, shiplap can be a smart choice for many homes. It offers style and durability, making it a favorite for many homeowners.
Using Shiplap Boards vs. DIY Shiplap
Homeowners often face a choice when adding farmhouse vertical shiplap: buy ready-made boards or create a DIY version. Both options have their pros and cons.
1. Ready-Made Farmhouse Vertical Shiplap
Ready-made shiplap boards are a popular choice. They come pre-cut and ready to install. This can save time and effort during installation.
Store-bought boards often have a more uniform look. The gaps between boards are consistent, creating a neat appearance.
2. DIY Farmhouse Vertical Shiplap
DIY shiplap, on the other hand, can be more budget-friendly. It often involves using plywood cut into strips to mimic shiplap.
DIY farmhouse vertical shiplap gives you more control over the final look. You can adjust the board width and gap size to suit your style.
3. Durability Comparison
Ready-made boards are usually more durable. They’re designed specifically for use as wall coverings.
DIY versions might not last as long, and the materials used aren’t always as sturdy as purpose-made shiplap boards.
4. Ease of Installation
Installing pre-made farmhouse vertical shiplap is often easier. They’re designed to fit together, making the job simpler for DIY enthusiasts.
Creating your shiplap takes more time and skill. You’ll need to cut boards accurately and make the overlapping effect yourself.
5. Availability and Cost Considerations
Pre-made vertical shiplap can be hard to find. If you want vertical boards, DIY might be your best option for farmhouse style.
Cost is a big factor. DIY farmhouse vertical shiplap is usually cheaper, but it requires more work. Ready-made boards cost more but save on labor.
Your choice depends on your budget, skills, and desired outcome. Both methods can create beautiful farmhouse vertical shiplap walls in your home.
Applications of Vertical Shiplap
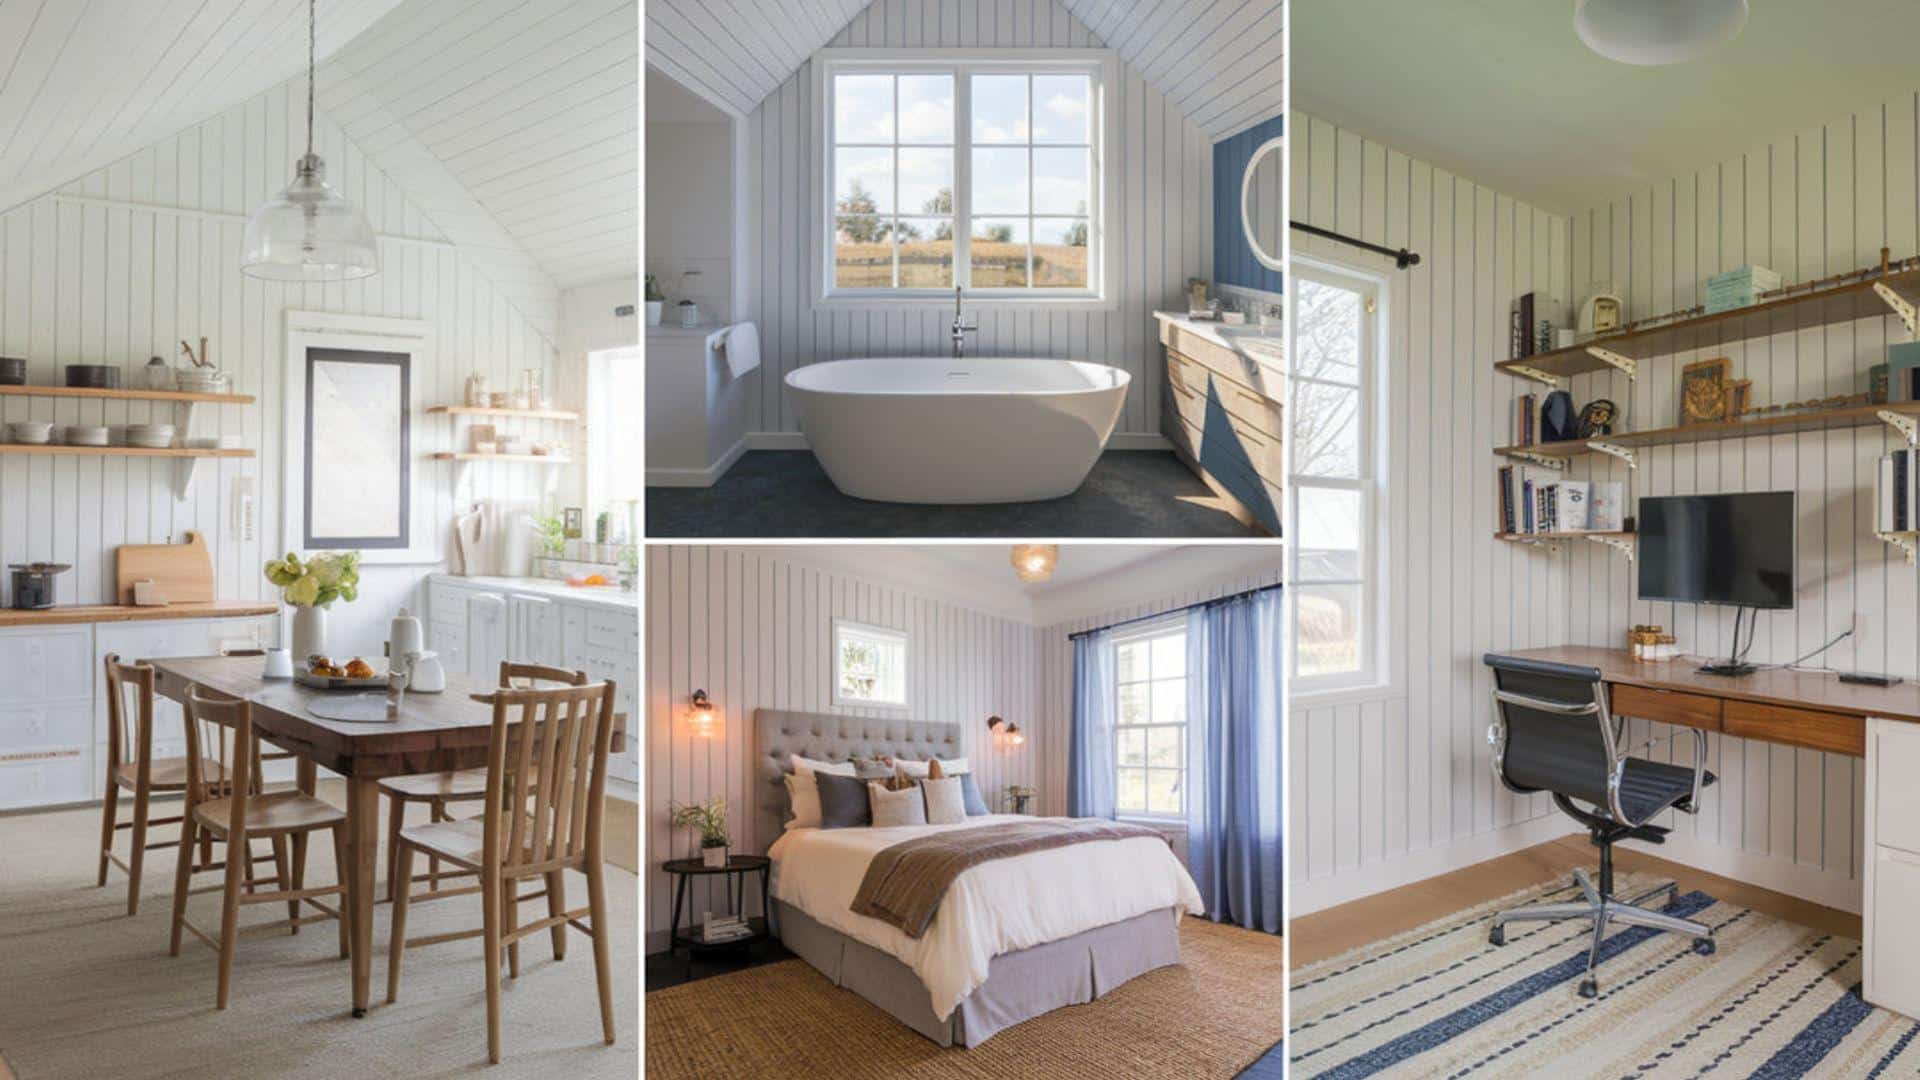
Farmhouse vertical shiplap can add charm to many areas of your home. Its versatile nature makes it suitable for various rooms and styles.
1. Vertical Shiplap in Living Spaces
Farmhouse vertical shiplap can create a striking accent wall in living rooms. It draws the eye upward, making the room feel taller and more spacious.
Bedrooms benefit from the cozy feel of vertical shiplap. It can serve as a unique headboard or cover an entire wall for a cabin-like atmosphere.
2. Farmhouse Vertical Shiplap in Wet Areas
Bathrooms are another great spot for farmhouse vertical shiplap. The boards can handle moisture well, adding texture to often plain spaces.
Vertical shiplap works as a stylish backsplash in kitchens. It’s easy to clean and adds a touch of farmhouse flair to cooking areas.
3. Vertical Shiplap in Transition Spaces
Entryways gain character with farmhouse vertical shiplap. It creates a welcoming first impression for guests entering your home.
Home offices can use vertical shiplap to create a focused, professional atmosphere. It works well as a backdrop for video calls.
4. Unique Applications of Farmhouse Vertical Shiplap
Vertical shiplap can even benefit ceilings. Used this way, it can make a room feel longer and more interesting.
Farmhouse vertical shiplap isn’t limited to interiors. It can also be used on exterior walls, adding texture and interest to your home’s facade.
What You’ll Need: Supplies and Equipment
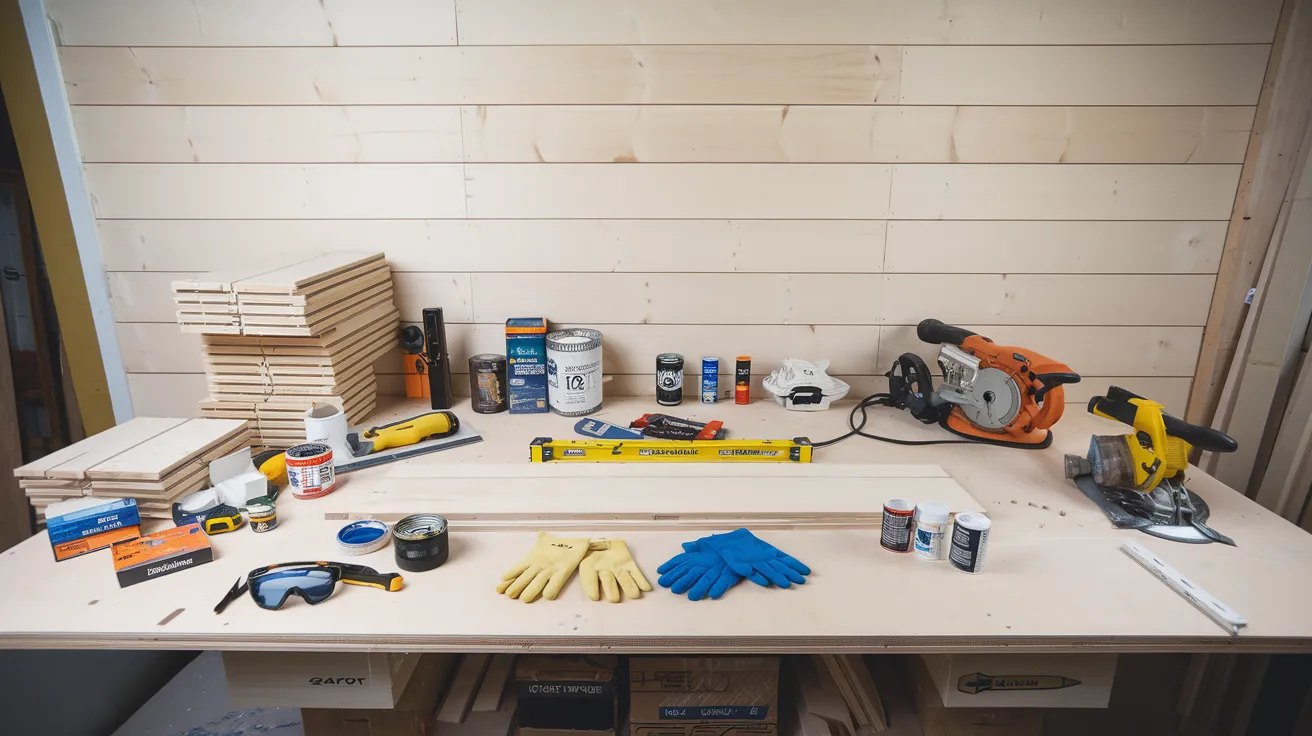
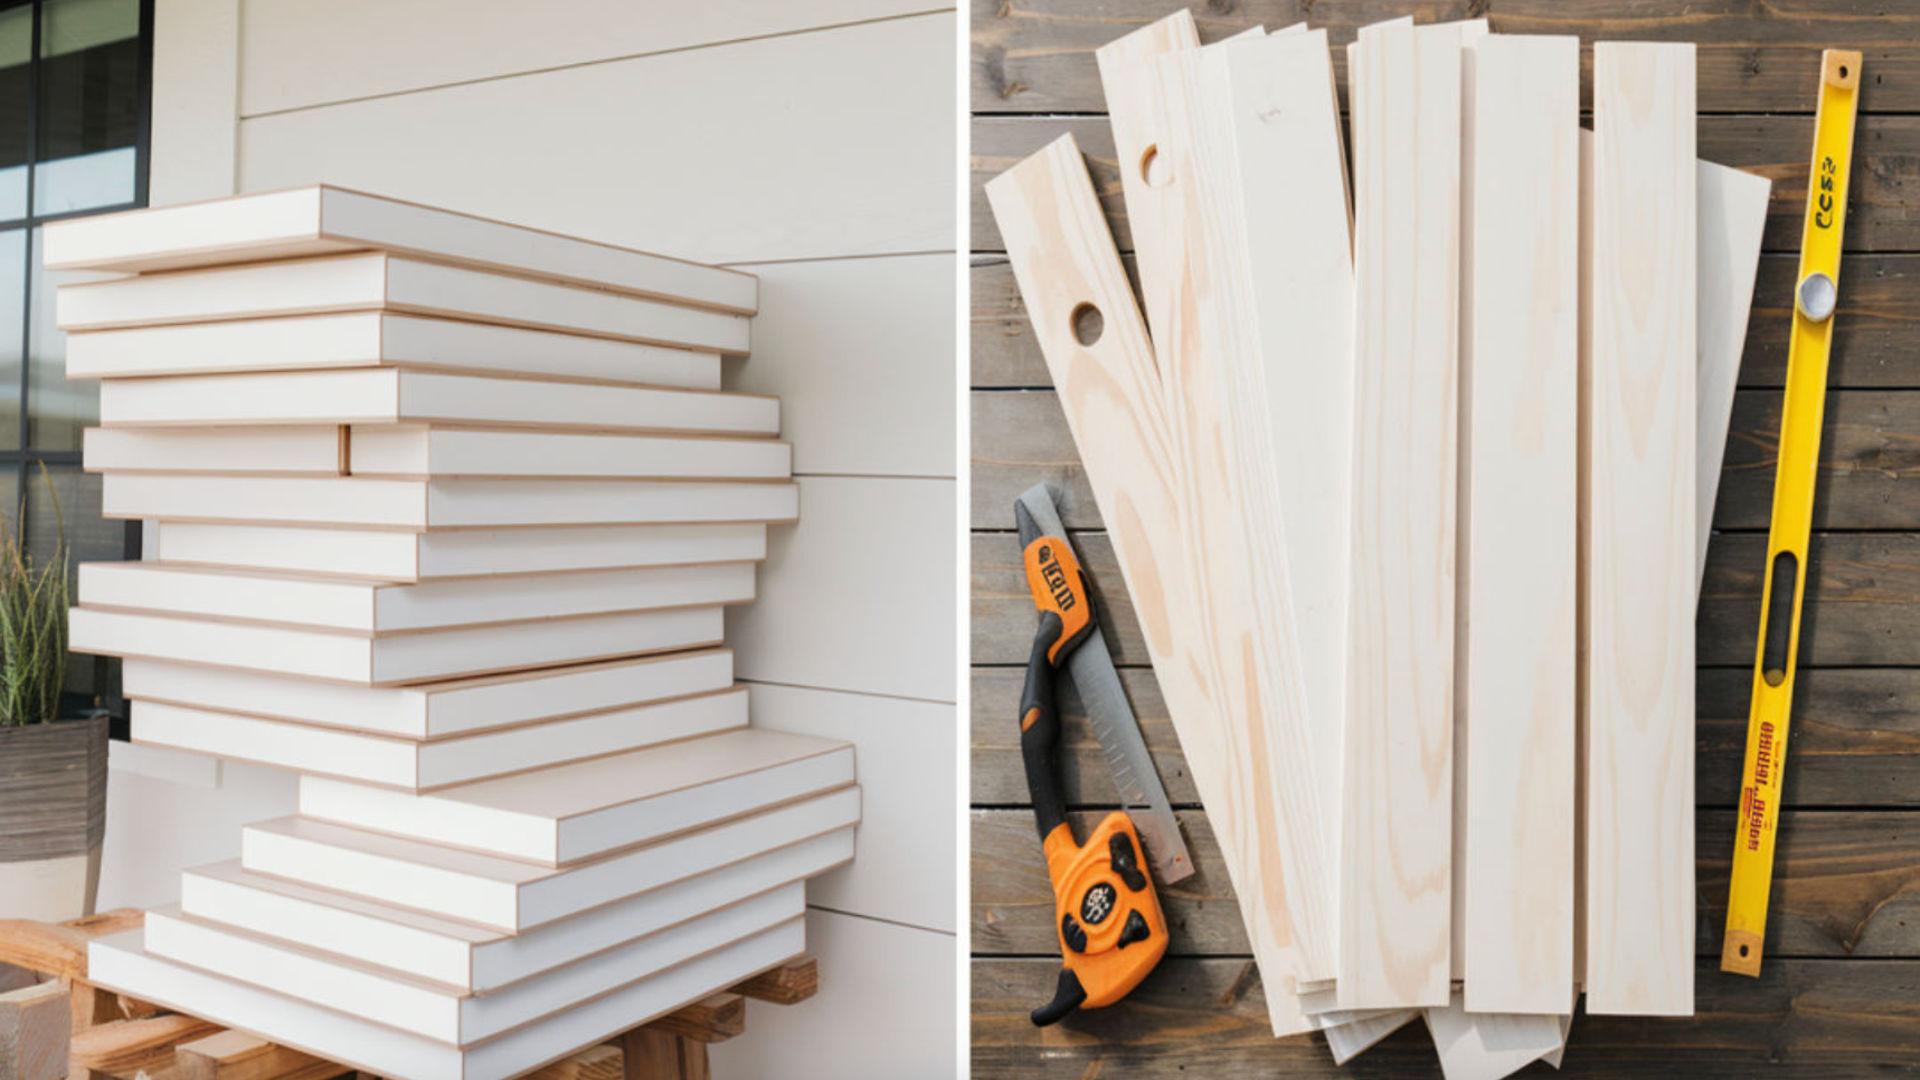
Materials
- Shiplap Boards: Made of wood (pine, MDF, or plywood). They cost $1 to $7 per square foot. Choose based on budget and design preferences.
- Furring Strips: Thin wood strips (1″x2″ or 1″x3″). Provide a flat surface for installation. Useful for uneven walls or extra spacing
- Nails/Screws: For securing furring strips and shiplap boards
- Wood Filler: Fills nail holes for a smooth finish
- Caulk: Seals gaps for a flawless look
- Paint or Stain: Choose your desired color or finish. A Paint sprayer is recommended for even coverage.
Tools
- Stud Finder: Locates wall studs for secure attachment
- Measuring Tape: Ensures precise measurements and fit
- Level: Keeps shiplap boards aligned straight
- Jigsaw or Circular Saw: Cuts boards to size and around obstacles
- Hammer or Nail Gun: Attaches shiplap boards to the wall
- Miter Saw: Makes precise angled cuts for corners and ceiling
- Paintbrush or Paint Sprayer: Applies paint or stain to the shiplap
- Caulking Gun: Applies caulk for a clean finish
- Safety Gear: Includes safety glasses, gloves, and ear protection
DIY Vertical Shiplap Installation Guide
STEP 1: CLEAR WALLS & USE STUD FINDER TO MARK THE STUDS
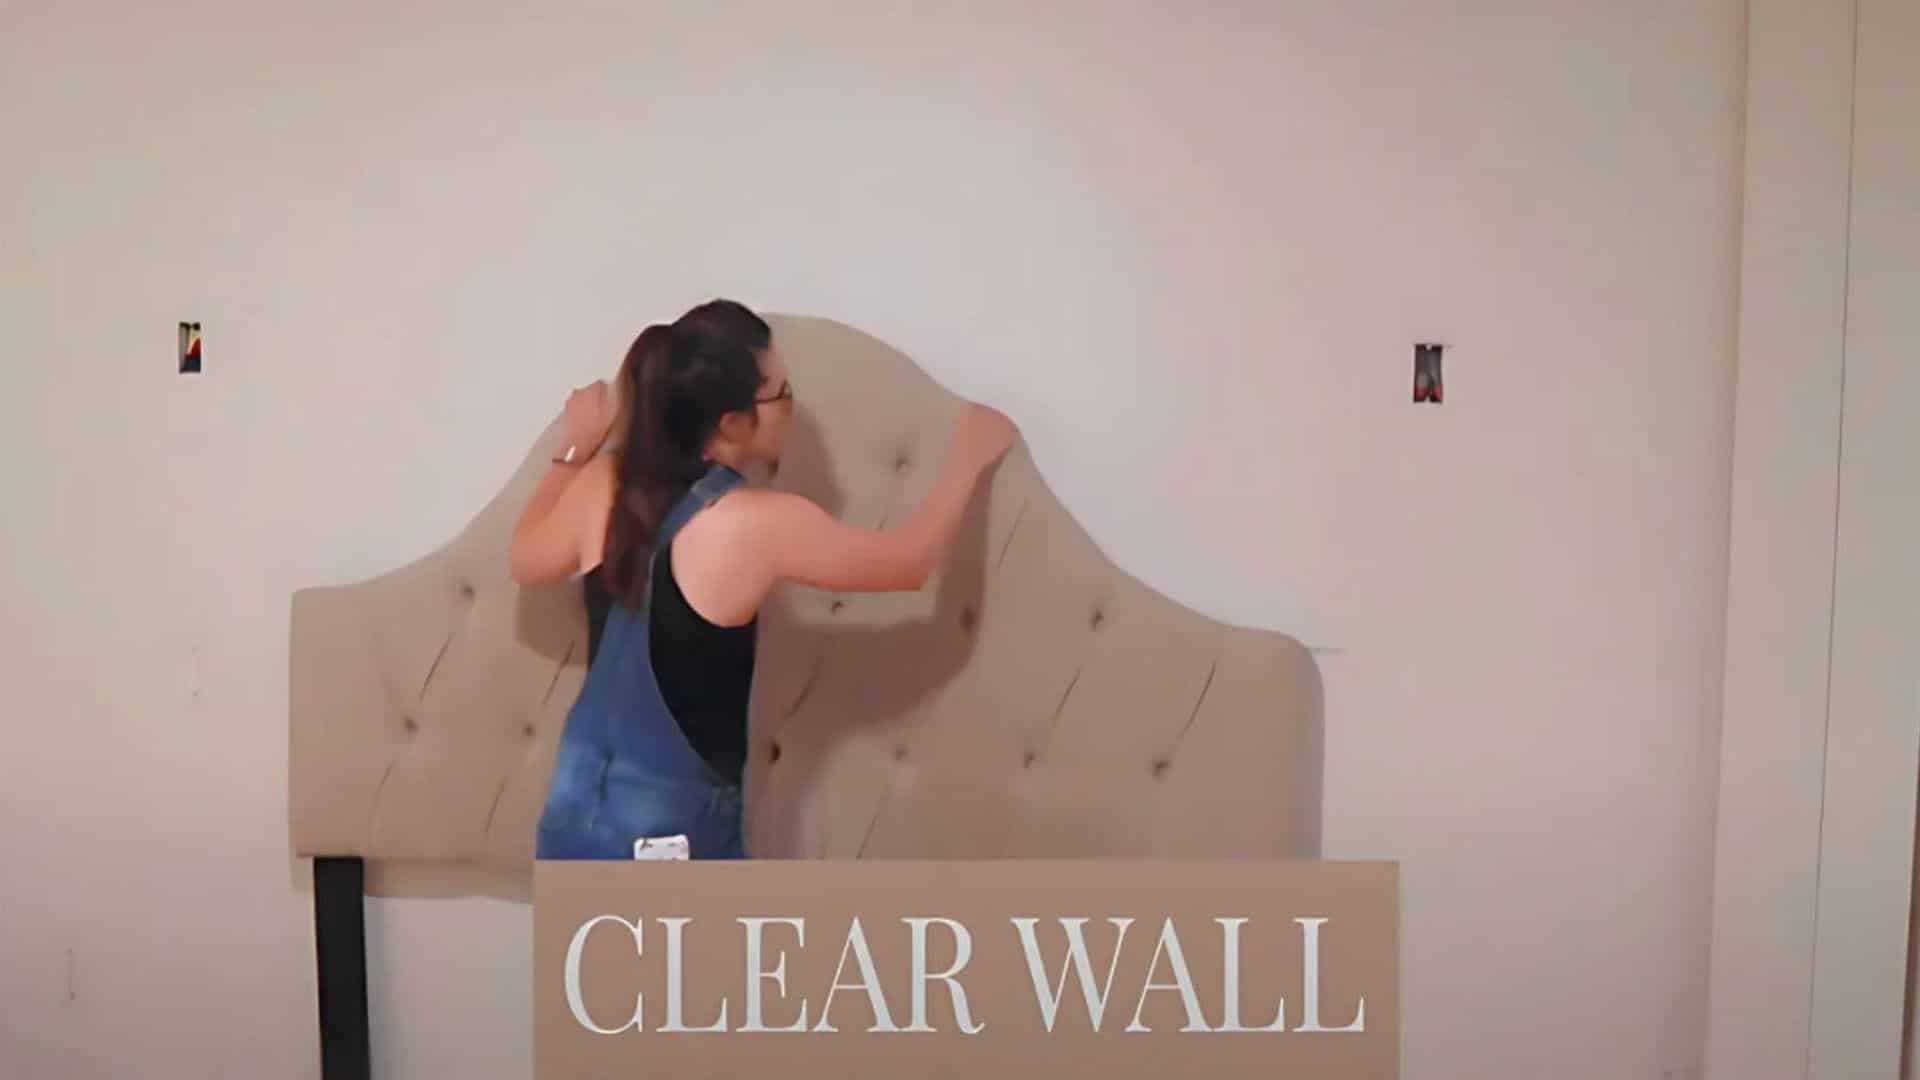
Remove all items from the wall. Clean the surface with mild soap and water.
Use a stud finder to locate and mark wall studs.
STEP 2: INSTALL FURRING STRIPS ON STUDS HORIZONTALLY
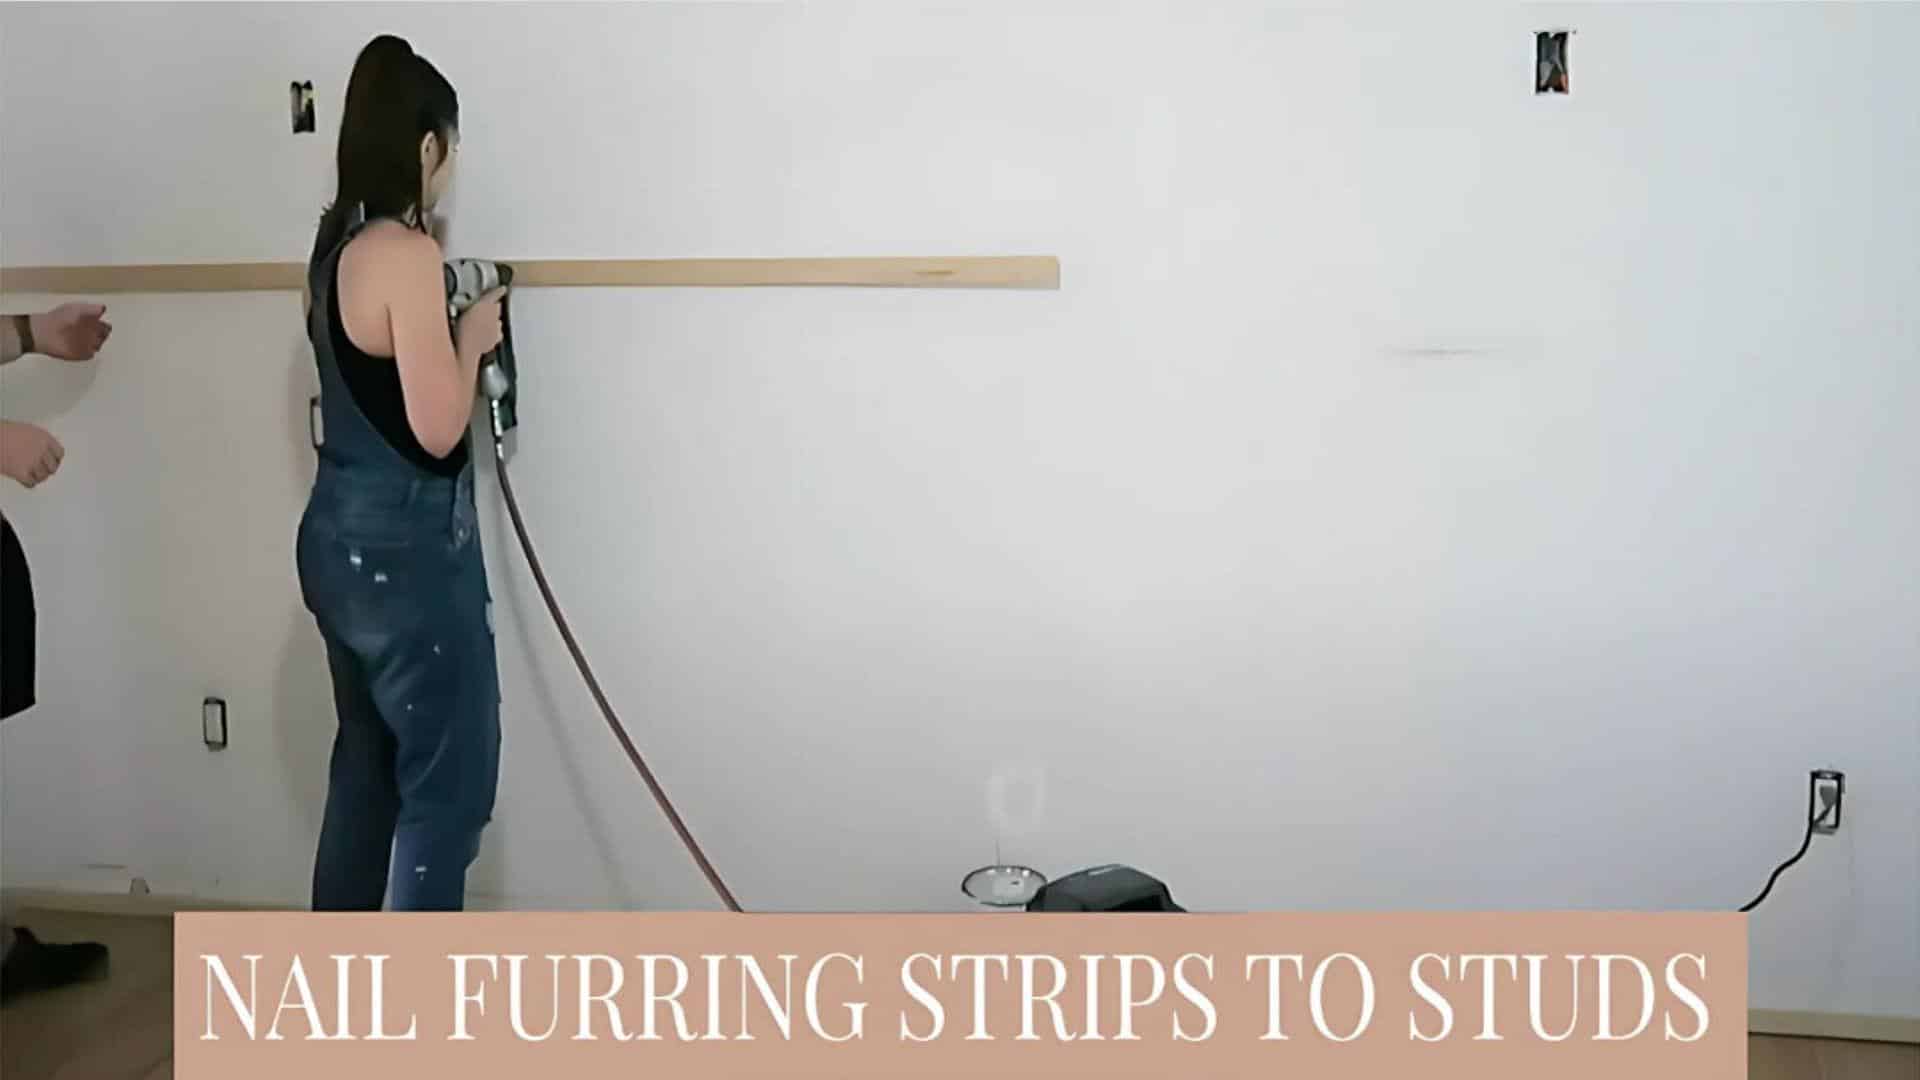
Attach furring strips to the studs every four feet. This step is crucial for farmhouse vertical shiplap installation.
STEP 3: INSTALL SHIPLAP
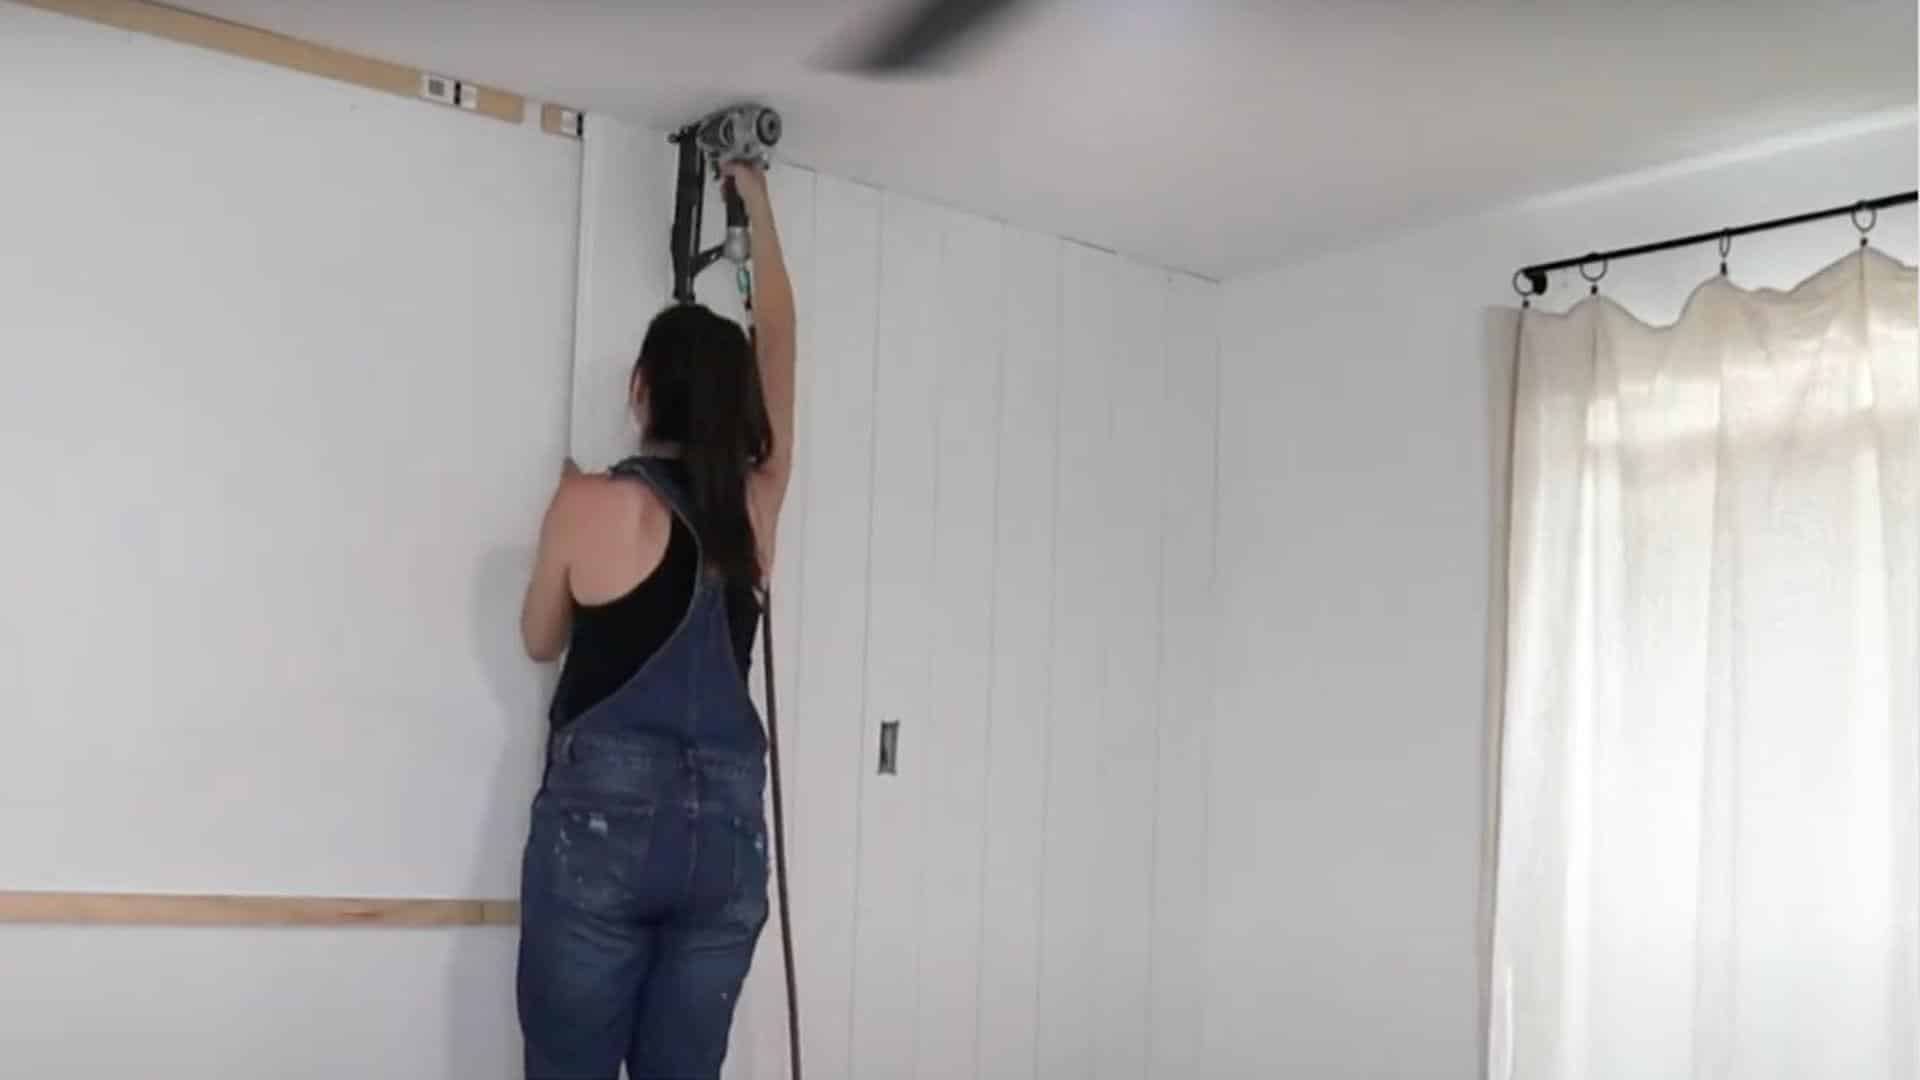
Begin installing farmhouse vertical shiplap boards. If your ceiling height matches the board length, installation is simpler.
STEP 4: CUT BOARDS WHEN NECESSARY
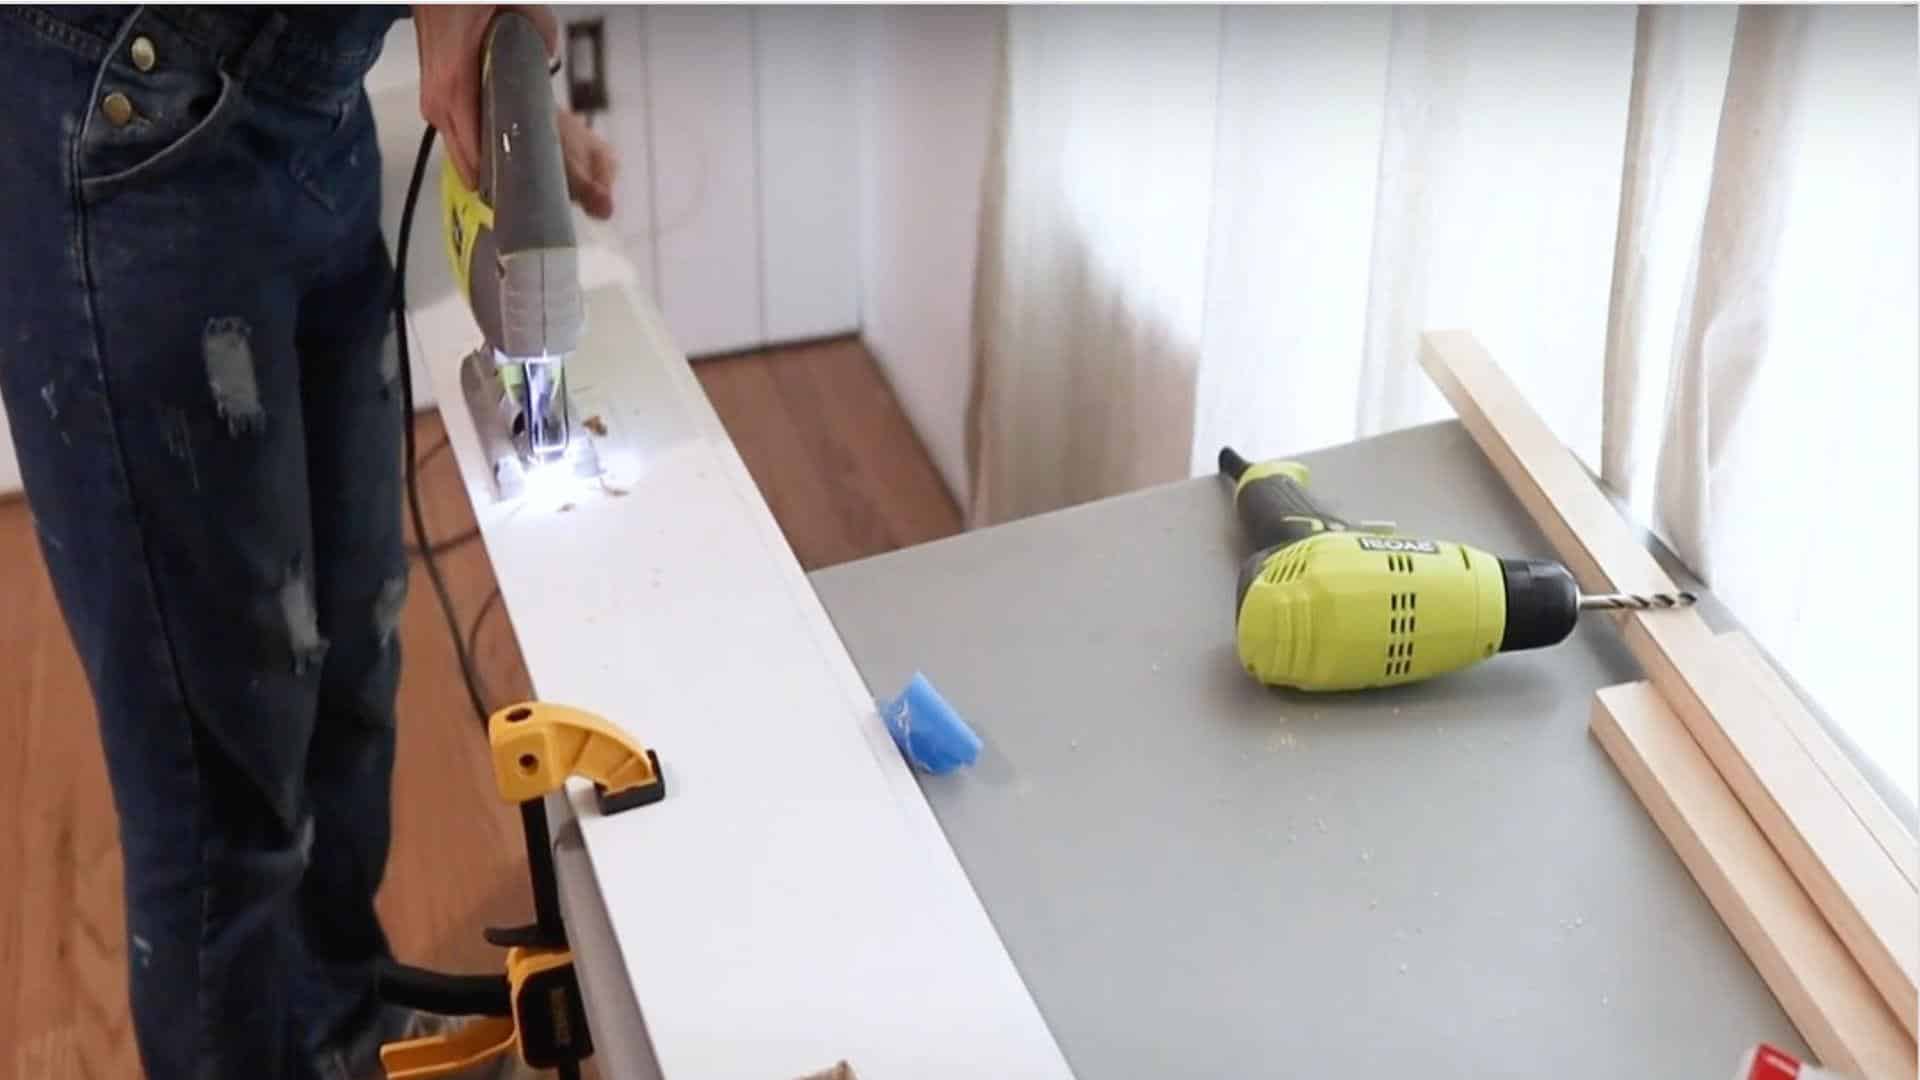
Use a jigsaw to cut around outlets and switches. If needed, measure and cut the final row to fit.
STEP 5: INSTALL BASEBOARDS, WOOD FILLER, CAULK, AND PAINT TO FINISH

Add baseboards for a polished look. Fill nail holes with wood filler—Caulk along the top and corners of the shiplap. Paint the farmhouse vertical shiplap to your desired color.
A paint sprayer can help reach gaps for even coverage.
STEP 6: TAKE BEFORE AND AFTER PHOTOS
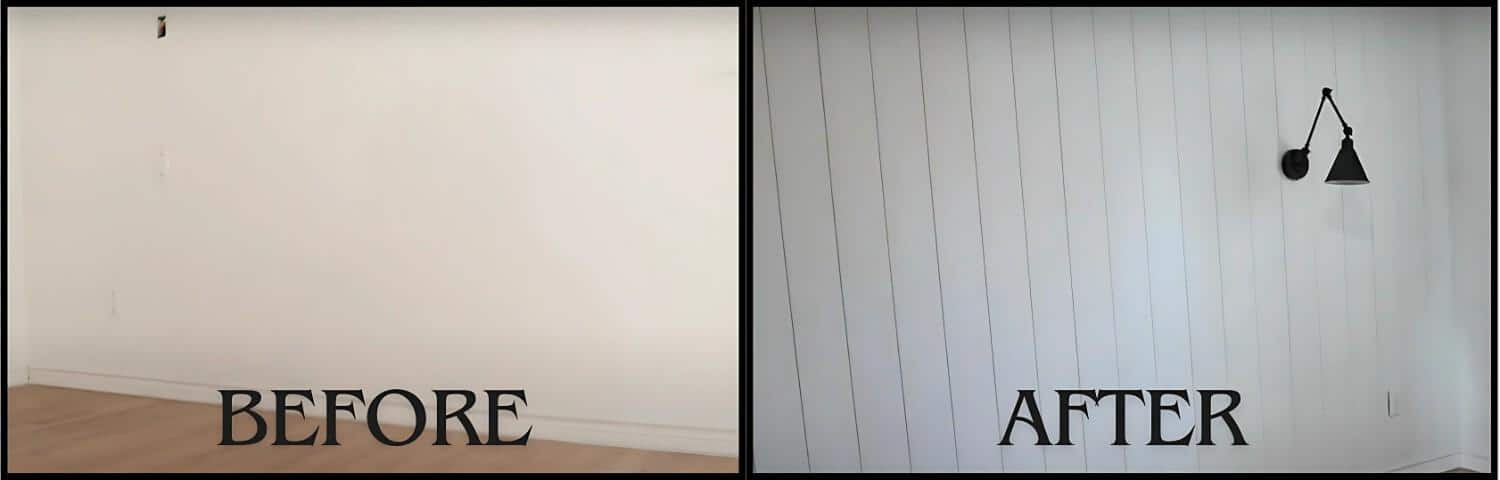
Before starting the installation, capture a clear “before” wall photo. After completing the project, take an “after” photo to showcase your farmhouse vertical shiplap’s transformation and final look.
This will help you appreciate the difference and can serve as inspiration for future projects or sharing the results.
For more details, check out the detailed video tutorial by Farmhouse Living.
Maintenance and Longevity
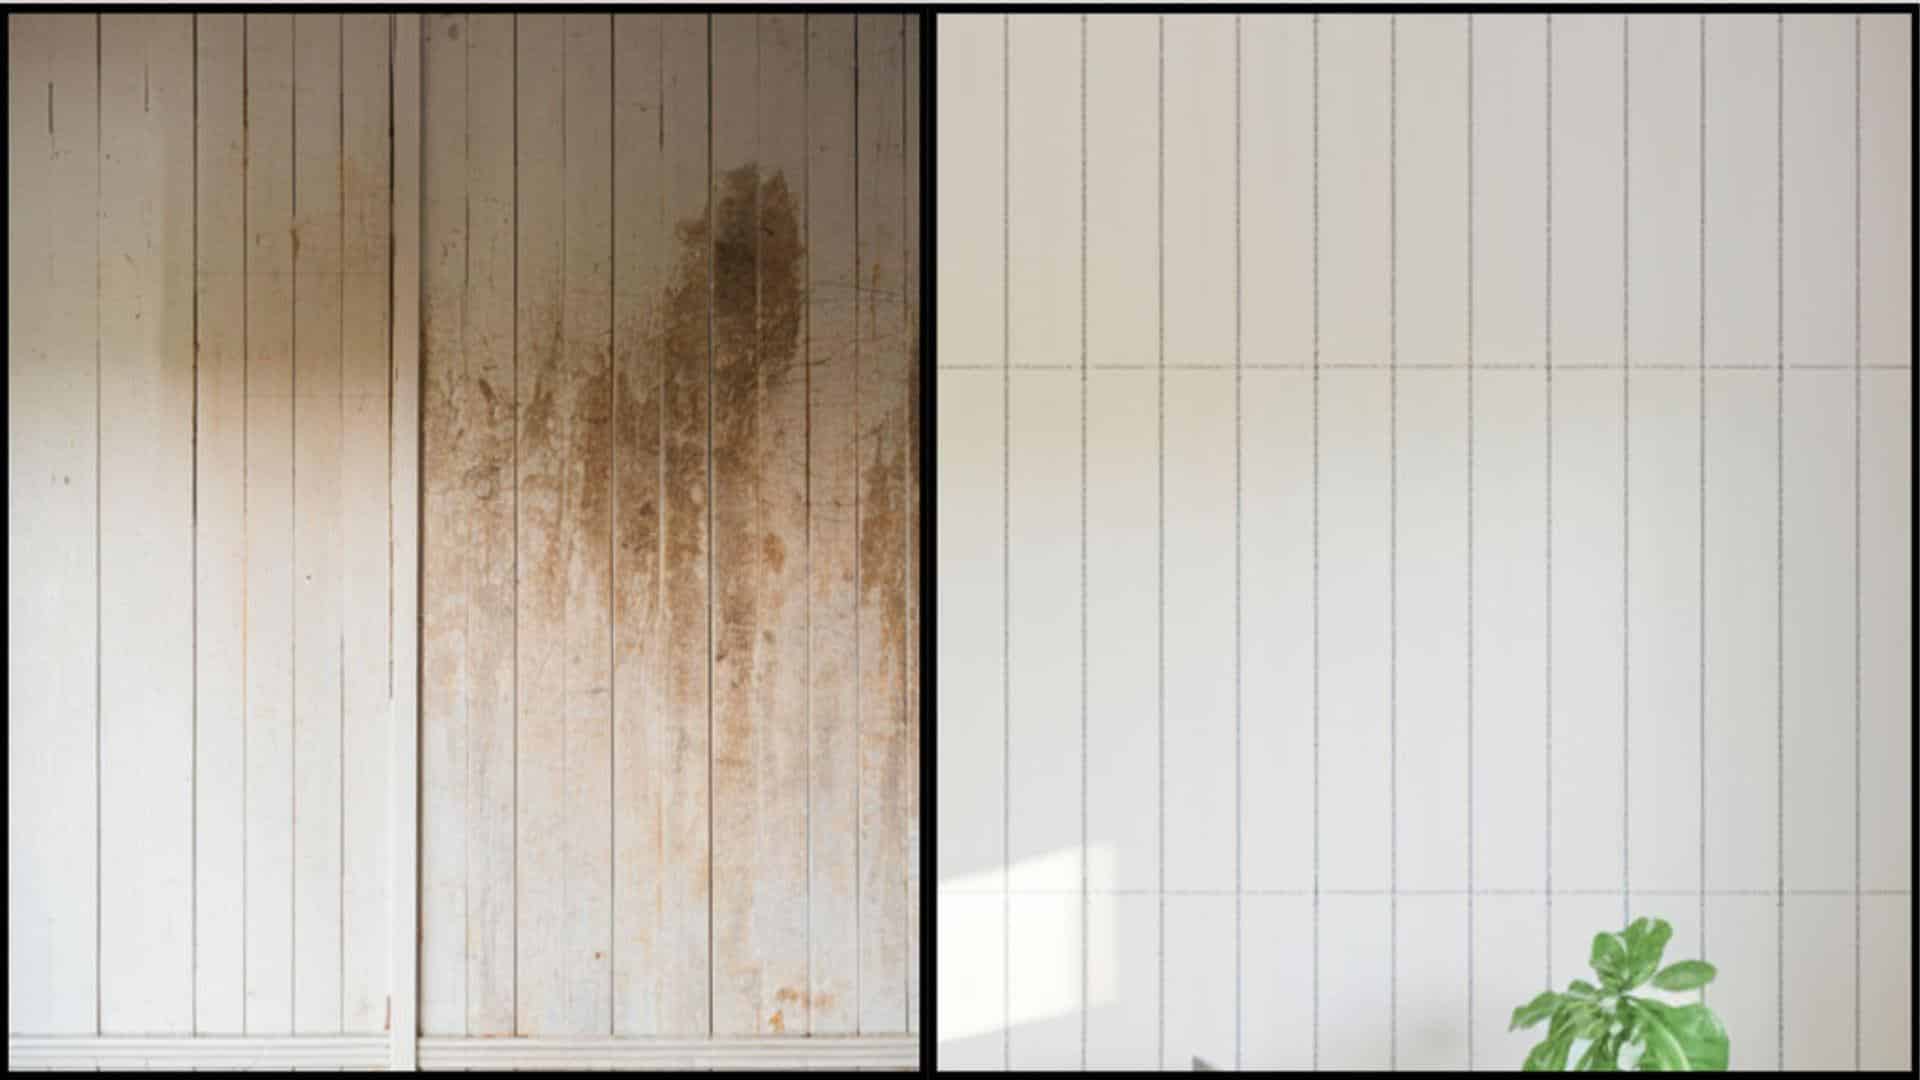
Farmhouse vertical shiplap walls are known for their durability and ease of upkeep. They are kept clean by regular dusting with a soft cloth or vacuum attachment.
For deeper cleaning, use a damp cloth with mild soap. Avoid harsh chemicals that might damage the wood or paint.
Painted farmhouse vertical shiplap may need touch-ups every few years.
This depends on the room’s wear and tear. Inspect your walls annually for any signs of damage or wear.
Ensure proper ventilation in high-moisture areas like bathrooms. This helps prevent warping or mold growth on your farmhouse vertical shiplap.
If you notice any loose boards, re-secure them promptly. This prevents further damage and maintains the wall’s integrity.
With proper care, farmhouse vertical shiplap can last for decades. It’s a long-lasting design choice that adds value to your home.
Remember, wood expands and contracts with temperature changes. Small gaps may appear seasonally in your farmhouse vertical shiplap. This is normal and not a cause for concern.
Cost Considerations for Farmhouse Vertical Shiplap
Installing farmhouse vertical shiplap can vary in cost depending on several factors. Here’s a breakdown of potential expenses:
| Cost Category | Details | Cost Estimate |
|---|---|---|
| Materials Cost | – Shiplap boards range from $1 to $7 per square foot. – Premium woods like cedar cost more than pine. – DIY options using plywood can be cheaper. |
– $1 to $7 per sq ft (shiplap boards) – Under $1 per sq ft (DIY plywood) |
| Labor Expenses | – Professional installation costs between $4 and $7 per square foot. – DIY installation saves on labor but requires time and tool investments. |
– $4 to $7 per sq ft (professional) – Savings on labor with DIY |
| Additional Supplies | – Nails, wood filler, caulk, and paint. – These can add $50 to $200 to your project. |
$50 to $200 per project |
| Long-term Value | – Can increase home value. – Reduces future maintenance expenses. – Consider budget, time, and skills when choosing between DIY and professional installation. |
Potential increase in home value and reduced maintenance costs |
Final Words
Vertical shiplap offers a fresh take on a classic design. It makes rooms feel taller and adds visual interest.
The boards are easy to clean and maintain and, with proper care, last for years. Farmhouse vertical shiplap fits many spaces, from kitchens to bedrooms.
It blends well with various styles, from cozy farmhouse to modern. Installing vertical shiplap can be a rewarding DIY project.
With patience and the right tools, you can transform your space. Are you ready to start your farmhouse vertical shiplap project? We’d love to see your results.
Share photos of your finished walls on social media. Sign up for our newsletter for more home improvement ideas, including farmhouse vertical shiplap tips.
Frequently Asked Questions (FAQs)
Is Vertical Shiplap Still in Style?
Yes, vertical shiplap remains popular for its clean, modern farmhouse appeal. It offers a versatile design that works in both contemporary and traditional interiors.
Does Vertical Shiplap Make a Room Look Bigger?
Yes, vertical shiplap can make a room look taller and more spacious by drawing the eye upward, enhancing the perception of height.
What Are the Best Paint Colors for Vertical Shiplap Walls?
Neutral tones like white, beige, gray, and soft pastels are great for vertical shiplap. Dark colors like navy or charcoal create a bold, modern statement.