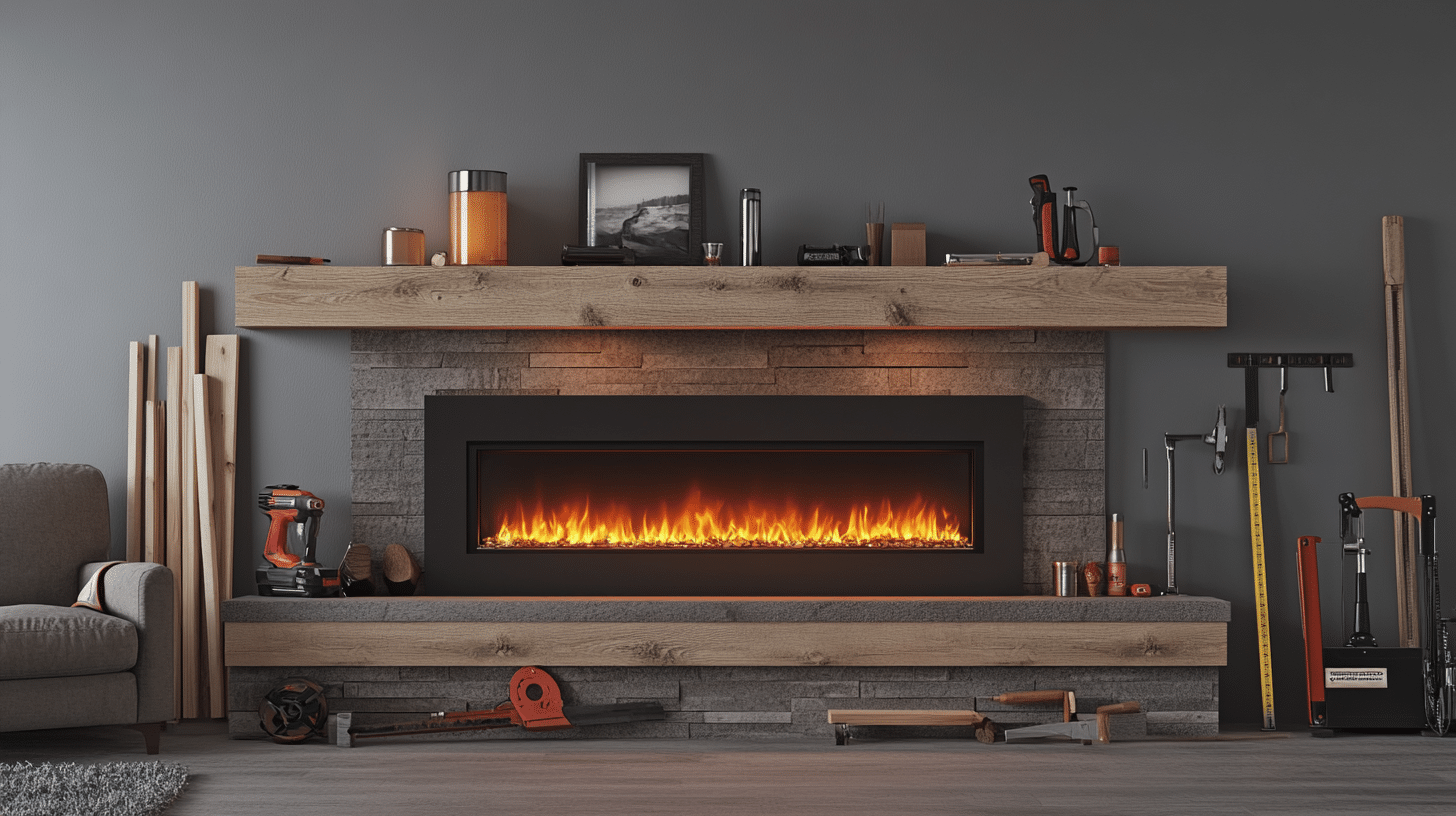
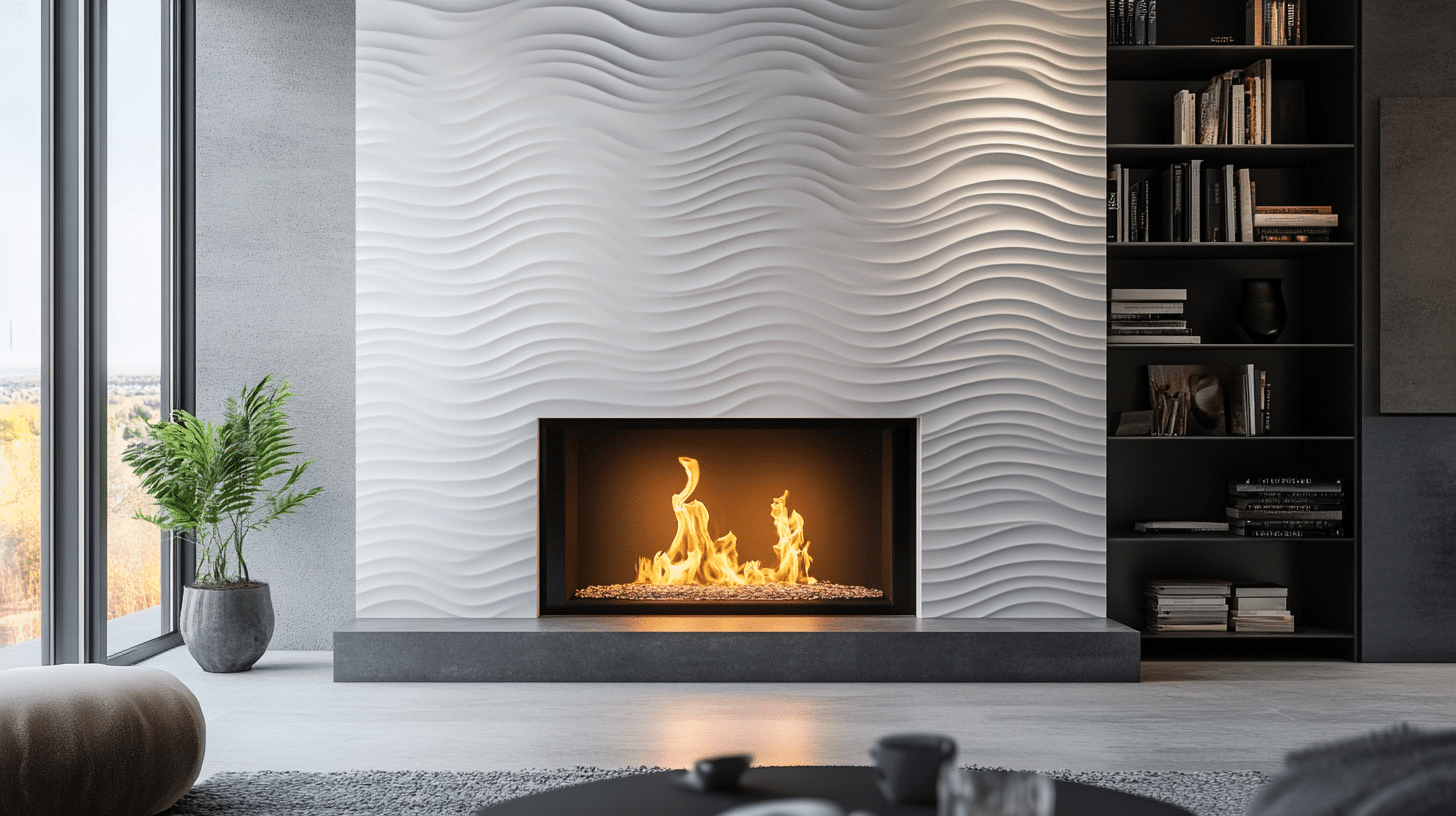
DIY Electric Fireplace: Comprehensive Guide for All Levels
Are you looking to add the warmth and ambiance of a fireplace to your home without the hassle of a traditional wood-burning or gas installation?
A DIY electric fireplace might be the perfect solution! Electric fireplaces are more affordable and easier to install than their conventional counterparts and offer a range of design options to suit any home decor style.
This comprehensive guide will walk you through planning, designing, and building your custom electric fireplace surround.
From choosing the right insert and materials to ensuring proper safety measures and adding personal touches, we’ll cover all the essential steps to help you create a stunning focal point in your living space.
Get ready to transform your room with the cozy glow of your DIY electric fireplace!
Understanding Electric Fireplaces
Electric fireplaces have recently gained popularity as a convenient and affordable alternative to traditional gas or wood-burning fireplaces.
They offer the ambiance and warmth of a fireplace without the hassle of installation, venting, or regular maintenance.
This section will explore the different types of electric fireplaces available and weigh their pros and cons.
Types of Electric Fireplaces
- Wall-mounted: These units are designed to be hung directly on the wall, similar to a flat-screen TV. They are sleek, space-saving, and can be installed at any height for optimal viewing.
- Inserts: Fireplace inserts are designed to fit into an existing fireplace opening or a custom-built surround. They provide a realistic flame effect and can be used with or without heat.
- Freestanding units: These portable fireplaces come in various sizes and styles, from traditional mantel designs to modern, minimalist looks. They can be moved from room to room and require no installation.
Pros and Cons
1. Benefits (Pros)
- Safety: Electric fireplaces do not use real flames, reducing the risk of fire or burns. They also don’t emit harmful gases or smoke, making them safe for indoor use.
- Ease of installation: Most electric fireplaces require minimal assembly and can be plugged into a standard electrical outlet, making them an easy DIY project.
- Cost: Electric fireplaces are generally less expensive than gas or wood-burning fireplaces in terms of installation and operation costs.
2. Limitations (Cons)
- Heat output: While electric fireplaces provide heat, they may not be as effective as gas or wood-burning fireplaces in warming large spaces or multiple rooms.
- Ambiance differences: Some people prefer the authentic crackle and smell of a wood-burning fireplace, which electric fireplaces cannot replicate.
Planning Your DIY Electric Fireplace Project
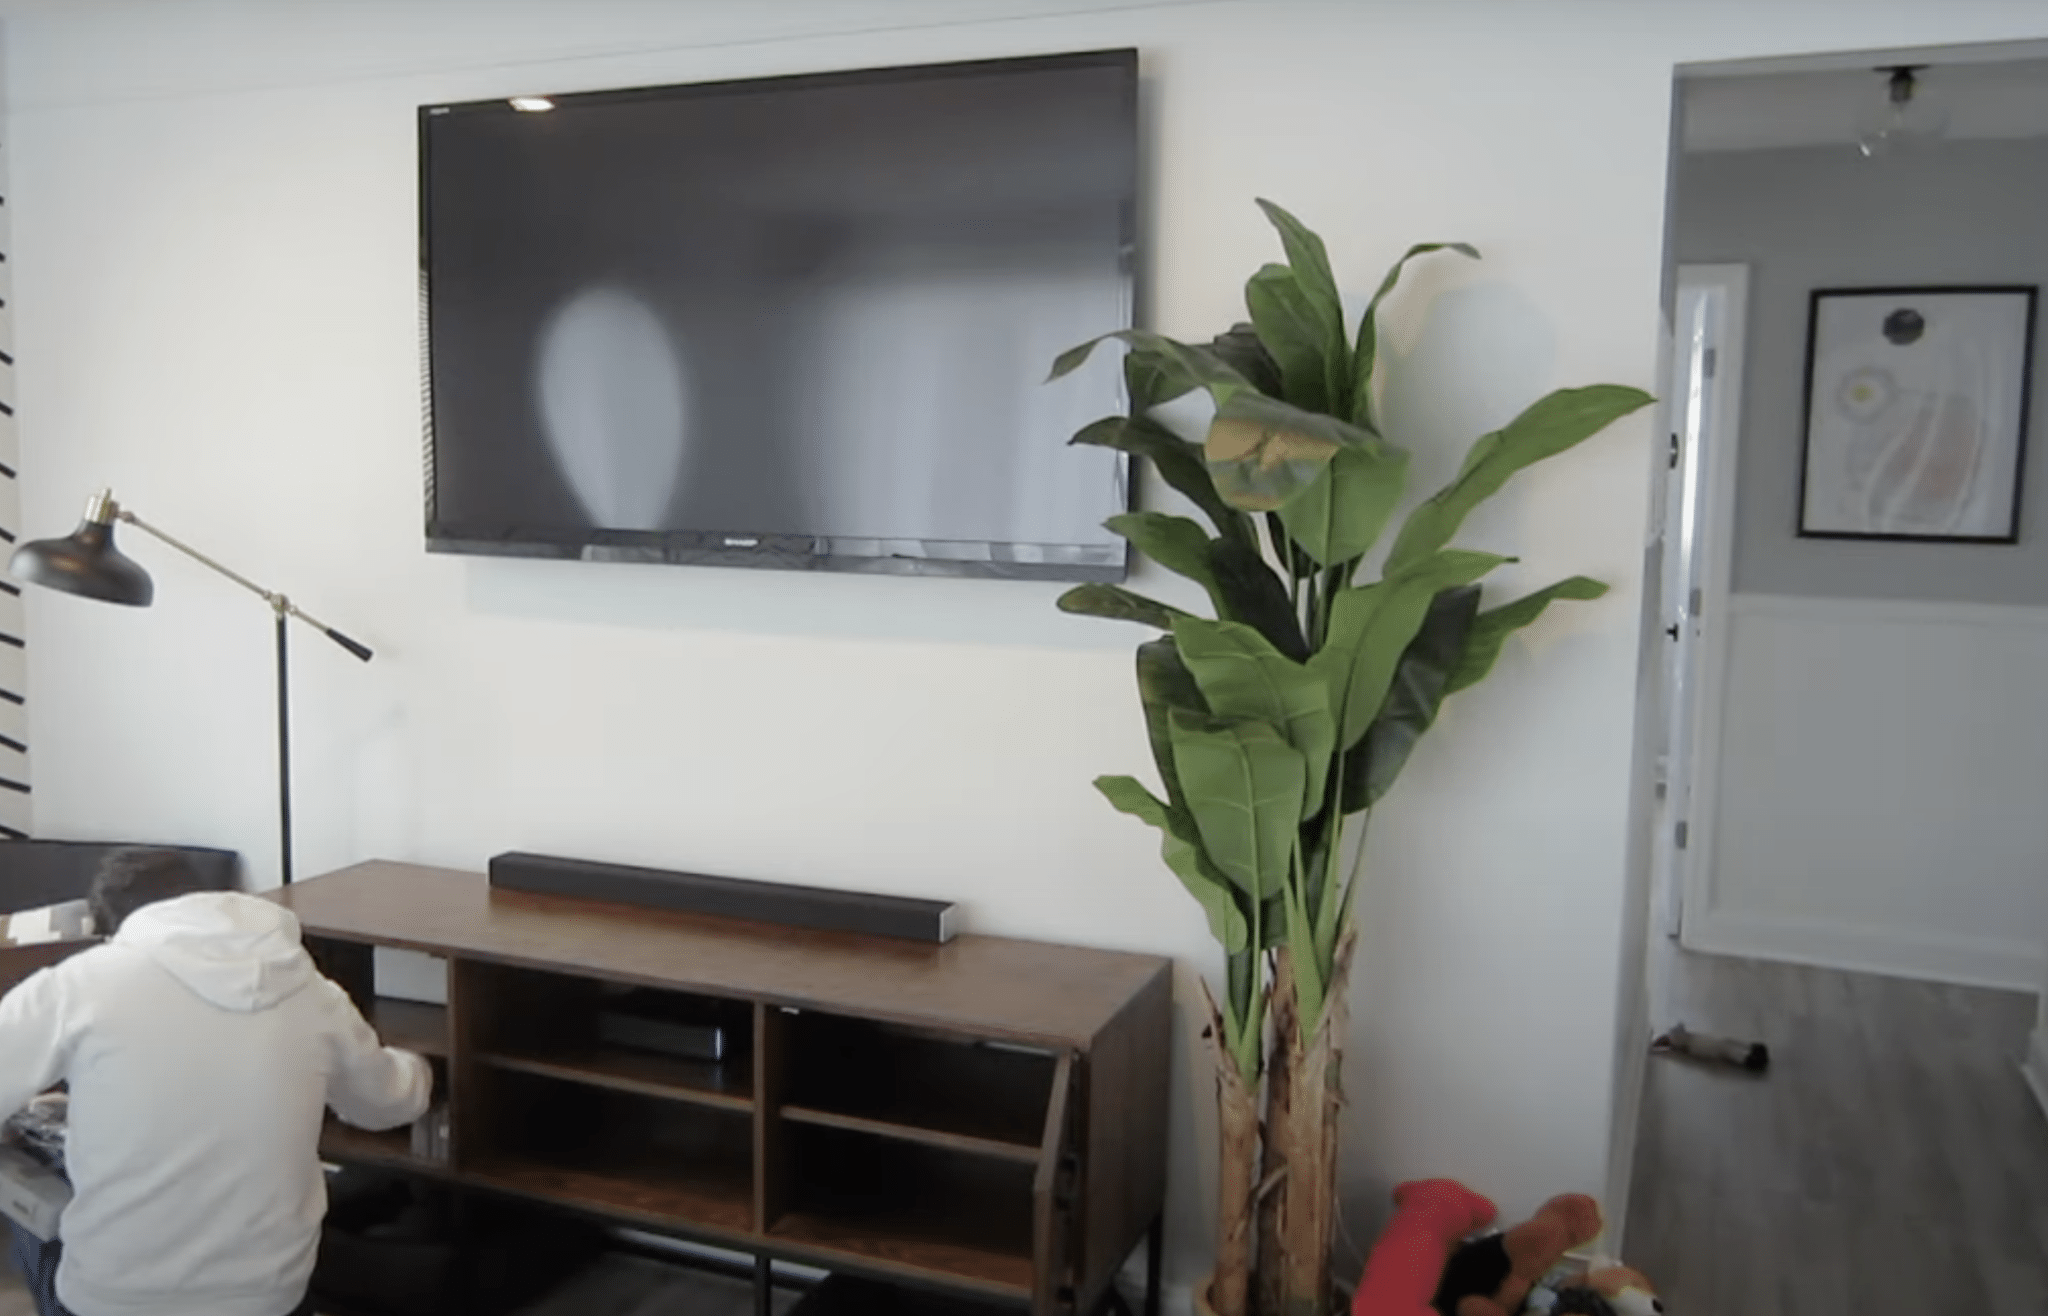
Before starting your DIY electric fireplace project, it’s essential to carefully plan and consider various factors to ensure a successful outcome.
This section will guide you through assessing your space, choosing the right fireplace insert, and designing your fireplace surround.
1. Assessing Your Space
- Room dimensions: Measure the width, height, and depth of the area where you plan to install your electric fireplace. This will help you determine the appropriate size for your fireplace insert and surround.
- Electrical outlet locations: Identify the nearest electrical outlet and ensure it can handle the power requirements of your chosen fireplace insert. If necessary, consult with an electrician to install a dedicated outlet.
2. Choosing the Right Fireplace Insert
- Size considerations: Select a fireplace insert that fits comfortably within your available space, allowing for proper clearance around the unit. Consider the insert’s depth to ensure it won’t protrude too far into the room.
- Features: Look for features that suit your preferences, such as remote control operation, adjustable heat settings, and realistic flame effects. Some inserts also offer additional features like built-in speakers or color-changing flames.
3. Designing Your Fireplace Surround
- Style options: Consider the overall style of your room and choose a fireplace surround design that complements it. Popular styles include modern, rustic, and traditional.
- Materials selection: Select materials that fit your desired aesthetic and budget. Common options include wood, stone, and tile. Consider the weight of your chosen materials and ensure your fireplace frame can support them.
When planning your DIY electric fireplace project, it’s crucial to consider safety aspects and adhere to local building codes. The next section will discuss safety considerations and building codes in more detail.
Safety Considerations and Building Codes
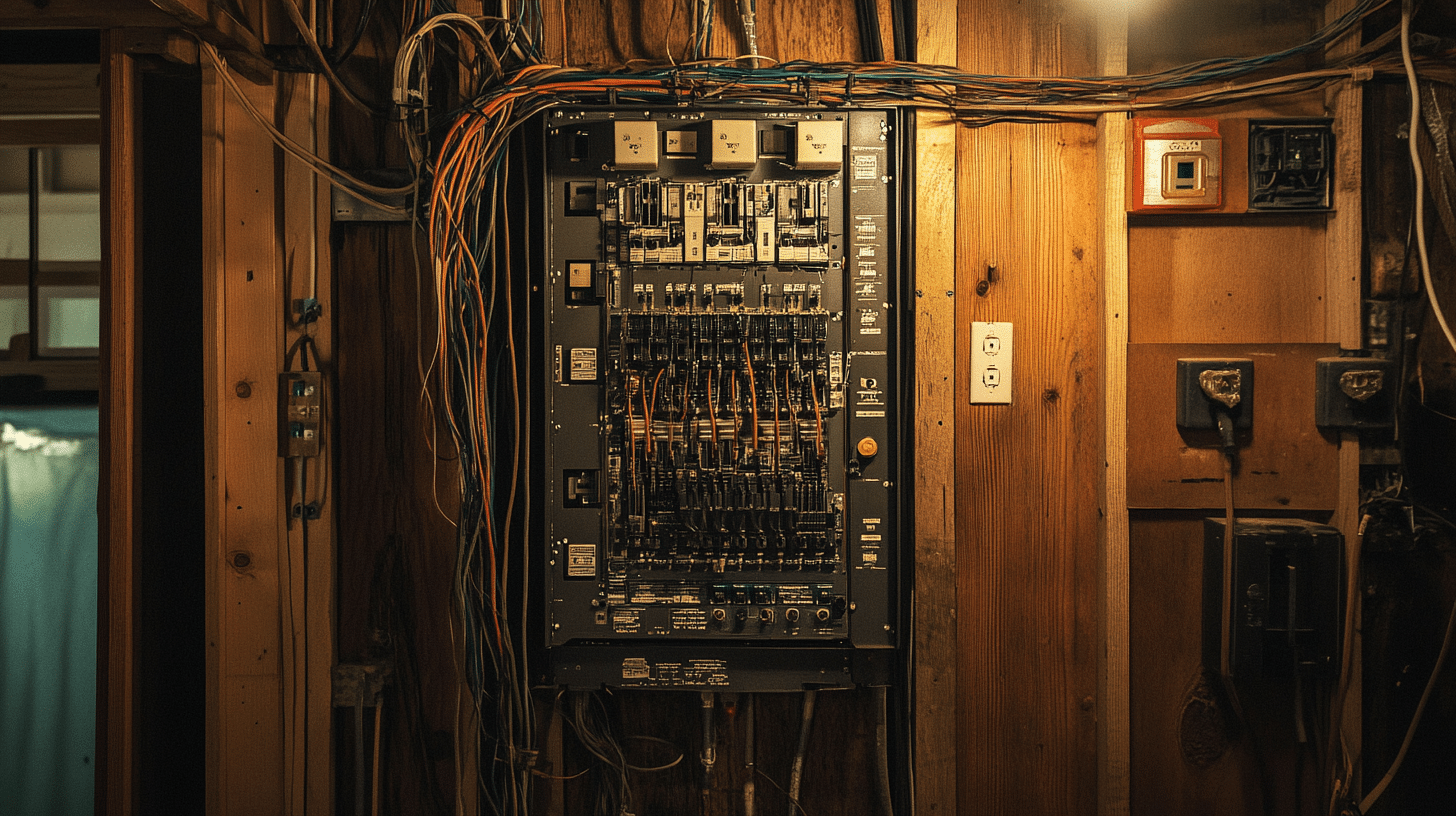
When venturing on a DIY electric fireplace project, prioritizing safety and adhering to local building codes is paramount.
This section will cover the essential safety considerations and guide understanding and complying with relevant regulations.
1. Understanding Local Regulations
- Permits required: Check with your local building department to determine if any permits are necessary for your electric fireplace installation. Some localities may require electrical or building permits.
- Compliance with building codes: Familiarize yourself with the local building codes and ensure your project complies with all relevant regulations, such as minimum clearance requirements and electrical safety standards.
2. Electrical Safety
- Hiring an electrician vs. DIY electrical work: While tackling the electrical work yourself may be tempting, hiring a licensed electrician is often safer and more reliable. They can ensure proper wiring and help you avoid potential hazards.
- Proper wiring and outlet requirements: Make sure your electrical outlet is properly grounded and can handle the power requirements of your fireplace insert. Use the appropriate gauge wire and follow the manufacturer’s instructions for wiring.
3. Fire Safety
- Heat clearance: Maintain proper clearance between your electric fireplace and combustible materials, such as walls, furniture, or curtains. Refer to the manufacturer’s guidelines for recommended minimum clearances.
- Safe materials: When constructing your fireplace surround, choose heat-resistant and non-combustible materials such as cement board, tile, or stone. Avoid using materials that can easily catch fire or melt when exposed to heat.
By prioritizing safety and adhering to building codes, you can ensure your DIY electric fireplace project is beautiful and safe for you and your family.
Tools and Materials Needed
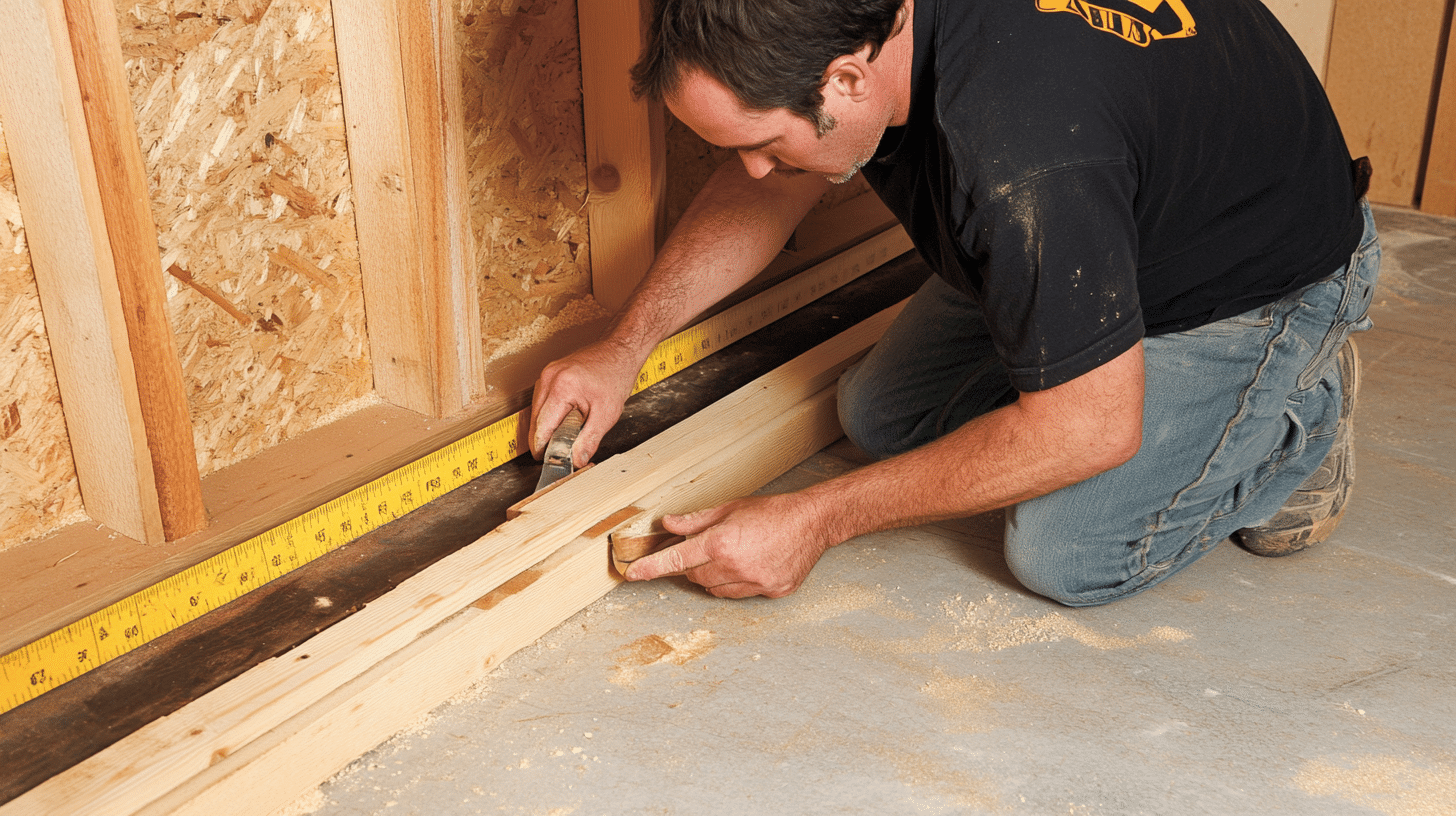
Before starting your DIY electric fireplace project, gather all the necessary tools and materials to ensure a smooth and efficient workflow. This section will outline the essential items you’ll need for the job.
Tools
- Measuring tape: Use a measuring tape to accurately measure your space and ensure precise cuts for your lumber and other materials.
- Level: A level will help ensure that your fireplace frame and surround are straight and even.
- Saw: Depending on your project’s specifics, you may need a circular saw, miter saw, or table saw to cut lumber and other materials to size.
- Drill: A power drill will be necessary for creating pilot holes, driving screws, and securing various components of your fireplace surround.
- Other essential tools: Hammer, screwdriver, stud finder, utility knife, and sanding blocks.
Materials
- Lumber: Purchase framing lumber (2x4s) for the fireplace frame and plywood or MDF for the surround. The exact dimensions and quantities will depend on your specific design.
- Drywall: If you plan to use drywall for your fireplace surround, purchase sheets of 1/2″ or 5/8″ drywall, along with drywall screws and joint tape.
- Screws and adhesive: Use wood screws to secure the lumber frame and construction adhesive to attach various components of your surround.
- Finishing materials: Depending on your desired aesthetic, you may need paint, tiles, stone veneer, shiplap, or other decorative elements to complete your fireplace surround.
Optional Add-ons
- Mantelpieces: If you want to include a mantel, purchase a pre-made mantel or the necessary materials to build one from scratch, such as additional lumber, corbels, and decorative moldings.
- Shelving units: Consider adding built-in shelving units flanking your fireplace for extra storage and display space. Make sure to factor in the materials needed for these additions.
With your tools and materials ready, you’ll be well-prepared to tackle your DIY electric fireplace project.
Step-by-Step DIY Construction Guide
Now that your tools and materials are ready, it’s time to start building your DIY electric fireplace.
This section will provide a step-by-step guide to help you through the construction process and visual aids to make the instructions easier to follow.
Step 1: Mapping Out Your Design
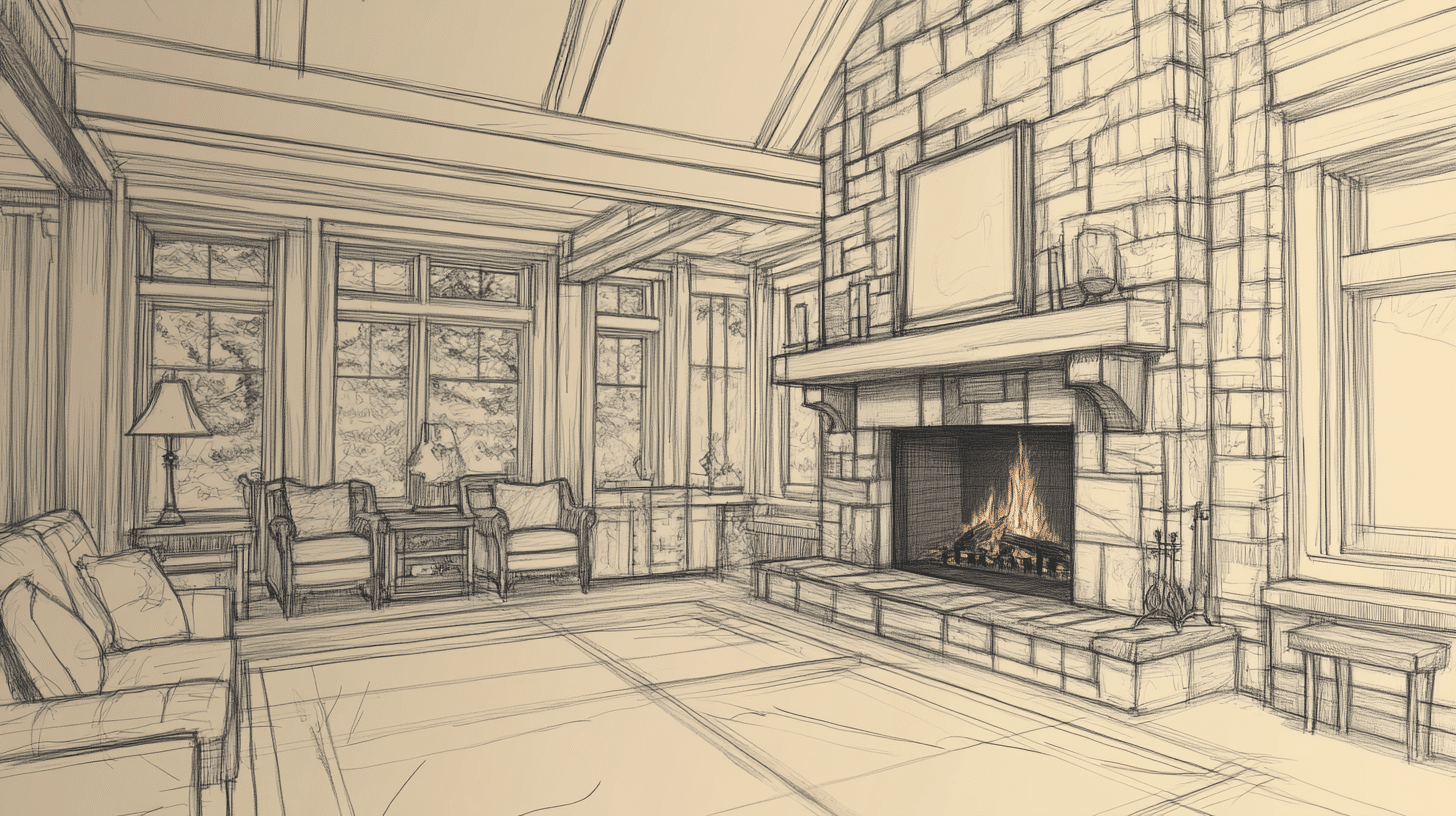
- Creating sketches or blueprints: Begin by sketching your fireplace design or creating a detailed blueprint using drafting software. This will help you visualize the final product and ensure proper measurements.
- Measuring and marking on the wall: Transfer your measurements to the wall where you plan to install the fireplace. Use a stud finder to locate and mark the wall studs, as you’ll need to anchor the frame to these for stability.
Step 2: Building the Frame
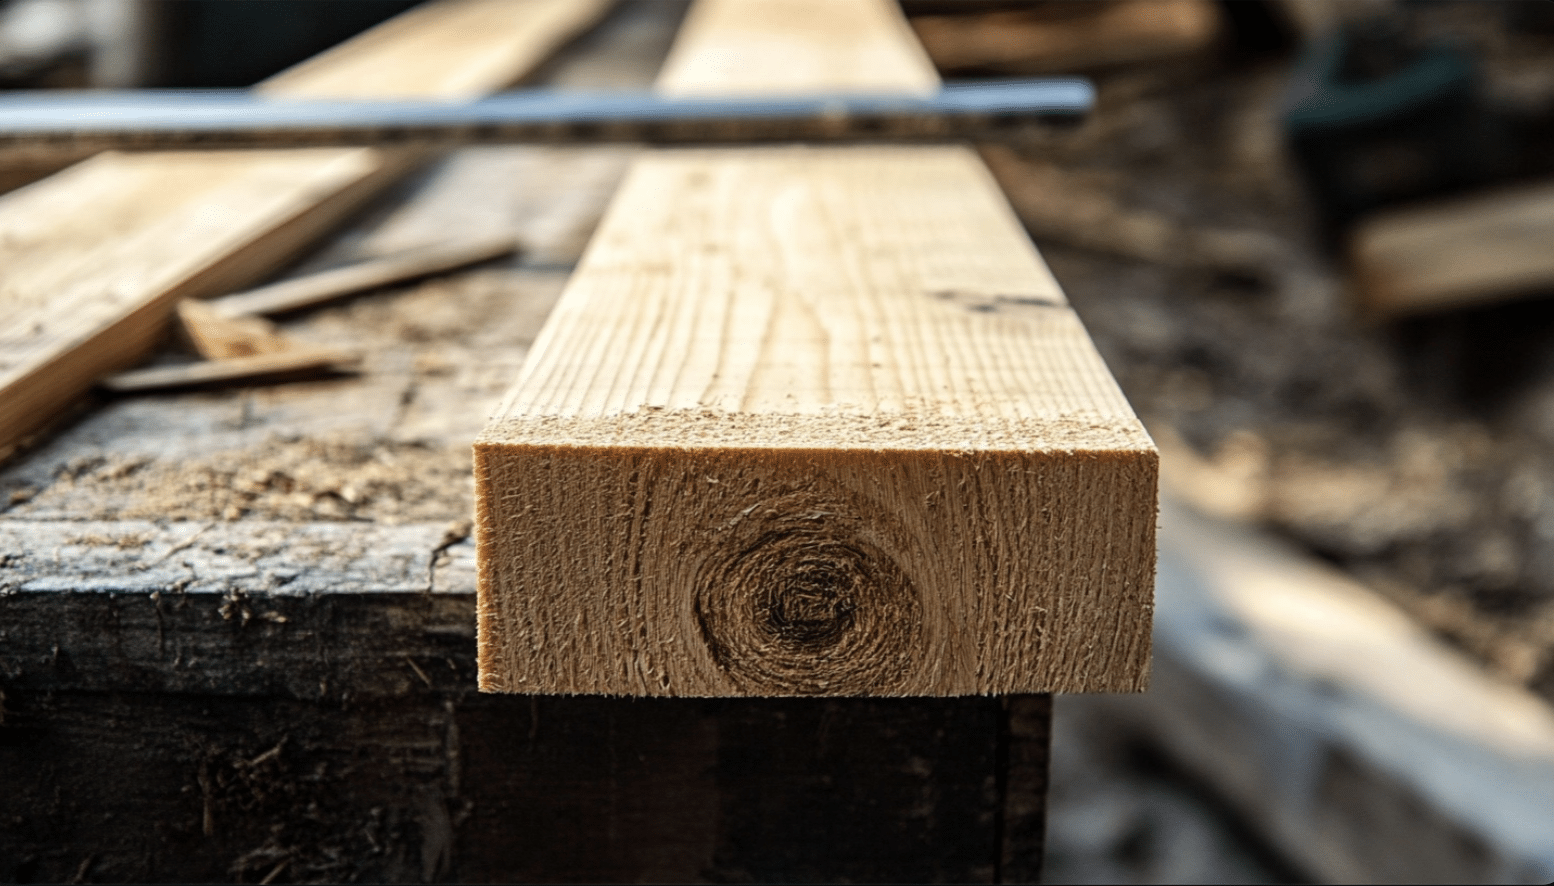
- Cutting lumber to size: Using your measurements and sketches as a guide, cut the 2×4 lumber to the appropriate lengths for your frame.
- Assembling the frame securely: Assemble the cut lumber to create a sturdy frame using wood screws and construction adhesive. Make sure the frame is level and square.
Step 3: Installing the Fireplace Insert
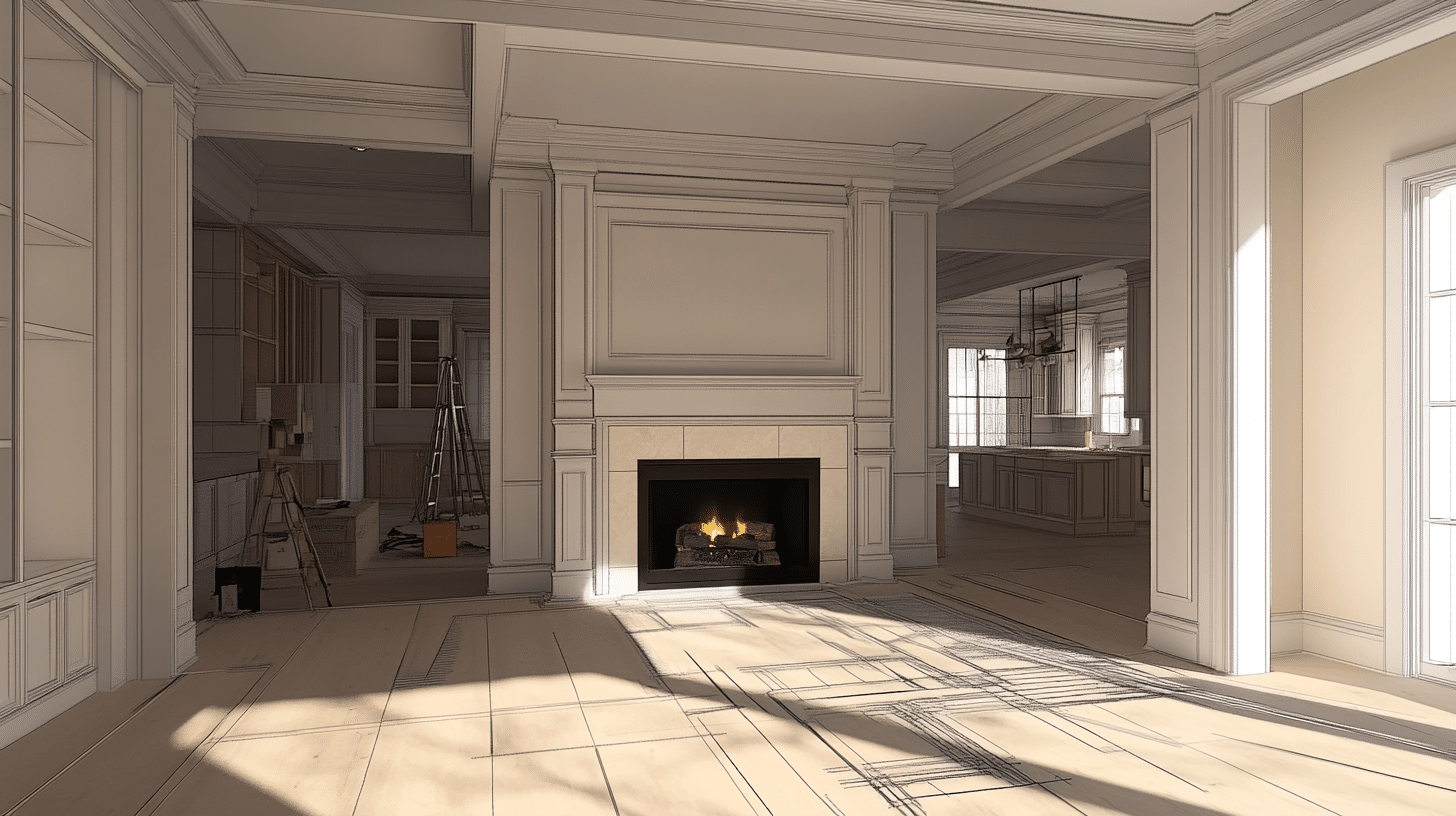
- Positioning: Place the electric fireplace insert into the framed opening, ensuring it’s centered and level.
- Securing in place: Follow the manufacturer’s instructions to ensure the insert is in the frame using the provided hardware.
Step 4: Electrical Work
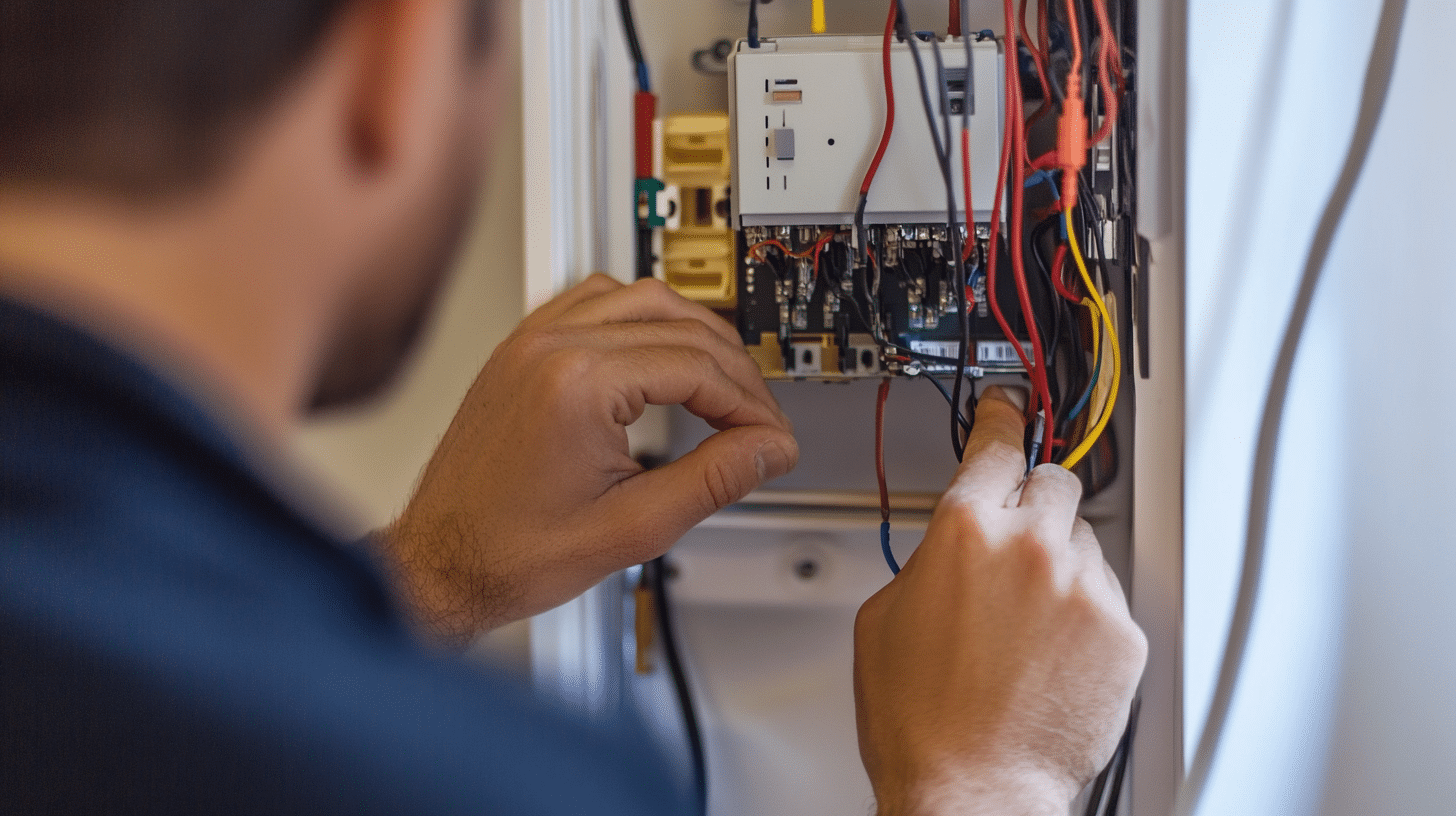
- Wiring the fireplace (emphasize safety): If you’re not experienced with electrical work, hire a licensed electrician to handle the wiring. They will connect the fireplace insert to the dedicated electrical outlet, ensuring proper grounding and adherence to local codes.
- Testing the electrical connections: Once the wiring is complete, test the fireplace to ensure it powers and functions correctly.
Step 5: Adding Drywall or Paneling
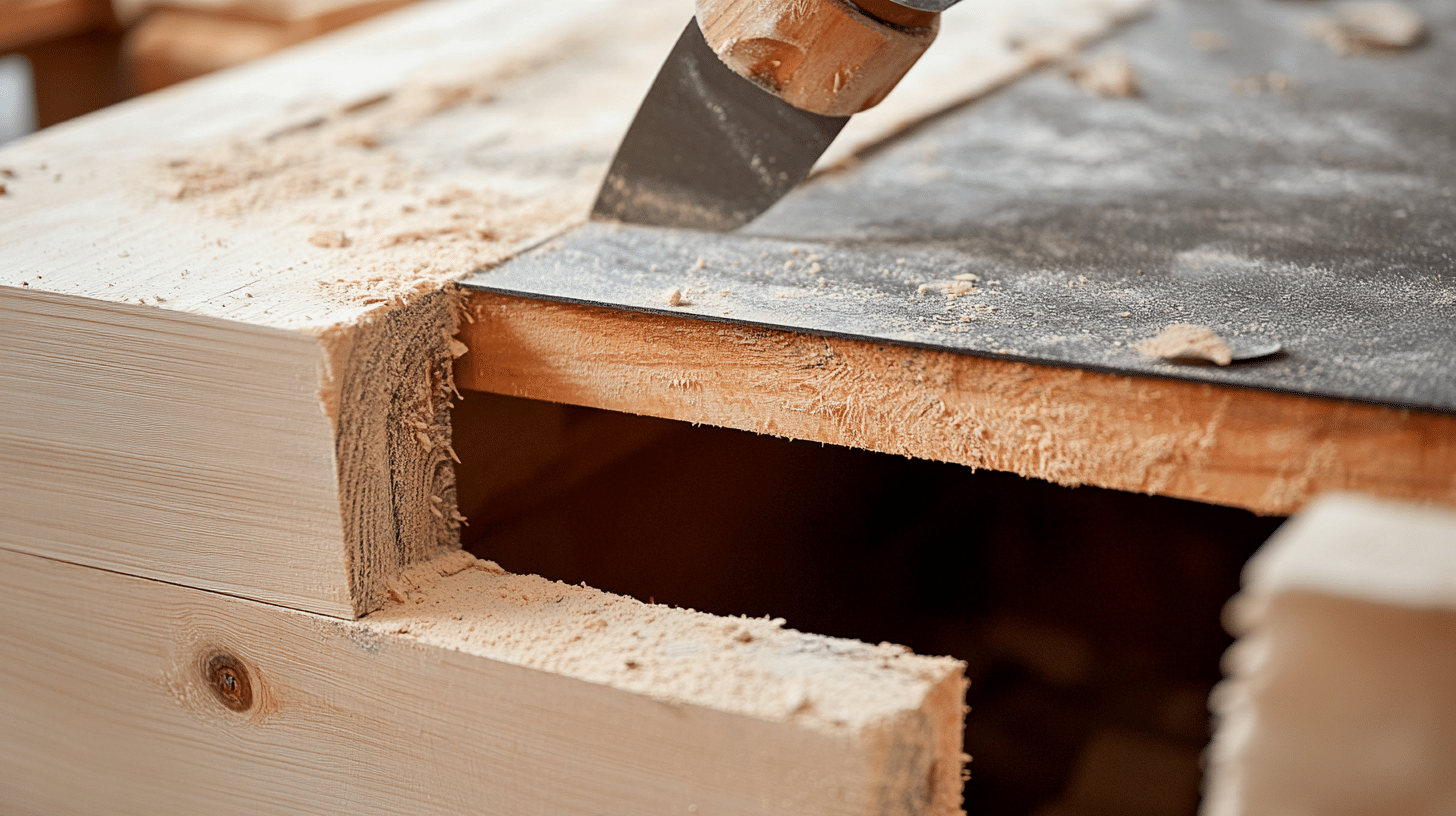
- Cutting and attaching: Cut the drywall or paneling to fit the frame, leaving openings for the fireplace insert and any electrical outlets. Attach the drywall or paneling to the frame using drywall screws or construction adhesive.
- Creating openings for the insert: Use a jigsaw or utility knife to carefully cut out the opening for the fireplace insert, ensuring a snug fit.
Step 6: Finishing the Surface
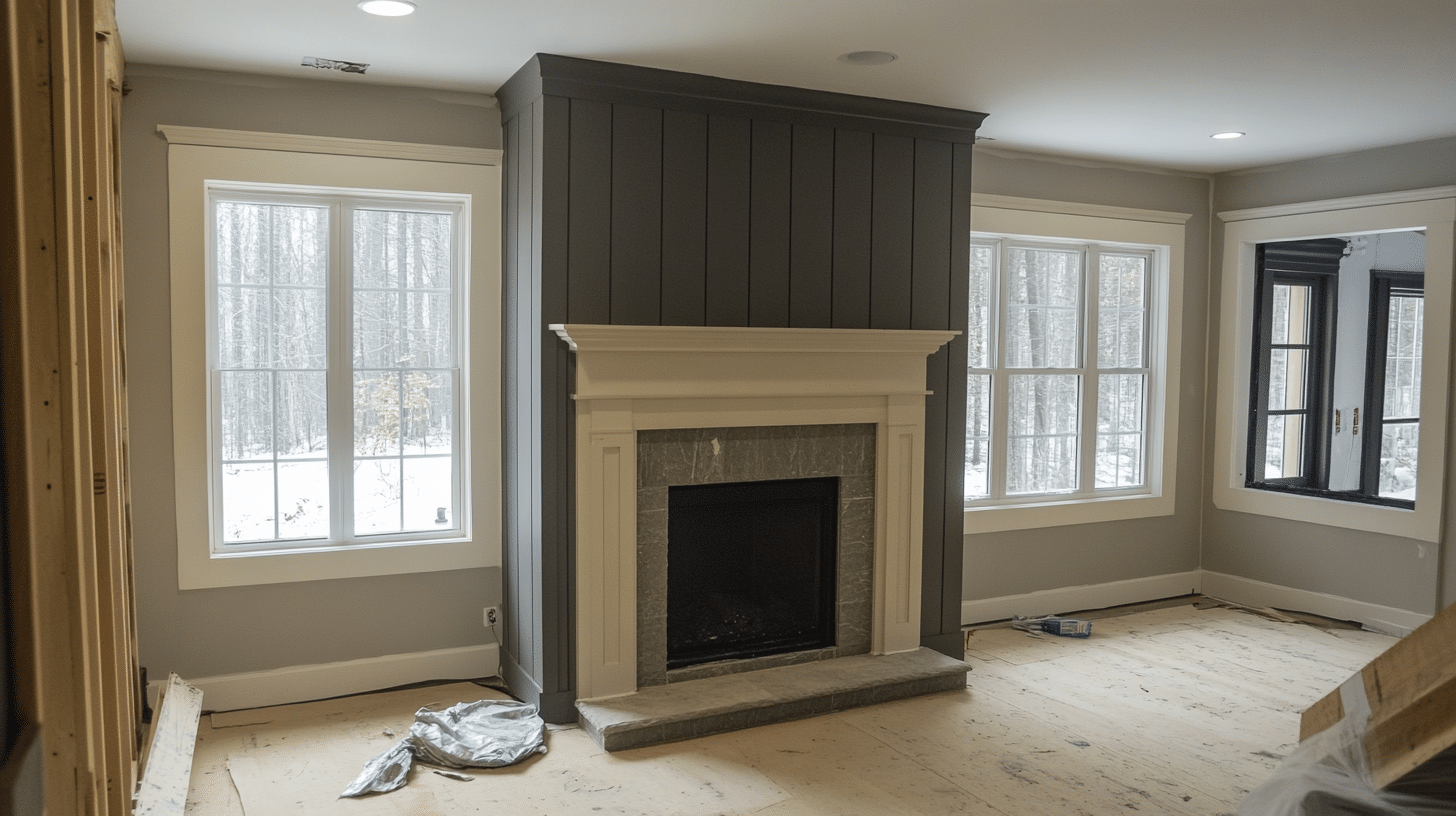
- Painting or applying finishes: Once the drywall or paneling is in place, paint or apply your chosen finish to the fireplace surround. This may include tile, stone veneer, shiplap, or a simple coat of paint.
- Installing decorative elements: To complete the look of your fireplace surround, add decorative elements such as a mantelpiece, corbels, or moldings.
Step 7: Optional – Integrating a TV or Entertainment Center
- Considering weight support: If you plan to mount a TV above your fireplace, ensure that your frame and surround can support the TV’s weight. Use sturdy mounting hardware and follow the manufacturer’s instructions.
- Cable management solutions: To keep your setup tidy and organized, consider incorporating cable management solutions, such as running cables through the wall or using cord covers.
Video Tutorial
For More Details, Check out This Step-By-Step Video Tutorial by Michigan Midcentury Modern.
With these step-by-step instructions and visual aids, you can confidently tackle your DIY electric fireplace project.
Cost Breakdown and Budgeting Tips
Before starting your DIY electric fireplace project, it’s essential to understand the costs involved and create a budget that works for you.
This section will provide an estimated cost breakdown and offer tips on saving money throughout the project.
Estimated Costs
| ITEM | EXPECTED COST RANGE ($) |
|---|---|
| Electric fireplace insert | $150 – $1,000+ |
| Lumber for framing | $50 – $200 |
| Drywall or paneling | $50 – $200 |
| Finishing materials (paint, tile, stone veneer, etc.) | $100 – $500+ |
| Electrical components and wiring | $50 – $200 |
| Decorative elements (mantel, moldings, etc.) | $100 – $500+ |
| Tools (if not already owned) | $100 – $500+ |
| Total Estimated Cost | $600 – $3,000+ |
Money-Saving Tips
- Using reclaimed materials: To save money and add character to your fireplace surround, consider using reclaimed lumber, mantels, or decorative elements.
- Renting tools vs. buying: If you don’t own the necessary tools, consider renting them from a local hardware store instead of purchasing them outright. This can significantly reduce your overall project costs.
Where to Buy Materials
Recommendations for suppliers or retailers: Shop around for the best prices on materials and tools. Compare prices at local hardware stores, home improvement centers, and online retailers. Don’t forget to check for sales, discounts, or bulk pricing to maximize your savings.
By creating a detailed budget and looking for ways to save money on materials and tools, you can control the costs of your DIY electric fireplace project while still achieving the look and functionality you desire.
Energy Efficiency and Operating Costs
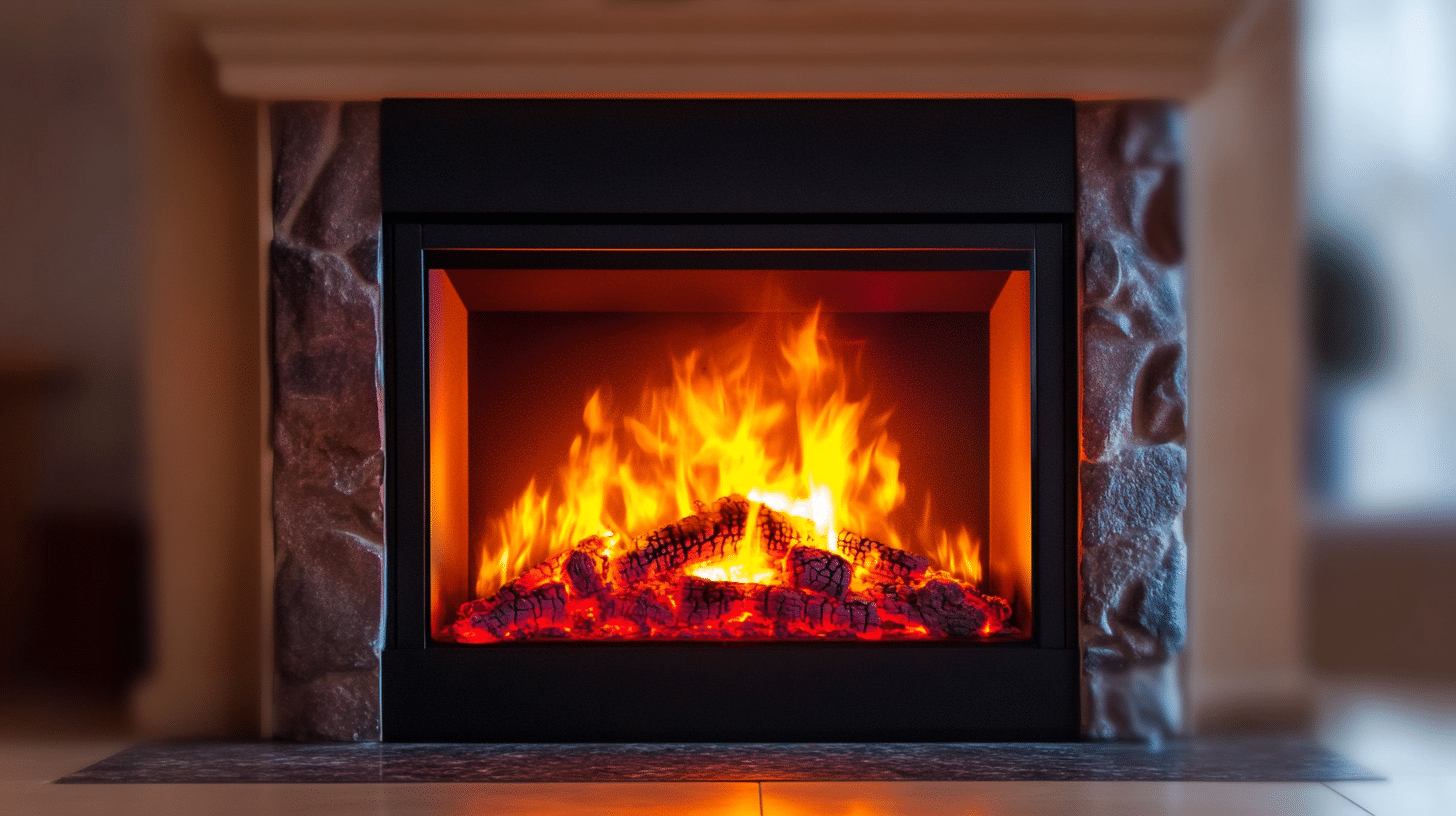
When considering a DIY electric fireplace, it’s important to understand the energy efficiency and operating costs associated with these units.
This section will provide information on electricity consumption, energy-saving features, and comparisons to other heating options.
1. Electricity Consumption
Understanding wattage and costs: Electric fireplaces typically use between 700 and 1,500 watts, depending on the model and heat settings. To calculate the operating cost, multiply the wattage by the hours used by your local electricity rate (per kilowatt-hour). For example, a 1,500-watt fireplace running for 6 hours at a rate of $0.12 per kWh would cost approximately $1.08 daily.
2. Energy-Saving Features
- Thermostats: Many electric fireplaces have built-in thermostats that allow you to set and maintain a desired room temperature, preventing energy waste.
- Timers: Some units feature programmable timers that enable you to schedule the fireplace to turn on and off at specific times, reducing unnecessary energy consumption.
- Eco-modes: Look for models with eco-modes or energy-saving settings that optimize power consumption without compromising performance.
3. Comparisons to Other Heating Options
Electric fireplaces are generally more energy-efficient than traditional wood-burning or gas fireplaces, as they don’t lose heat through a chimney or require constant fuel replenishment.
Electric fireplaces can be more cost-effective for heating smaller spaces or individual rooms than central heating systems, as they allow you to focus heat where it’s needed most.
By understanding electric fireplaces’ energy efficiency and operating costs, you can make informed decisions about using your unit most effectively and minimizing your long-term energy expenses.
Maintenance and Troubleshooting
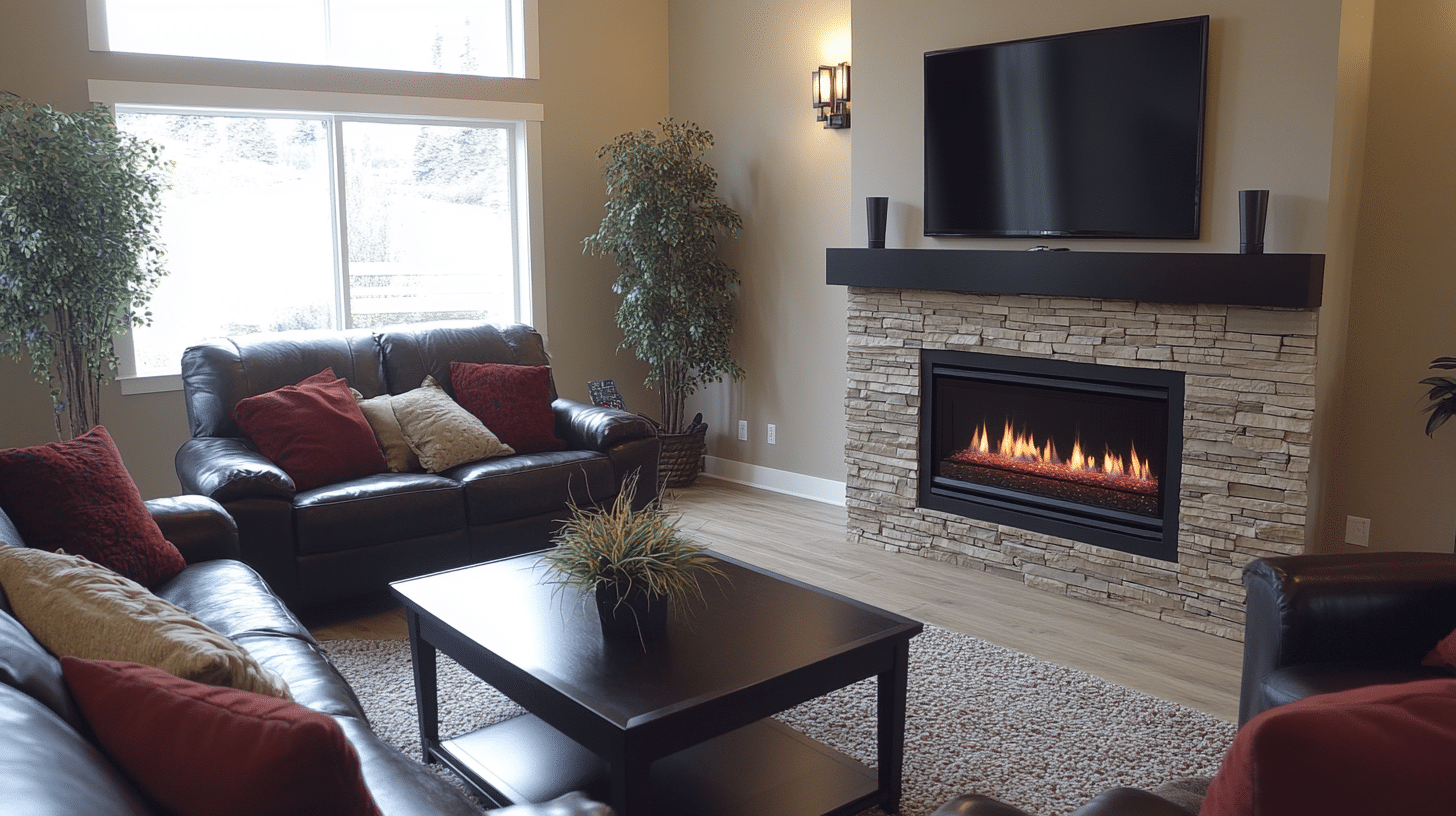
Regular maintenance and troubleshooting knowledge are essential for keeping your DIY electric fireplace functioning safely and efficiently.
Routinely dust the exterior, clean the glass front, and vacuum the interior. Check the electrical cord, remote control, and heat vents for proper function.
Check the power supply, main switch, and circuit breaker if the fireplace won’t turn on. Adjust settings for malfunctioning flame effects and replace damaged components if needed.
If you experience persistent electrical issues, unusual smells, sounds, or sparks, discontinue use and seek professional help immediately.
Following these guidelines will keep your electric fireplace looking and functioning at its best.
Conclusion
Building a DIY electric fireplace is a rewarding project that can add ambiance and functionality to your home.
By carefully planning your design, selecting the right materials, and following safety guidelines, you can create a stunning focal point that reflects your style.
Remember to consider energy efficiency, operating costs, and ongoing maintenance to ensure your fireplace remains a practical and enjoyable addition to your space.
While the process may seem daunting initially, breaking it down into manageable steps and seeking guidance from experienced professionals when needed can help you guide the challenges and achieve a successful result.
With dedication and attention to detail, your DIY electric fireplace will become a cherished gathering place for years.
Welcome the opportunity to showcase your craftsmanship and creativity and enjoy the warmth and comfort of your new fireplace.
Frequently Asked Questions (FAQs)
How Much Does It Cost to Build an Electric Fireplace?
The cost to build an electric fireplace ranges from $600 to $3,000+, depending on materials, design, and added decorative elements like mantels or finishes.
What Is the Downside of an Electric Fireplace?
The downside of an electric fireplace is that it doesn’t provide as much heat as traditional fireplaces, may increase electricity costs, and lacks the ambiance of a real flame.
Can I Install an Electric Fireplace in an Apartment?
Yes, electric fireplaces can be installed in apartments, as they do not require venting or gas lines. However, ensure your building’s regulations allow for their installation.

