DIY Bathroom Board and Batten: A Complete Guide
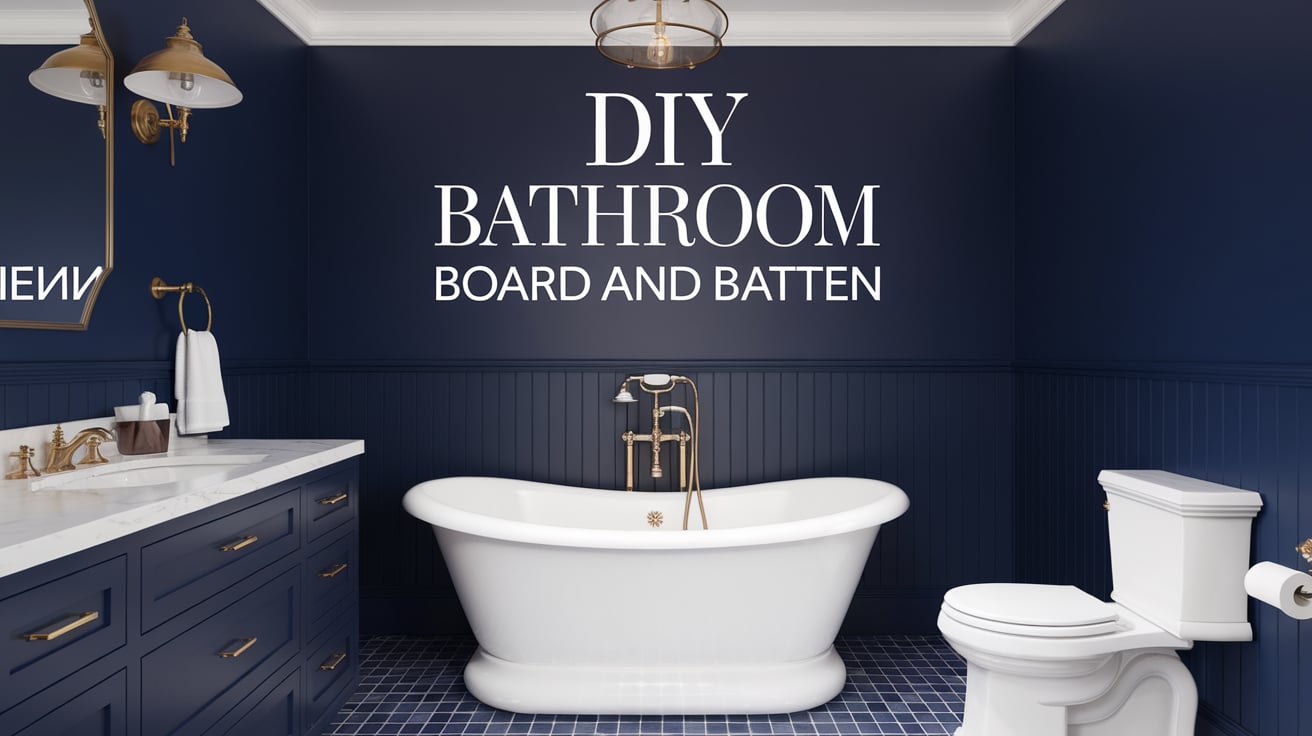
In today’s post, I will show you how to add board and batten to your bathroom walls. This simple wall treatment turned my plain bathroom into a stunning space that looks professionally done.
I used this exact method in my guest bathroom makeover, and it cost me less than $200 in materials.
I also finished the entire project over a single weekend. Let me walk you through the process step by step.
What is Board and Batten in Bathroom Design?
Board and batten is a type of wall trim that adds character to plain walls.
When I first learned about it, I loved how it turns basic bathroom walls into something special. It uses two main parts: flat boards against the wall and thin strips of wood (battens) that go over the seams.
Think of it like building blocks on your wall:
- The boards are wide, flat pieces that sit flat against the wall
- The battens are narrow strips that cover where the boards meet
- The setup creates a pattern of squares or rectangles on your wall
In bathrooms, board and batten often go halfway up the wall, but you can take it all the way to the ceiling. I’ve seen it painted in white, gray, or any color that matches your style.
The best part? It’s much simpler to install than most people think.
Benefits of Using Board and Batten in Bathrooms
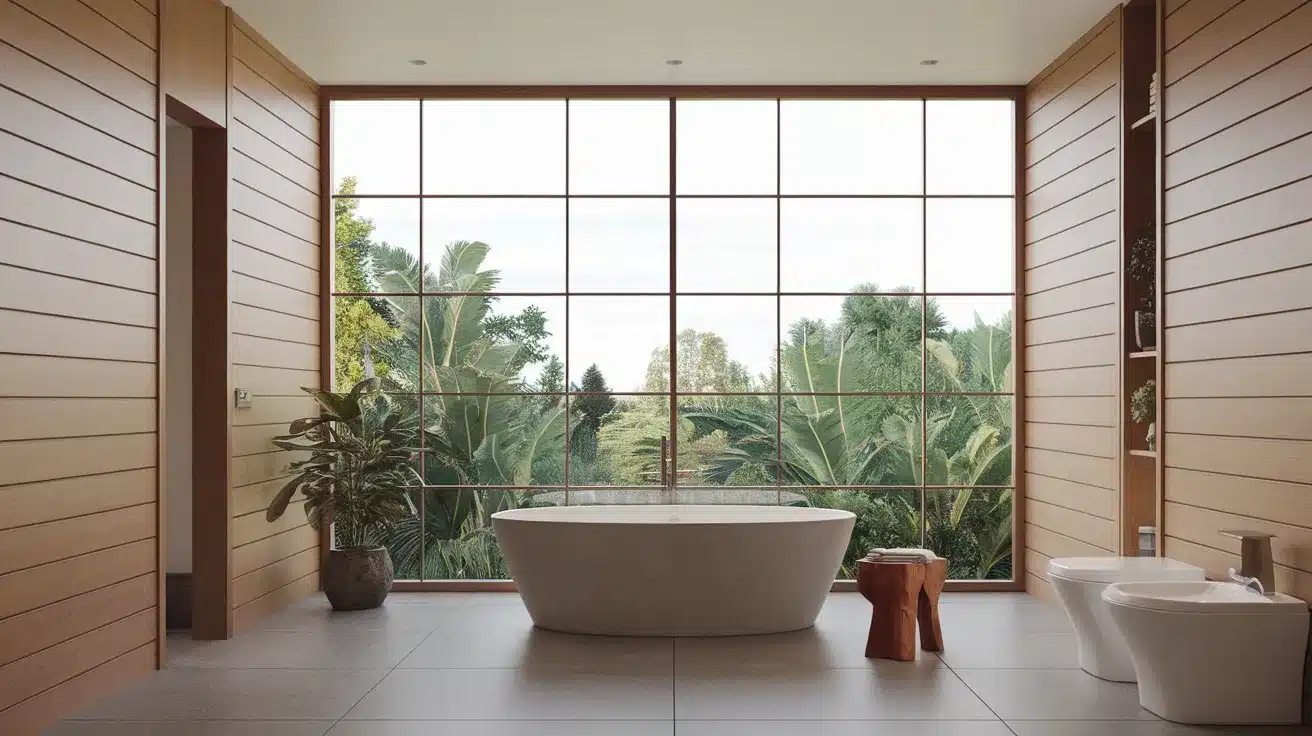
1. Aesthetic Appeal
Adding board and batten to my bathroom walls made a huge difference. The clean lines and structured pattern turned my plain walls into a focal point.
This simple addition brings depth and visual interest that paint alone can’t match.
2. Protection for Walls
In my experience, board and batten work perfectly in bathrooms because they shield walls from daily splashes and bumps.
The wood trim creates a barrier that helps prevent water damage and keeps walls looking fresh longer than standard drywall.
3. Versatility in Design
I love how the board-and-batten fits any bathroom style. Paint it white for a clean look, or try bold colors for modern flair. You can make the panels wide or narrow, tall or short—it’s up to you.
How Much Does It Cost to Install Board and Batten?
Let me break down the costs of my bathroom project. The price tag will change based on your bathroom size, but here’s what I spent on my 8×10 bathroom:
Basic Materials:
- MDF boards (1×4): $45-60
- MDF battens (1×2): $30-40
- Construction adhesive: $8
- Caulk: $5-10
- Paintable wood filler: $8
- Paint and primer: $35-45
- Screws and nails: $10
Optional Items:
- Miter saw rental (if needed): $40/day
- Stud finder: $15
- Level: $10
- Paint brushes/rollers: $20
Professional Installation vs DIY:
- DIY total: $150-200 (materials only)
- Professional work: $500-800 (for the same bathroom size)
By doing it myself, I saved nearly $600. The materials cost less if you own some tools or find good deals at your local store.
Supplies Required
| Tools | Materials |
|---|---|
| Measuring tape | Underlayment (3.5″ & 2.5″) |
| Level | Adhesive (e.g., Total Tech) |
| Sandpaper | Baseboard trim |
| Brad nailer | Spackle |
| Paintbrush | Paint (gray and white) |
| Caulking gun | Sealant |
| Utility knife (optional) | Painter’s tape |
How to Install Board and Batten in Your Bathroom
Step 1: Prepare the Walls
- Fill any holes or imperfections using spackle. Allow it to dry completely.
- Sand the walls smoothly to ensure a flat paint and batten installation surface.
- Paint the upper section of the wall with your chosen color (e.g., light gray). Apply two coats for even coverage, and let it dry completely.
- Mark the lower section of the wall where the board and batten will begin (e.g., 56 inches from the floor).
Step 2: Install the Baseboard
- Use a strong adhesive (e.g., Total Tech) to apply the baseboard trim to the wall.
- Secure the baseboard with a few brad nails to hold it in place while the adhesive cures (about an hour).
Step 3: Prepare and Attach Horizontal Battens
- Use pre-cut underlayment strips (3.5 inches wide) for the horizontal trim.
- Sand the edges of each strip to remove roughness.
- Attach the horizontal strips using adhesive and a few nails. Ensure they are level before securing.
Step 4: Attach Vertical Battens
- Use narrower pre-cut strips (2.5 inches wide) for vertical battens.
- Start at the center of the wall and mark vertical positions, ensuring uniform spacing (e.g., 9 inches apart).
- Attach each vertical strip with adhesive and secure it with nails, checking for level alignment.
Step 5: Fill and Sand Gaps
- Spackle nail holes and joints where the battens meet horizontal trim.
- Once dry, sand the spackled areas to create a seamless finish.
Step 6: Paint and Seal
- Paint the entire batten area with the same white paint as the lower wall, ensuring uniform coverage.
- Use a brush for corners and edges to achieve a clean finish.
- Seal gaps along the edges using a waterproof sealant, smoothing it with your finger for a polished look.
For a more detailed tutorial on how to install bathroom board and batten, check out the video below:
Tips for Painting Board and Batten in the Bathroom
- Clean each surface with soap and water before starting.
- Fill nail holes with wood filler and sand them smooth.
- Sand all edges of boards and battens for the best paint grip.
- Use a high-quality primer made for bathroom moisture.
- Apply caulk between boards and walls before painting.
- Pick semi-gloss paint for easy cleaning and moisture resistance.
- Paint the wall sections first, then move to the trim pieces.
- Use small foam rollers for flat surfaces to avoid brush marks.
- Keep a small brush handy for corners and tight spots.
- Apply thin coats to prevent drips and runs.
- Let each coat dry fully in a well-ventilated space.
- Add a final coat for extra protection in high-moisture areas.
- Wait 24 hours before using the bathroom normally.
Trending Board and Batten Style Ideas for Bathroom
1. Farmhouse Bathroom Board and Batten
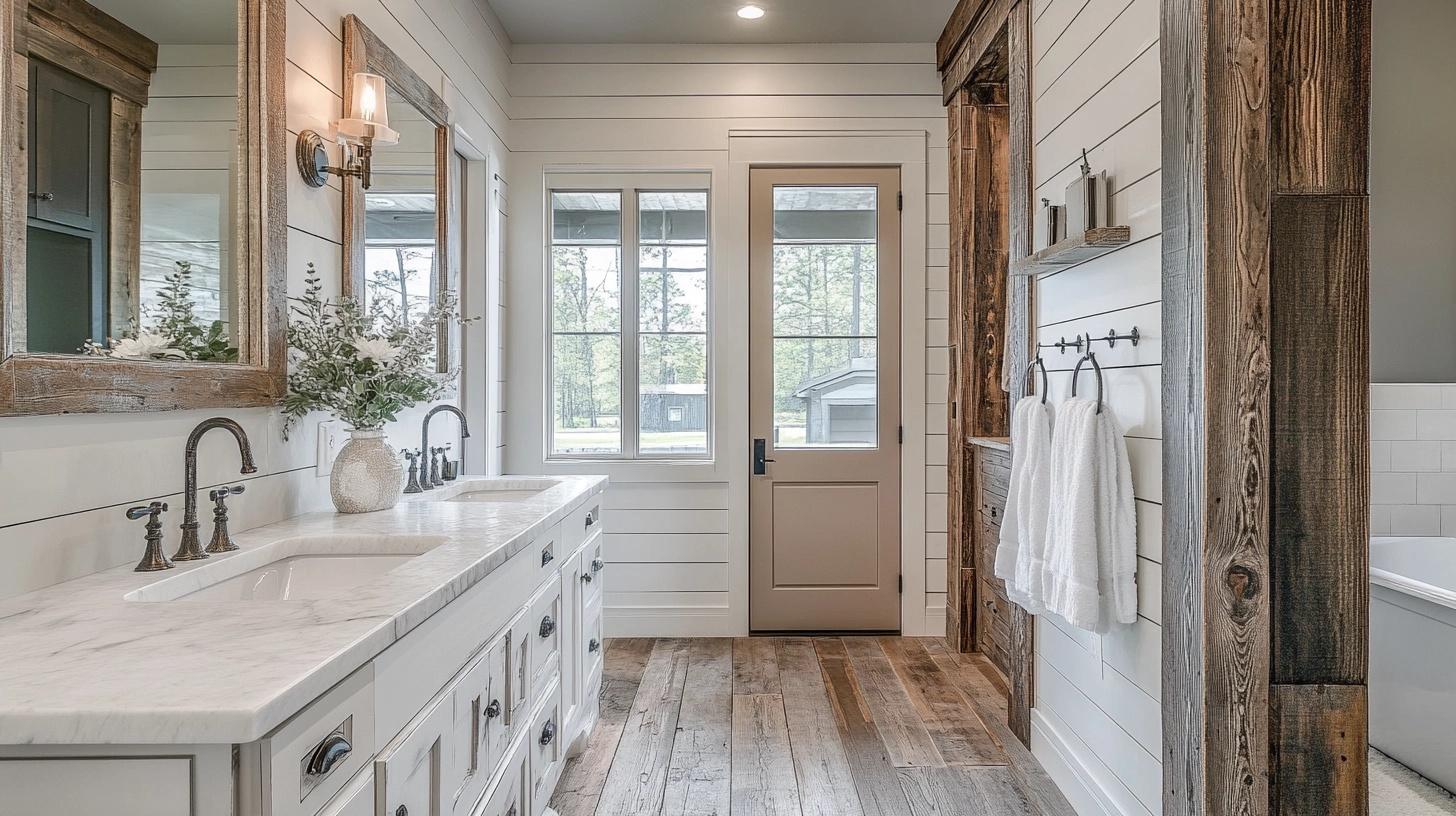
- Design Features: Rustic finishes, distressed wood, or horizontal battens combined with vertical panels.
- Color Ideas: White, beige, or light gray for a cozy, country charm.
- Applications: Combine board and batten with shiplap for a quintessential farmhouse bathroom.
- Enhancements: Add rustic wooden shelves or vintage hooks for extra storage and decor.
- DIY Friendly? Yes, forgiving style and straightforward techniques.
2. Modern Bathroom Board and Batten
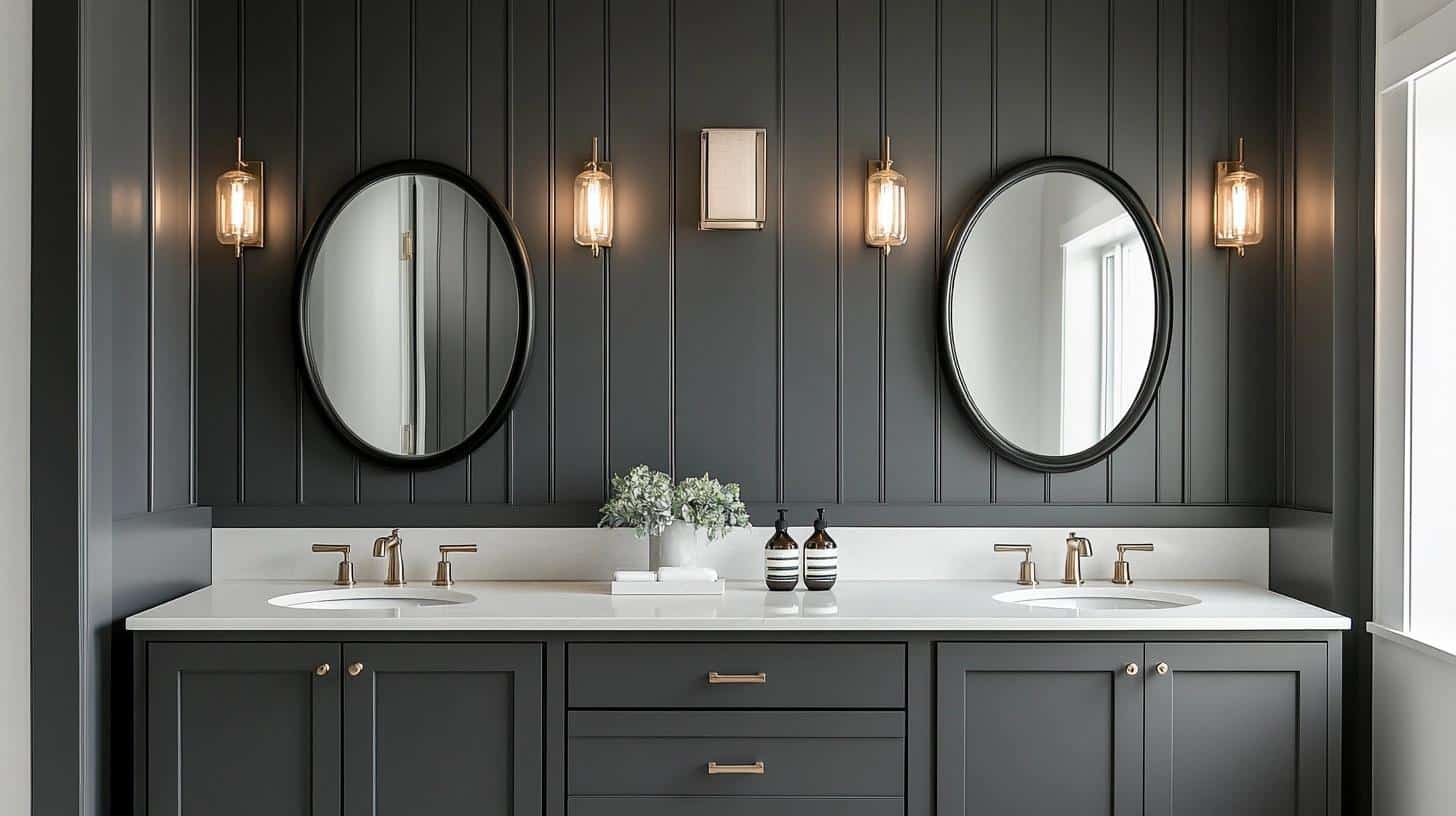
- Design Features: Wider or asymmetrical battens with a sleek, minimalistic design.
- Color Ideas: Bold tones like charcoal, black, or deep navy paired with light fixtures.
- Applications: Full-height board and batten for a dramatic accent in modern bathrooms.
- Enhancements: Pair with frameless mirrors and metallic accents for a chic look.
- DIY Friendly? Moderately; requires precise alignment for a clean finish.
3. Textured Bathroom Board and Batten
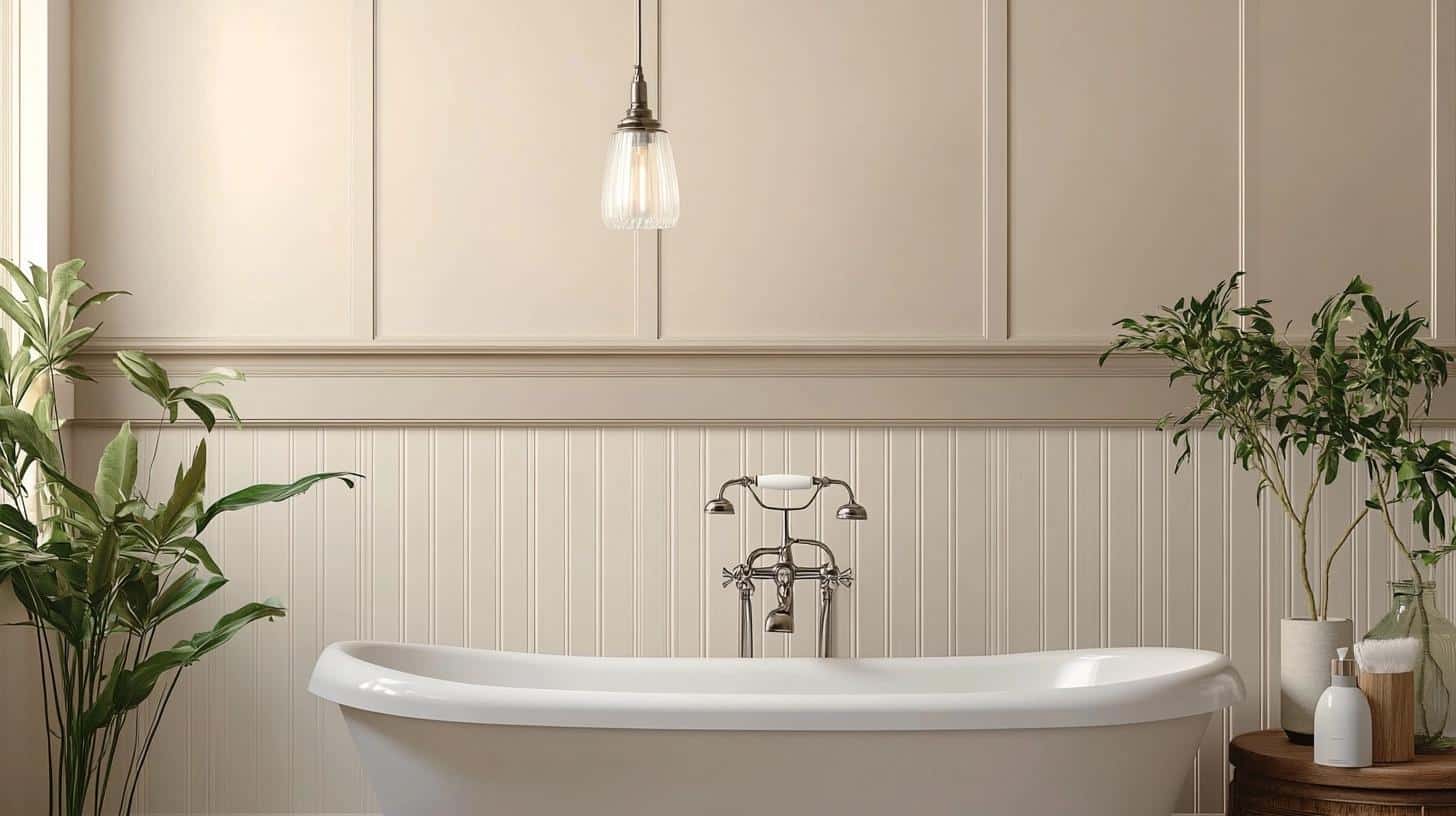
- Design Features: Battens with added grooves or patterns for depth and interest.
- Color Ideas: Neutral matte tones like beige, taupe, or muted jewel colors.
- Applications: Perfect for bathrooms with high ceilings to create a focal wall.
- Enhancements: Add textured wallpaper in the recessed areas for added sophistication.
- DIY Friendly? Yes, if using pre-textured materials or basic tools.
4. Two-Tone Bathroom Board and Batten
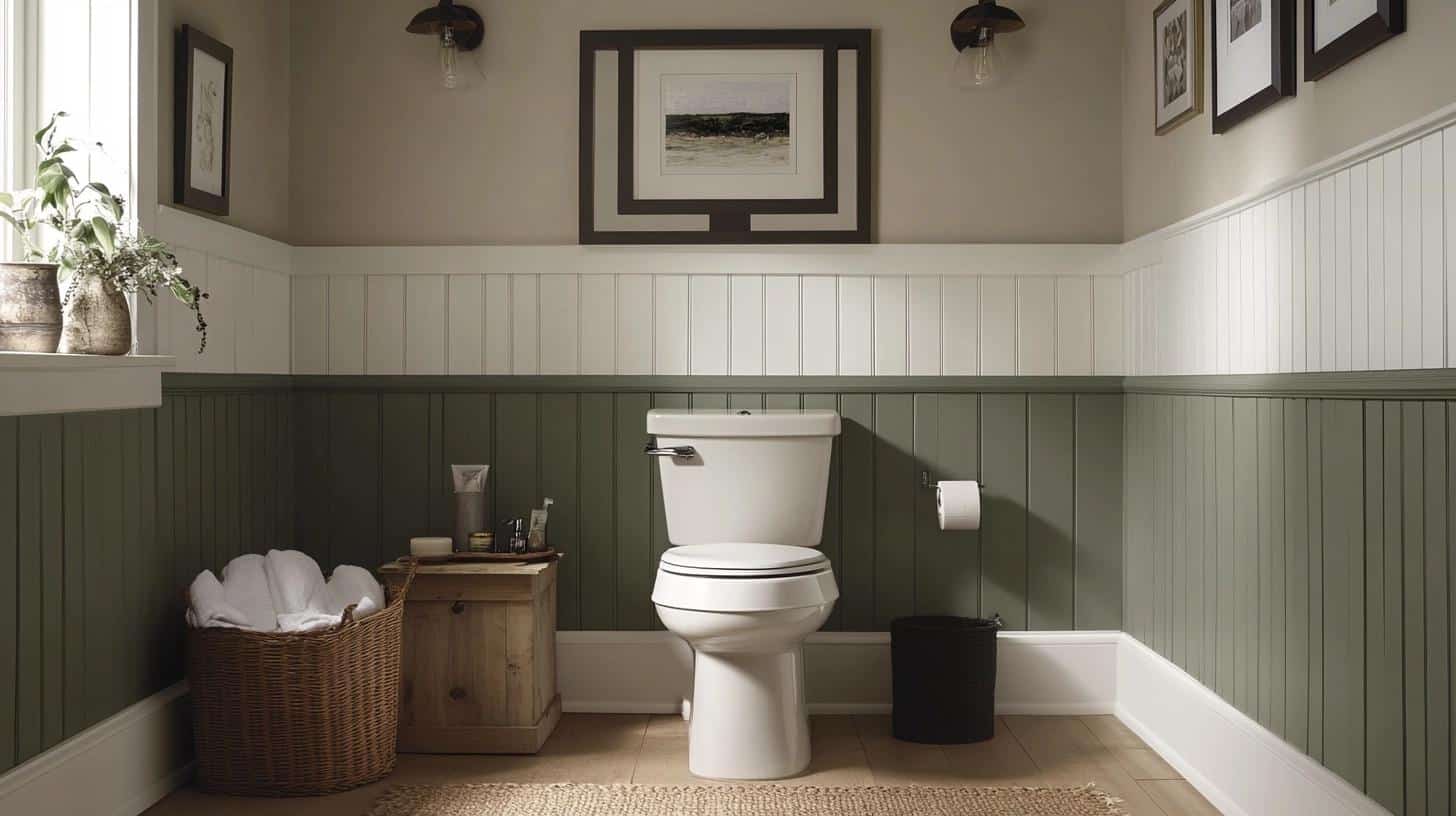
- Design Features: A bold upper color paired with neutral board and batten below.
- Color Ideas: Pair navy and white, green and beige, or black and gray for contrast.
- Applications: Half-wall designs to break up dark colors in small bathrooms.
- Enhancements: Combine with framed artwork or statement lighting for extra flair.
- DIY Friendly? Yes, straightforward painting and batten installation.
5. Corner Feature
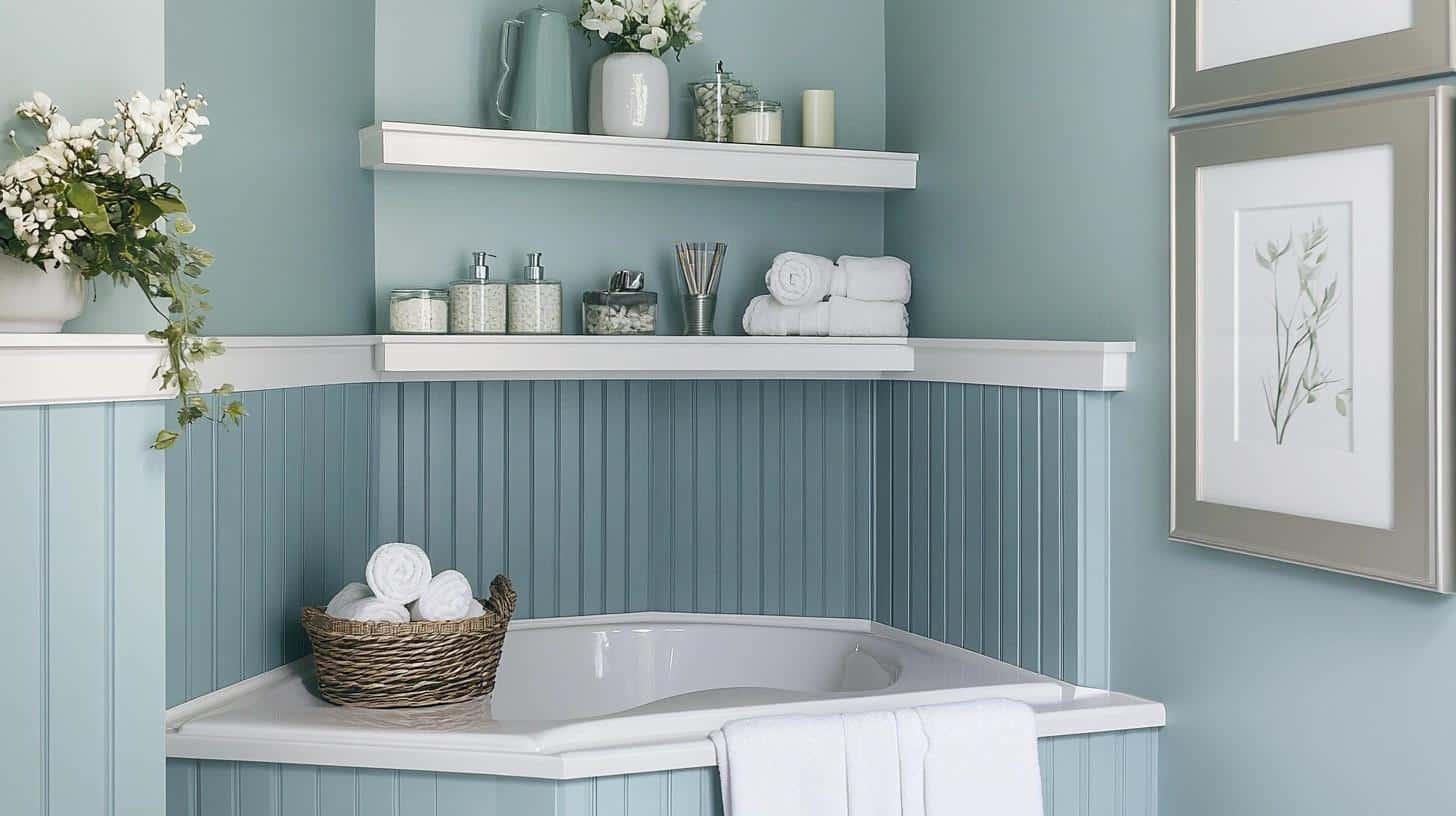
- Design Features: Extend the board and batten design around corners for a continuous, cohesive appearance.
- Color Ideas: Choose complementary hues or a single tone for a flowing effect.
- Applications: Works beautifully in bathrooms with alcoves, built-ins, or wraparound designs.
- Enhancements: Add shelves or corner mirrors to emphasize the wrapped design.
- DIY Friendly? Moderately; requires careful measurement and alignment at corners.
6. Mid-Century Modern Bathroom Board and Batten
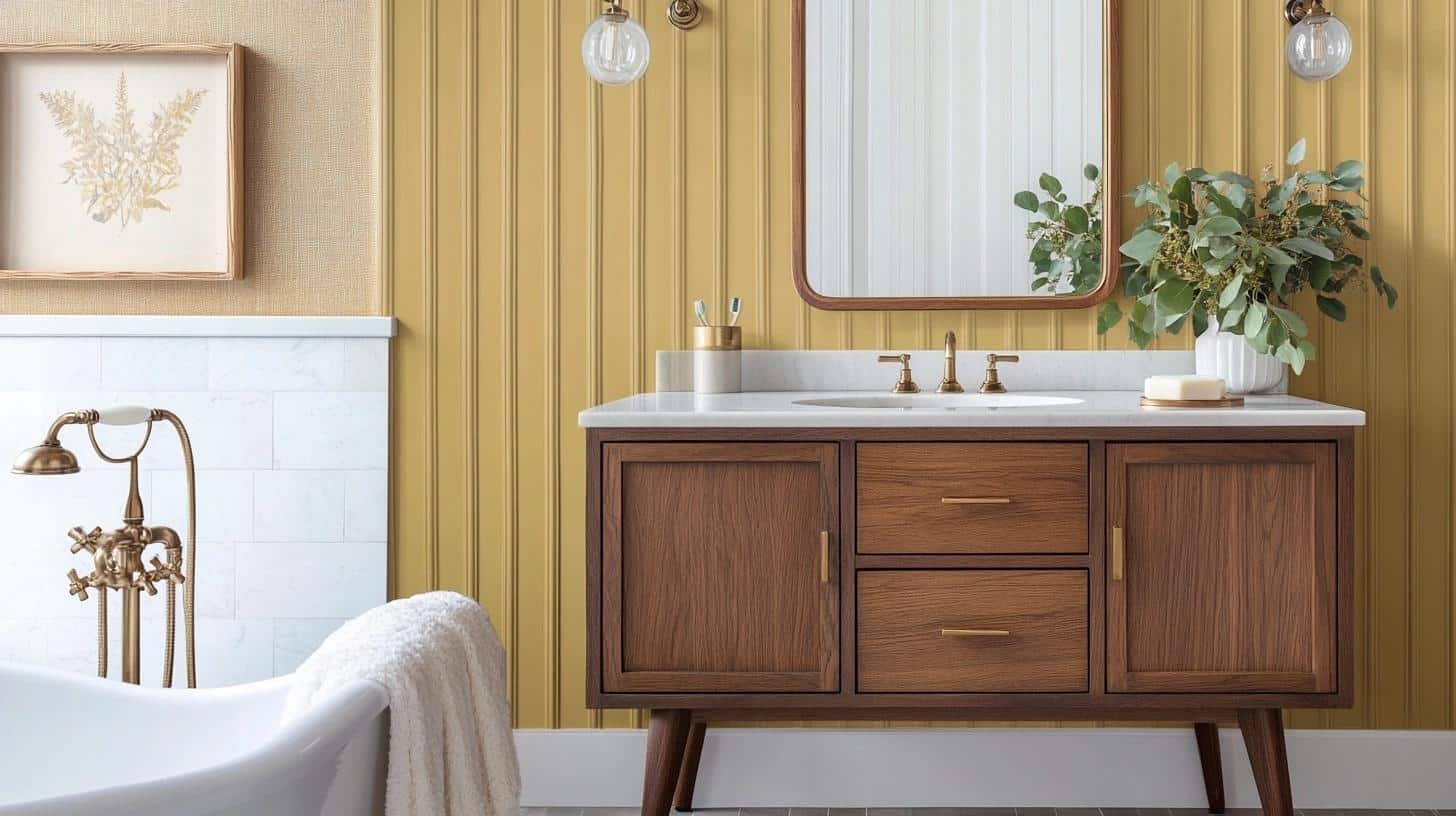
- Design Features: Thin, sleek battens with geometric or vertical patterns.
- Color Ideas: Mustard yellow, olive green, or walnut brown for a retro look.
- Applications: Use one accent wall in a small bathroom or powder room.
- Enhancements: Pair with mid-century fixtures and brass or gold hardware.
- DIY Friendly? Yes, as long as you measure carefully for symmetry.
7. Craftsman Style Bathroom Board and Batten
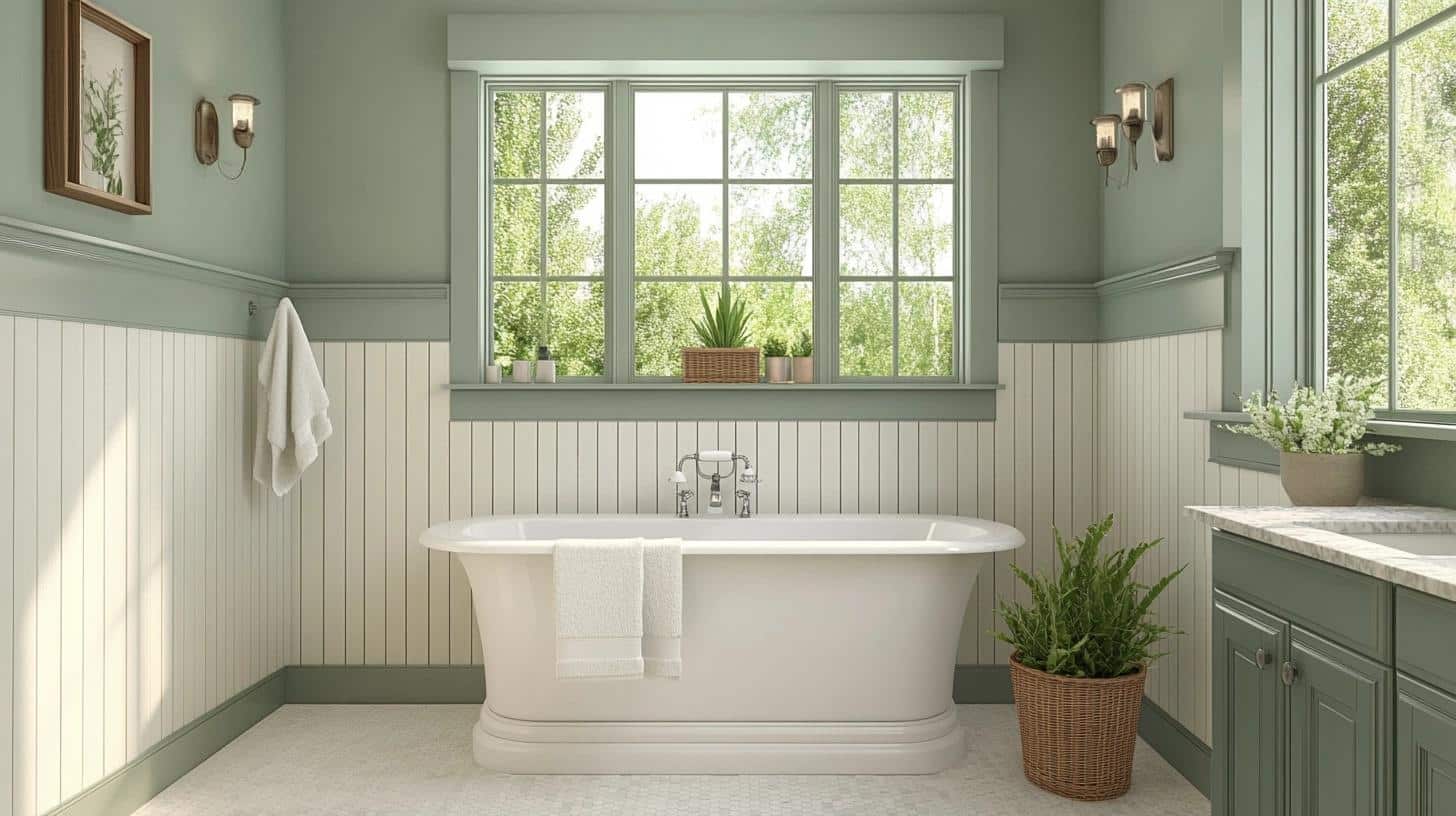
- Design Features: Taller battens, wide baseboards, and decorative wainscoting.
- Color Ideas: Earthy tones like sage green, muted blue, or warm tan.
- Applications: Great for bathrooms with natural light, enhancing warmth and texture.
- Enhancements: Include stained wood cabinetry or window trim for an authentic craftsman feel.
- DIY Friendly? Moderately; may require advanced measuring and cutting.
8. Single Color Statement
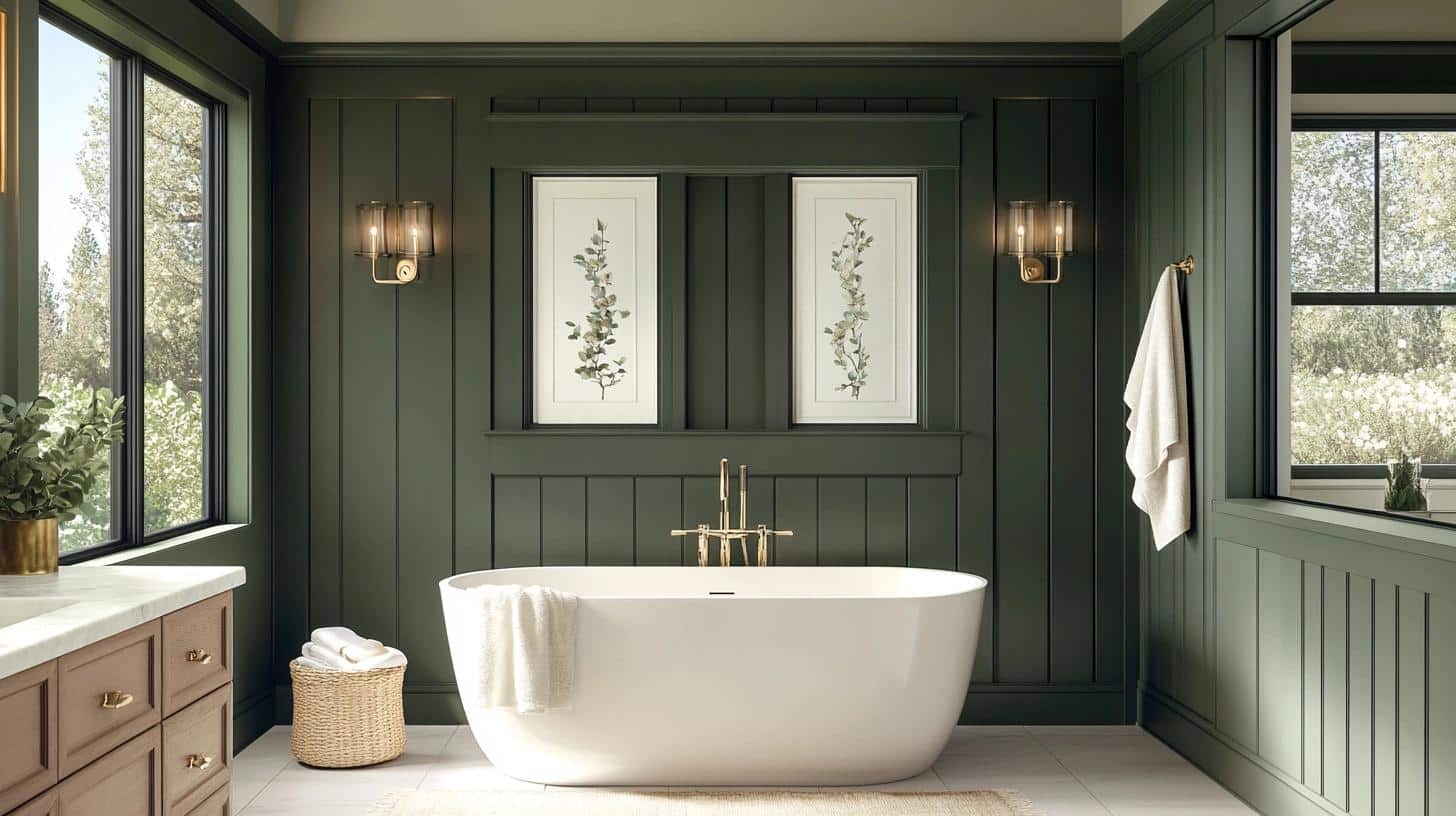
- Design Features: Paint the walls and battens the same bold, striking color for a seamless, high-impact look.
- Color Ideas: Navy blue, deep green, or charcoal gray for a luxurious, high-end feel.
- Applications: Ideal for guest bathrooms or powder rooms to create a statement.
- Enhancements: Pair with gold or brass fixtures for added elegance.
- DIY Friendly? Yes, straightforward painting and batten installation.
Maintenance Tips for Board and Batten
Regular Care Tips
- Wipe down surfaces monthly with a soft, damp cloth.
- Check caulk lines every 3-4 months for gaps or cracks.
- Dust corners and ledges weekly to prevent buildup.
- Test the bathroom fan often to control moisture levels.
Problem Prevention
- Fix small chips or scratches right away with wood filler.
- Look for water stains – they show moisture issues.
- Keep an eye on seams where boards meet.
- Run the fan during showers and 30 minutes after.
Long-Term Care Tips
- Touch up paint spots yearly as needed.
- Replace damaged caulk to stop water from getting behind boards.
- Clean with gentle soap, not harsh cleaners.
- Check for loose boards during regular cleaning.
Wrapping It Up
Board and batten can make any bathroom look better than you imagined. From picking the right materials to the final paint job, I’ve shared every step to help you tackle this project.
The best part? You’ll spend less than $200 and just a weekend to create a look that others might think costs thousands.
Remember, proper care keeps your board and batten looking fresh. Regular cleaning, quick fixes for small issues, and watching for moisture problems will help it last for years.
Ready to start? Grab your measuring tape and head to the store. Once you finish your first bathroom, you might want to add board and batten to every room!
Share your results with me in the comments below.

