Cracks in Basement Floor: Causes and Fixes
Cracks in a basement floor can be easy to ignore at first, but they often raise questions about what is really happening beneath your home.
Some cracks are harmless and expected, while others can point to pressure, moisture, or shifting soil. Knowing the difference is what helps you avoid unnecessary worry or costly mistakes.
In this guide, I’ll break down the real reasons behind cracks in basement floors, how to tell which ones matter, and what they can indicate about your home’s condition.
Let’s start with the basics.
Why Cracks Appear in Basement Floors
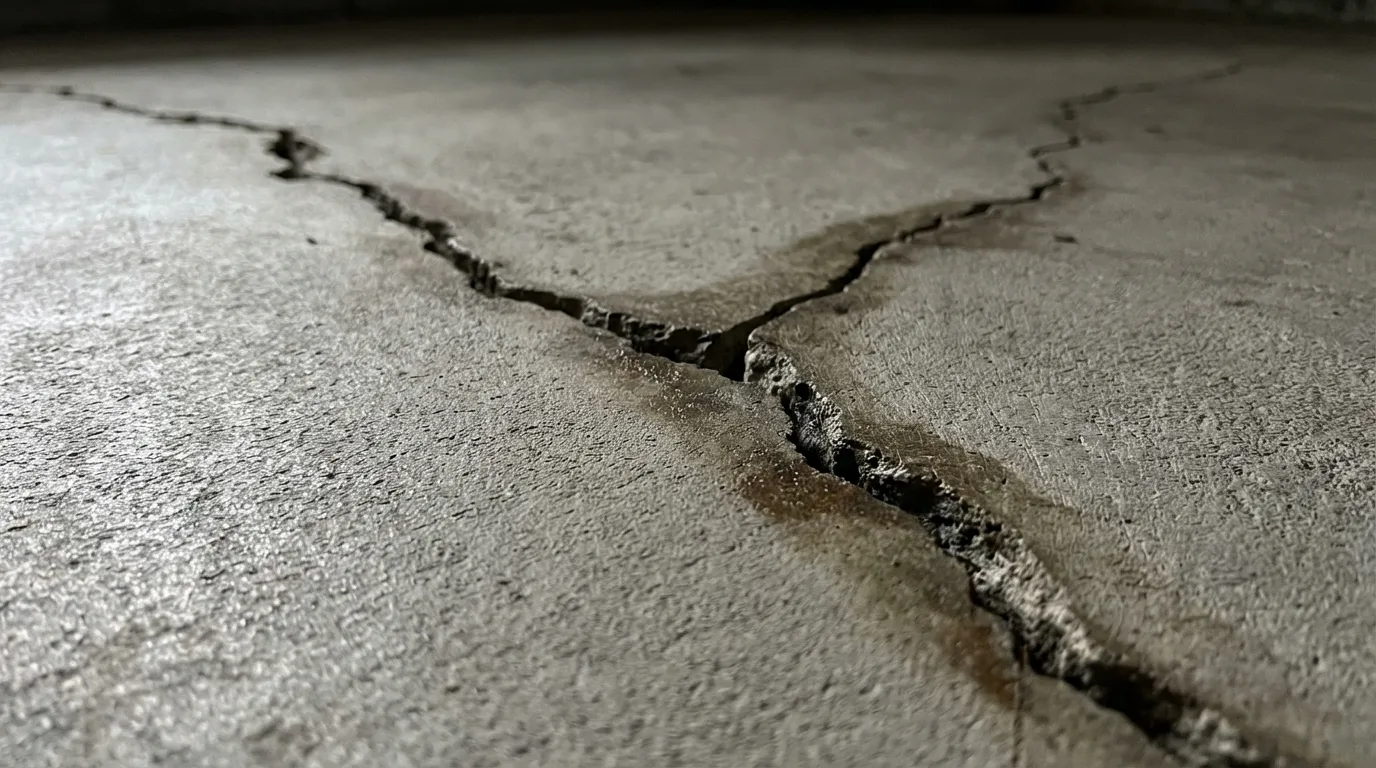
Cracks in basement floors are common. Some are normal, while others point to pressure or movement beneath the slab.
Concrete naturally shrinks as it dries, so small surface cracks are expected. But larger or changing cracks usually come from external forces acting on the floor.
It’s also important to know that the basement floor slab is separate from the foundation walls. A crack in the floor does not always mean structural damage.
The most common causes include:
- Concrete shrinkage: Happens during drying and creates thin, harmless cracks
- Soil movement: Shifting or settling soil puts uneven pressure on the slab
- Hydrostatic pressure: Groundwater pushes upward against the floor after heavy rain
- Temperature and moisture changes: Soil expands and contracts, stressing the slab over time
- Poor construction: Weak base, thin slab, or improper curing can lead to cracking
Not all cracks are serious, but understanding the cause helps you decide what to monitor and what to address.
Types of Basement Floor Cracksand What They Mean
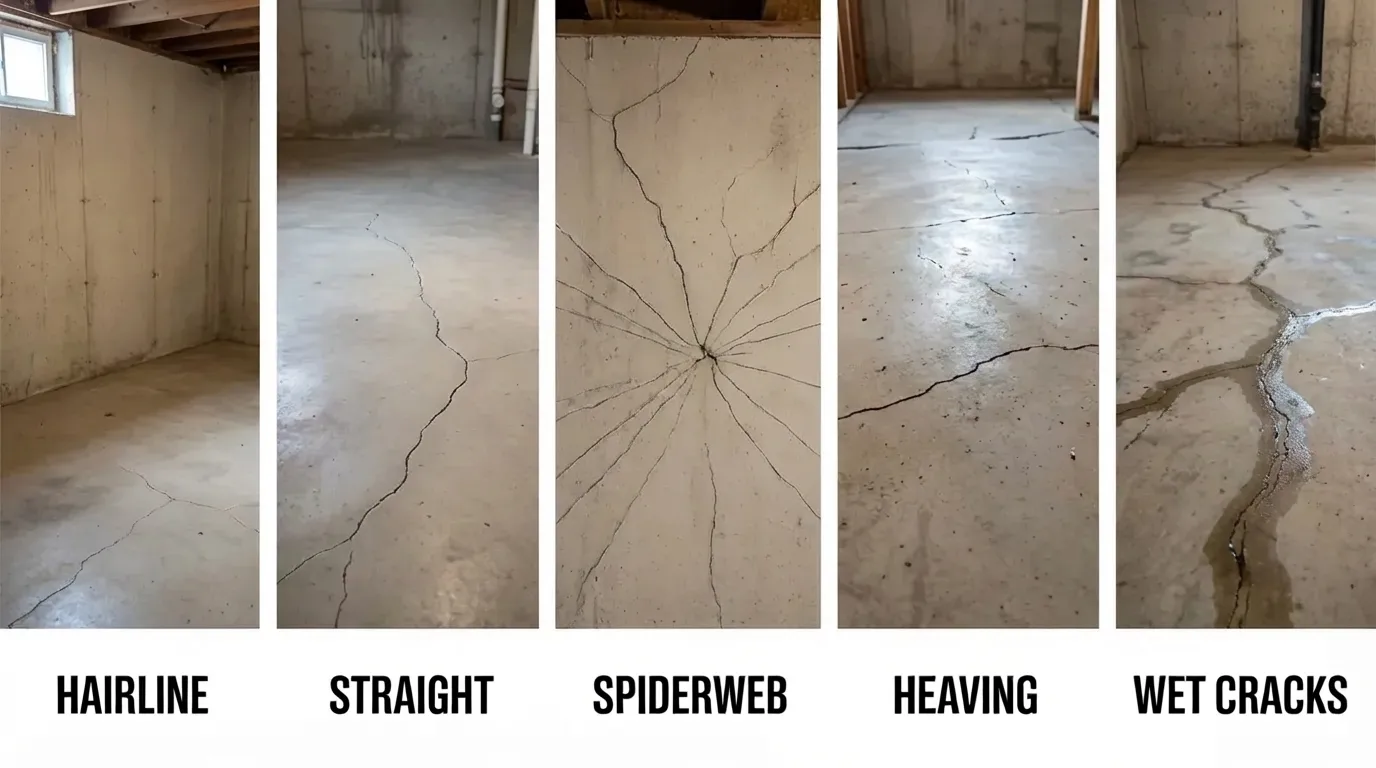
Not all basement floor cracks are the same. The shape, size, and pattern can tell you what caused them and how serious they are.
Some cracks are normal and expected. Others point to moisture, soil movement, or pressure beneath the slab. The most common types are listed below:
| Crack Type | What It Looks Like | Common Cause | Should You Worry? |
|---|---|---|---|
| Hairline shrinkage cracks | Thin, shallow lines under 1/8 inch wide | Concrete drying and curing | No, completely normal |
| Long straight cracks | Straight or slightly curved line across the slab | Soil settlement or missing control joints | Monitor, check if widening |
| Spiderweb or map cracking | Interconnected cracks spreading in multiple directions | Weak concrete mix or surface shrinkage | Usually no, rarely structural |
| Heaving cracks | One side sits higher than the other | Soil movement or frost heave | Yes, needs professional attention |
| Cracks with moisture or seepage | Water leaking or dampness along the crack | Hydrostatic pressure or waterproofing failure | Yes, fix as soon as possible |
Most cracks fall into one of these categories. If a crack is widening, leaking, or causing the floor to shift, it’s worth getting it checked.
Signs that A Basement Floor Crack May Be Serious
Not all cracks need attention, but some are clear warning signs of a bigger problem. Watch out for these:
- Crack wider than 1/4 inch: Hairline cracks are normal. Wider cracks may indicate pressure or movement beneath the slab.
- Uneven or raised edges: If one side sits higher, the slab is shifting. This often points to soil movement or heaving.
- Cracks that keep growing: Ongoing expansion usually means the underlying issue hasn’t stopped.
- Water or dampness: Moisture, leaks, or white residue (efflorescence) signal water pressure below the slab.
- Cracks aligning with wall cracks: Matching cracks in the floor and walls can indicate broader structural movement.
If you notice any of these, it’s worth getting the crack checked before it worsens.
How to Inspect Basement Floor Cracks at Home
You don’t need a contractor to do a basic inspection. A few simple checks can tell you whether a crack needs attention.
Start by measuring the width with a ruler. Cracks under 1/8 inch are usually harmless, while anything around 1/4 inch or wider is worth a closer look.
Next, run your finger across the crack. If one side feels higher than the other, it may indicate the slab is shifting unevenly.
Then check for moisture. Look for damp spots, water stains, or white chalky deposits. If moisture appears after rain, it often points to a drainage issue beneath the slab.
Finally, track the crack over time. Mark both ends with a pencil and note the date. Check again after a few weeks. If the crack is growing, it likely needs professional evaluation.
How to Repair Basement Floor Cracks: DIY Guide
Small, stable cracks can usually be repaired at home with the right approach. This process is meant for surface-level cracks that are not actively growing or leaking heavily.
Step 1: Clean the Crack Thoroughly
Start by removing anything that could prevent the repair material from bonding.
Use a wire brush or vacuum to clear out dust and loose debris. If there is any old filler from a previous repair, remove it completely.
For very thin cracks, slightly widening the opening with a chisel helps the product grip better.
Step 2: Dry the Area Completely
The surface must be fully dry before applying any repair material. Check for dampness inside and around the crack. If needed, use a fan or dehumidifier to speed up drying.
After any water exposure, wait at least 24 hours before moving to the next step.
Step 3: Select the Right Repair Material
Choose the product based on how the crack behaves.
- Polyurethane sealant works best for narrow cracks that may have slight movement.
- Epoxy is better for cracks that are dry and stable.
- For wider or more surface-level damage, use a concrete patching compound.
Using the right material is key to making the repair last.
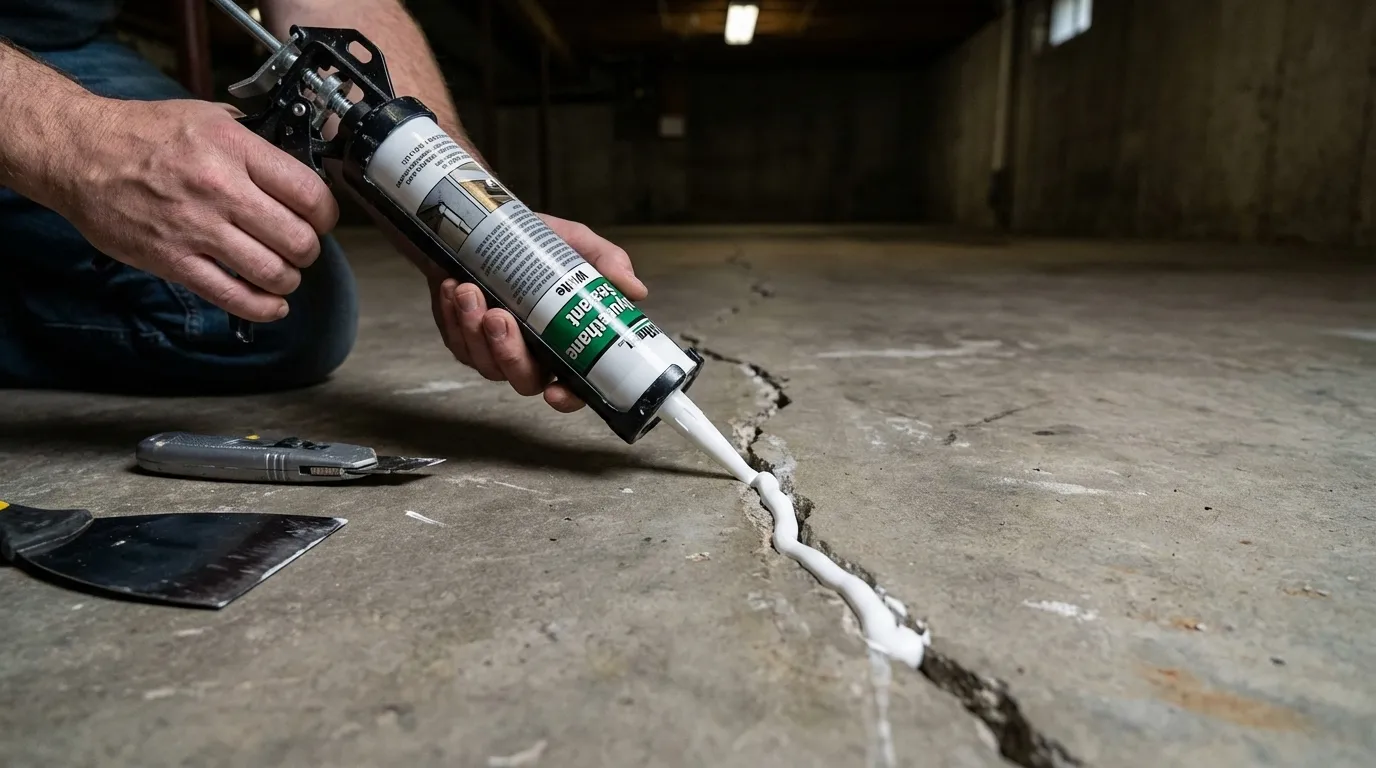
Step 4: Apply the Repair Material
Apply the product carefully and evenly.
For sealants, use a steady motion and fill the crack without overfilling. For patching compounds, press the material firmly into the crack so there are no gaps.
Take your time with this step to ensure full coverage.
Step 5: Smooth the Surface
Once the crack is filled, smooth the surface so it sits level with the surrounding floor.
Use a putty knife or trowel to even it out and remove any excess before it starts to set. This helps the repair look clean and prevents weak spots.
Step 6: Allow Proper Cure Time
Let the repair cure fully before using the area. Most products require 24 to 48 hours. Avoid walking on or placing anything over the repaired section during this time. Always check the product instructions for exact curing guidelines.
These steps work well for minor, stable cracks that aren’t linked to ongoing movement or water intrusion. A repair done right the first time can last for years with minimal upkeep.
Preventing New Basement Floor Cracks
Most basement floor cracks come down to two things: water and soil movement. Control those, and you prevent most problems before they start.
The good part is that prevention doesn’t require major work. A few simple habits can make a big difference over time. Here’s what to focus on:
- Direct water away from the foundation: Install proper drainage like French drains or gravel beds to keep water from collecting beneath the slab.
- Fix the slope around your home: The ground should slope away from the house to prevent rainwater from flowing toward the foundation.
- Maintain gutters and downspouts: Keep them clean and extend downspouts at least 4 to 6 feet away from the house.
- Control indoor humidity: Use a dehumidifier to keep moisture levels low, especially in damp basements.
- Check for leaks regularly: Inspect pipes and plumbing near the slab. Even small leaks can saturate the soil over time.
- Avoid concentrated weight: Spread heavy storage or equipment evenly to reduce pressure on one part of the floor.
Prevention is simpler than repair. Staying consistent with these small steps helps keep your basement floor stable and avoids costly fixes later.
When to Call a Foundationor Structural Professional
Some cracks go beyond what a DIY repair can handle. Ignoring them can lead to more serious structural issues and higher repair costs over time.
Call a professional if the crack is wider than 1/4 inch or continues to grow. The same applies if the floor feels uneven, which may indicate movement beneath the slab.
Recurring water through the same crack is another warning sign. This usually means pressure below the slab hasn’t been addressed, so surface repairs won’t hold.
If you start noticing multiple cracks across different areas of the floor, it’s best not to wait.
A professional inspection typically costs between $100 and $300. Minor repairs may range from $300 to $800, while structural fixes can run into the thousands depending on the cause.
Note: Costs can vary widely based on location, severity of the issue, and contractor rates. Always get a professional inspection and multiple quotes for an accurate estimate.
A structural professional can assess the depth of the crack, check for slab movement, and identify underlying issues like drainage or soil instability before they worsen.
Conclusion
Cracks in basement floors are not all the same, and treating them that way often leads to unnecessary worry or missed warning signs. Some are simply part of how concrete behaves, while others reflect changes happening beneath your home.
The key is knowing what to look for. Width, movement, and moisture tell you far more than the crack itself.
Once you understand these signals, it becomes easier to decide whether to monitor, repair, or bring in a professional. That clarity is what helps you act early and avoid bigger problems later.
If you found this helpful, explore more home maintenance guides to stay ahead of issues before they turn into repairs.
Frequently Asked Questions
Can Basement Floor Cracks Let Radon Gas In?
Yes. Radon is a soil gas that can seep into your home through slab cracks. If you live in a high-radon area, test your basement even if cracks look minor. Sealing cracks helps, but elevated radon levels may require a full mitigation system.
Do Basement Floor Cracks Affect My Home’s Resale Value?
They can. Visible or active cracks may raise concerns for buyers and inspectors. Repairing them before listing is a smart move. Documented repairs are far less likely to impact your sale than cracks left unaddressed.
Can a DIY Crack Repair Make Things Worse?
Yes, if done incorrectly. Skipping prep work, failing to seal a damp surface, or using the wrong product can trap moisture and cause the repair to fail. The crack may then worsen beneath the surface without any visible warning.
How Long Does a Crack Repair Typically Last?
A well-prepared epoxy or polyurethane repair on a stable crack can last many years. If the root cause, soil movement or water pressure, hasn’t been fixed, the crack may reopen. Resolving the underlying issue is what makes any repair hold long-term.