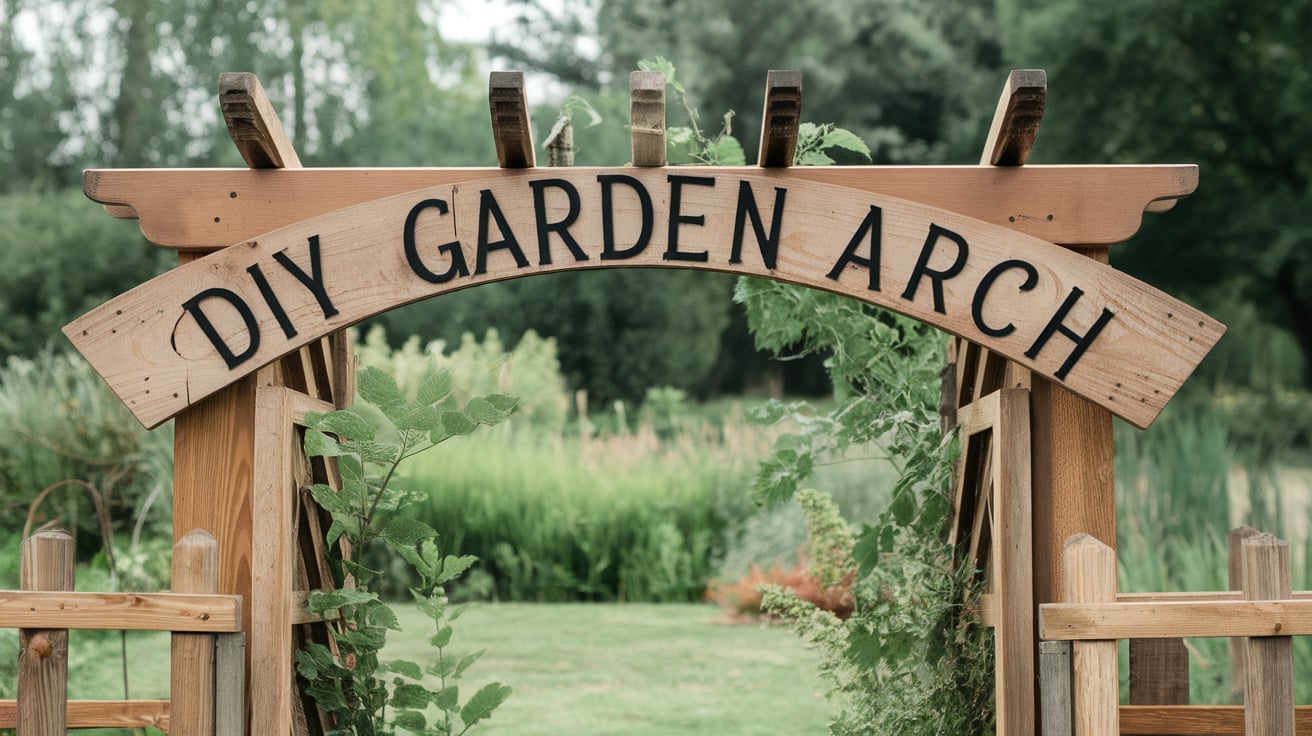
Constructing a DIY Garden Arch: A Comprehensive Tutorial
Want to add a touch of beauty to your garden without spending $500 on a pre-built arch?
I know the feeling. Last summer, I stared at my plain garden entrance, wondering how to make it special. Store-bought arches were too costly, and the cheap ones looked flimsy. It felt like I had to choose between my wallet and my garden’s beauty.
But here’s the good news: I found a way to build a strong, beautiful garden arch for less than $100 in materials.
In this guide, I’ll share my step-by-step process for creating a garden feature my neighbors keep asking about. Trust me—if I could do it with basic DIY skills, you can too!
Benefits of Adding a Garden Arch to Your Landscape
Adding a garden arch can make your outdoor space feel more special. Let me share what I’ve learned about these useful garden features:
Makes Your Space Feel Bigger
A garden arch creates depth in your yard, making small spaces look larger. I’ve seen how it draws the eye forward and builds interest, turning a simple walkway into something more meaningful.
Creates a Natural Focal Point
When I added my arch, it became the main attraction in my garden. It naturally pulls attention and gives purpose to the space around it. You can use it to highlight a seating area or mark the start of a garden path.
Supports Climbing Plants
My garden arch gives climbing roses and vines a place to grow up and over. The flowers and greenery make the structure come alive with color through the seasons. Plus, the shade from climbing plants creates a cool spot to sit on hot days.
Divides Garden Areas
Naturally, I use my arch to separate different parts of my garden. It works perfectly as a gentle barrier between my vegetable garden and sitting area, helping create smaller, cozier spaces without putting up solid walls.
Adds Year-Round Interest
Even in winter, the arch is an eye-catching feature when the plants die back. It gives my garden structure and charm no matter the season.
Types of Garden Arches
| Material | Key Features | Pros | Cons | Ideal For |
|---|---|---|---|---|
| Wooden Arches | Types of wood suitable for outdoor use, like cedar or redwood. | – Natural and aesthetic appeal. – Customizable shapes and sizes. – Long-lasting if treated. |
– Requires regular maintenance. – Susceptible to pests and rot if untreated. |
Traditional or rustic garden themes. |
| Metal Arches | Made from cattle panels or utility panels. | – Highly durable and weather-resistant. – Modern and industrial look. – Strong enough for heavy climbers. |
– Can be prone to rust if not treated. – Heavier and harder to install. |
Modern, industrial, or long-lasting designs. |
| PVC Pipe Arches | Flexible and easy to shape into arches. | – Lightweight and easy to handle. – Affordable and readily available. – Resistant to rust and decay. |
– Less sturdy for heavy plants. – May degrade over time in extreme sunlight. |
Temporary or budget-friendly projects. |
| Recycled/Sustainable Materials | Creative use of pallets, reclaimed wood, or metal. | – Eco-friendly and sustainable. – Low-cost or free materials. – Unique and creative designs. |
– May require more effort to prepare materials. – Durability depends on the material. |
Eco-conscious or DIY garden projects. |
Selecting the Right Design for Your Garden
Before I started building my garden arch, I carefully looked at my space. The right design makes all the difference. Here’s how I broke it down:
Size check: I measured my garden path’s width and height to ensure the arch fit perfectly. My tip? Add extra width for plants to grow.
Style match:
- For my cottage garden, I picked a curved top design with lattice sides
- Modern gardens work well with clean lines and metal finishes
- Japanese gardens shine with bamboo or wooden moon gates
Making it yours:
- Paint colors to match your home
- Side panels – open or closed with lattice
- Top style – flat, pointed, or rounded
Remember: The arch needs to feel like it belongs in your space. I chose a design that suited my garden’s personality.
DIY Garden Arch: Materials and Instructions
1. Gather Your Tools and Materials
Ensure you have all the necessary tools and materials for the project. For a detailed checklist, refer to the tools and materials table provided below.
| Tools | Materials |
|---|---|
| Measuring tape | Wooden base (e.g., plywood) |
| Saw (hand or electric) | Wooden dowels or PVC pipes |
| Drill and drill bits | Wood glue or adhesive |
| Screwdriver | Screws |
| Sandpaper | Wood varnish or paint |
| Protective gloves | Optional: rubber feet for stability |
2. Prepare the Work Area
- Choose a flat, stable surface like a workbench or a clear floor space.
- Measure and mark the dimensions of the wooden base according to the number of boots you plan to store.
- Mark positions for each dowel or pipe on the base, ensuring even spacing.
3. Cut the Base and Supports
- Cut the wooden base to size using a saw (suggested size: 40–60 cm).
- Cut dowels or PVC pipes to a uniform height (recommended height: 30–40 cm).
- Sand all edges of the base and dowels to remove splinters and rough spots.
4. Drill Holes in the Base
- Double-check the marked positions on the base for each boot holder.
- Use a drill bit slightly smaller than the dowel or pipe diameter for a snug fit.
- Drill holes at each marked position, ensuring vertical alignment and sufficient depth.
- Clear wood shavings and debris from the holes.
5. Assemble the Rack
- Insert dowels or pipes into the drilled holes.
- Apply wood glue or adhesive to the base of each dowel for added stability.
- Secure each dowel from the underside of the base with screws to enhance durability.
- Check and adjust the dowels for vertical alignment before the glue dries.
6. Sand and Finish
- Sand the entire rack to smooth out rough edges and surfaces.
- Apply varnish, paint, or a protective sealant for a polished look and durability (optional).
- Allow the finish to dry completely, applying a second coat if needed.
7. Set Up the Rack
- Place the rack in your desired location (e.g., entryway, mudroom, or closet).
- Organize your boots by placing them upright on the dowels or pipes.
- Test the rack’s stability by gently pressing on each dowel to ensure they are secure.
For a more detailed tutorial on DIY garden arch, check out the video below:
Maintenance and Care Tips
- Spray down metal parts with a rust-preventive coating every spring.
- Check wood screws and bolts each season – tighten any loose ones right away.
- Clean off dead leaves and plant debris from the arch base monthly.
- Give wooden arches a fresh coat of weather-resistant stain once a year.
- Remove weak or dead climbing plant stems before they fall and clog the structure.
- Look for signs of wood rot after rainy seasons – fix affected areas quickly.
- Keep climbing plants trimmed so they don’t overload the arch structure.
- Watch for pest homes in the arch joints – clear them with a soft brush.
- Fix any wobbly parts as soon as you notice them to prevent bigger problems.
- Clean the arch with plain water and a soft brush each spring and fall.
Creative Ideas for DIY Garden Arches
1. Metal Rod Arch
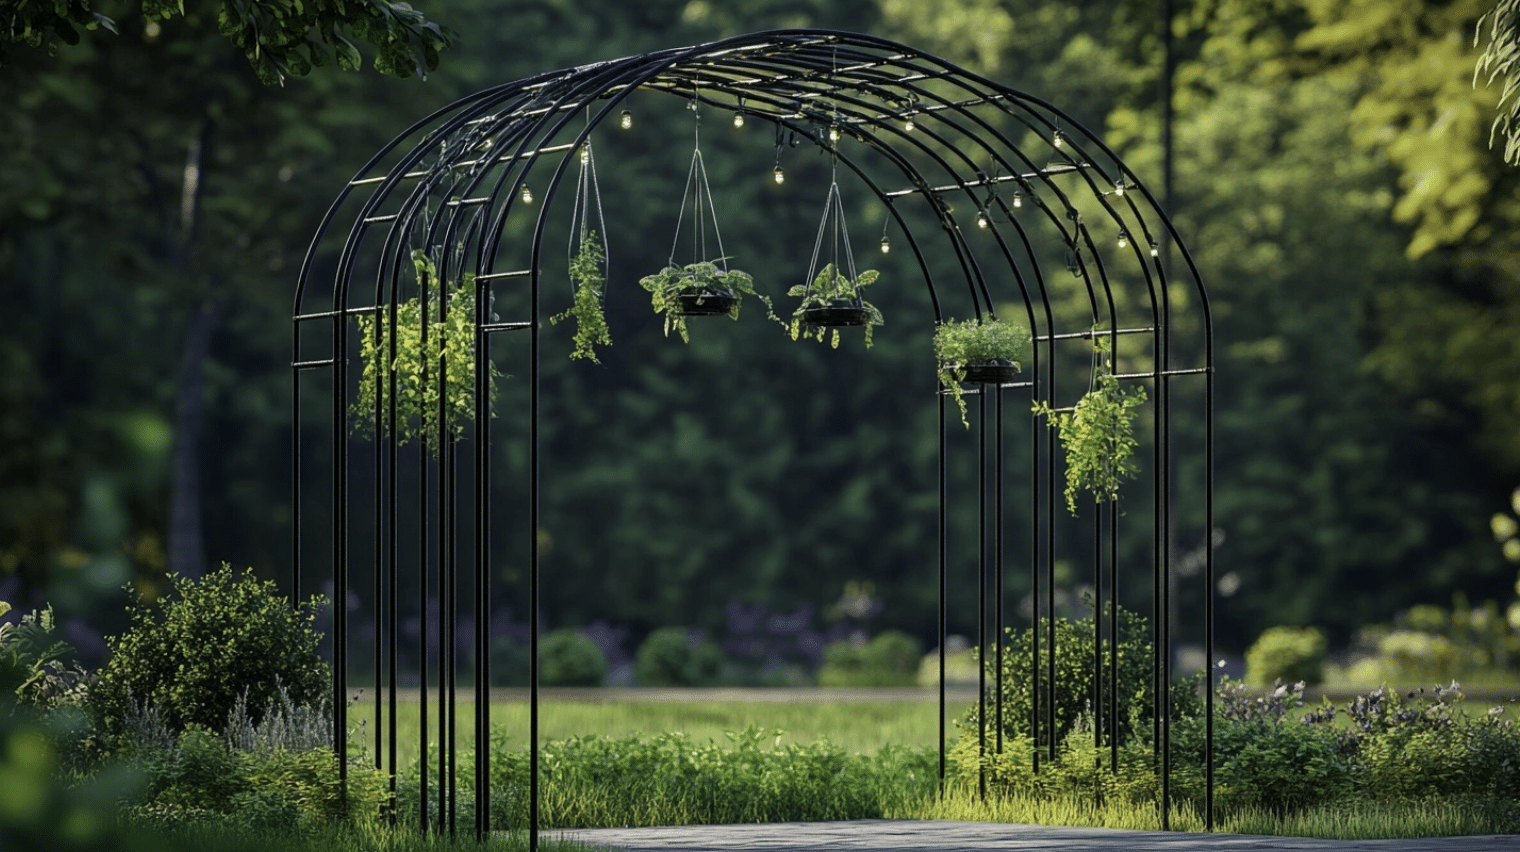
Use steel or aluminum rods to craft a sleek, modern arch that’s both strong and minimalist.
- Why It Works: Strong and weather-resistant, making it great for permanent setups.
- Maintenance Tips: Check for rust and repaint with metal-safe paint as needed.
- Seasonal Styling Ideas: Add fairy lights in winter or hang planters in summer for added charm.
2. Willow Branch Arch

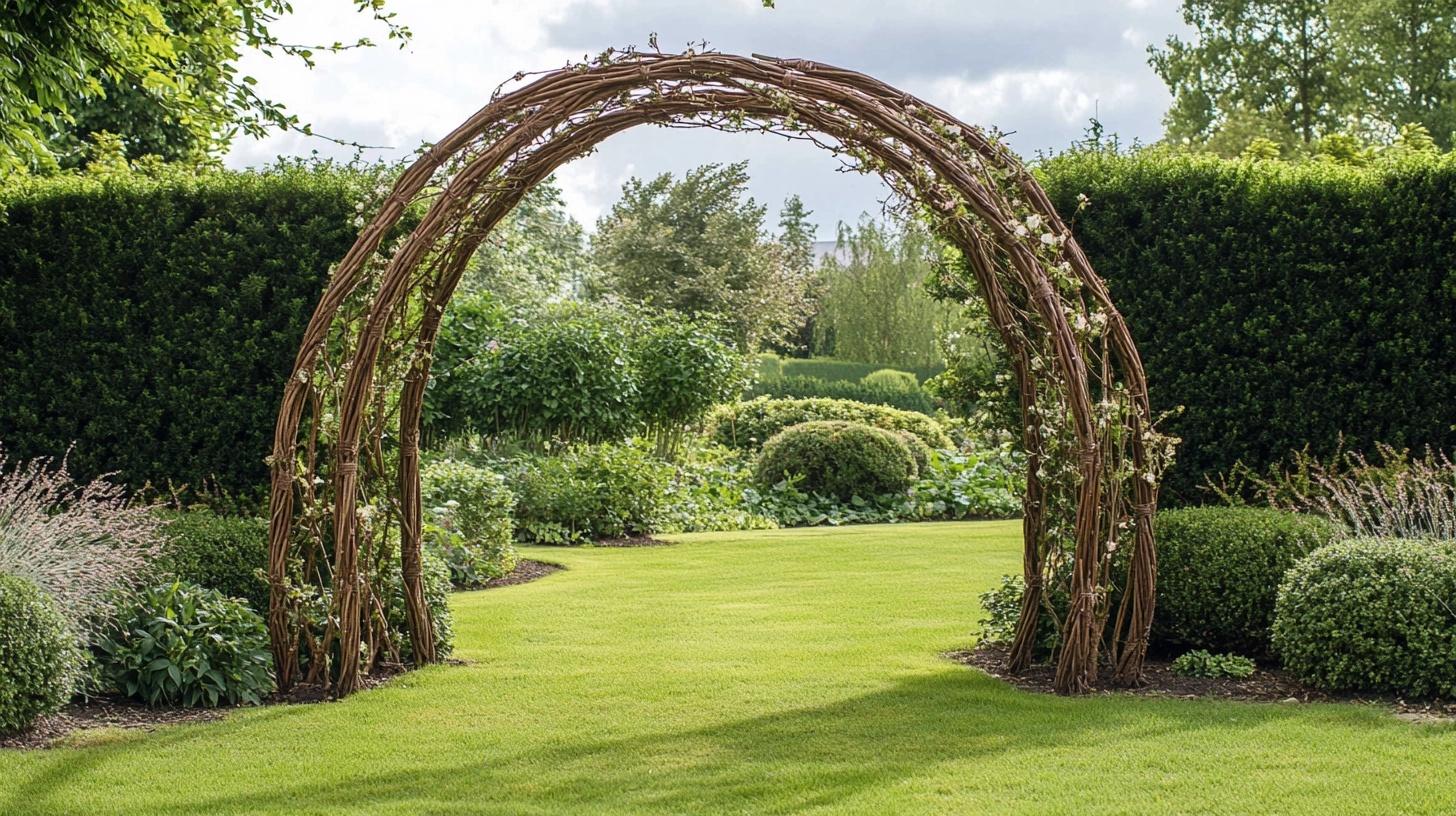
Bend pliable willow branches into an arch and tie them together, creating an earthy structure for ornamental gardens.
- Why It Works: Natural and eco-friendly, blending seamlessly with garden aesthetics.
- Maintenance Tips: Replace weakened branches annually to maintain structure.
- Seasonal Styling Ideas: Drape with colorful ribbons in spring or twinkle lights for evening events.
3. Ladder Arch
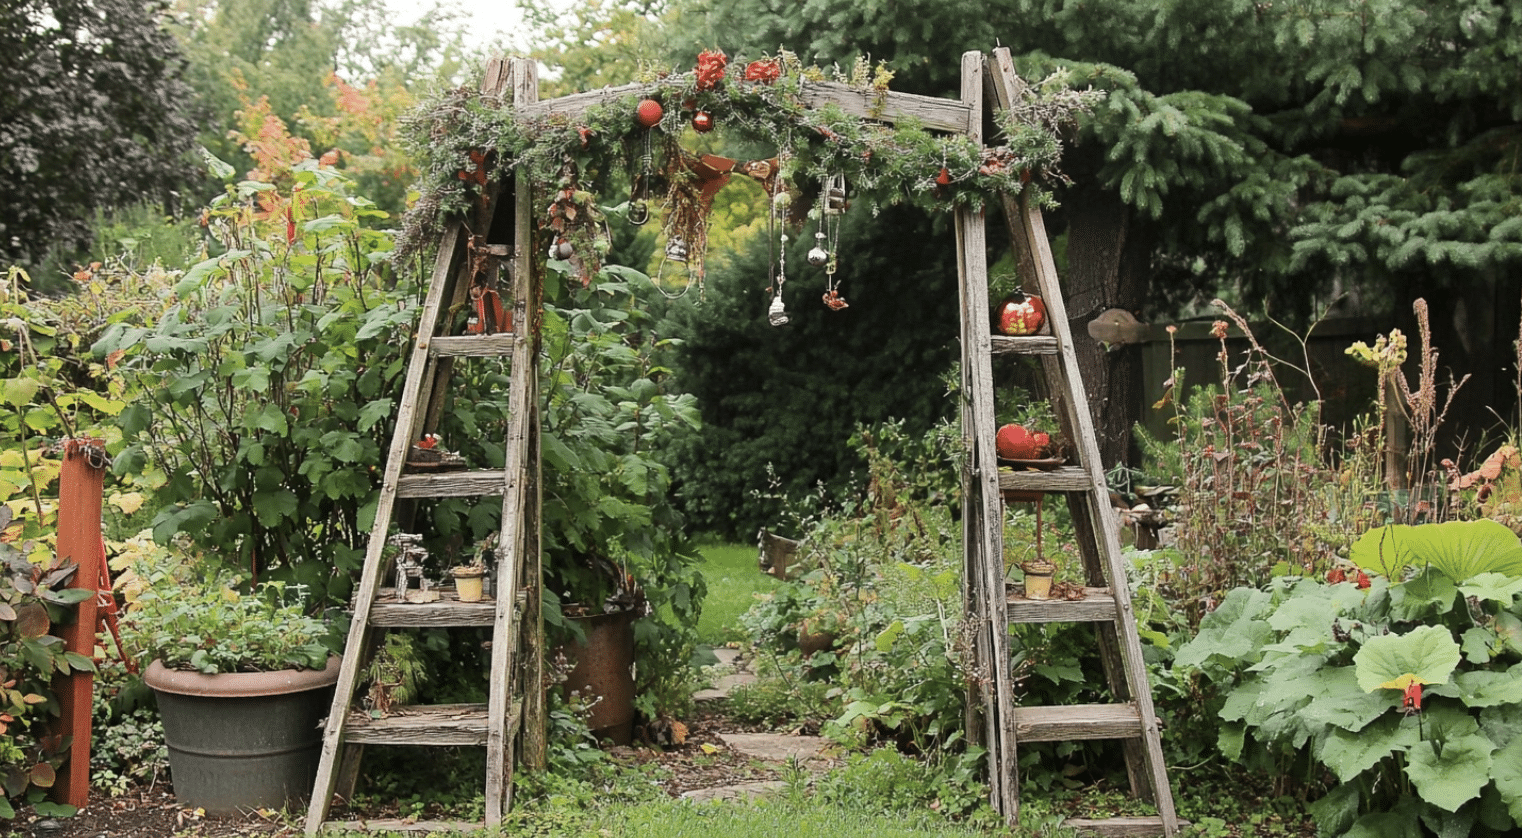
Join two old ladders at the top to form an arch, then allow climbing plants to grow along the rungs for a whimsical garden feature.
- Why It Works: Repurposes materials while providing a sturdy frame for climbers.
- Maintenance Tips: Inspect the ladders for stability and paint to protect against weather damage.
- Seasonal Styling Ideas: Decorate with ornaments during holidays or wrap with garlands for celebrations.
4. Stone Base Arch
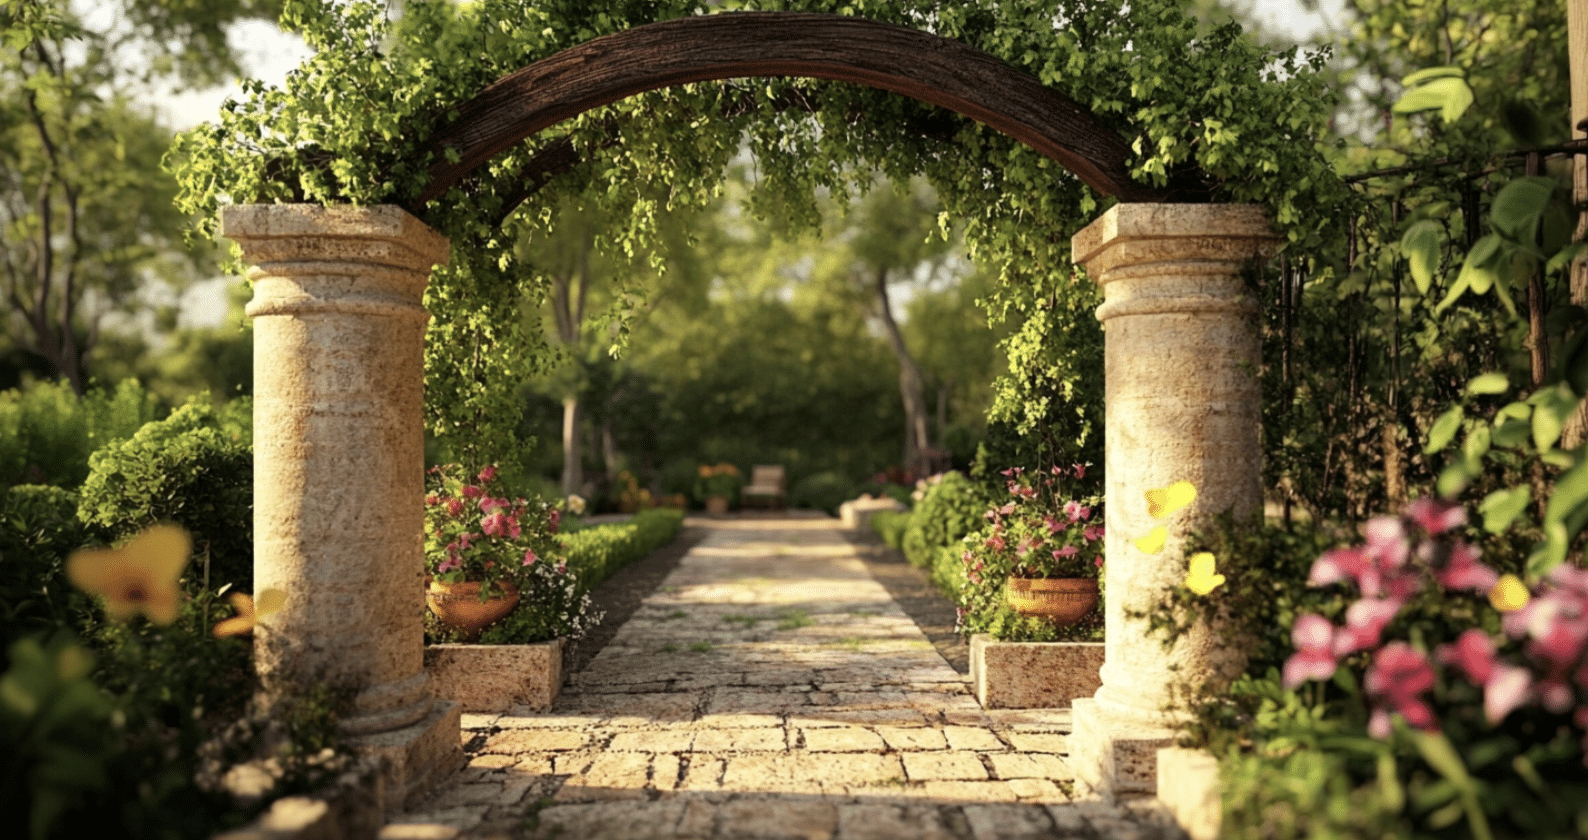
Build stone columns on each side and top with wooden beams in an arch.
- Why It Works: Combines natural and sturdy materials for a timeless design.
- Maintenance Tips: Check for shifting stones and reseal any cracks in the wooden beam.
- Seasonal Styling Ideas: Add potted flowers or cascading vines for a seasonal touch.
5. Door Frame Path
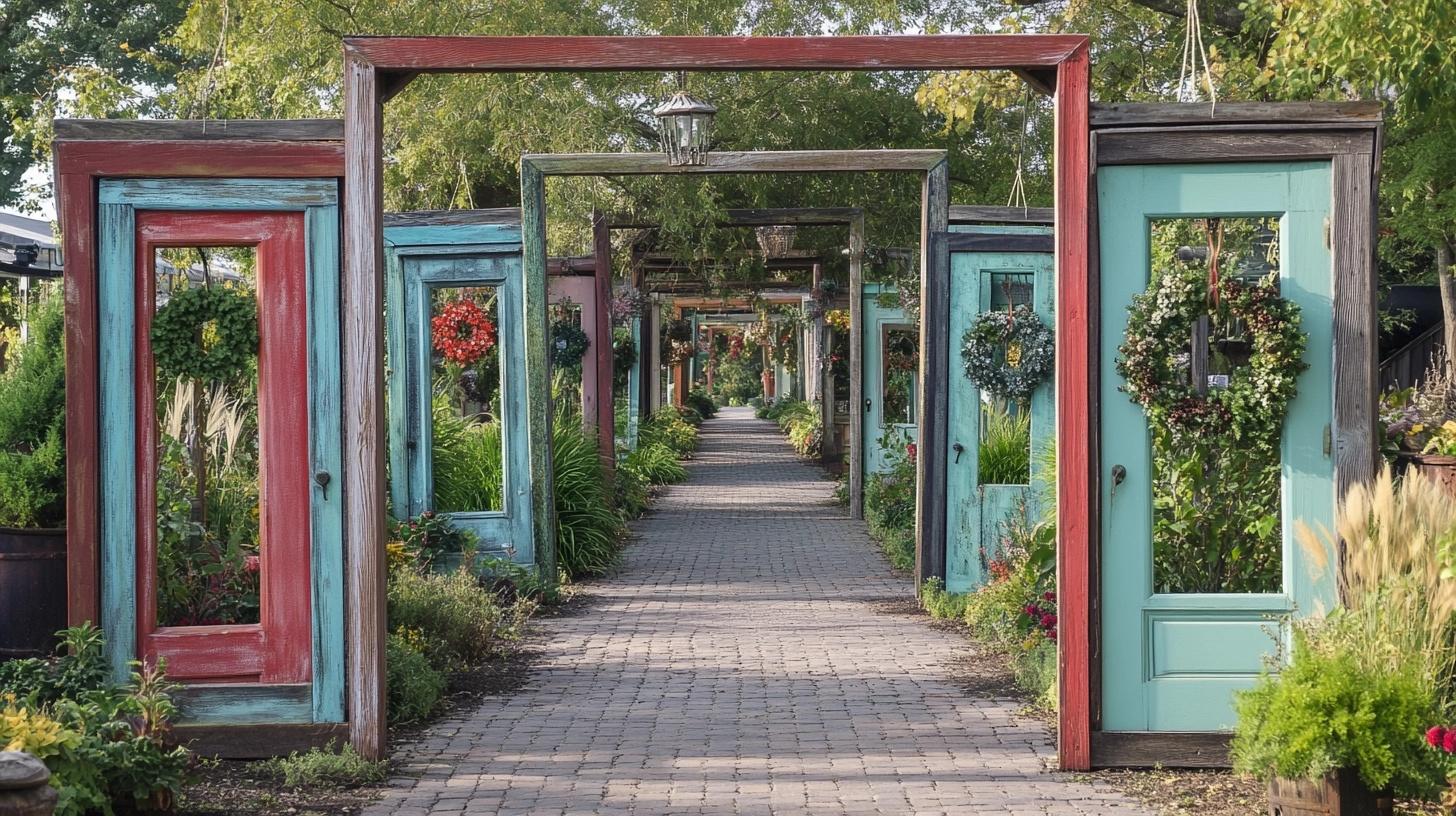
Link several old door frames to create a tunnel-like walkway.
- Why It Works: Creates a unique and charming focal point in the garden.
- Maintenance Tips: Treat wood to prevent rotting and inspect hinges for security.
- Seasonal Styling Ideas: Use seasonal wreaths or hanging baskets to match the garden’s theme.
6. Basket Weave Arch
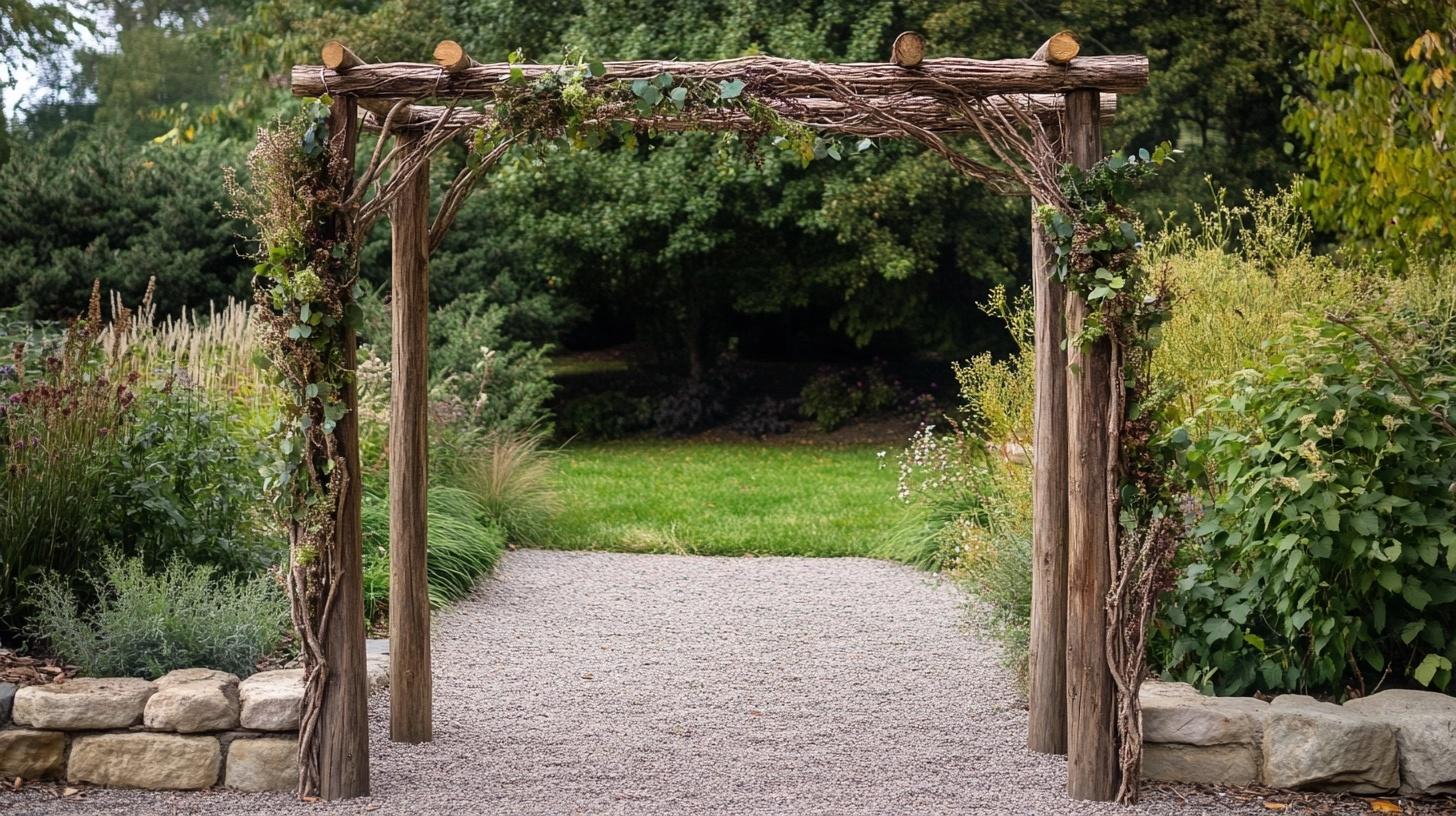
Weave flexible branches between strong posts for a natural screen.
- Why It Works: Simple to create and provides a rustic, textured look.
- Maintenance Tips: Reweave loose branches periodically to maintain strength.
- Seasonal Styling Ideas: Enhance with dried flowers in fall or fresh greenery in spring.
7. Bamboo Arch
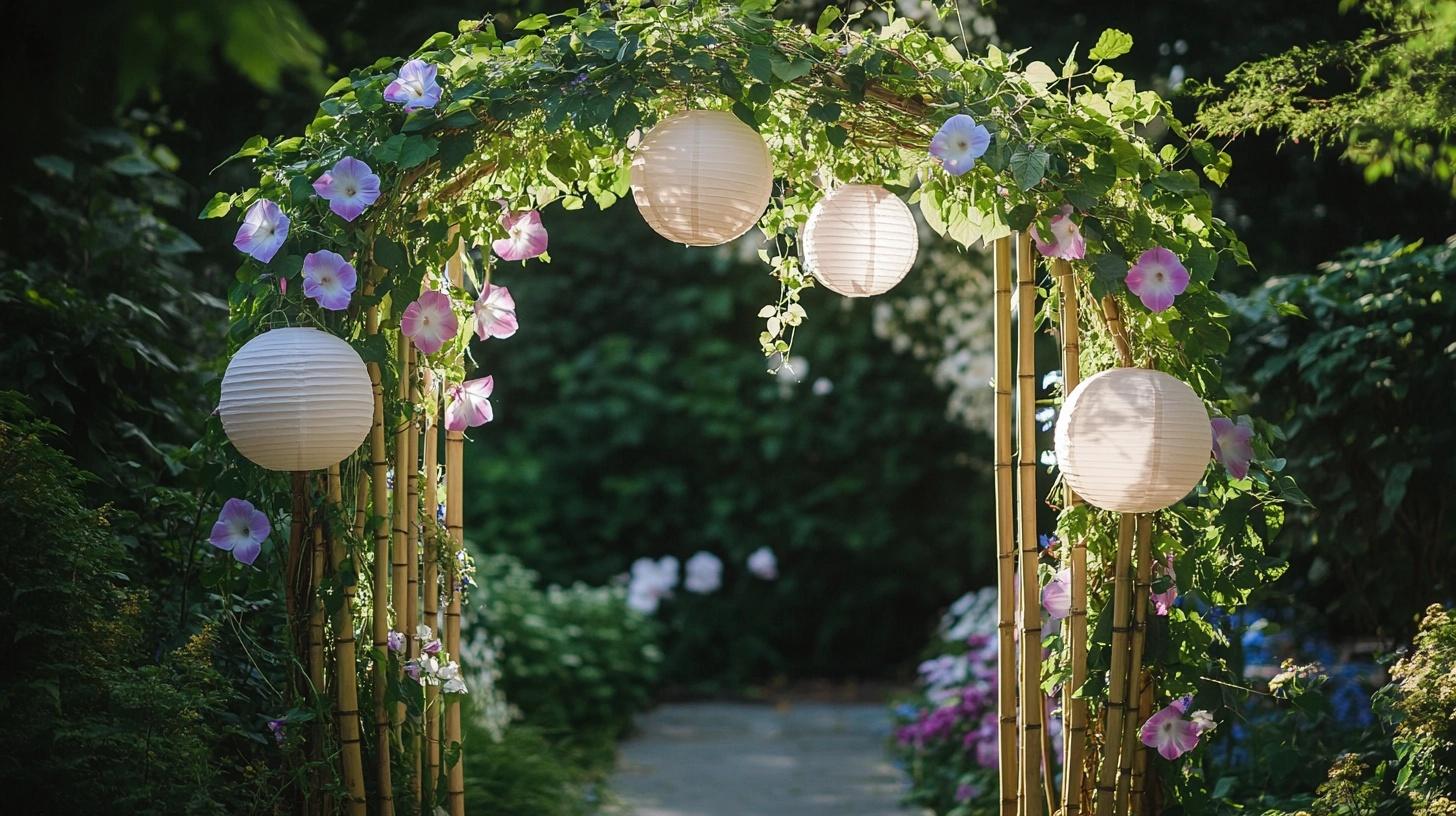
Tie bamboo poles together to form a natural, eco-friendly arch for lightweight climbers like morning glories.
- Why It Works: Lightweight, flexible, and sustainable, perfect for supporting delicate plants.
- Maintenance Tips: Treat the bamboo with weatherproof coating to extend its life.
- Seasonal Styling Ideas: Decorate with paper lanterns during festivals or fresh garlands in spring.
8. Reclaimed Wood Arch
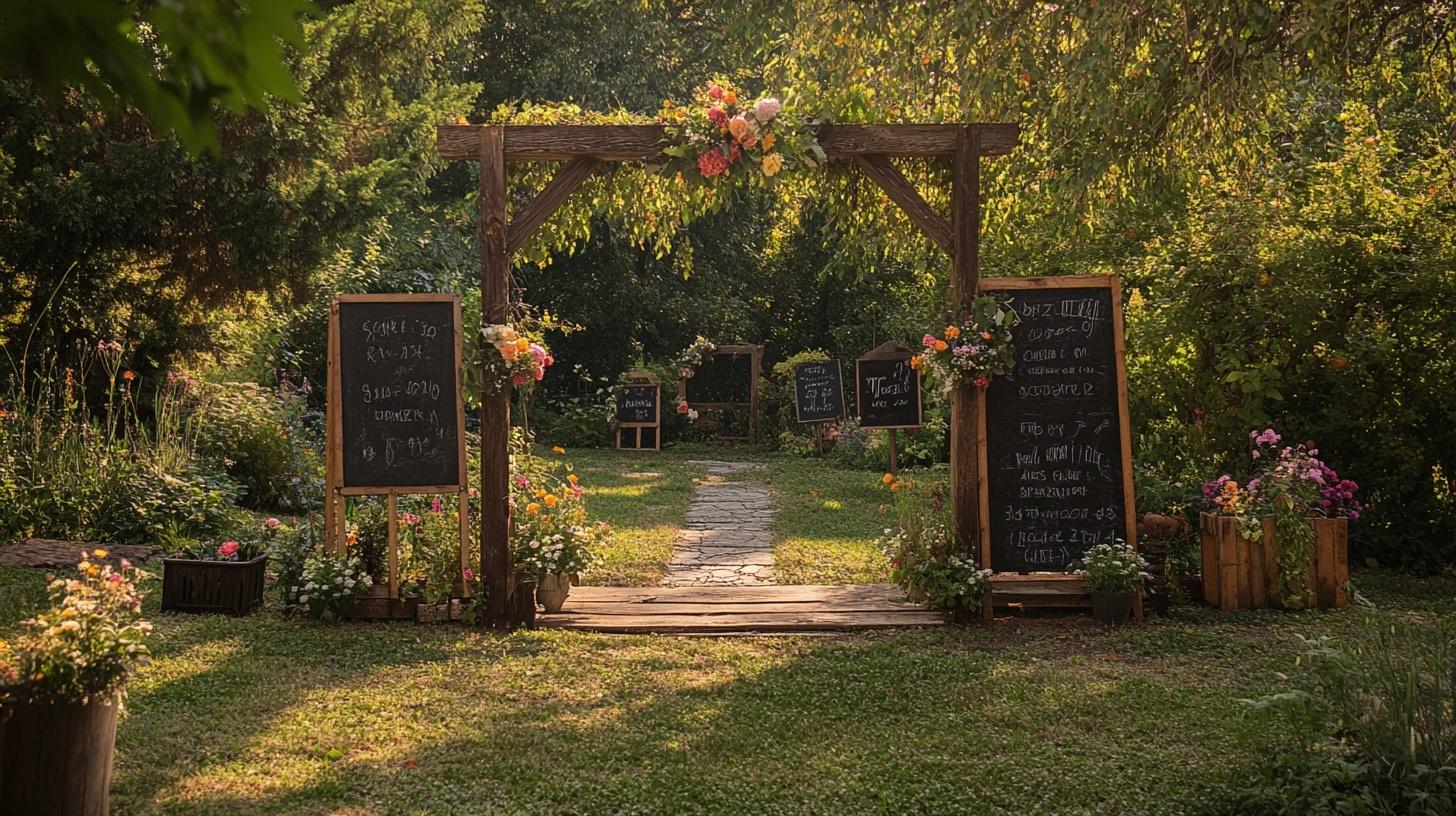
Repurpose old wooden pallets or leftover timber to create a rustic wooden arch that blends well with natural surroundings.
- Why It Works: Budget-friendly and eco-conscious, with a charming rustic appeal.
- Maintenance Tips: Sand and seal the wood to protect against rot and pests.
- Seasonal Styling Ideas: Add small chalkboards for seasonal messages or themed decorations.
9. Bicycle Arch

Turn two old bikes upside down and connect them at the top for a unique entrance.
- Why It Works: Quirky and fun, it artistically repurposes materials.
- Maintenance Tips: Paint the bikes to prevent rust and inspect connections for stability.
- Seasonal Styling Ideas: Adorn with flowers in summer or string lights around the wheels for a festive glow.
Wrapping It Up
Let me wrap up this guide with a personal note. Building a garden arch can seem like a daunting task at first. But as my own experience has shown me, it’s totally doable with basic tools and some patience.
The time you spend measuring, cutting, and putting pieces together pays off when you look out your window and see that beautiful structure standing proudly in your garden.
Today, my arch isn’t just a garden feature – it’s a story I get to tell, a project I’m proud of.
Ready to start your arch project? Remember to take your time with the planning phase. And don’t forget to share photos of your finished arch in the comments below!
Want more garden DIY ideas? Check out my guide on DIY Garden Markers.

