Build Your Own Wooden Christmas Tree: A Complete Step-by-Step Guide
Want to add a special touch to your holiday decorations? A wooden Christmas tree brings lasting beauty to your home. This guide shows you how to build one that fits your style and space.
Making your tree saves money and helps our planet. Your creation becomes a family treasure, ready to shine year after year. Plus, you control every detail – from size to finish.
This blog walks you through each step. Learn which design suits your skills, from beginner-friendly to more detailed builds.
We cover tool basics, safety tips, and building steps. Find out how to make your tree unique with paint, lights, or natural wood grain.
Join us as we turn simple boards into holiday magic. Let’s create something special together.
Choosing the Right Design
1. Style Options
Wooden Christmas trees offer unique home decoration choices based on your space and needs.
The traditional board tree stands as a solid display piece. Built from 2×6 lumber, it reaches 22 to 27.5 inches tall. This style works well outdoors and holds decorations like lanterns.
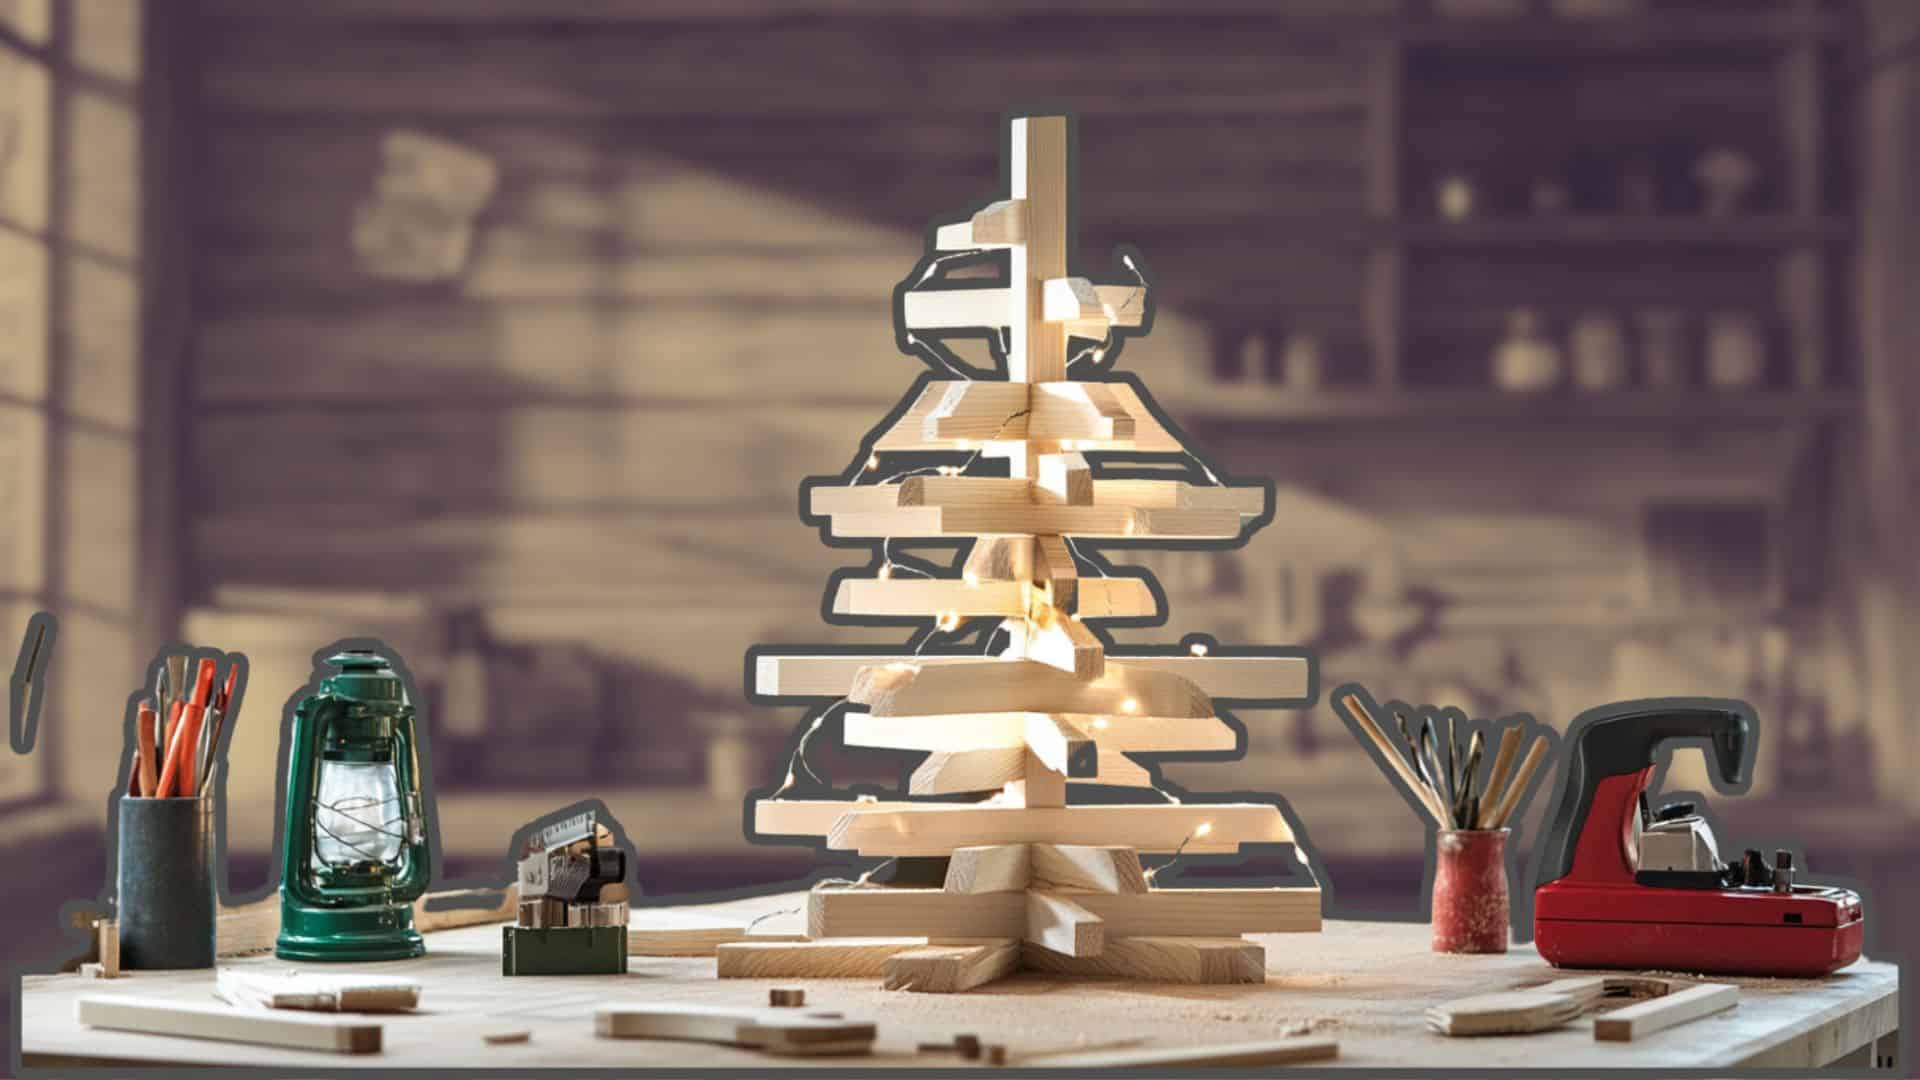
The slat design brings a fresh take on holiday decor for indoor spaces. These trees feature spaced wooden pieces that let light pass through. Their simple storage makes them perfect for small homes.
The basic triangle build serves as an excellent starting point. Made from three main boards, it fits nicely in room corners. The design takes little time to make and uses minimal materials.
2. Skill Level Assessment
Your woodworking experience should guide your project choice.
New woodworkers should begin with the basic triangle design. It needs simple straight cuts and takes about four hours to complete. You’ll learn essential measuring and cutting skills.
Those with some experience might prefer the traditional board tree. This project includes angled cuts and precise measurements. Set aside six hours for careful construction.
The slatted design sits between these options. It requires attention to detail but follows straightforward steps. Most people complete it in five hours.
3. Visual Guide
The traditional board tree brings a strong presence to any space. Its wide base provides stability for outdoor use, and the design accepts stains or paint to match your style.
Slat versions add a modern touch to holiday decor. Their metal pole support keeps pieces aligned. Standard flower pots work well as bases for these trees.
Each style meets different needs. Small homes benefit from the space-saving slat design, while large porches showcase the traditional board tree well.
The source materials show these trees lasting many seasons. Their solid construction handles regular use, and paint or stain helps protect them from the weather.
Before starting, consider your available time and tools. Match the project to your skills and space. Good planning leads to better results.
Materials and Tools Required

Materials List
Start your wooden tree project with quality supplies. Basic materials cost about $16.
Base Wood Options:
- Untreated 2×6 boards (8 feet long) for outdoor trees
- 2×4 lumber for medium-sized trees
- 1×4 boards for small indoor versions
Supporting Materials:
- Waterproof wood glue
- 2-inch brad nails
- 1¼-inch wood screws
- 1×2 or 1×3 support board
Finishing Supplies:
- Wood stain or paint
- Sandpaper (medium and fine grit)
- Wood filler for gaps
- Exterior sealant for outdoor trees
Tools List
Essential Power Tools:
- Miter saw for angled cuts
- Electric drill with basic bits
- Brad nailer for assembly
- Orbital sander or sanding block
Manual Tools:
- Measuring tape (25 feet)
- Pencil for marking
- Square for alignment
- Hammer
Support Equipment:
- 24-inch clamps for small trees
- 36 or 48-inch clamps for large trees
- Work table or stable surface
- Shop vacuum for cleanup
Equipment Care
Keep tools clean between cuts. This helps make straight, clean edges—store power tools in dry areas. Moisture can affect wood and tools.
Check tool settings before starting. Correct angles save time and materials. Replace dull blades and bits. Sharp tools make better cuts.
Clean your workspace often. This prevents sawdust buildup and keeps you safe.
Safety Precautions
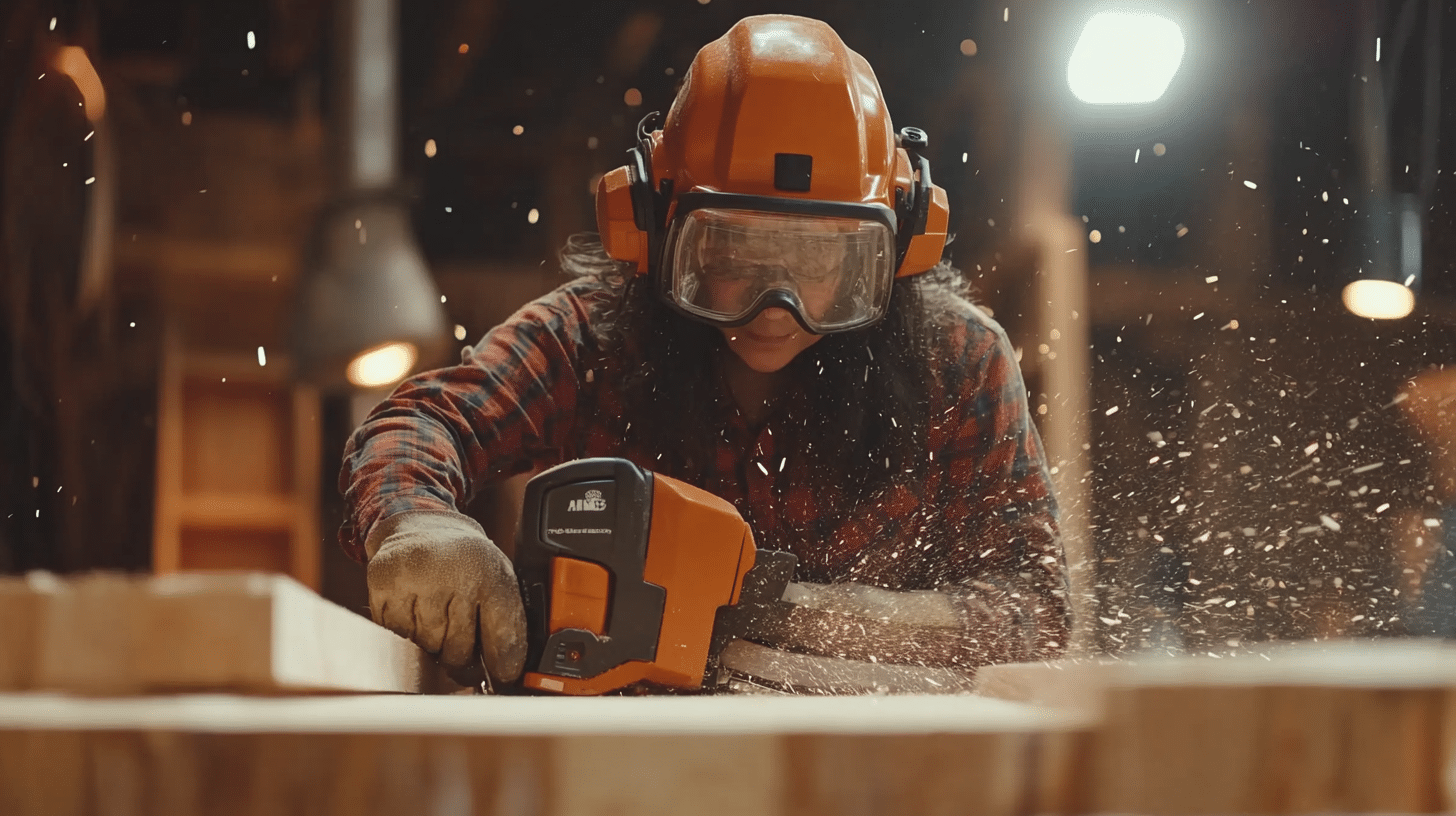
1. Tool Safety
Always unplug power tools when not in use. This stops accidents before they start. Keep hands at least six inches from saw blades. Use push sticks for close cuts.
Check power cords before starting work. Damaged cords need immediate replacement. Set your work height properly. Your elbows should bend at 90 degrees while cutting.
Use clamps to hold the wood steady. Moving pieces can cause dangerous slips.
2. Protective Gear
Basic Safety Items:
- Safety glasses for eye protection
- Ear plugs during loud cutting
- Face mask for dust control
- Work gloves for handling wood
Proper Clothing:
- Close-toed shoes
- Fitted long sleeves
- No loose jewelry
- Tied-back long hair
3. Best Practices
Clear your work area first. Remove trip hazards and loose items. Mark your cutting lines. Good marks mean better cuts.
Test tool settings on scrap wood. This confirms your angles are correct. Keep a first aid kit nearby. Quick access helps in emergencies.
Make one cut at a time. Rushing leads to mistakes. Take regular breaks. Fresh eyes spot potential problems.
Store sharp tools safely. Point blades away from walking paths. Clean sawdust as you work. Buildup creates slipping risks.
Check your measurements twice. Wrong cuts waste time and materials. Keep children and pets away. Set clear boundaries around your workspace.
Step-by-Step DIY Building Instructions
Step 1: Preparing the Wood
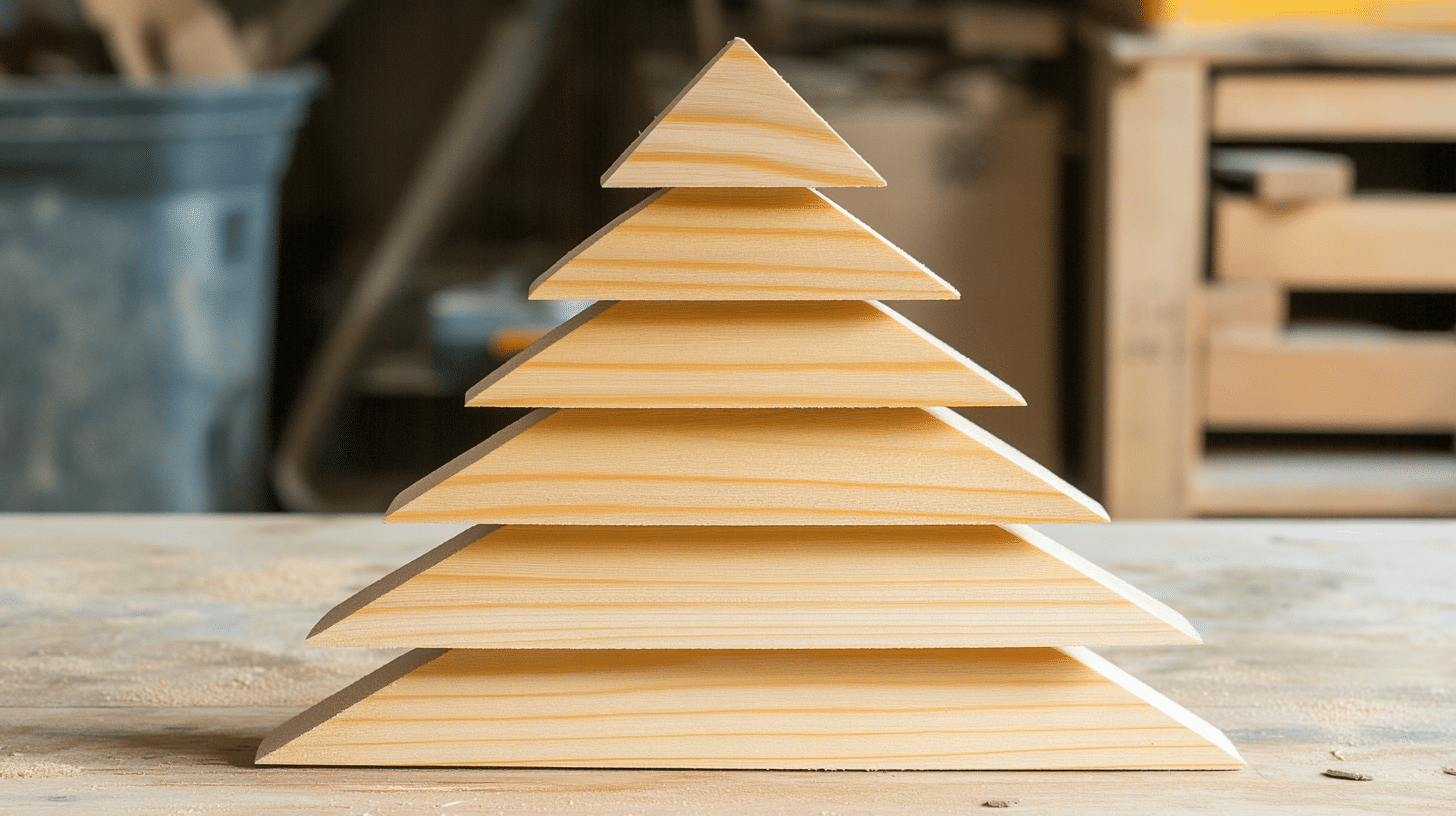
Start your wooden tree project by carefully marking your boards. Set your miter saw to 31.6 degrees for the base cuts.
Measure 18 inches from the longest point of your first angled cut. Make this mark clear with a pencil. Your next cut creates the base piece of your tree.
For the middle sections, reduce each board’s length by three inches. The top piece must be cut at a 36-degree angle at 8 inches long.
Step 2: Assembling the Base
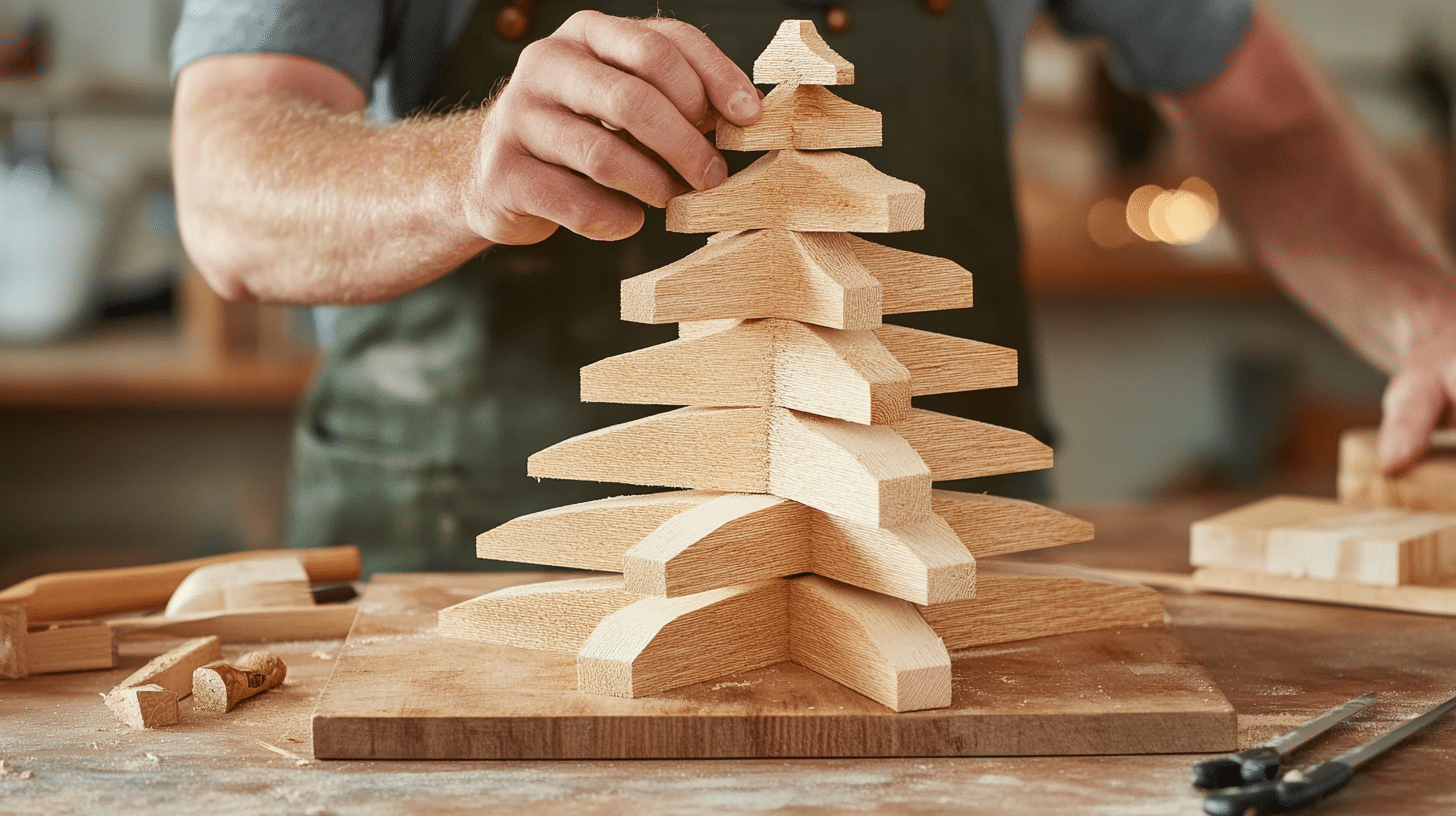
To create stability, cut a 6.5-inch-wide board from your 2×6 piece. This will form your tree’s standing base. Find the center point of each cut board and mark it.
These marks help line up your pieces perfectly. Apply wood glue generously between each layer. Hold the pieces with clamps while the glue sets for one hour to ensure a strong bond.
Step 3: Attaching the Branches
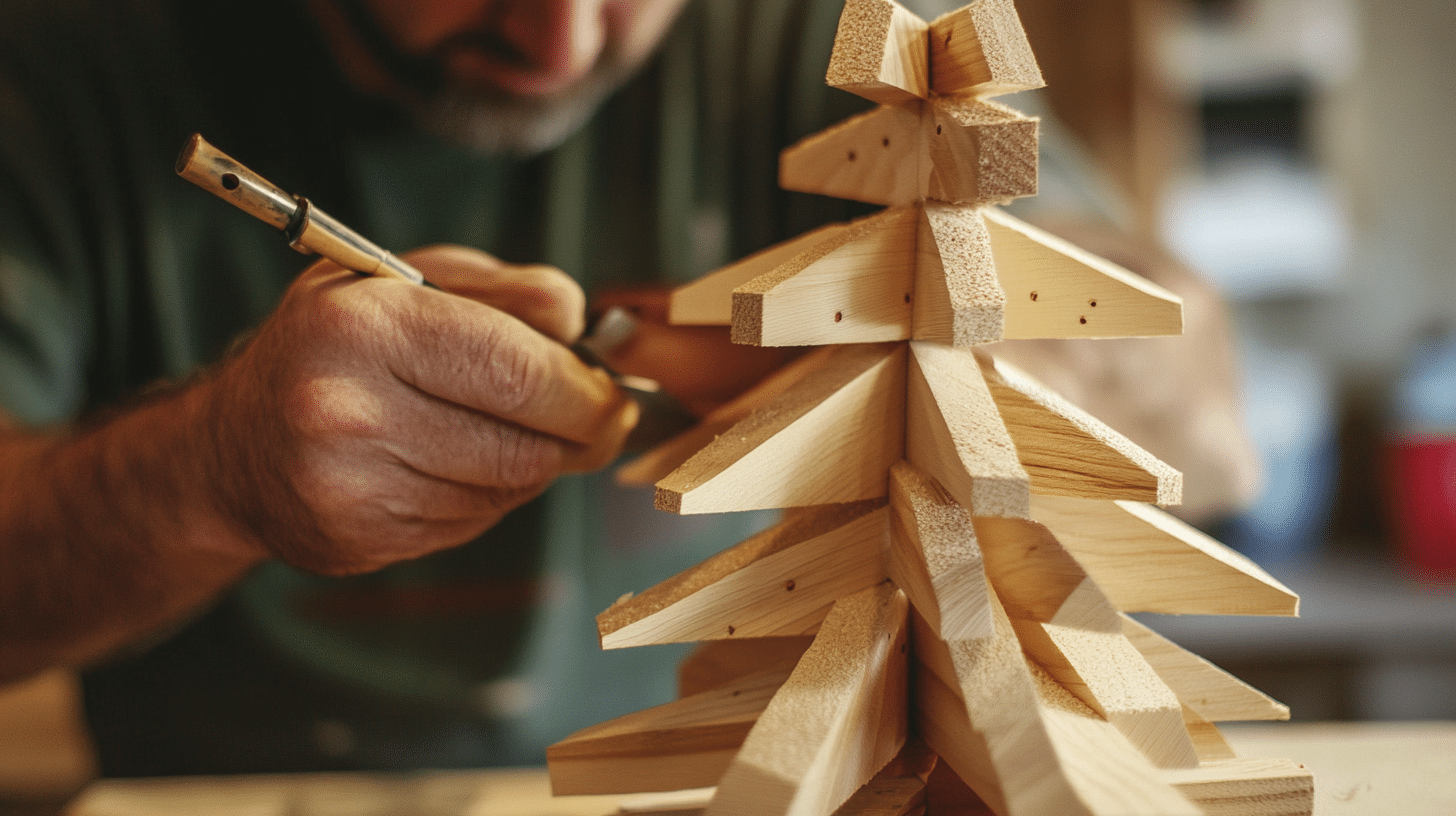
Line up your marked center points as you build upward. After adding glue, press the pieces together firmly. Use your clamps to hold everything in place.
Add 2-inch brad nails through the joints for extra strength—work from bottom to top, checking alignment at each step. A straight tree needs careful attention to these connections.
Step 4: Sanding and Finishing
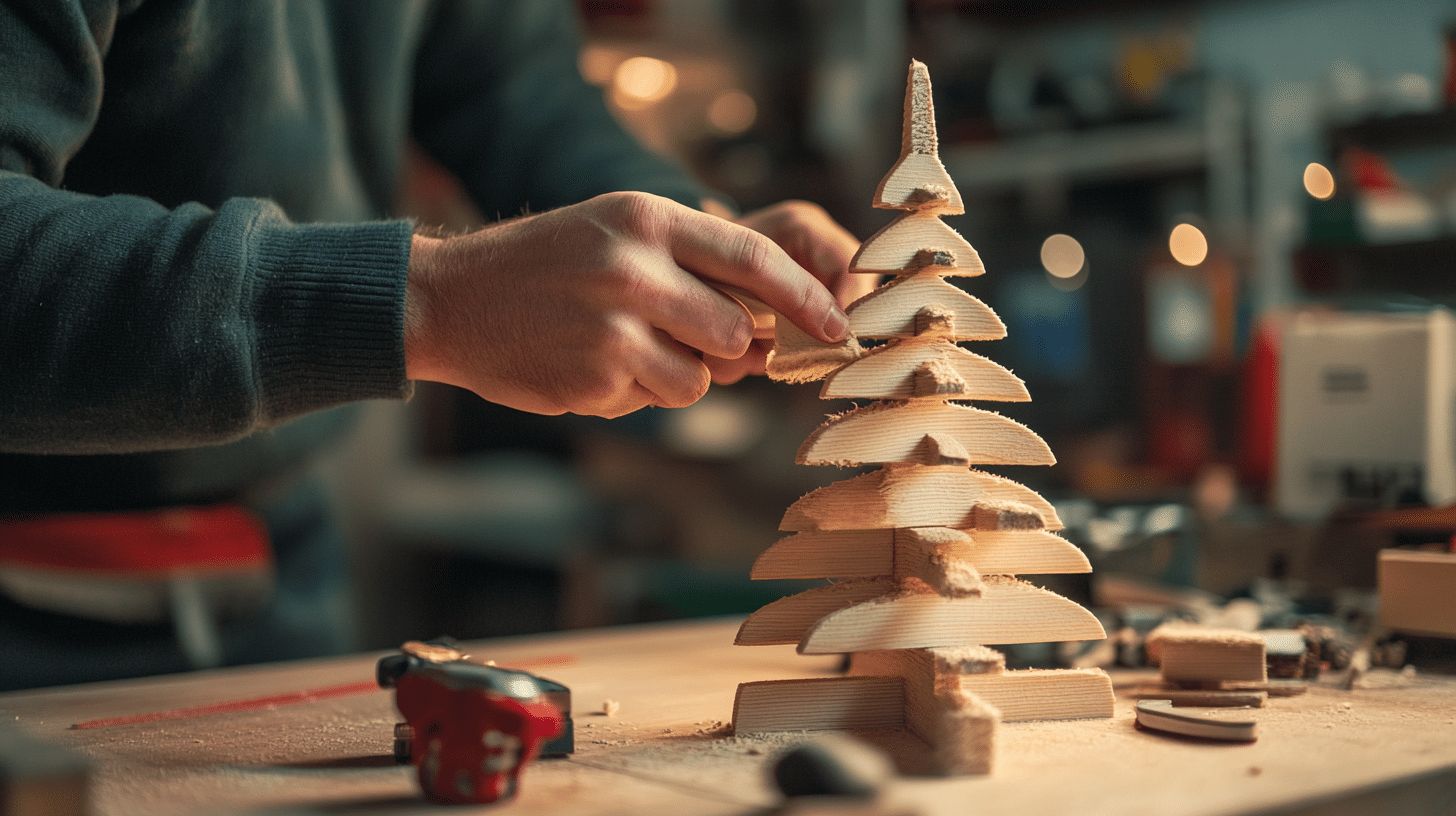
Let all glue dry completely before sanding. Start with medium-grit sandpaper to remove excess glue. Move to fine-grit paper for a smooth finish.
Wipe all surfaces clean with a tack cloth. This removes dust before finishing. Pay extra attention to the cut edges. These areas need the most smoothing.
Step 5: Painting and Decorating
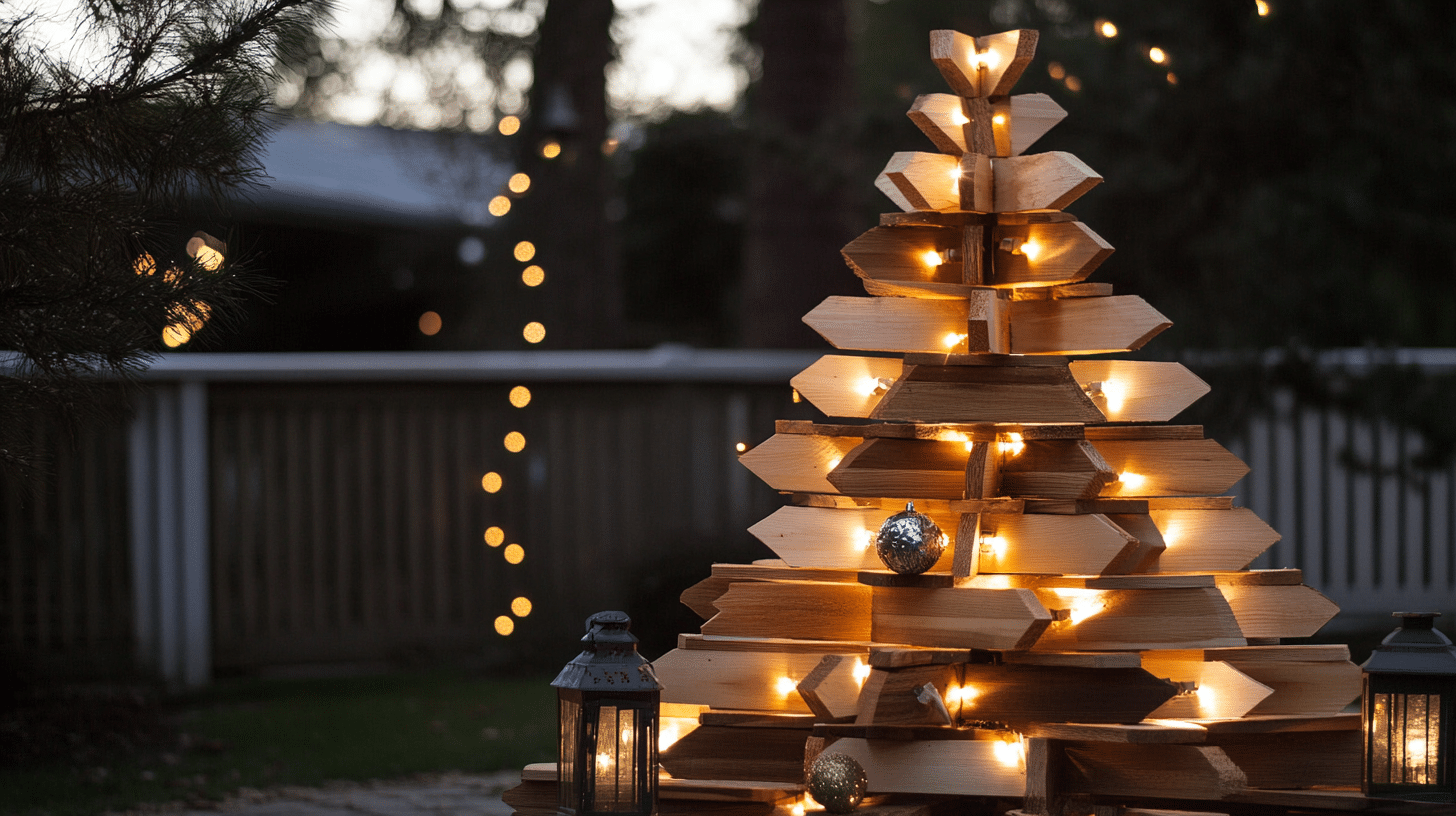
Choose your finish based on the tree’s location. Indoor trees need standard wood stain or paint, while outdoor versions require exterior-grade finishes.
Apply thin, even coats. Let each coat dry fully before adding more. For extra protection, add a clear sealant.
Once dry, attach lights using small clips or tacks. Place decorations like lanterns or ornaments on the level surfaces.
For more details, check out the elaborate video tutorial by Cedar River Woodworking.
Customization and Creative Ideas
Personal Touches
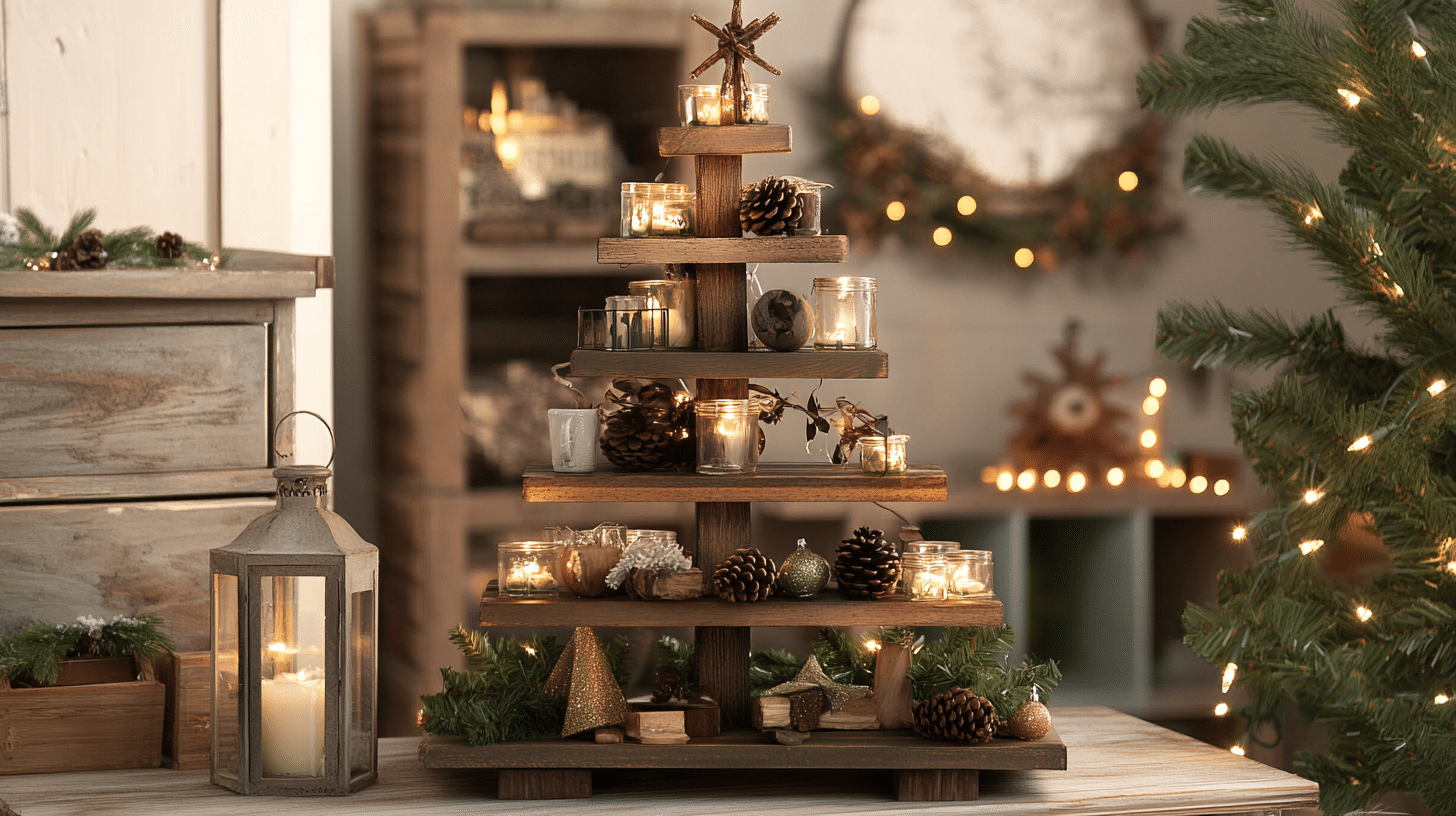
Make your wooden tree stand out with simple additions. String lights add warmth when woven through the layers. Small lanterns perch perfectly on each level. Battery-operated candles create a safe, welcoming light.
Glass decorations catch the light beautifully between wood layers: place pine cones or berries for natural touches. Twine wrapped around the edges brings rustic charm. Small hooks let you change decorations throughout the seasons.
Paint offers endless options for your tree. White creates a clean, modern look. Dark stains highlight the natural wood grain. Green shades bring traditional Christmas feelings. Mix finishes to create depth and interest.
Alternative Materials
Scrap wood brings character to your tree. Each piece tells its own story. Look for boards with interesting patterns or textures. Mix different wood types for unique effects.
Old pallets work well for rustic designs. Clean them thoroughly before use. Remove all nails and rough spots. Their weathered look adds charm to finished trees.
Leftover deck boards make sturdy outdoor trees. Their treatment helps them last longer. Cut them into smaller pieces for indoor versions. Their thickness creates strong structures.
Consider using wooden crates for bases. They offer built-in storage space. Stack them creatively for different heights. Paint them to match your tree design.
Small wooden dowels make mini trees. Create table-top versions for small spaces. Use them as gift toppers or centerpieces. Their size makes perfect party favors.
Cost and Time Estimates
Budget Breakdown
| ITEM | COST | DESCRIPTION |
|---|---|---|
| Main Materials (2×6 Boards for Large/Small Trees) | $16 | Two 8-foot 2×6 boards to build both small and large versions |
| Hardware (Glue, Nails, Screws) | $10 | Includes glue, nails, and screws |
| Paint or Stain | $15 – $25 | Cost per tree |
| Basic Tools (If Needed) | $100 | Starts at $100 for essential tools |
| Clamps | $20 – $40 | Based on size needs |
| Safety Gear | $30 | Adds another $30 to your budget |
| 1×4 Board for Indoor Trees | $8 | Making indoor trees uses less material |
| Basic Hardware for Indoor Trees | Under $5 | Small trees need fewer supplies |
Time Required
First-time builders should plan for four to six hours. This includes measuring, cutting, and basic assembly. Drying time adds another hour between steps.
Experienced builders finish in three to four hours. They know tool settings and work faster; their experience helps them avoid common mistakes.
Painting or staining requires extra time. Each coat takes two hours to dry, so plan for three coats at a minimum. Weather affects drying time for outdoor finishes.
The assembly is divided into clear segments. Cutting takes about one hour, and assembly needs another hour. Sanding takes 30 minutes, and final touches take 30 minutes.
Small indoor trees finish faster. Their simple design requires two to three hours in total. Less wood means quicker cutting time, and smaller pieces dry faster, too.
Visual Examples of Completed Ideas
1. Rustic Pallet Tree
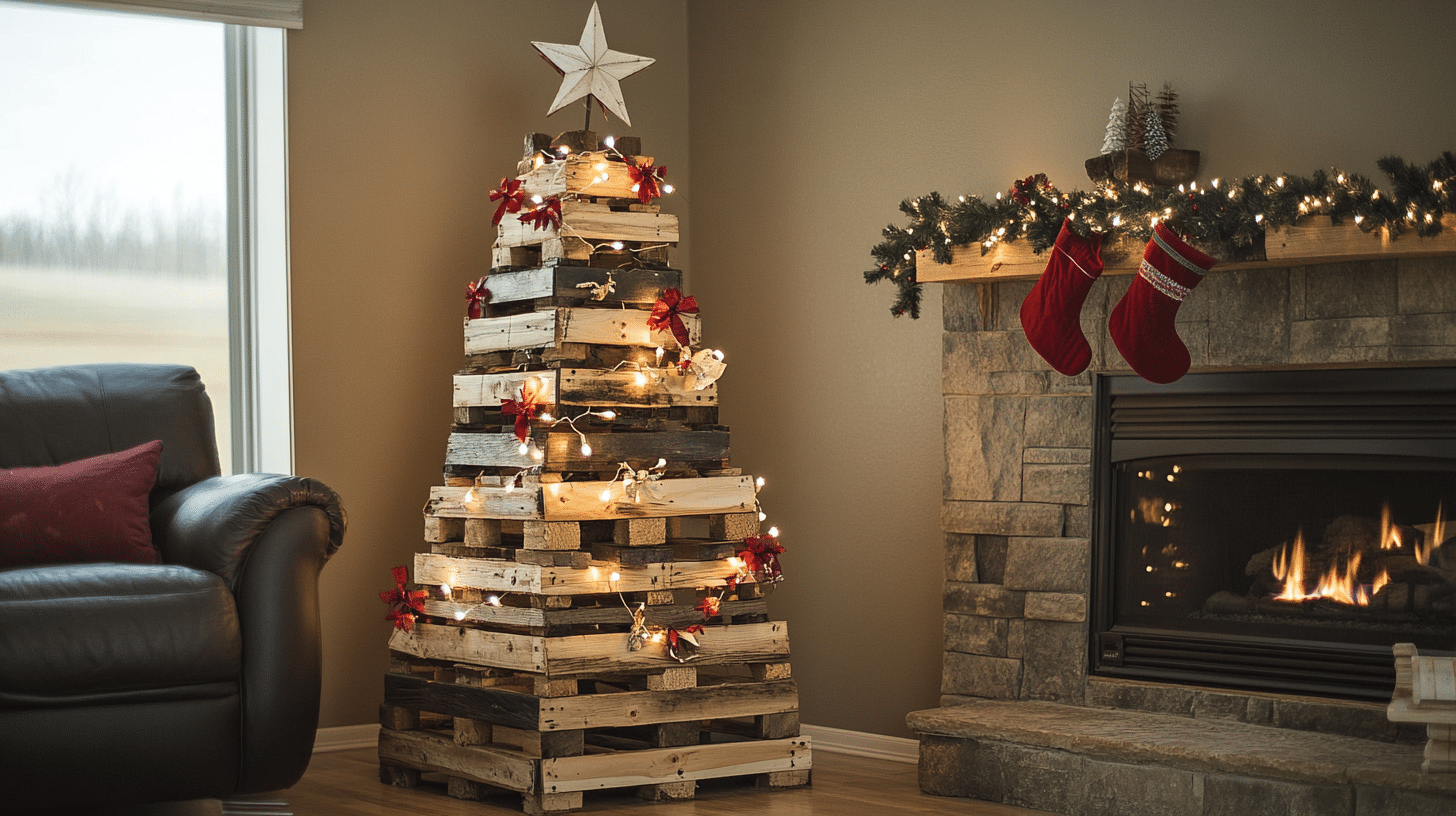
Constructed from upcycled pallets, this tree can be left natural for a rustic look or painted in festive colors.
It’s a great eco-friendly option and can be adorned with minimalistic decorations like string lights and wooden ornaments.
2. Scandinavian Minimalist Tree
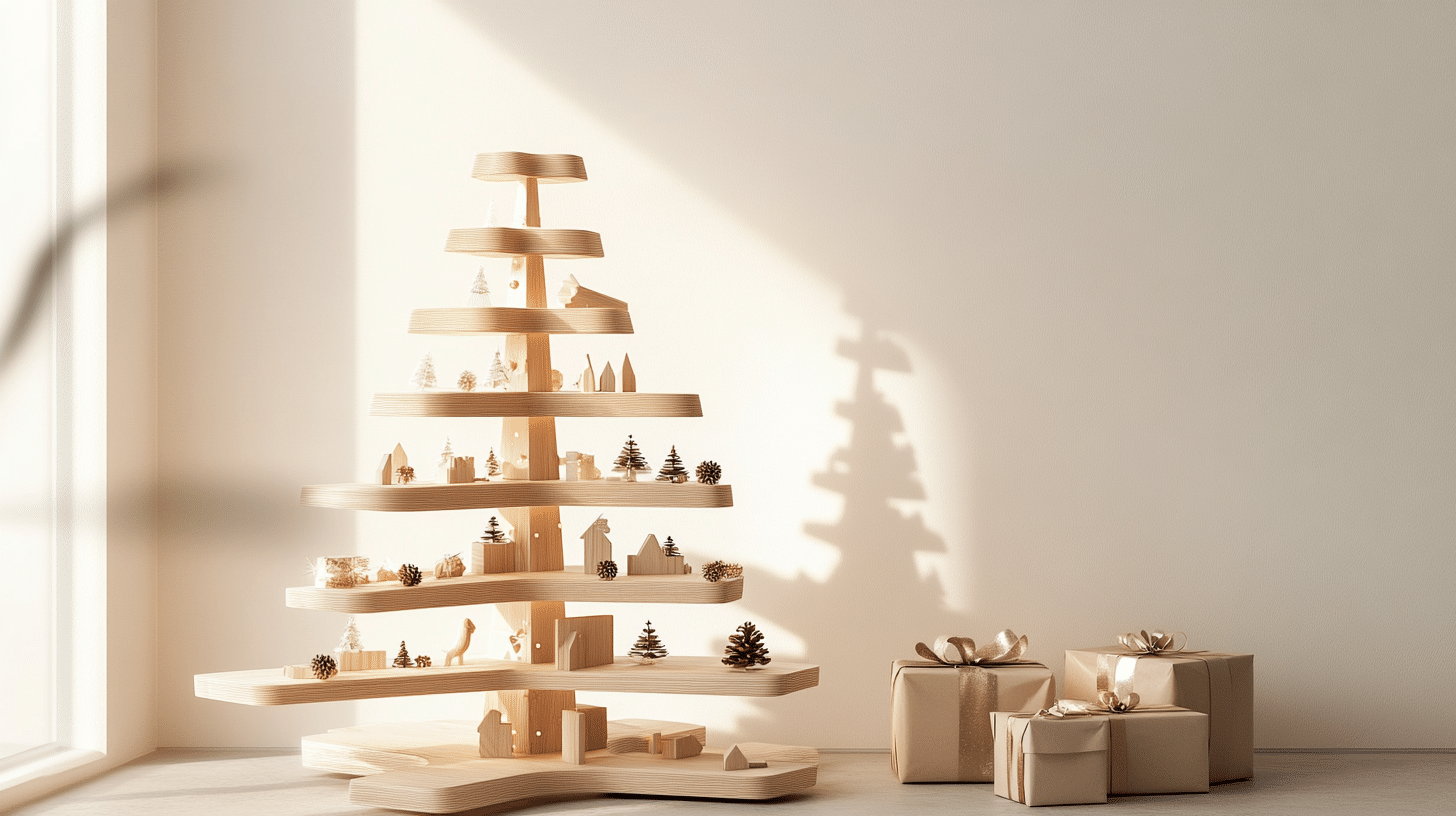
This tree features clean lines and a simple triangular silhouette. It is often made from flat wooden planks arranged in a tiered format.
It captures the essence of Scandinavian design: functional, minimalist, and beautiful without being overpowering.
3. Branch and Twig Tree
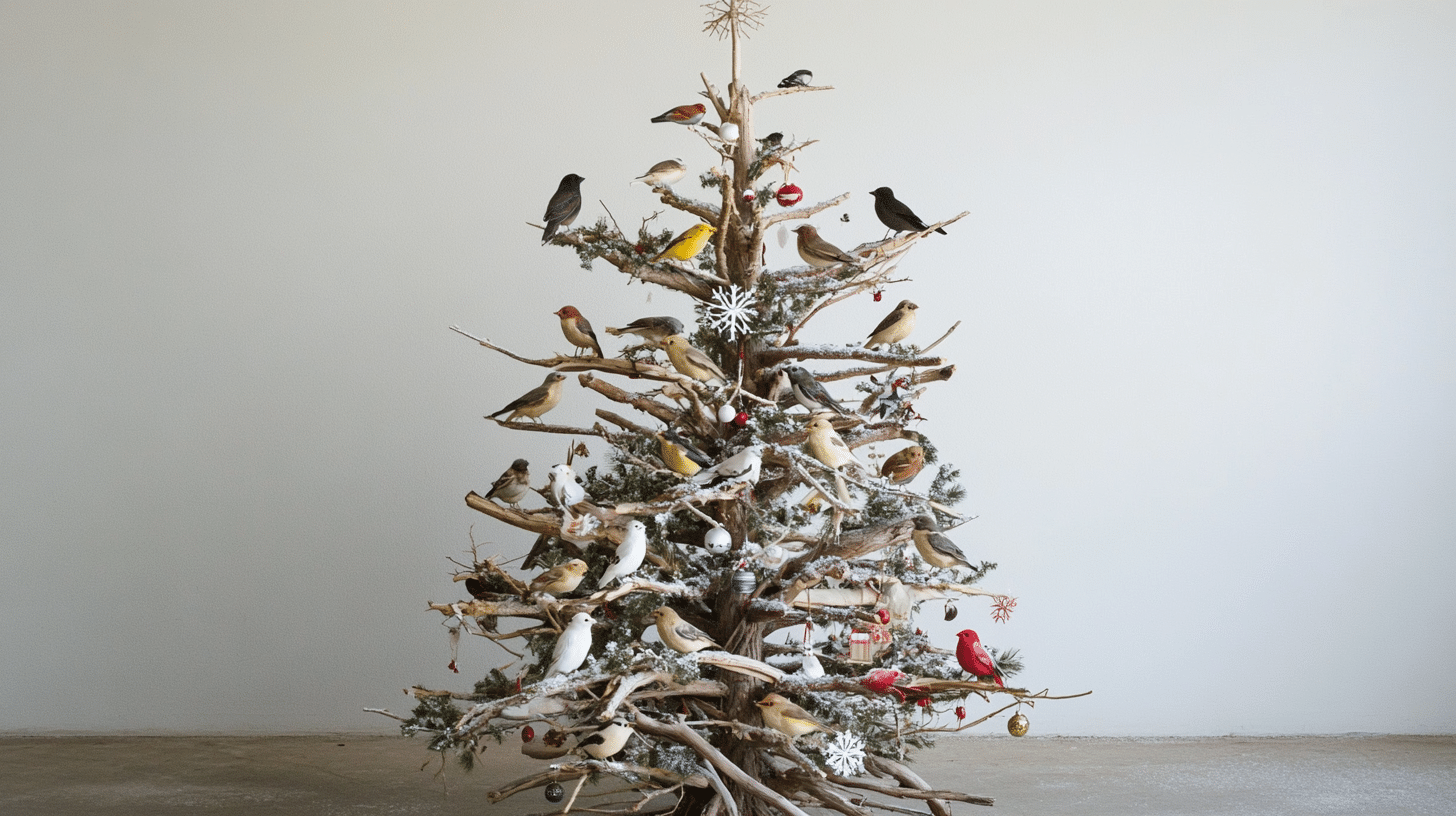
Using gathered branches and twigs, this tree creates a whimsical and organic feel. It can be assembled by arranging larger branches at the bottom and smaller ones at the top, fixed onto a central pole, or mounted directly on the wall.
4. Shelf-Style Advent Tree
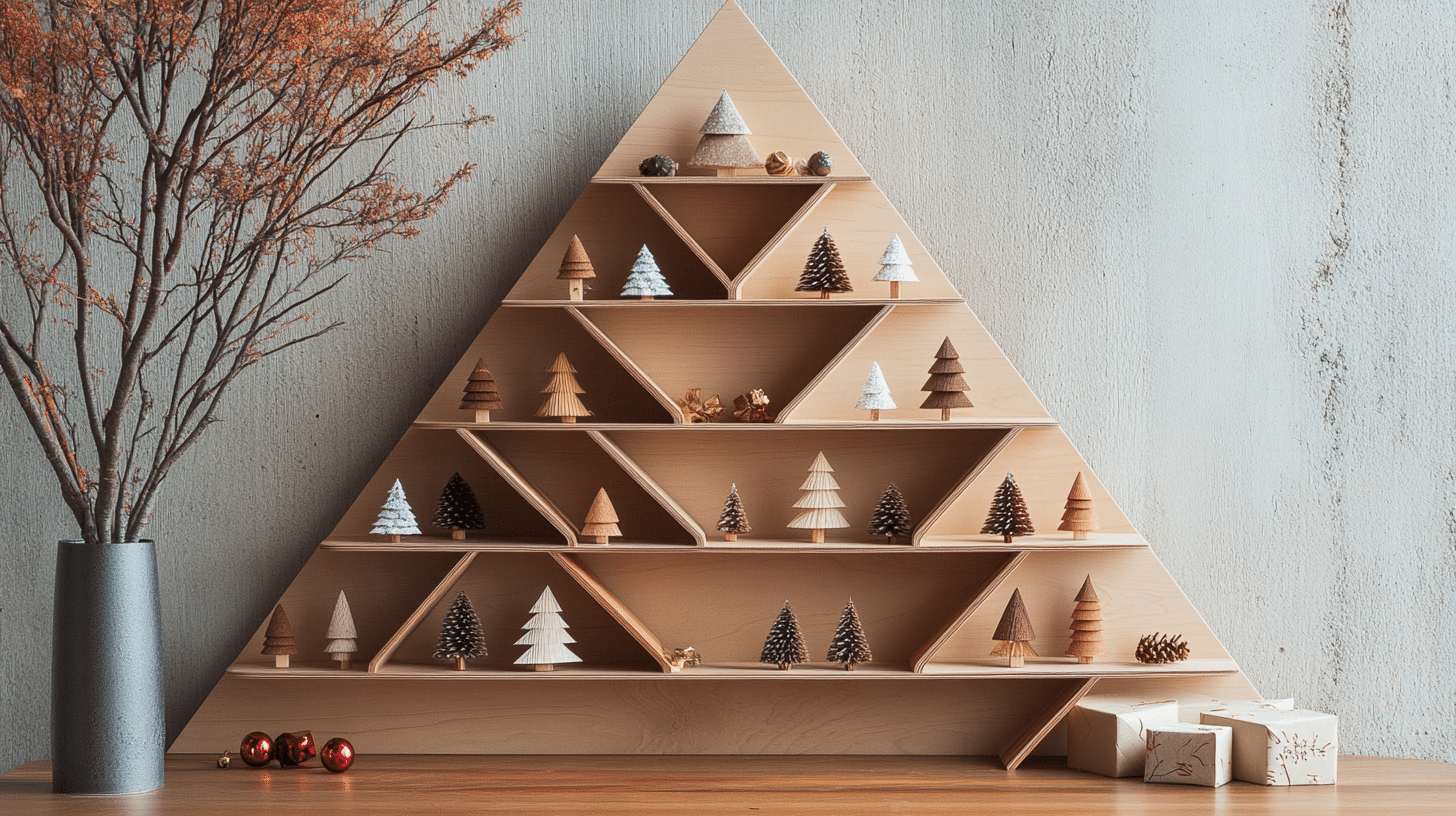
Composed of a series of small wooden shelves or boxes shaped like trees, this design doubles as an advent calendar.
Each shelf or compartment can hold small gifts or ornaments, making it a fun, interactive piece throughout December.
5. Wooden Dowel Tree
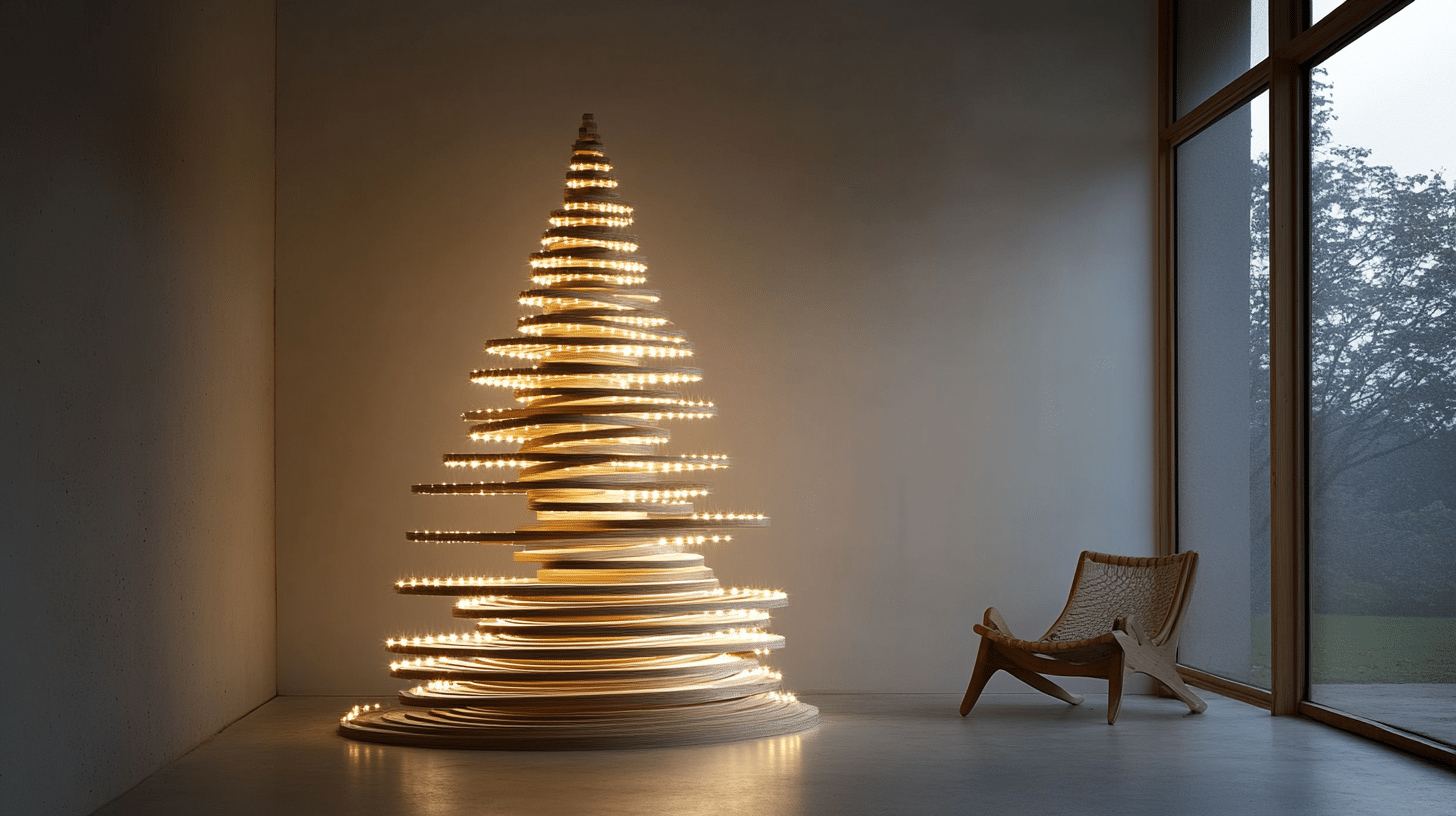
This modern design uses various lengths of wooden dowels arranged in a conical shape, offering a sleek and contemporary look.
It can be left natural or painted, and LED fairy lights can be wrapped around the dowels to beautifully illuminate the tree.
Fun Facts
Wood brings nature into holiday traditions. Let’s explore some interesting details about wooden Christmas trees.
- A standard 2×6 board can make two full-size trees, making wooden trees a smart investment. One board creates both a 22-inch and 27-inch tree.
- Home builders in the 1800s often made wooden trees. They used hand tools and local wood, and their designs were passed down through families. Today’s power tools make the job much simpler.
- With proper care, wooden trees last many seasons. Some families keep them for decades. Good finishes protect the wood. Indoor trees often become family keepsakes.
- Wood grain patterns make each tree unique. No two trees look exactly alike. Natural marks add special touches. Different wood types create varied looks.
- Builders can make these trees in any size. Some reach from floor to ceiling, others fit on desks or shelves, but the basic design stays the same.
Conclusion
Building a wooden Christmas tree brings joy beyond the holiday season. From picking your design to adding final touches, each step creates lasting memories.
We covered design choices, tool needs, safety tips, building steps, and creative ideas. Remember, this project is suitable for any skill level.
If you’re new to woodworking, start with basic designs. More experienced builders can try larger, detailed versions.
Your $16 investment in wood grows into a treasure worth keeping. Do you have questions about your tree project?
Share them in the comments below. We’d love to see your finished trees—tag us in your photos!
Join our community of builders making holiday memories. Your perfect wooden Christmas tree awaits!

