Board On Board Privacy Fence: A Complete Guide
Do you want a fence that gives you full privacy and can handle tough weather?
A board-on-board fence is one of the strongest and most reliable choices for homeowners today.
Its smart overlapping design blocks all visibility, making it perfect for yards, pools, and outdoor spaces where privacy matters most.
This type of fence also adds value and a clean, modern look to your home.
Whether you’re replacing an old fence or planning something new, board-on-board fencing is a solid, long-lasting option.
This guide covers styles, materials, costs, and everything else you need to choose the right fence for your space and needs.
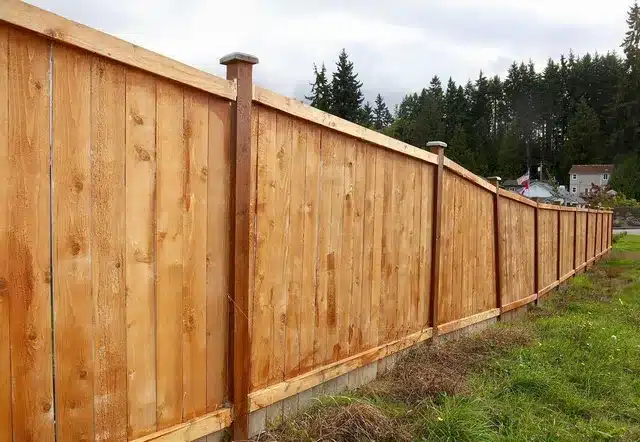
What is a Board-on-Board Fence?
A board-on-board fence is a wooden fence design in which boards are attached to both sides of the fence rails in an alternating pattern.
The boards slightly overlap, which eliminates gaps between them.
Unlike a shadowbox fence (which has spaces between boards) or a stockade fence (where boards are placed side by side), a board-on-board fence creates a solid barrier that blocks the view from both sides.
Comparing with Other Fence Types
Board on Board vs. Shadowbox
| Feature | Board on Board | Shadowbox |
|---|---|---|
| Privacy | Full coverage, no gaps | Some gaps allow limited visibility |
| Wind Resistance | Strong in windy areas | Good, but slightly less strong |
| Material Use | Uses more wood (about 20–30% more) | Uses less wood |
| Cost | Higher due to added materials | More budget-friendly |
Board on Board vs. Stockade
| Feature | Board on Board Fence | Stockade Fence |
|---|---|---|
| Appearance | Looks the same on both sides | One side looks smooth; the other shows posts and rails |
| Durability | Less likely to warp, may last longer | May warp over time, especially with weather changes |
| Cost | Usually costs more | Typically more budget-friendly |
| Privacy | Blocks view effectively | Blocks view effectively |
Common Tools Needed for DIY
- Post-hole digger: For digging holes to secure the posts.
- Level: Ensures the posts and rails are straight.
- Drill: To secure screws in the posts and rails.
- Circular saw: To cut the boards to the desired length.
- Measuring tape: For accurate measurements of spacing and height.
- String line: Helps keep posts and boards aligned for a straight fence.
Materials Breakdown
Wood Options
| Wood Type | Key Features | Cost Level | Life Expectancy (with care) |
|---|---|---|---|
| Cedar | Resists rot and insects naturally; warm color and scent | Moderate | 15–30 years |
| Pine | Treated to resist decay; budget-friendly; may warp more | Low | 10–20 years |
| Redwood | Strong natural resistance; deep color with sealing | High | 20–30+ years |
| Cypress | Contains natural oils to fight insects; good in humid areas | Moderate to High | 15–25 years |
Vinyl Fence
Pros of Vinyl
Vinyl board on board fences are known for being low-maintenance.
Other than occasional cleaning with soap and water, they don’t require much upkeep.
Since they don’t absorb moisture, there’s no risk of rotting or warping.
Insects are also not a concern, which helps maintain the fence’s strength over time.
These fences can last more than 30 years and keep their appearance year after year, making them a practical option for anyone who wants long-term performance without frequent repairs or treatments.
Cons of Vinyl
Vinyl fencing has several downsides that are worth considering.
One of the main drawbacks is the higher upfront cost compared to some wood options.
While it can save money on upkeep over time, the initial price can be a concern for budget-conscious homeowners.
Vinyl also comes in fewer color choices, which may limit design preferences.
In areas with very cold temperatures, the material can become brittle and more likely to crack.
Another common concern is the way it looks—vinyl doesn’t have the same natural feel that wood provides, which may matter to those wanting a more traditional or warm appearance for their yard.
Steps for Building a Board-On-Board Fence
If you enjoy working with tools and outdoor projects, building a board-on-board fence is an excellent choice.
This type of fence is a popular option for providing both privacy and an attractive design.
With the right steps, you can create a fence that will enhance the look of your property and withstand the test of time.
Here’s a detailed guide to help you through the process:
Step 1: Mark Your Property Line and Check Local Regulations
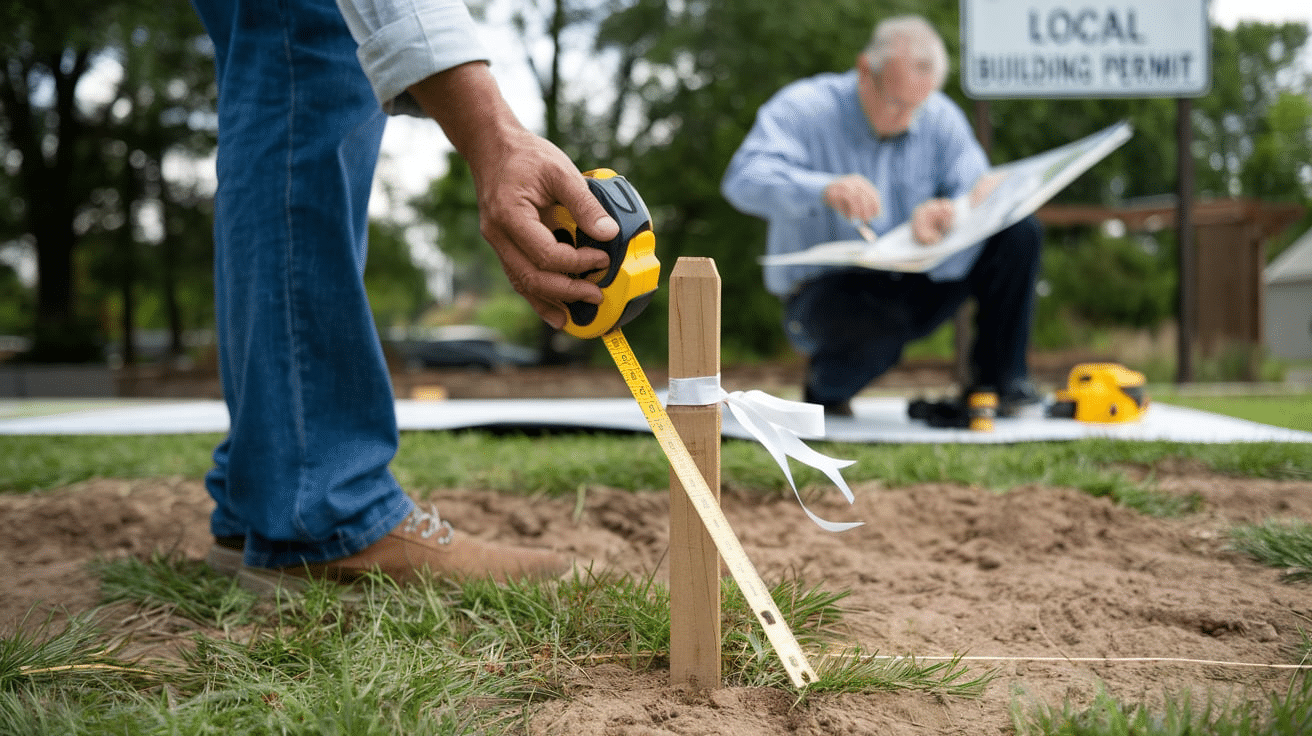
Before starting any project, it’s important to ensure you are building within your property lines.
Measure your land and confirm the boundaries. If needed, contact a surveyor to double-check the layout.
You should also verify local regulations regarding fence height, placement, and materials.
Many areas have specific guidelines or require a permit to build a fence. By ensuring compliance with these rules, you avoid potential problems down the line.
Step 2: Dig Post Holes
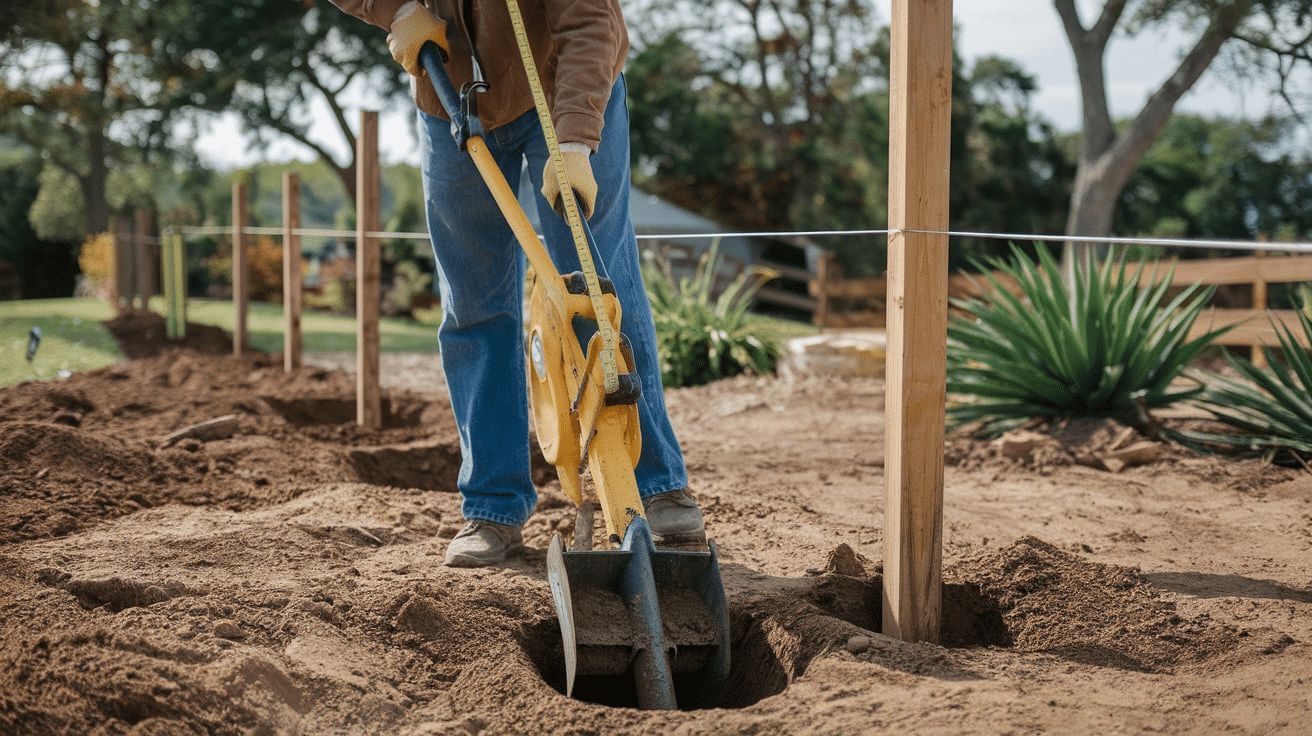
Once your property line is determined, begin digging holes for your fence posts.
Use a post-hole digger to create holes deep enough for stability—about 1/3 of the length of your posts.
For example, if your posts are 8 feet tall, dig holes that are 2-3 feet deep.
It’s important to dig each hole wide enough to allow for concrete around the post. Depending on the width of the fence, the holes should be spaced about 6-8 feet apart.
For accuracy, you can use a measuring tape and a string line to ensure proper spacing and alignment.
Step 3: Set Posts in Concrete
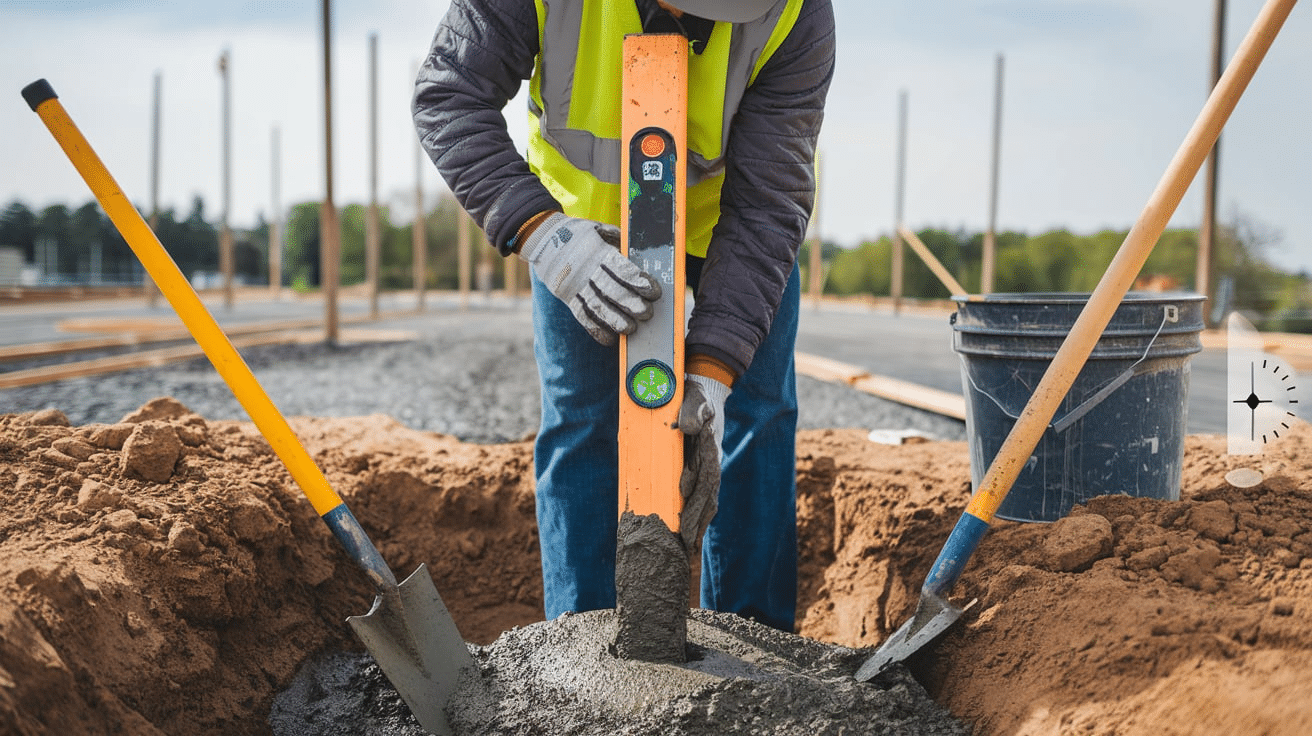
Place the posts into the holes, making sure they are straight. A level is crucial to ensure the posts are vertically aligned.
Once the posts are positioned correctly, fill the holes with concrete to secure the posts.
Use quick-setting concrete for a faster setup. Typically, the concrete will need 24-48 hours to fully harden, so wait for the concrete to cure completely before continuing.
During this time, double-check the alignment to make sure everything is positioned properly.
Step 4: Attach Horizontal Rails
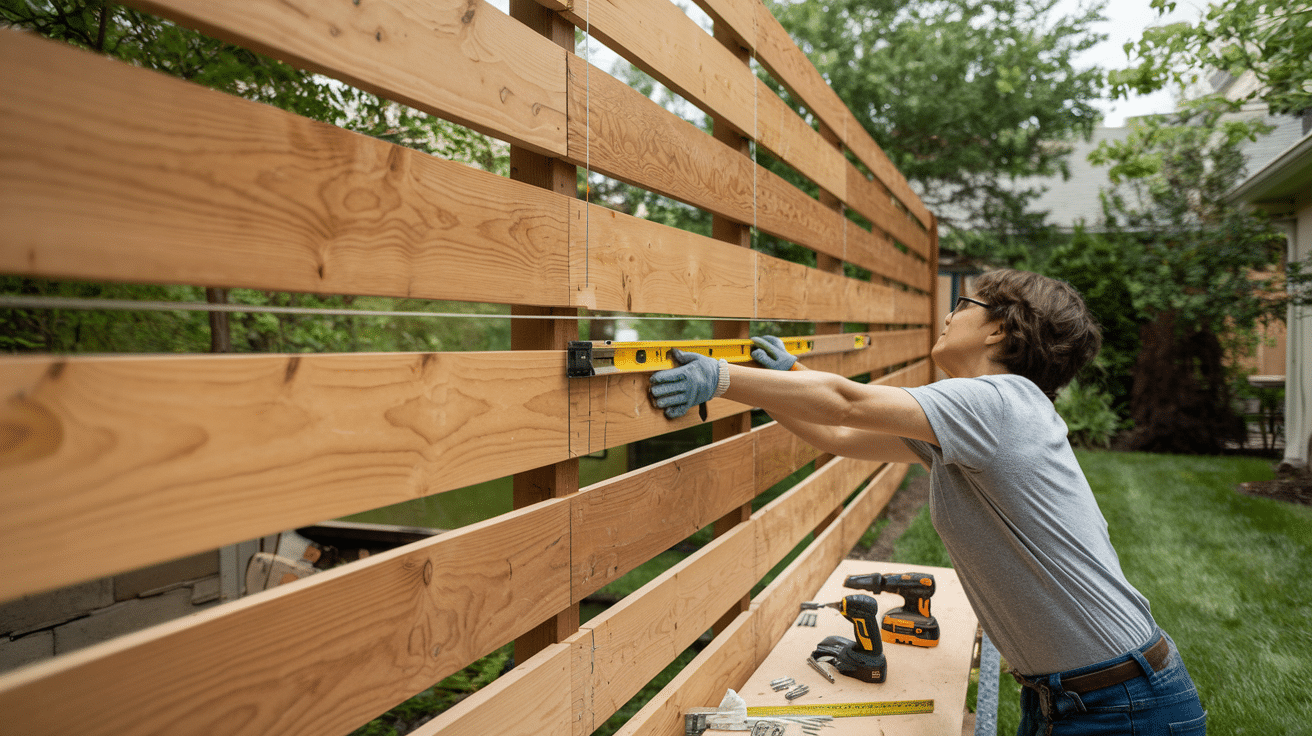
After the posts are securely set, it’s time to add the horizontal rails. These rails will form the base and top of the vertical boards.
Attach the rails to the posts using screws or nails, ensuring they are level as you go.
The number of rails you need depends on the height of your fence. Most board-on-board fences use two or three horizontal rails.
Ensure the rails are evenly spaced and aligned to maintain a uniform look.
Step 5: Install the Vertical Boards
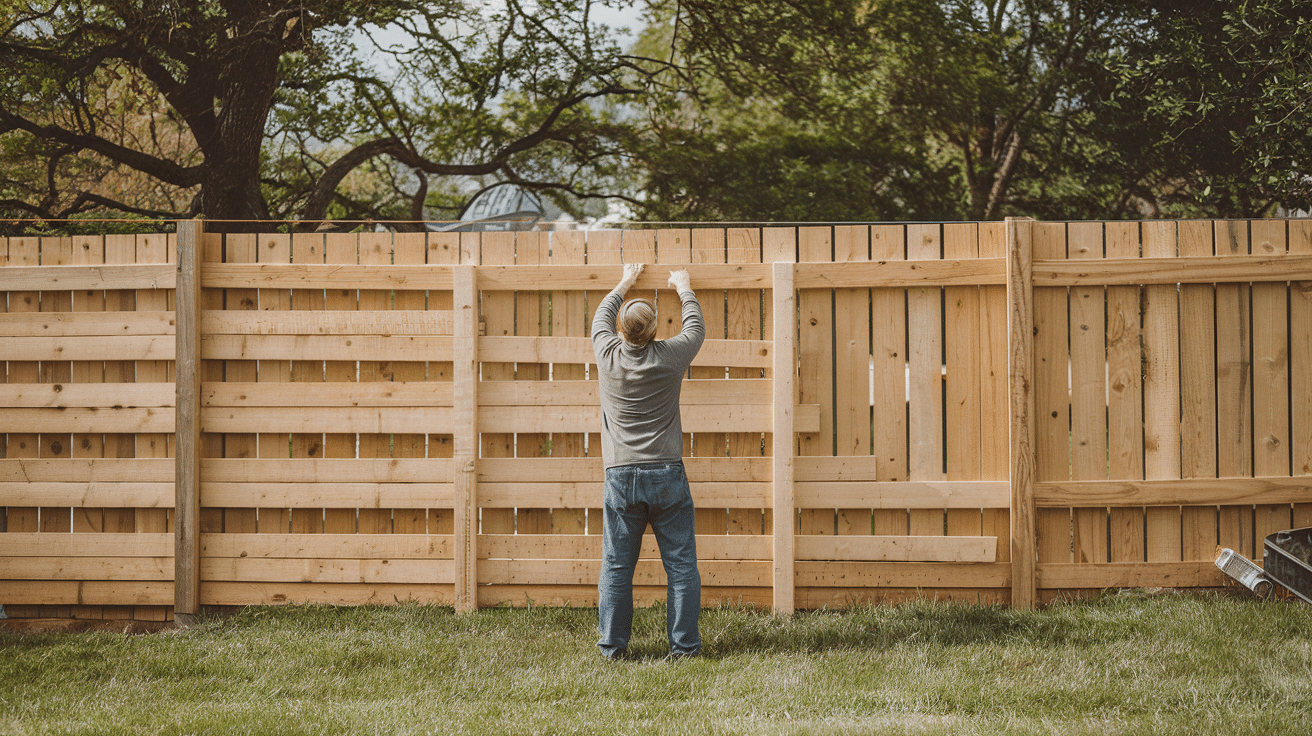
Next, install the vertical boards onto the rails. Start on one side of the fence and work your way across.
The board-on-board design requires you to space the boards with gaps between them.
As you work, keep each board aligned and use a string line to ensure they remain straight.
Once one side is complete, repeat the process on the opposite side of the fence, making sure the boards are centered over the gaps on the first side.
This method will give you a sturdy, layered effect and enhance the fence’s privacy.
Step 6: Secure the Boards
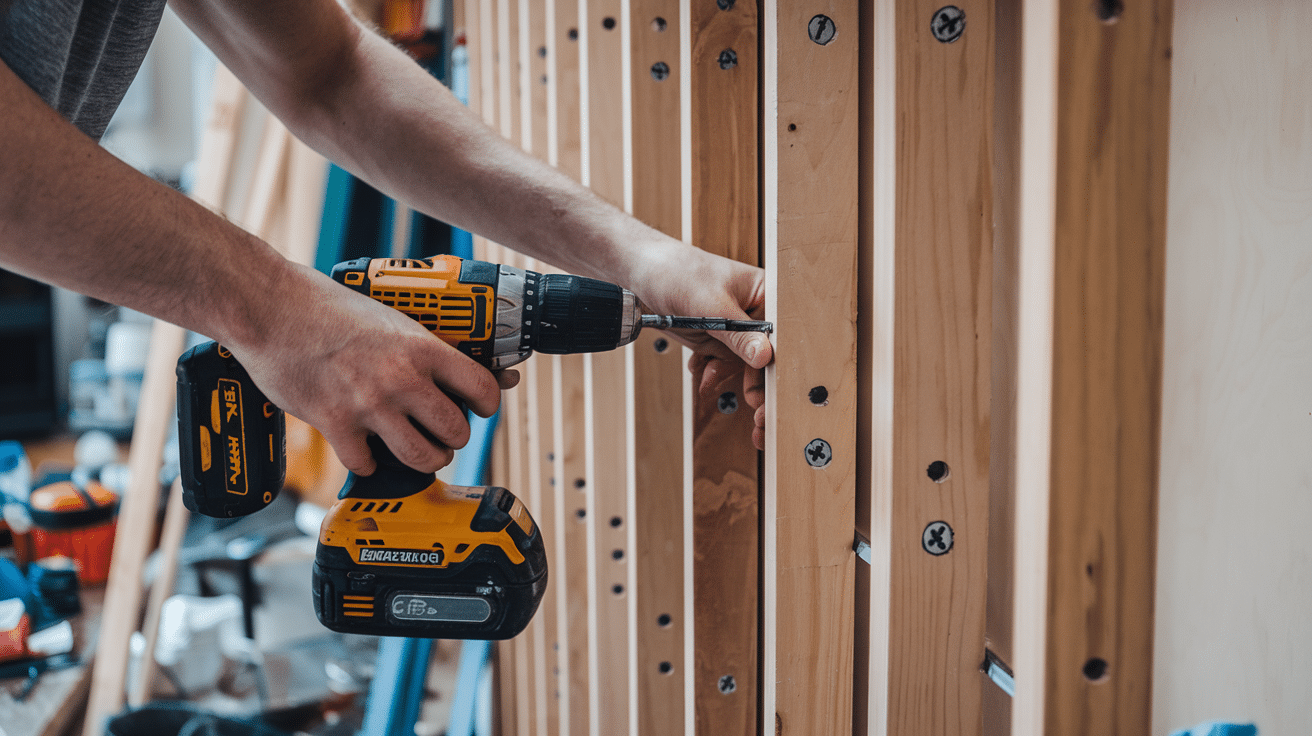
After all the boards are installed, inspect each one to ensure it’s securely attached.
If needed, add extra screws or nails to reinforce the boards.
Also, ensure the boards are flush with the top and bottom rails for a neat, finished look.
Step 7: Finishing Touches
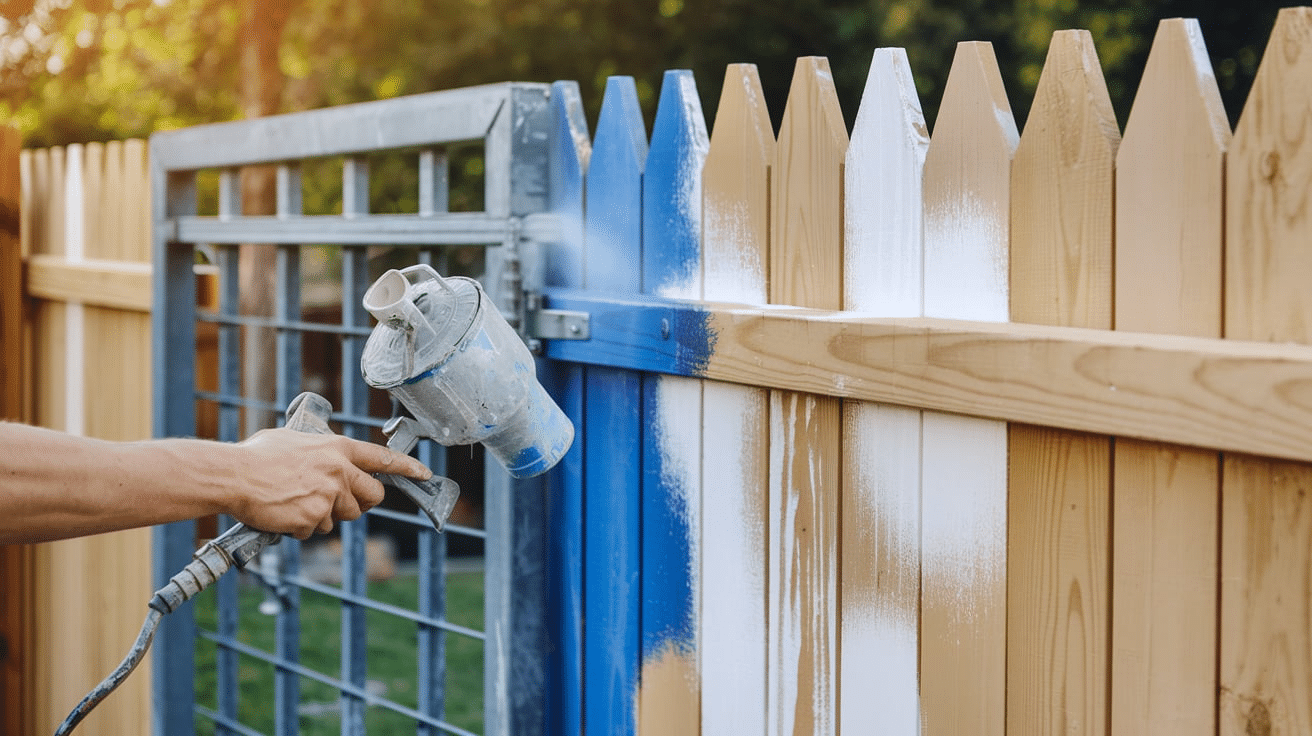
To protect your fence from the elements, you can apply a paint or stain to the boards. Choose an outdoor-grade finish that will resist moisture, fading, and wear.
Staining can also enhance the natural look of the wood, giving your fence a warm, appealing finish.
If you’re working with a large fence, consider using a sprayer to cover more surface area efficiently.
You can also add a gate to your fence for easy access. This requires additional framing and hinges and is a simple addition that will complete your project.
Benefits of Board-on-Board Fencing
Board-on-board fences provide strong privacy by blocking any gaps between boards.
They also hold up well over time, especially in areas with wind or changing weather.
1. Complete Privacy
The overlapping board design creates a solid wall that blocks the view completely.
This makes it ideal for backyards, pool areas, or anywhere you want to keep away from curious eyes.
2. Strong Wind Resistance
The alternating board pattern allows some air to pass through while blocking most of the wind.
This makes board-on-board fences less likely to be damaged during strong winds compared to solid panel fences.
3. Aesthetic Appeal
The overlapping pattern creates a textured look that adds visual interest to your property line.
The fence looks identical on both sides, giving it a finished appearance.
4. Good Neighbor Design
Since the fence looks the same from both sides, it’s considered a “good neighbor” fence.
Your neighbors will appreciate that they don’t have to look at the plain, structural side of the fence.
Cost of Board-on-Board Fencing
Board-on-board fencing costs vary based on material, height, and design features.
Wood types, gate additions, and top trims can affect the total.
Vinyl options may cost more upfront but need less upkeep.
Price per Linear Foot
Wood board on board fencing typically costs between $25-$35 per linear foot for materials, while professional installation can bring the total to $40-$75 per linear foot depending on:
- Your location
- Height of the fence
- Wood type
- Complexity of installation
Vinyl board-on-board options range from $35-$60 per linear foot for materials alone.
Additional Cost Factors
When planning a board-on-board fence, several extra features can affect the final cost.
Posts are one of the main components.
Using cedar or pressure-treated posts spaced every 6 to 8 feet typically adds around $15 to $30 each.
Gates are another common addition.
A basic gate usually ranges from $150 to $400, depending on size and hardware.
Adding a top cap, which helps shield the top of the boards, can increase the price by about $3 to $5 per linear foot.
For those who prefer added style and privacy, a lattice top may cost an additional $7 to $12 per linear foot.
Lastly, applying stain or sealant helps protect the wood and generally costs between $30 and $50 per gallon, with one gallon covering around 200 square feet.
DIY vs. Professional Installation
| Feature | DIY Installation | Professional Installation |
|---|---|---|
| Cost | Save 30–50% on labor | Higher total cost |
| Time | 1–2 weekends for 100 ft | 1–3 days for 100 ft |
| Skill Level Needed | Requires tools and know-how | No skills are needed from the homeowner |
| Risk of Errors | Mistakes may affect strength and look | Lower risk of errors |
| Control | Full control over materials and process | Less control over small design choices |
| Satisfaction | Sense of accomplishment | Convenience and peace of mind |
| Warranty | Not included unless materials offer it | Often includes 1–5 year warranty |
Maintenance and Care of Fence
Regular Maintenance
For wood fences, regular cleaning is important.
Use mild soap and water once a year to remove dirt and mildew.
Check the fence twice a year for loose boards or nails that may need fixing.
It’s also important to look for signs of rot or insect damage.
To help prevent early wear, keep soil and mulch away from the bottom of the boards to avoid moisture buildup.
Vinyl fences are easier to maintain. Rinse them with water to clear dirt and dust.
For more stubborn spots, a gentle soap solution works well.
Once a year, check for loose connections or damaged sections and make any needed repairs.
Staining and Sealing (Wood Only)
Wood fences need a sealant every two to three years to help protect against moisture and sun.
Choose a sealant that offers UV protection to reduce color fading.
Clean the surface well before sealing to ensure it sticks properly.
Apply the sealant when the weather is dry, and the temperature stays between 50°F and 85°F.
Extending Lifespan
To keep your fence in better shape for longer, take steps to control moisture and plant growth.
If water tends to pool around the fence, consider adding a simple drainage setup.
Keep sprinklers directed away to avoid water soaking the boards.
Trim any plants or bushes that touch the fence, as they can hold moisture.
Also, apply sealant before any signs of water damage appear.
Acting early can prevent bigger issues later.
Final Thoughts
A board-on-board fence is a smart choice for those who value privacy, strength, and a clean, balanced look from every angle.
Its overlapping design blocks outside views and well withstands strong wind, making it a solid option in both urban and rural settings.
While the cost can be higher due to extra materials and labor, many homeowners agree that the long-term value makes up for the price.
This type of fence also adds a polished, well-built feel to any yard.
If you’re planning to upgrade your outdoor space and want something that lasts, this could be the right fit.
It brings both function and visual balance to your property.