
Beadboard on Ceiling: DIY Made Easy
Are you fed up with your boring or damaged ceiling? I can relate, as I’ve seen many homes with ceilings that’ve cracks, stains, or outdated textures, such as popcorn.
One smart and stylish fix is using a beadboard on the ceiling. It’s easy to install, budget-friendly, and looks great in almost any room.
In this blog, you’ll learn what beadboard is, where to use it, how to install it, design tips, and common mistakes to avoid.
If you’re planning a ceiling update, this guide will give you the simple steps and smart ideas you need. Let’s go through the blog and find out if the beadboard on the ceiling is right for your space.
What is a Beadboard Ceiling and Why Should You Use It?
A beadboard ceiling is made of wood or engineered panels that feature evenly spaced grooves, also called “beads.”
Originally popular in traditional homes, it adds visual texture and class. Beadboard dates back to the Victorian era and was often used in wainscoting and ceilings in cottages and farmhouses.
Today, it comes in several formats:
- Panels: Large sheets, easy to install over existing ceilings.
- Planks: Narrow boards, often tongue-and-groove, for a more authentic look.
- Tiles: Lightweight options, often made of foam or fiberboard, are ideal for quick coverage.
What Makes Beadboard Ceilings a Go-To Option
Adding this type of ceiling detail brings more than just good looks. It gives your space a classic or coastal feel and naturally draws the eye upward, adding character without much effort.
It also comes in handy for covering up flaws, things like old popcorn texture or marks in the drywall.
Instead of paying for a full ceiling redo, this option is more budget-friendly. Plus, you can paint it any color you like to match your walls or trim, making it easy to change the style later without much fuss.
DIY Beadboard Ceiling: A Step-by-Step Guide
Putting up a beadboard ceiling takes some planning and care, but it’s something you can do with a bit of patience. Here’s how to get started.
Tools and Supplies Needed
- Tape measure
- Level
- Pencil
- Saw
- Hammer
- Nails or screws
- Construction glue
- Safety gear (gloves, goggles, mask)
- Paintbrush or roller (if painting)
- Ladder or scaffold for ceiling access
Step 1: Planning the Layout
Start by measuring your ceiling. Mark where each board or panel will go using a pencil and straightedge.
Try to plan the layout so that the boards line up evenly and any cuts are near the edges. This gives the ceiling a clean, even look.
Check for light fixtures or vents, and plan how you’ll work around them before you begin cutting.
Step 2: Installing Beadboard Over Joists or Drywall
If you’re putting beadboard on open joists, you can nail or screw the boards right into the wood. But if your ceiling already has drywall, you’ll want to find the studs or use special anchors.
Either way, make sure the beadboard is flat and level as you go. For drywall, adhesive can help hold it in place while you fasten it.
Step 3: Gluing, Nailing, or Screwing
You can glue, nail, or screw your beadboard into place or even use a mix of all three. The glue helps hold it while you work, nails give a neat look, and screws offer strong support.
If using nails or screws, aim for the tongue edge so they’re less visible. Always press boards tightly together to avoid gaps between the seams.
Step 4: Finishing Touches: Trim, Paint, and Molding
Once your ceiling is covered, it’s time to finish it off. Add trim or molding around the edges to cover any rough spots.
Fill nail holes or seams with caulk or filler. Then, paint or stain the beadboard in a color that matches your room. A smooth finish pulls everything together and makes your work look polished and clean.
Check out the YouTube video for more details:
Where to Use Beadboard on Ceilings
Beadboard ceilings can go in almost any room. They add a cozy look and can help cover old or uneven ceilings. Let’s look at where they work best.
Kitchen and Dining Rooms
Beadboard adds a clean, homey feel to kitchens and dining rooms. It works well with many styles, from country to coastal.
It also draws the eye upward, making the space feel larger. Just make sure to seal or paint it with a moisture-resistant finish, as these rooms can become steamy or messy from cooking and cleaning.
Bathrooms
Bathrooms are challenging due to moisture, but beadboard can still be a viable option here. Just choose vinyl or sealed wood and use water-resistant paint.
This helps stop swelling or peeling over time. Beadboard can give your bathroom a calm, spa-like appearance without incurring a significant expense.
It also hides ceiling flaws, which is great for older or small bathrooms.
Bedrooms and Living Areas
In bedrooms and living rooms, beadboard brings in warmth and texture. It can make high ceilings feel less bare or add interest to plain ones.
Use it across the whole ceiling or just in the center with a border for a soft design touch. It works well with both painted and natural wood looks, depending on your style.
Porch and Outdoor Spaces
Beadboard is a great choice for porches and covered outdoor spaces. It gives a neat and finished look, especially in sunrooms or entryways.
For outdoor use, go with vinyl or treated wood that stands up to humidity, rain, or changes in temperature. When done right, it helps your outdoor areas feel like part of your home.
Beadboard Ceiling Design Ideas
Beadboard works with many home styles. Whether your space feels cozy, breezy, or modern, there’s a way to make it fit right in.
Cottage/Farmhouse Look

For a cozy farmhouse vibe, use wood planks with soft white or off-white paint. Add wood beams for extra warmth.
This style makes a space feel warm and welcoming. It’s perfect for kitchens, bedrooms, or even hallways where you want a little bit of that country-home touch without going over the top.
Beach-Inspired Style
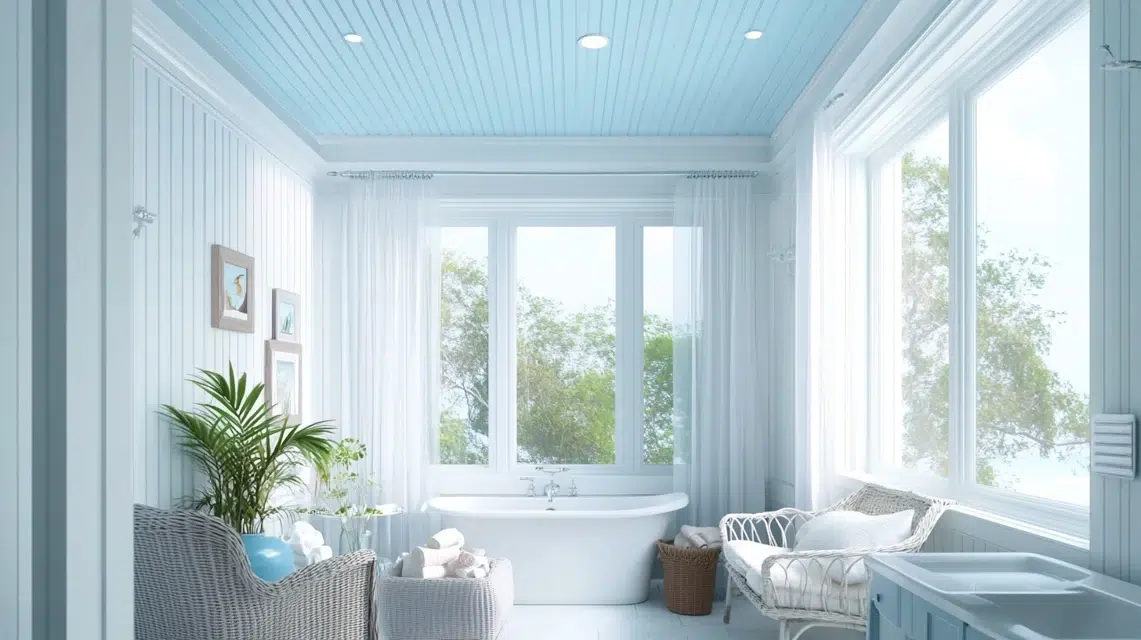
A light blue or soft gray beadboard ceiling brings that calm, beachy feel into your space. It works well in bathrooms, porches, or sunrooms.
Pair it with white walls or light wood for a breezy look. This design makes the room feel open and fresh, almost as if you’re near the ocean, even if you’re not.
Contemporary Uses
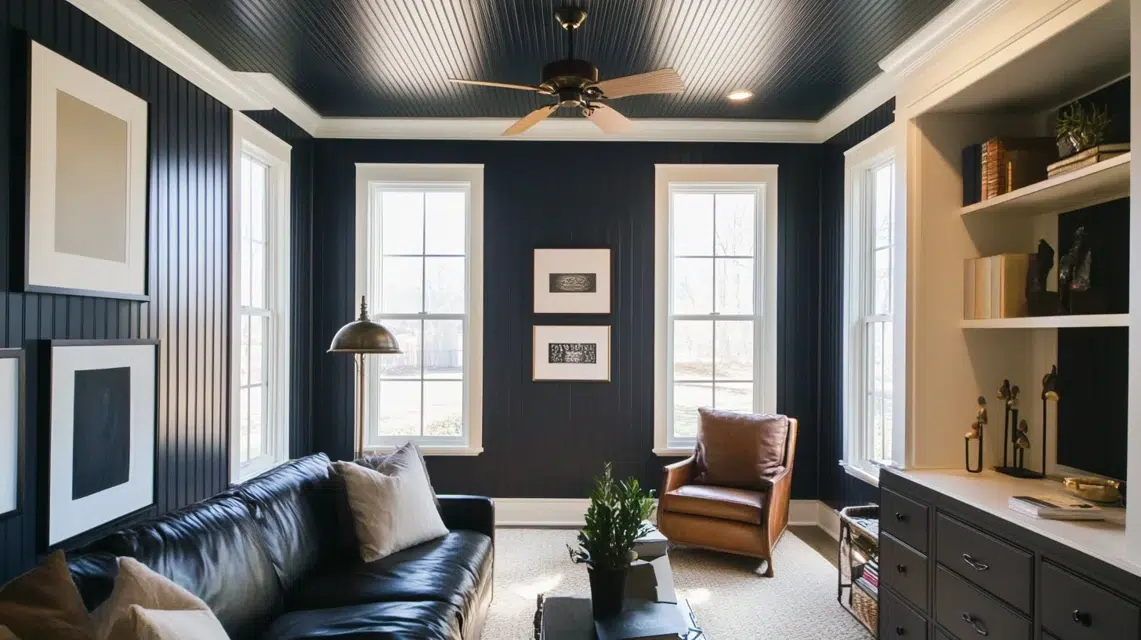
The beadboard can look modern, too. Try using thin, clean lines and painting it the same color as the ceiling or trim.
Dark colors, such as navy or charcoal, can add drama, while white keeps the look sharp and clean. Use it in living rooms or offices where you want a neat and updated look with some quiet texture.
Painted vs Natural Finish Designs
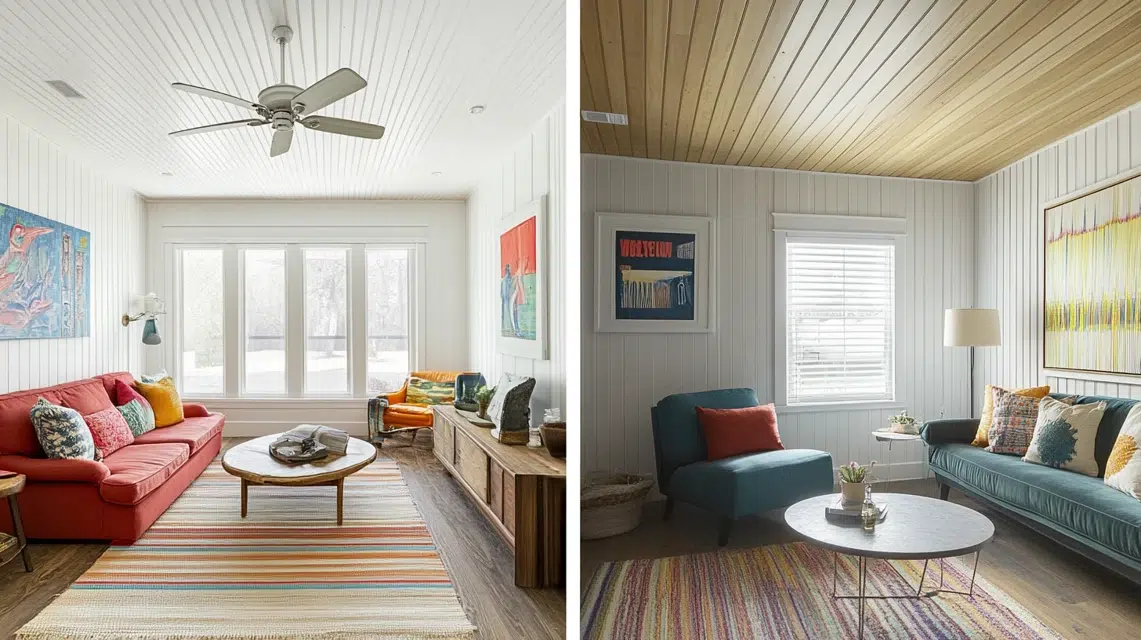
Painted beadboard lets you match your ceiling to any room color. White is common, but light pastels and even bold colors work too.
Natural finishes, like clear-coated wood, show off the grain and give a rustic feel. Choose paint for a clean look, or go natural for warmth and texture without a lot of extra design work.
Common Mistakes to Avoid
Avoiding a few key mistakes can save you time, money, and frustration when putting up a beadboard ceiling. Here’s what to keep in mind:
- Don’t install over sagging ceilings. Always fix any drooping or uneven spots first. Beadboard requires a flat surface to stay in place.
- Always measure your joists. Guessing where they are can lead to weak support. Use a stud finder and mark the spots before you start.
- Use the right adhesive. Ceiling projects need strong glue made for heavy panels. Wall glue won’t hold up over time.
- Nail or screw into joists, not just drywall. Fasteners need to go into solid wood to hold the weight properly.
- Check for moisture in bathrooms or outdoor areas. If you don’t use water-safe materials, the beadboard may warp, swell, or fall.
- Don’t skip layout planning. Without a clear plan, you might end up with uneven rows or tiny gaps at the edges.
Conclusion
Now you’ve got what you need to get started with a beadboard on your ceiling. We’ve discussed how it can help repair old ceilings, achieve a clean look, and suit various rooms in your home.
You’ve learned about materials, sheen, and how to make smart choices during installation. I know starting a new project can feel like a lot, but small changes like this can really shift how a space feels.
You don’t need to be perfect, just take it one step at a time.
If you’re still unsure or just want more ideas, take a look at our other blogs. You’ll find plenty of tips that make the next project a little easier.


