Adding Beams to Vaulted Ceilings: Your Complete Guide
Want to know the one change that can transform your plain ceiling into a masterpiece? Ceiling beams are becoming the go-to choice for homeowners seeking standout style.
Adding beams to vaulted ceilings turns basic spaces into stunning focal points, bringing depth and personality to any room.
Ceiling beams mix style with function. They make rooms feel larger while hiding practical items like wiring or pipes.
From cozy farmhouse looks to clean, modern designs, beams fit any home style.
This guide covers everything about ceiling beams. You’ll learn about design options, costs, installation steps, and safety tips.
Whether you plan to DIY or hire professionals, we’ll help you make informed choices for your beam project.
Exploring Beam Design Ideas
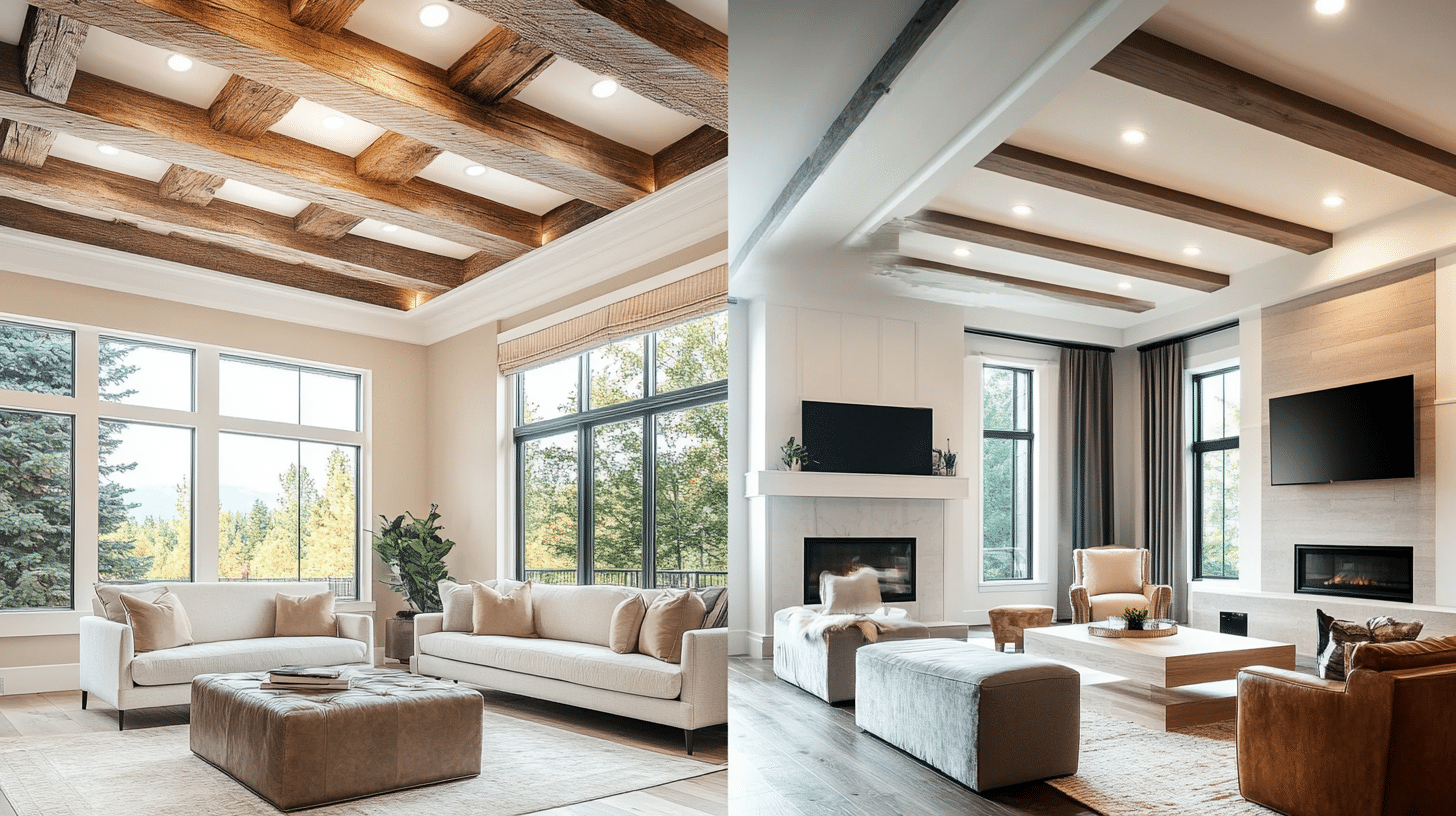
When you add beams to your ceiling, you create a standout feature in your home. These additions build depth and pull the eye upward, making rooms feel bigger and more open.
Many homeowners choose to install beams because they boost home value. The beams also serve a practical purpose – they can hide wires, pipes, and ductwork while looking good. This makes them both useful and beautiful.
Popular Beam Styles
1. Rustic Exposed Wooden Beams
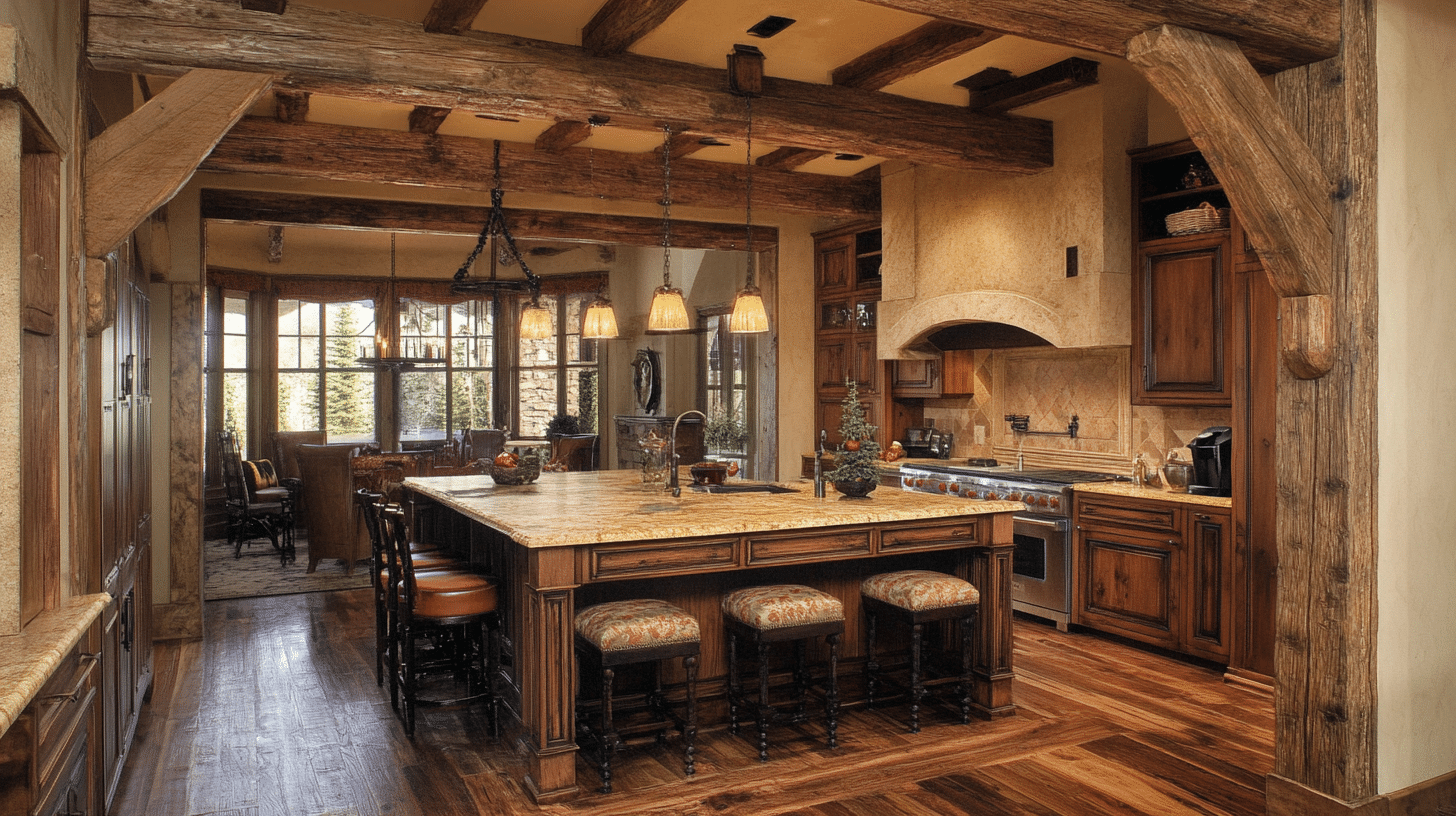
Wooden beams bring warmth and character to any space. In kitchens and living rooms, these beams create a cozy feel that makes guests feel at home.
The natural wood grain patterns catch the eye and add rich texture to plain ceilings. This style works very well in homes with traditional or farmhouse designs.
2. Modern Minimalist Designs

Clean lines and simple shapes mark the modern beam style. These beams often come in light colors that match current design trends.
They add structure to rooms without making them feel heavy or dated. This style fits perfectly in updated homes where less means more.
3. Faux Beams vs. Real Wood Beams
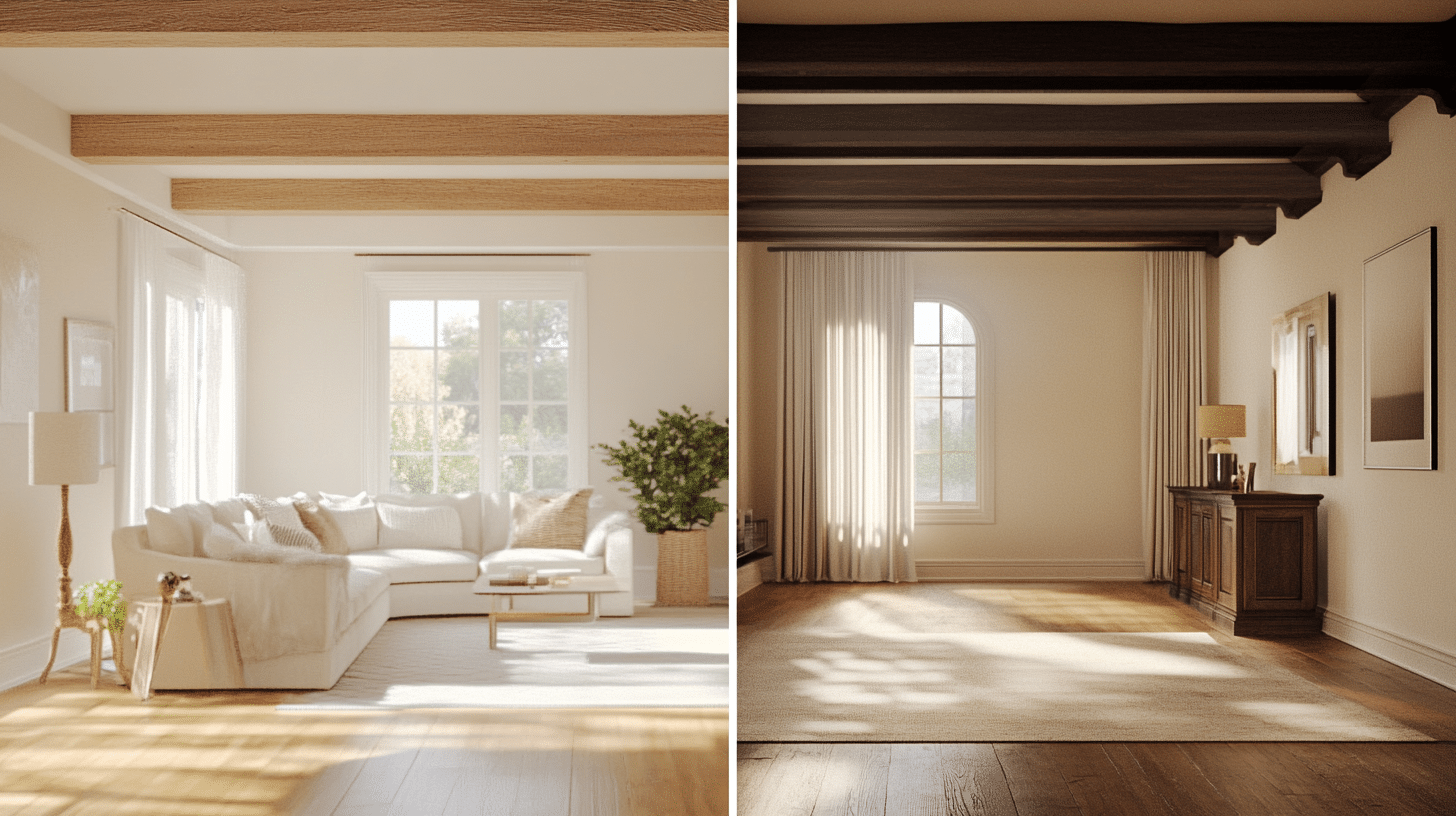
Faux beams offer many benefits for homeowners. They weigh much less than real wood, making them safer and easier to install. You can clean them with basic soap and water.
Unlike real wood, they don’t need special treatments or frequent upkeep.
Some homeowners prefer the authentic look of real wood beams. They show true wood grain and bring natural beauty to your space.
However, they cost more money and need regular care to stay in good shape. You’ll need to treat them now and then to prevent damage.
Planning Your Beam Project

Evaluating Your Space
Before starting a beam project, check your ceiling’s height and structure. The right spacing between beams matters – most homes look best with beams placed 4 feet apart.
Some spaces might need 2 to 8 feet of space between each beam. Your ceiling’s shape plays a big role, too. Vaulted ceilings need special planning for beam placement and angles.
Look at your room’s layout and size. Open floor plans work well with beams that run through multiple spaces.
You might want to align beams with key features like range hoods in kitchens. Take notes about any light fixtures, vents, or other ceiling items that affect beam placement.
Choosing the Right Materials
Your choice of beam material affects both looks and function. Box beams offer a smart option – hollow inside but look solid.
These beams make installation simpler because they weigh less than solid pieces. You can build them on-site or buy them ready-made.
Faux wood beams made from high-density materials give the wood look without the weight issues of real wood. They also resist moisture better than real wood.
Consider premade box styles instead of solid beams if you want real wood. They provide the same look with easier handling.
Cost Considerations
Understanding beam costs helps you plan your budget better. Here’s what you can expect to spend on different options:
The average cost for ceiling beams ranges from $15 to $50 per linear foot. A standard 16-foot room might need 3 to 5 beams, bringing material costs to $720-$4,000. Let’s break down the costs by material type:
The Costs Associated with Installing Faux Beams:
| CATEGORY | COST |
|---|---|
| Materials | $15-25 per linear foot |
| Cost for 16×20 ft Room | $900-1,500 |
| Installation Tools | $100-200 |
| Total DIY Project | $1,000-1,700 |
The Costs Associated with Installing Box Beams:
| CATEGORY | COST |
|---|---|
| Materials | $20-35 per linear foot |
| Cost for 16×20 ft Room | $1,200-2,100 |
| Installation Tools | $150-300 |
| Total DIY Project | $1,350-2,400 |
The Costs Associated with Installing Real Wood Beams:
| CATEGORY | COST |
|---|---|
| Materials | $35-50 per linear foot |
| Cost for 16×20 ft Room | $2,100-4,000 |
| Special Installation Tools | $300-500 |
| Total DIY Project | $2,400-4,500 |
The Extra Costs to Consider when Installing Beams:
| EXTRA COST ITEM | COST |
|---|---|
| Mounting Hardware | $50-100 |
| Stain or Finish | $30-60 per beam |
| Rental Equipment | $100-200 per day |
| Professional Installation | $500-1,500 |
Save additional expenses by:
- Utilizing lightweight materials requiring fewer tools
- Renting specialized tools rather than purchasing
- Opting for straightforward designs to minimize cutting
- Purchasing unfinished beams and applying the stain yourself
- Installing beams concurrently with other ceiling projects
Structural and Safety Considerations
1. Building Assessment
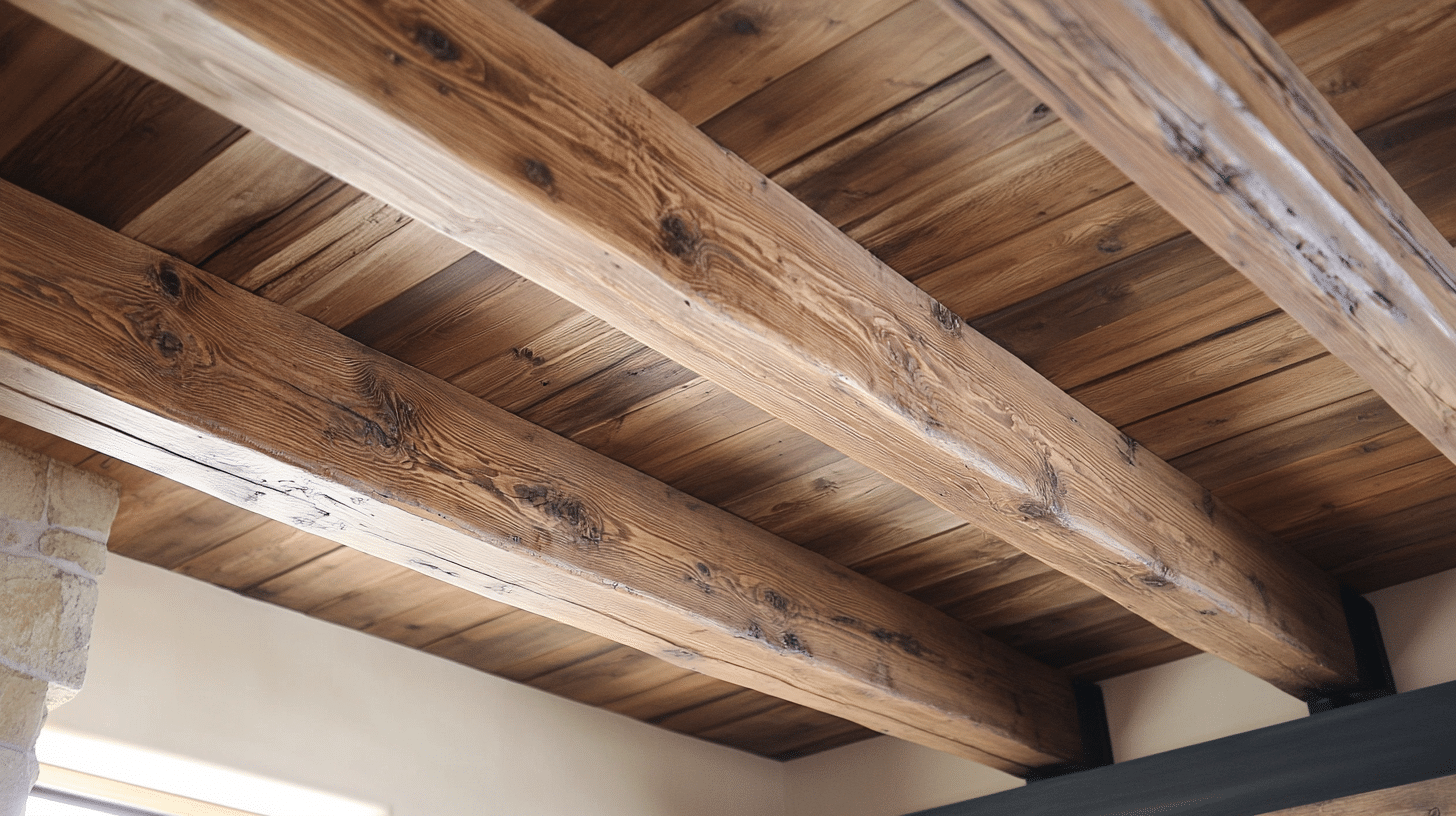
Safety comes first when adding beams to your ceiling. Most homes can support the weight of box or faux beams without changes.
But you need to check your ceiling’s strength before starting work. A building expert should examine your home’s structure before beam installation begins.
2. Support Requirements
Professional inspectors focus on your roof frame strength, ceiling attachment points, and wall support capacity.
They also check for hidden problems that could affect your project. This step becomes even more important if you plan to use heavy, real wood beams or your house is over 30 years old.
Homes with existing ceiling damage also need careful checking.
3. Mounting Points
The placement of ceiling joints must match up with your planned beam spots. Each beam needs proper blocking above it for secure mounting.
Your ceiling should have flat, strong areas where the beams will attach. These attachment points must spread the beam’s weight to prevent future problems.
4. Preparation Steps
You must add wood blocks between ceiling joists to create strong mounting points. In a typical 16-foot room, mounting blocks should sit every three feet along the beam’s length.
You’ll also need extra support at beam ends and joints. This careful preparation ensures your beams stay secure for years to come.
5. Inspection Costs
A table summarizing the costs associated with structural safety checks:
| SERVICE | COST RANGE |
|---|---|
| Basic Inspection | $200-$400 |
| Written Reports | $300-$500 |
| Complete Building Check | $500-$800 |
Step-by-Step DIY Beam Installation
Tools and Materials Needed
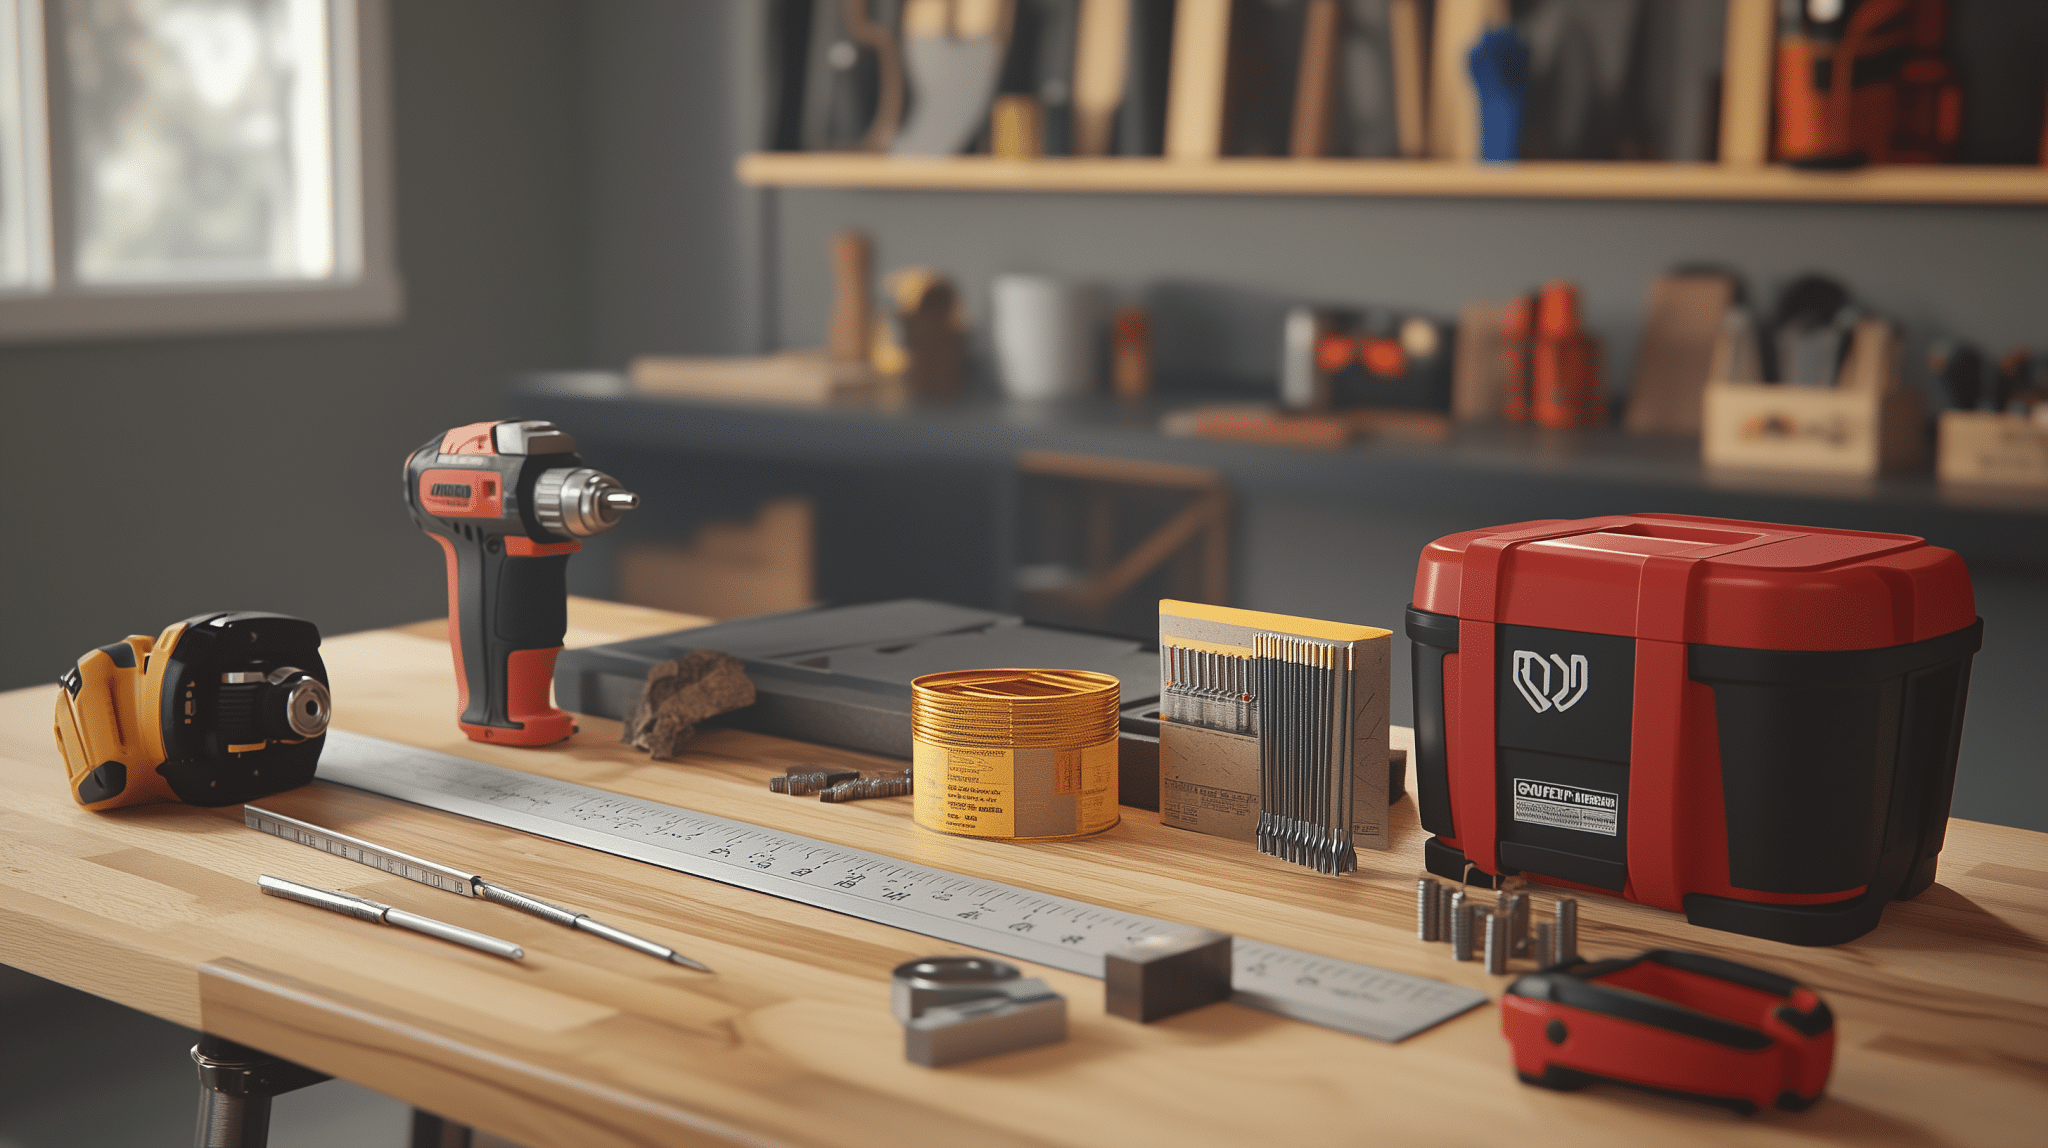
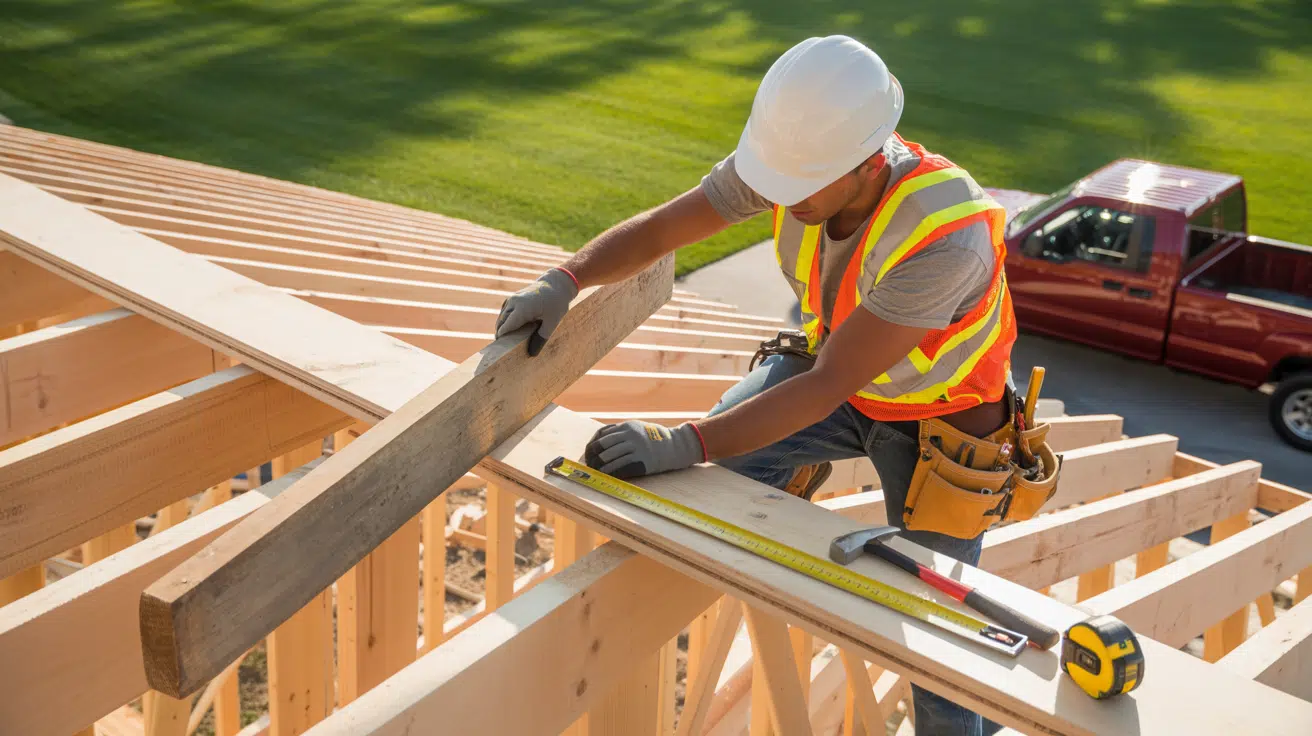
A successful beam installation starts with the right tools. Basic items like a tape measure, pencil, and drill with bits are needed.
A miter saw proves essential for cutting beams. Gather 3-inch wood screws, a finish nailer with 2-inch nails, and construction adhesive.
Keep stainable wood filler ready for touch-ups. Safety gear includes glasses and a sturdy ladder.
Preparing for Installation
Start by marking where each beam will sit on your ceiling. Measure from the walls, ensuring equal spacing. Beams placed four feet apart look best in most rooms.
For vaulted ceilings, mark the top and bottom points where beams meet the ceiling. This creates straight lines for installation.
Installation Process
Step 1 – Set Up Mounting Plates
Mark the ceiling points for your mounting plates. Put painter’s tape on these spots for clear visibility. Place the first plate at the ceiling’s highest point. Use your stud finder to locate the ceiling joists.
Step 2 – Add Support Blocks
Install mounting blocks every three feet. Fix each block pair to ceiling joists using 3-inch wood screws. Check that blocks sit flush against the ceiling. Double-check block spacing matches your beam size.
Step 3 – Cut Your First Beam
Measure the space between walls or connection points. Use your miter saw to cut the beam to size. For vaulted ceilings, cut beam ends at matching angles. Test-fit the beam before final cuts.
Step 4 – Apply Adhesive
Clean mounting blocks with a tack cloth. Apply construction adhesive to each block’s edges. Spread the adhesive evenly, but don’t use too much—it might squeeze out when you place the beam.
Step 5 – Place and Secure Beam
Lift the beam to a position over the mounting blocks. Press firmly against the ceiling. Drive finish nails through the beam sides into blocks, spacing nails every 16 inches along the beam length.
Step 6 – Check Alignment
Use your level to check that the beam is straight. Adjust if needed before the adhesive sets. Check the spacing on both sides of the beam. Make sure the ends meet the walls or other beams correctly.
Step 7 – Continue Installation
Move to the next beam position. Keep the same spacing between beams. Check alignment with previously installed beams. Repeat steps 3-6 for each new beam.
Finishing Touches
After all the beams are up, fill any nail holes with wood filler that matches your beam color. Once dry, sand these spots smooth.
If you’ve used unfinished beams, now is the time to apply stain. Choose water-based products for the best results. Let each coat dry fully before adding another.
Safety Tips
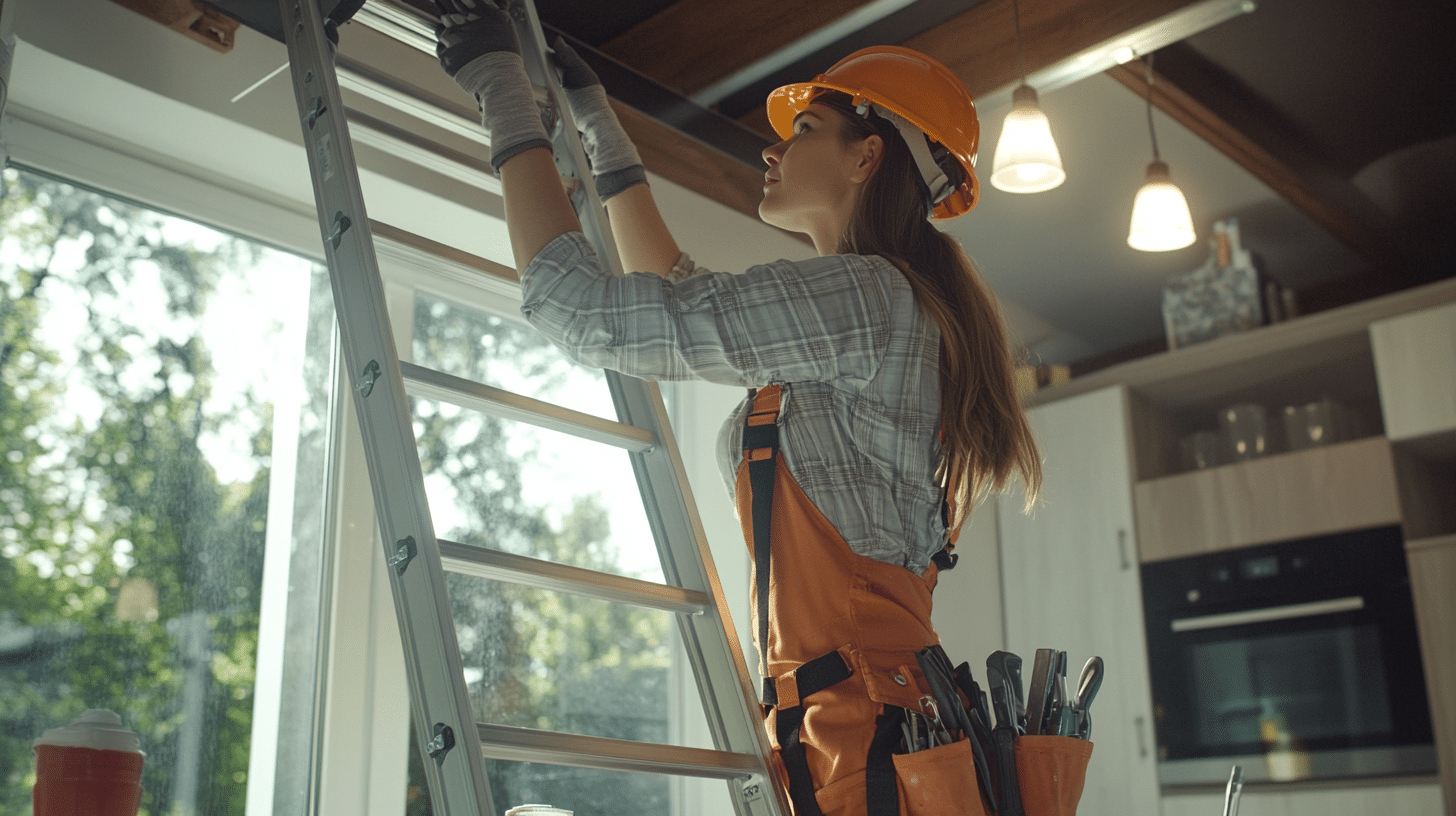
Keep your ladder stable on level ground. Never reach too far while on the ladder – instead, move it often. If working alone, tell someone you’re doing installation work.
Take breaks to prevent fatigue, which can lead to mistakes. Know when a task needs extra hands or professional help.
Professional Installation Insights
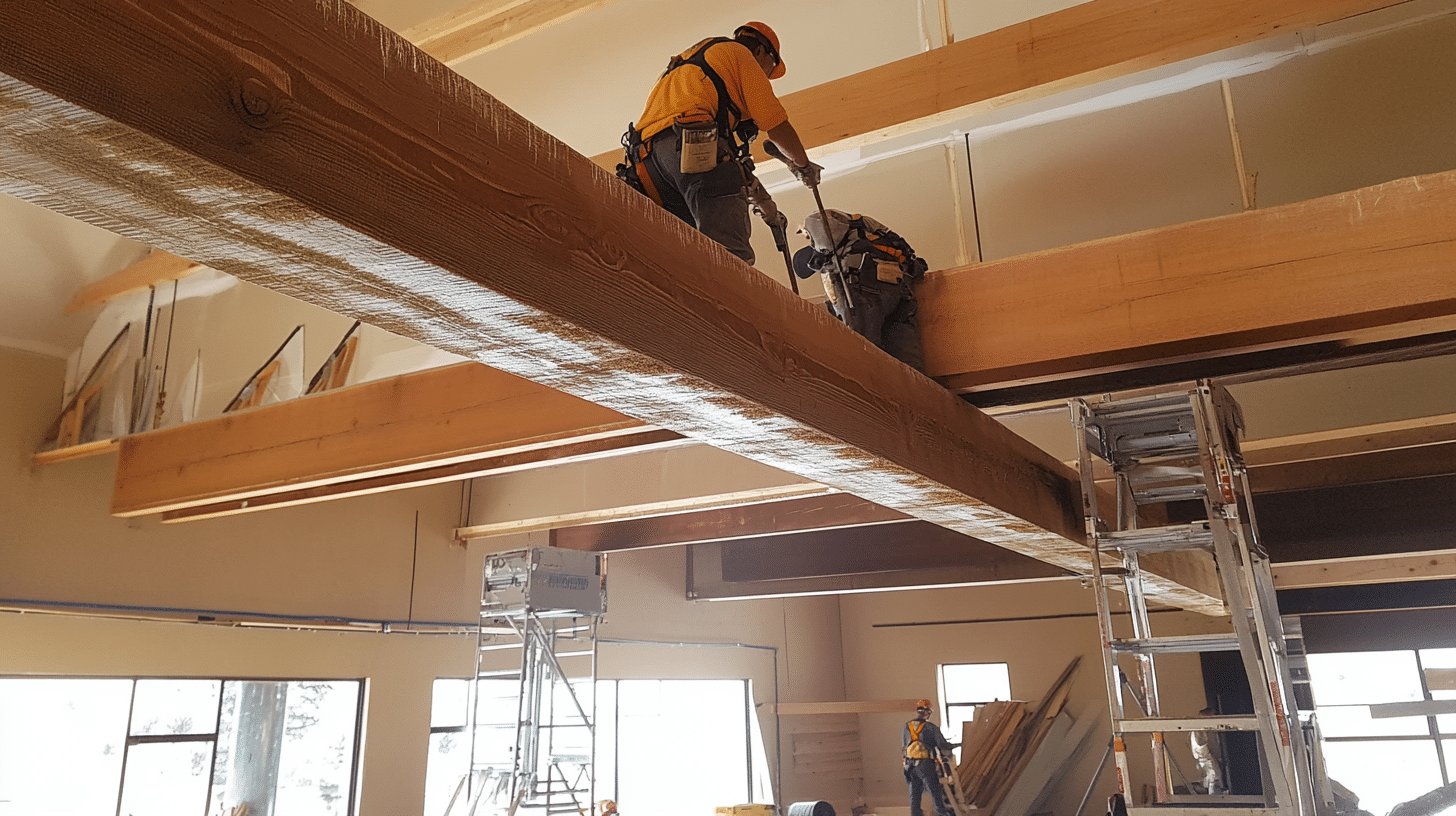
1. When to Hire a Professional
Some beam projects require expert hands. Consider calling a professional when your project involves tricky angles or requires special tools.
Expert help also benefits homes with high ceilings or complex beam patterns. Professional installers offer peace of mind if you are unsure about structural work or lack time for DIY.
2. Selecting a Contractor
Look for contractors with specific beam installation experience. Ask to see photos of their past ceiling beam work. Good contractors share clear timelines and detailed price quotes.
They should have proper licenses and insurance. Check their reviews and ask about their experience with your chosen beam type.
3. Understanding the Process
Professional installation takes two to five days for most rooms. The team starts by checking the site and marking beam spots.
They bring their tools and safety gear. Most pros handle the whole job, from adding support blocks to the final touches. They also clean up and remove old materials.
A typical professional timeline looks like this:
DAY 1: Site prep and ceiling reinforcement
DAY 2-3: Beam installation and securing
DAY 4: Finishing work and clean-up
DAY 5: Final inspection and touch-ups.
4. Professional Installation Costing Summary
| DESCRIPTION | COST RANGE |
|---|---|
| Material Handling | $300-$500 |
| Labor Costs | $1,000-$2,500 |
| Equipment Use | $200-$400 |
| Finishing Work | $500-$1,000 |
| Site Cleanup | $100-$200 |
Remarkable Facts About Ceiling Beams
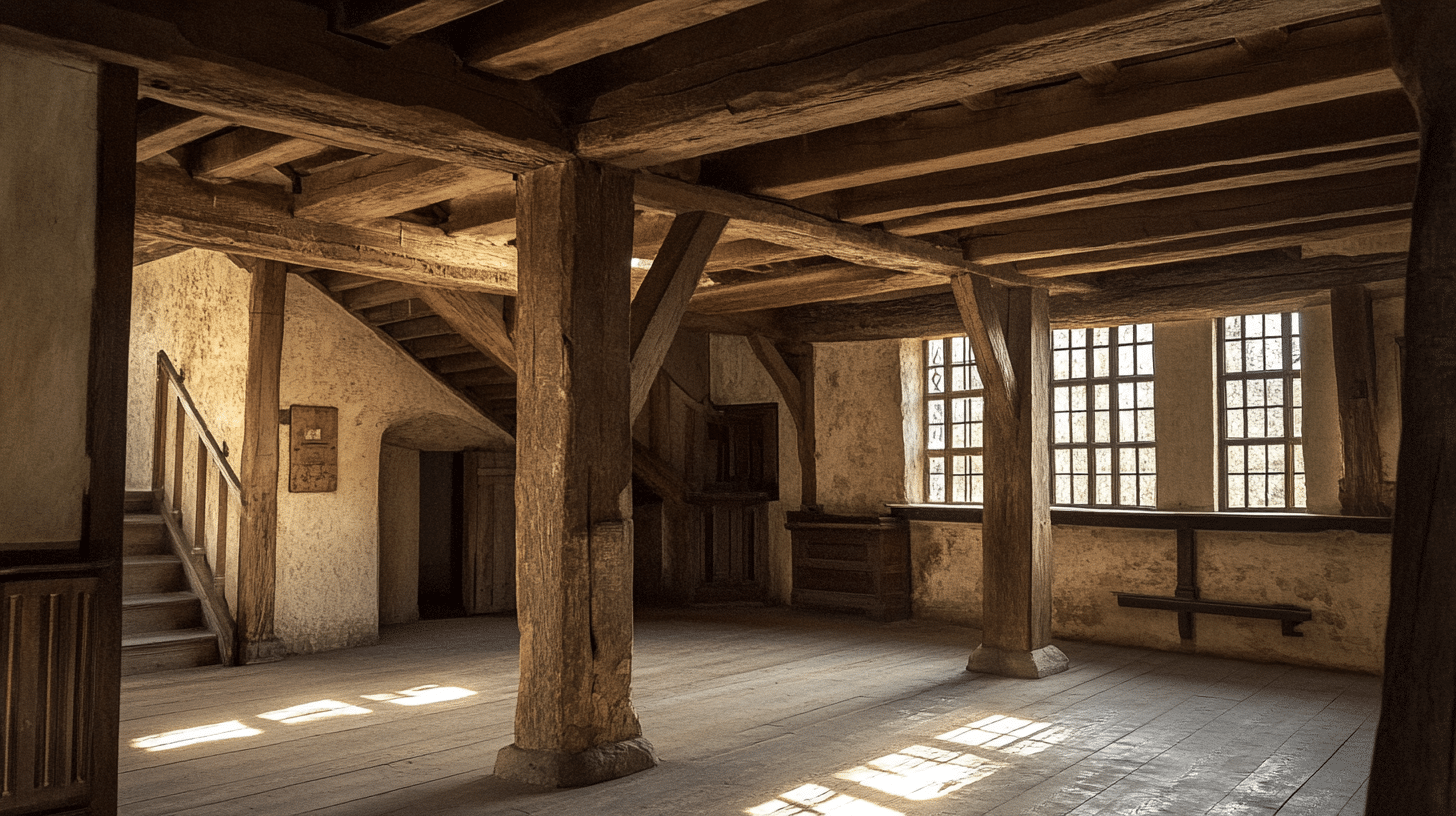
1. Historical Significance
Ceiling beams started as key building supports in medieval homes. In those times, builders used whole tree trunks to hold up floors and roofs.
These old beams often show axe marks from hand-cutting. Some English homes still have their original 500-year-old ceiling beams.
2. Design Evolution
Early American builders copied European beam styles. They used local oak and pine trees to make their beams.
Over time, builders found ways to make fake beams that looked like solid wood. Today’s counterfeit beams can fool even trained eyes while weighing much less.
3. Cultural Impact
Different cultures use beams in unique ways. Japanese homes display roof beams as art, and Spanish homes often paint their beams bright colors.
Swiss chalets use crossed beams to make special patterns. These styles are now found in modern homes worldwide.
4. Modern Uses
Today’s builders use beams in smart ways. Some beams hide house wiring and pipes, while others help sound travel less between floors.
Many modern homes use beams to make rooms feel taller, and LED lights tucked into beams can light up whole rooms.
5. Interesting Numbers
A solid wood beam from one tree could make six hollow beams of the same size. Fake beams weigh about 80% less than real ones.
Most home ceilings can hold up to 40 pounds per square foot. A typical 16-foot beam takes two people four hours to install.
The Bottom Line
Adding beams to your ceiling brings charm and value to your home. We’ve covered beam styles, from rustic wood to modern designs, and how to choose the right ones for your space.
You learned that proper planning starts with structural checks, which cost between $1,000 and $4,500 and requires careful safety steps.
Whether you choose DIY installation or hire pros, success comes from following the right steps. Remember to check your ceiling’s strength, use proper mounting techniques, and prioritize safety.
Ready to start your beam project? Take what you’ve learned here and begin planning. Share your beam installation story in the comments below, or ask us any questions about your project. Your next beautiful ceiling awaits!
Frequently Answered Questions (FAQs)
Can You Add Beams to an Existing Vaulted Ceiling?
Yes, it’s feasible. Ensure structural support and consult a professional.
How Much Does Adding Beams to a Vaulted Ceiling Cost?
Costs vary from $2,000 to $5,000, influenced by material and design complexity.
What Are the Best Materials for Ceiling Beams?
Wood and polyurethane are popular for their style, adaptability, and installation ease.
Can You Add Beams to Low Ceilings?
It is possible to use thinner, lighter beams to maintain headroom and enhance depth perception.
Are Faux Beams a Good Option?
Faux beams offer realism and ease of installation, making them ideal for beautification.

