A Comparison Between Shiplap vs. Tongue and Groove
Are you stuck between choosing shiplap or tongue and groove for your walls? I know this feeling well.
After helping many homeowners pick between these two options, I’ve seen the confusion up close. It’s hard to tell which one will work better for your space and budget.
But don’t worry – I’ve got you covered. In this guide, I’ll walk you through what makes each style special, its main differences, and how to pick the right one for your home.
By the time you finish reading, you’ll feel sure about which option matches your needs.
Understanding The Basics of Shiplap & Tongue and Groove
1. Shiplap Basics
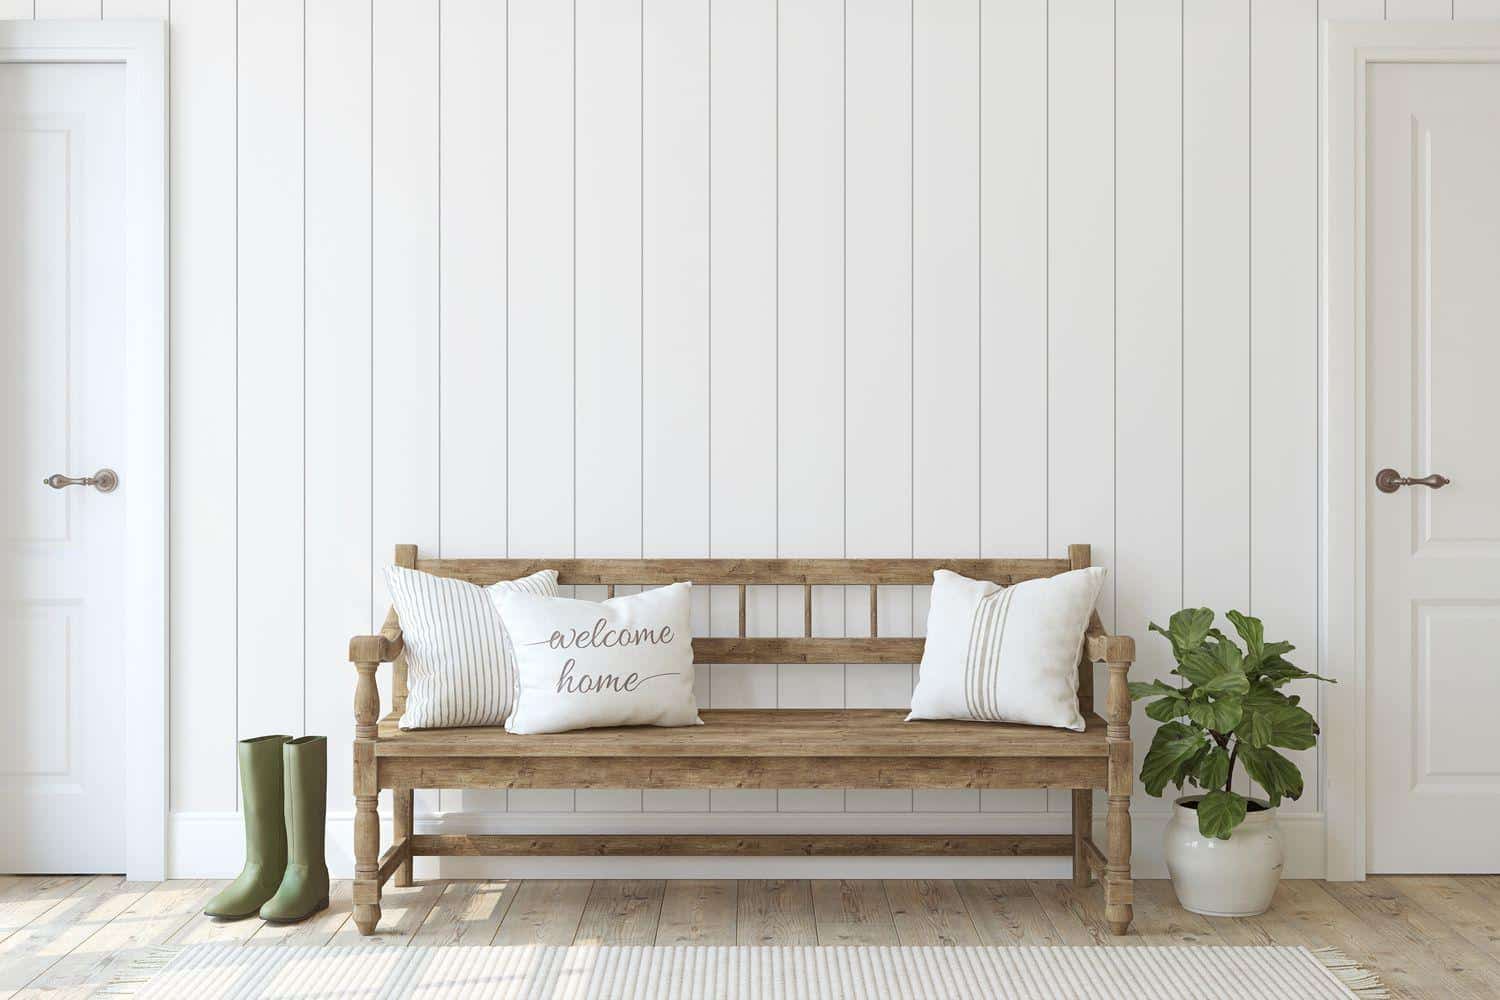
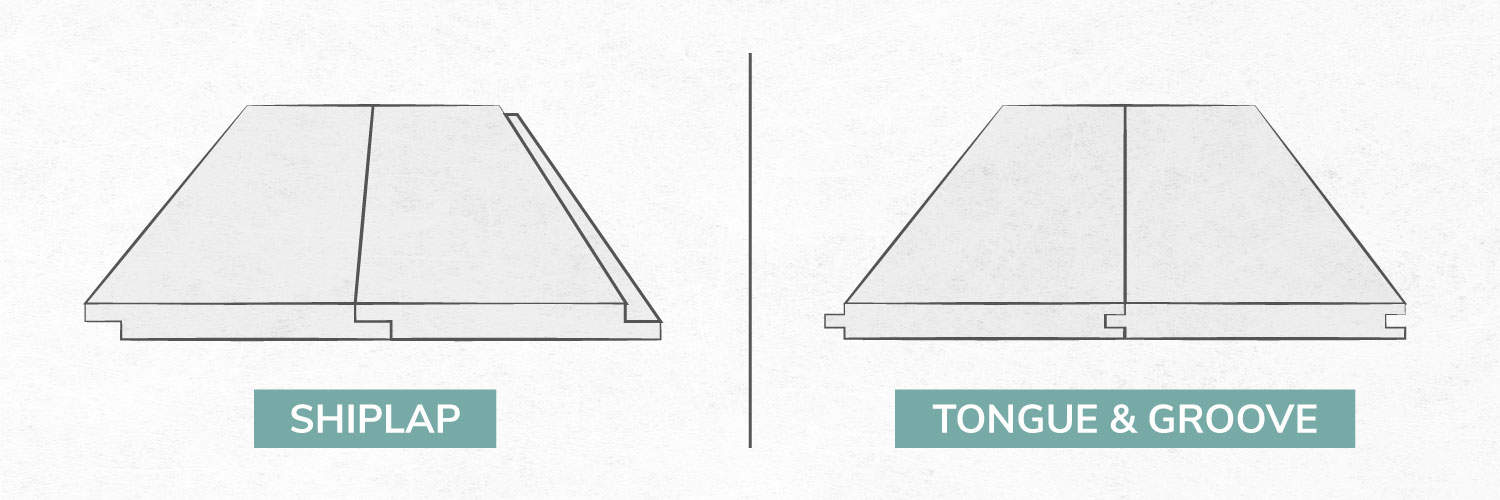
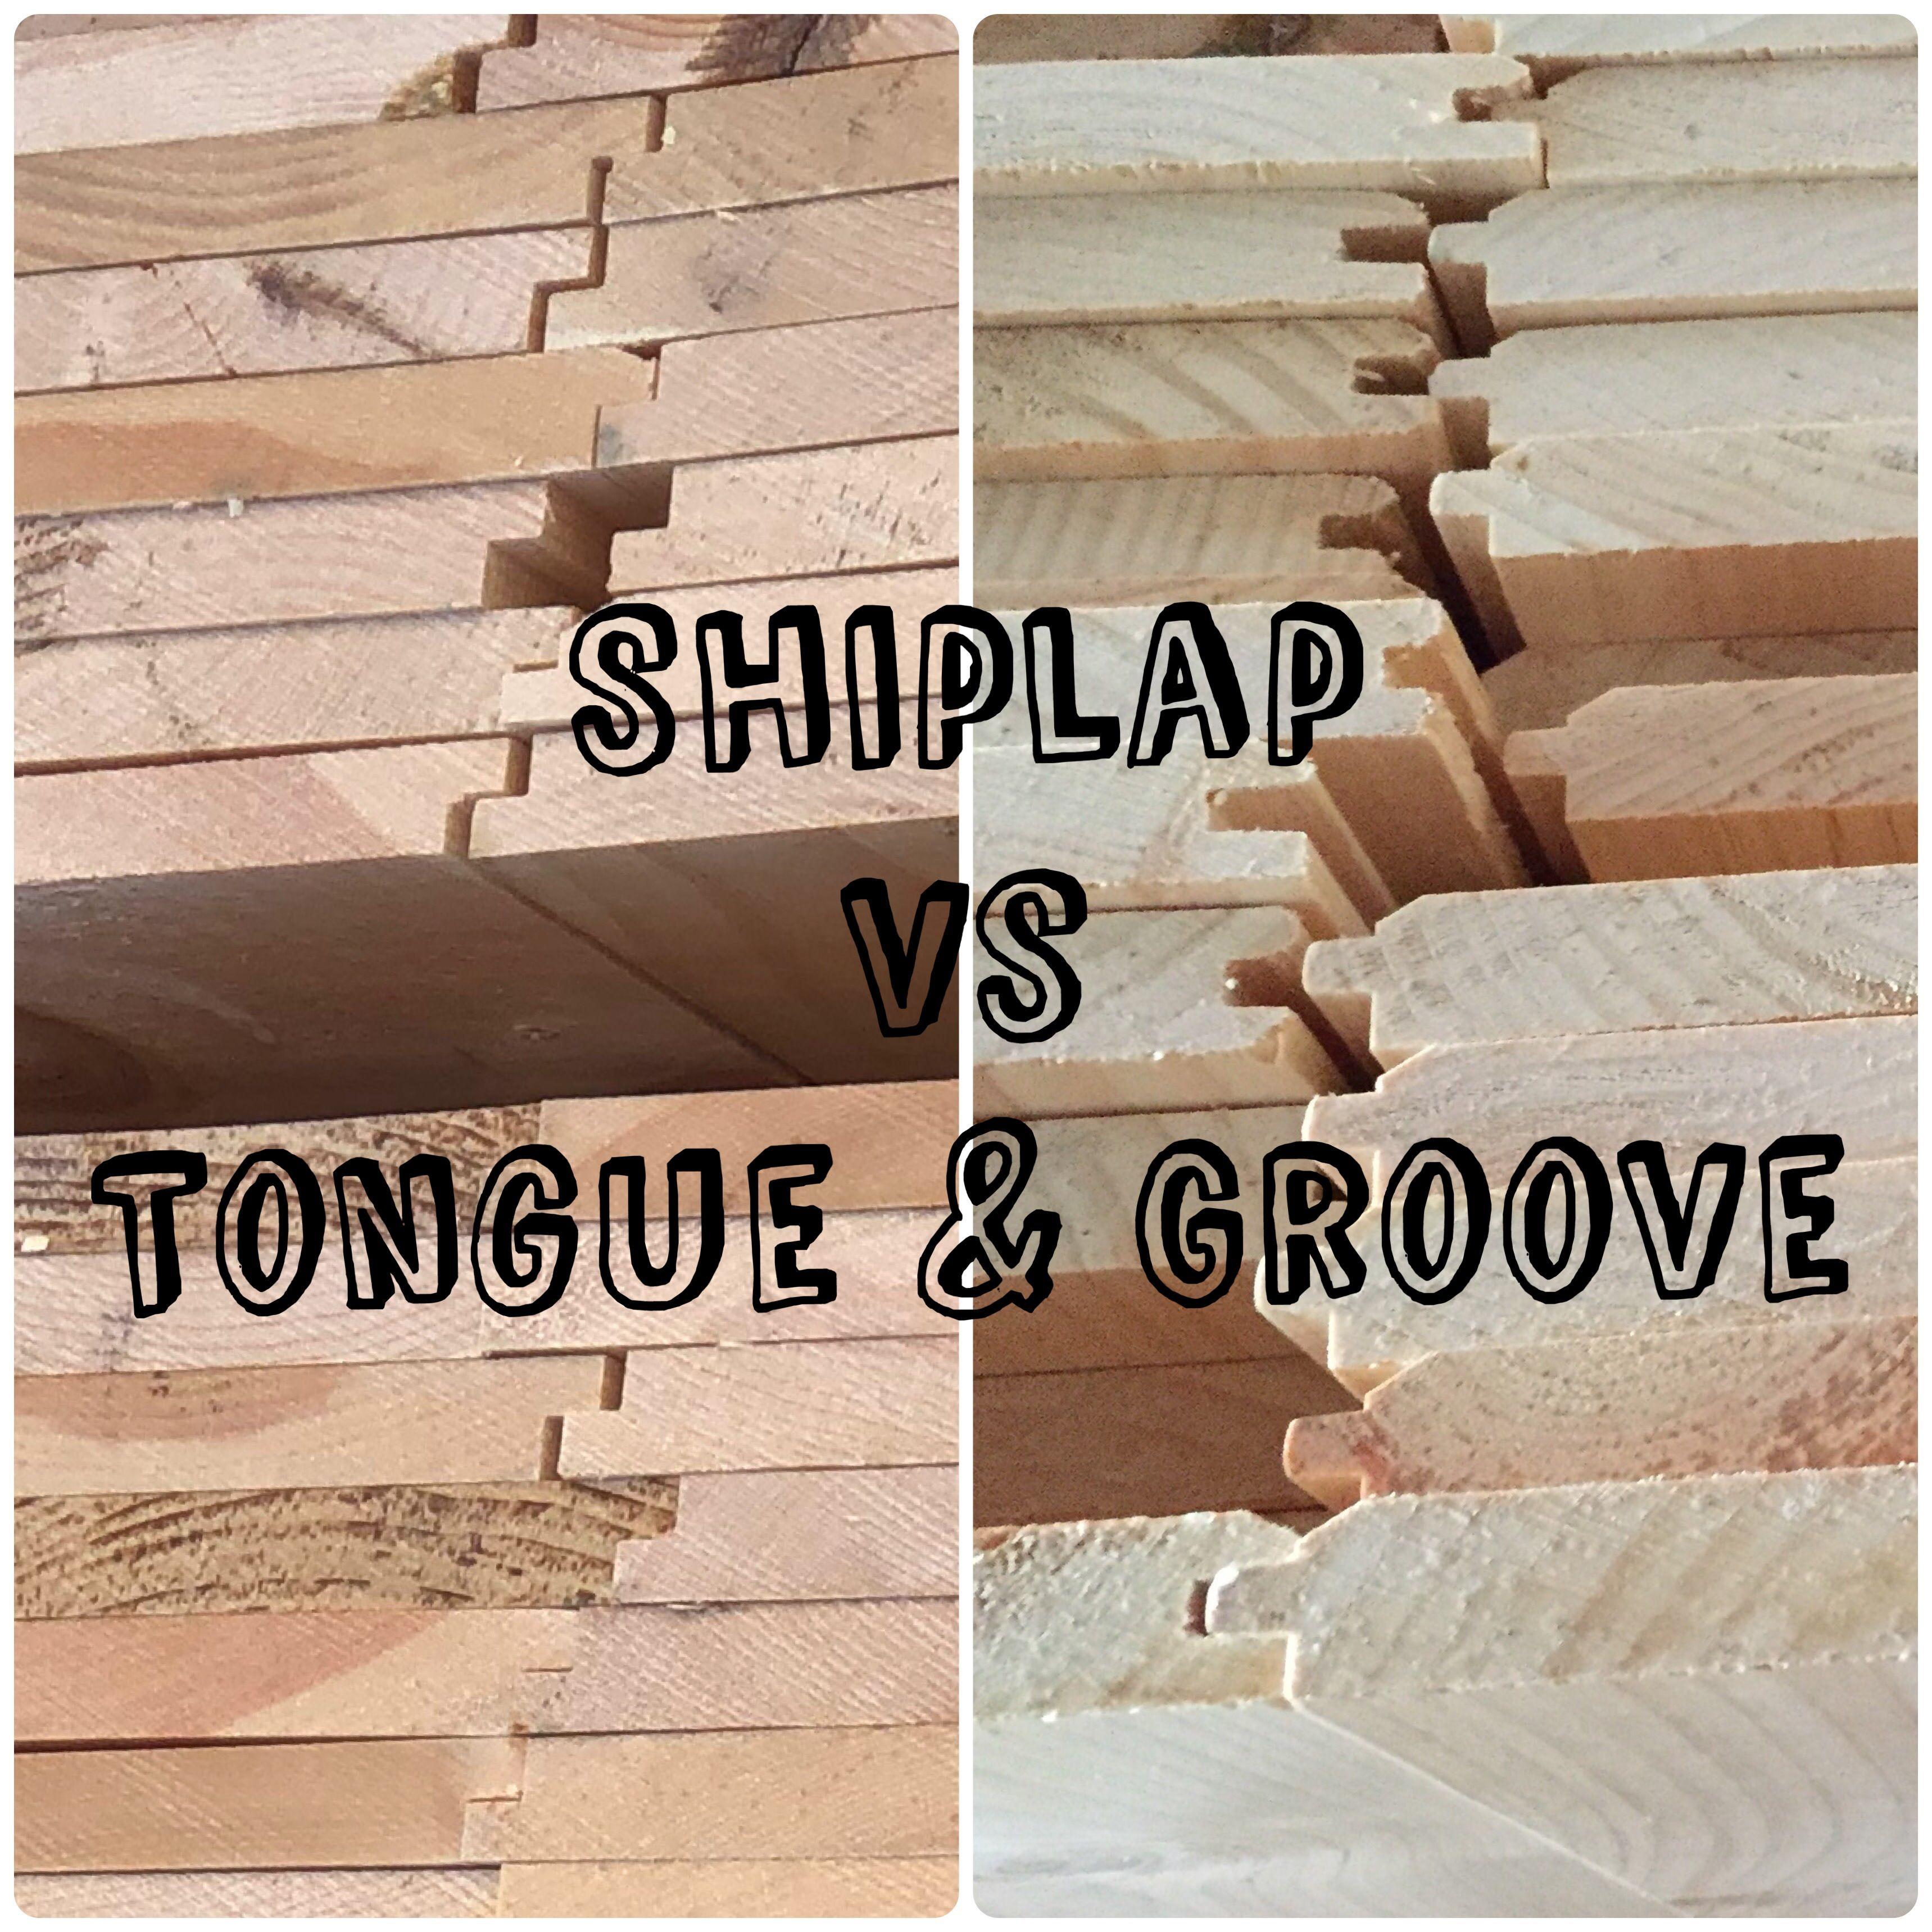
- Shiplap boards have a special L-shaped cut on their edges
- These cuts create small gaps between boards when installed
- The gaps make nice shadow lines on your walls
- You can put these boards up side by side with small spaces between them
- They work well in bathrooms, living rooms, and bedrooms
- I’ve seen them used most often on interior walls and ceilings
2. Tongue and Groove Basics
- Each board has a groove on one side and a tongue on the other
- The tongue fits into the groove of the next board
- This makes a tight, clean fit between pieces
- The boards link together like puzzle pieces
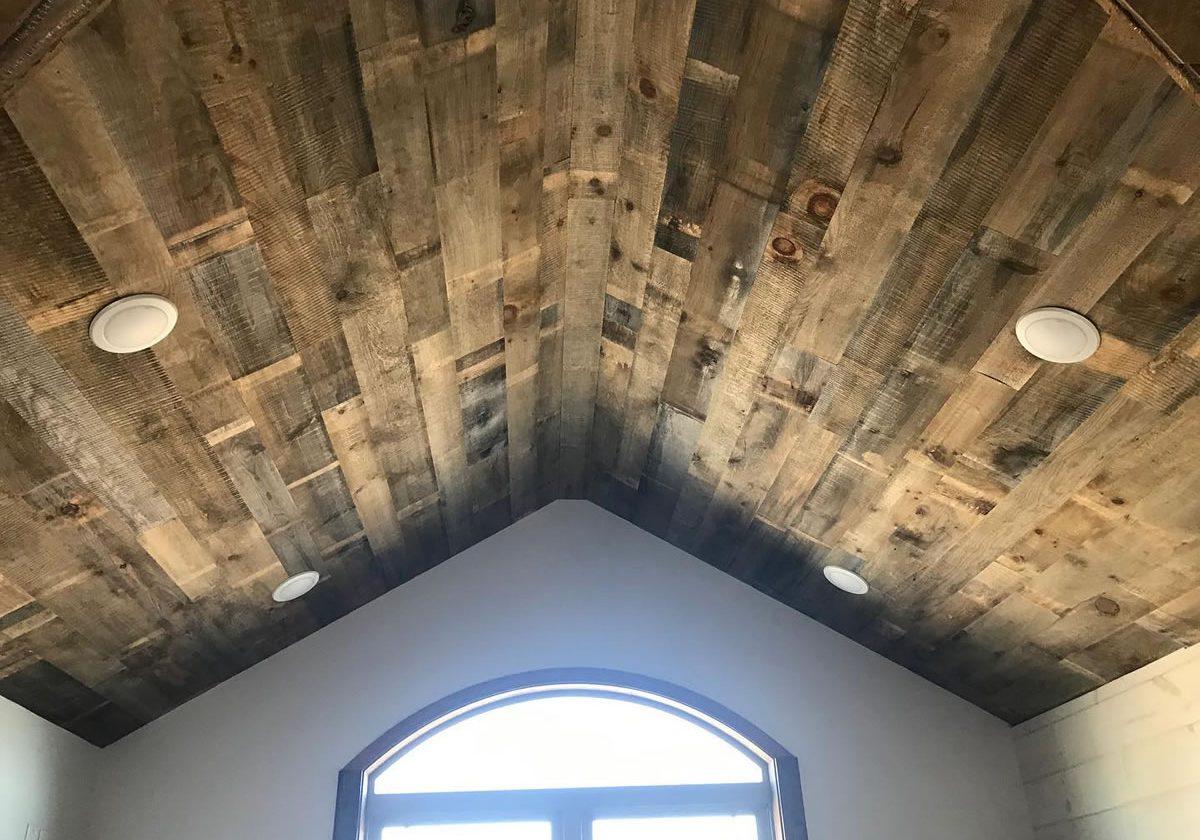
- They’re perfect for walls, floors, and ceilings
- I often see them in kitchens and outdoor spaces
Main Design Features
Shiplap
- Creates visible lines between boards
- Boards lay flat against the wall
- Gives walls a casual, relaxed look
- Works with many home styles
Tongue and Groove
- Makes a smooth, sealed surface
- Fits together without visible gaps
- Creates a clean, finished look
- Suits both modern and classic home
Key Differences Between Shiplap & Tongue and Groove
| Key Differences | Shiplap | Tongue and Groove |
|---|---|---|
| Installation Process | • Boards sit on top with small gaps • Easier to install by yourself |
• Boards lock together firmly • May require extra hands for installation |
| Weather Protection | • Leaves small spaces that might let water through • Better suited for indoor use |
• Forms a tighter seal against water • Recommended for outdoor use |
| Cost Factors | • Generally costs less • Requires less wood • Faster to install |
• Higher cost due to more wood • Installation takes more time |
| Visual Impact | • Shows clear lines between boards • Each board stands out individually |
• Smooth, continuous look • Creates a seamless appearance |
| Space Requirements | • Takes up less wall depth • Suitable for most room sizes |
• Needs more wall depth • Wall structure might influence choice |
Best Uses for Shiplap & Tongue and Groove
Let me share where each type of board works best, based on my hands-on work with both styles in different settings.
Best Places for Shiplap
Indoor Walls
- I find shiplap perfect for living room accent walls
- It adds style to bedroom walls without being too loud
- Many of my clients use it in home offices for a clean look
- It works great in dining rooms where you want subtle patterns
Ceiling Projects
- Shiplap makes plain ceilings stand out nicely
- I’ve used it in entryways to draw eyes upward
- It fits well in covered porches
- Many people like it for bathroom ceilings
Indoor Spaces
- Mudrooms look better with shiplap walls
- It works well in dry bathroom areas
- Hallways gain more interest with shiplap
- It makes laundry rooms feel more put together
Best Places for Tongue and Groove
Outdoor Uses
- I put tongue and groove on covered decks
- It stands up well on porch ceilings
- Many of my projects use it for siding
- It works great for outdoor kitchen walls
Wet Areas
- Bathroom walls stay drier with tongue and groove
- It keeps water out better in shower areas
- Steam rooms need this tight-fitting style
- Pool houses benefit from its water resistance
Floor Applications
- Tongue and groove make strong wood floors
- It works well in sunrooms
- Many people choose it for finished basements
- It stands up to foot traffic in hallways
Cost Comparision According to Various Factors
| Cost Factors | Shiplap | Tongue and Groove |
|---|---|---|
| Material Costs | • Basic pine: $3 – $7 per sq. ft. • Mid-range wood: $8 – $12 per sq. ft. • High-end wood: $13 – $20 per sq. ft. • Pre-painted boards: +$2 – $4 per sq. ft. |
• Simple pine: $4 – $9 per sq. ft. • Medium quality wood: $10 – $15 per sq. ft. • Premium wood: $16 – $25 per sq. ft. • Special finishes: +$3 – $5 per sq. ft. |
| Labor Expenses | • Basic installation: $4 – $7 per sq. ft. • Complex patterns: $8 – $12 per sq. ft. • Wall prep: $1 – $3 per sq. ft. • Project duration: 1-2 days |
• Standard installation: $6 – $10 per sq. ft. • Tricky areas: $11 – $15 per sq. ft. • Surface prep: $2 – $4 per sq. ft. • Project duration: 2-3 days |
| Extra Costs | • Tools: $100 – $200 • Backing materials: $1 – $2 per sq. ft. • Paint or stain: $20 – $40 per gallon |
• Tools: $150 – $300 • Backing materials: $1 – $2 per sq. ft. • Paint or stain: $20 – $40 per gallon |
How to Install Them
1. Installing Shiplap
- Start by finding the wall studs and marking them clearly. I always measure from the bottom up and keep a level handy for straight lines.
- Put the first board at the bottom, making sure it sits level. Nail it into the studs – I use two nails per stud. Each new board goes on top, with its L-shaped lip resting on the board below it.
- Keep checking for level as you go up. Leave small gaps at the edges near walls and corners for the wood to expand.
- Cut holes for outlets and switches before putting up those boards.
- Fill nail holes with wood putty if you plan to paint. Sand any rough spots lightly before adding paint or finish.
2. Installing Tongue and Groove
- Begin with a flat, clean wall surface. Like shiplap, mark all studs first.
- Place the first board with its groove facing the corner, using a level to keep it straight.
- Secure it with nails through the face near the top edge – this edge will hide under the next board.
- Slide the tongue of the next board into the groove of the first one.
- Tap it in gently with a rubber mallet and wood block to protect the edges.
- Nail through the tongue at an angle into each stud – this keeps nails hidden.
- Keep adding boards, checking often for level. Cut the last board to fit the remaining space.
Pros & Cons of Shiplap & Tongue and Groove
| Aspect | Shiplap | Tongue and Groove |
|---|---|---|
| Pros | • Easy to fix single boards without removing the whole wall • Fits well even if walls aren’t perfectly straight • Faster and less costly installation • Allows wall breathability through gaps • Customizable board spacing • Easier paint touch-ups • Matches many home styles • Easier to remove if needed |
• Superior water resistance • Smooth, gapless appearance • Boards lock securely • Strong, sturdy surface • No need for dusting between gaps • Longer-lasting finish • Better insulation with fewer air gaps • Works well in formal or any room setting • Provides a finished, polished look |
| Cons | • Dust collects in gaps between boards • Requires more frequent cleaning • Water can seep behind boards in wet rooms • Gaps may accumulate dirt • Potential for warping if wet • More visible nail holes • Insects may nest in gaps • Not ideal for very formal rooms • Boards may shrink or expand over time |
• Higher cost for materials and labor • May require assistance for installation • Repairing single boards is challenging • Takes more time to install • Needs very straight walls for proper fit • Uses more wall depth • Harder to find matching boards later • Removal may damage the wall • Moisture can get trapped inside |
Conclusion
Now that I’ve shared all I know about shiplap and tongue and groove, which one feels right for your home?
Both options add charm to any space, but your choice depends on your needs. If you want simple upkeep and lower costs, shiplap might be your answer.
For spaces that need better water protection and a sleek look, tongue, and groove could work better. Take time to think about where you’ll use the boards and what matters most to you – be it cost, looks, or easy care.
Want to learn more about home improvements? Check out my guide on picking the best wood types for indoor projects.
Or leave a comment below – I’d love to hear which style you picked and why!
Frequently Asked Question
What is the New Trend Instead of Shiplap?
Board and batten is taking over as the fresh wall design choice. It uses vertical boards with thin strips covering the seams between panels.
Is Tongue and Groove More Expensive than Shiplap?
Yes, tongue and groove typically cost 20-30% more than shiplap. The complex cutting process and extra material needed for the joining parts raise the price.
What is V-Groove Shiplap?
V-groove shiplap has angled edges that create a V-shaped indent where boards meet. This style makes deeper shadow lines than standard shiplap’s straight-edged gaps.

