Duck House Plans: What to Build and What to Avoid
Starting with the right duck house plans can make a big difference in how well your setup performs over time. Poor early decisions often lead to damp bedding, strong odor, and extra daily work.
A well-thought-out setup helps control moisture and keeps the space easier to manage every day. It also supports better health by reducing stress and stabilizing conditions.
When your structure matches your flock size and environment, problems are less likely to show up later. Good planning keeps airflow steady and prevents the buildup of waste and moisture.
This approach saves time, effort, and repair costs in the long run. You spend more time caring for your ducks instead of fixing avoidable issues.
Duck House Plans: What to Finalize Before You Build?
Before picking up any tools, the decisions made at this stage determine whether your duck house stays functional or becomes a constant maintenance problem.
Most issues like smell, rot, and poor flock health come from skipping this step, not from poor building skills.
1. Space Requirement
Ducks produce heavy moisture from droppings and wet feathers, so space directly affects cleanliness and health. Plan for a minimum of 4 sq ft per duck to avoid overcrowding and allow proper airflow.
- 4 ducks need at least 16 sq ft
- 6 ducks need at least 24 sq ft
- Tight spaces trap moisture, increase ammonia smell, and raise disease risk
2. Location Selection
Where you place the structure matters as much as how you build it. A poorly chosen spot causes drainage, predator, and odor problems that are difficult to fix later.
- Choose slightly elevated or naturally sloped ground to prevent water pooling
- Keep the house away from bushes, walls, or dark corners where predators hide
- Avoid noisy areas to reduce stress on the flock
3. Ground vs Raised Design
A raised design improves airflow, keeps the floor dry, and limits predator access. Ground-level builds are easier to construct but only work well with proper drainage like gravel or a natural slope. Wood sitting directly on wet soil will rot quickly.
Understand the Core Design Principles that Make a Duck House Plan Work
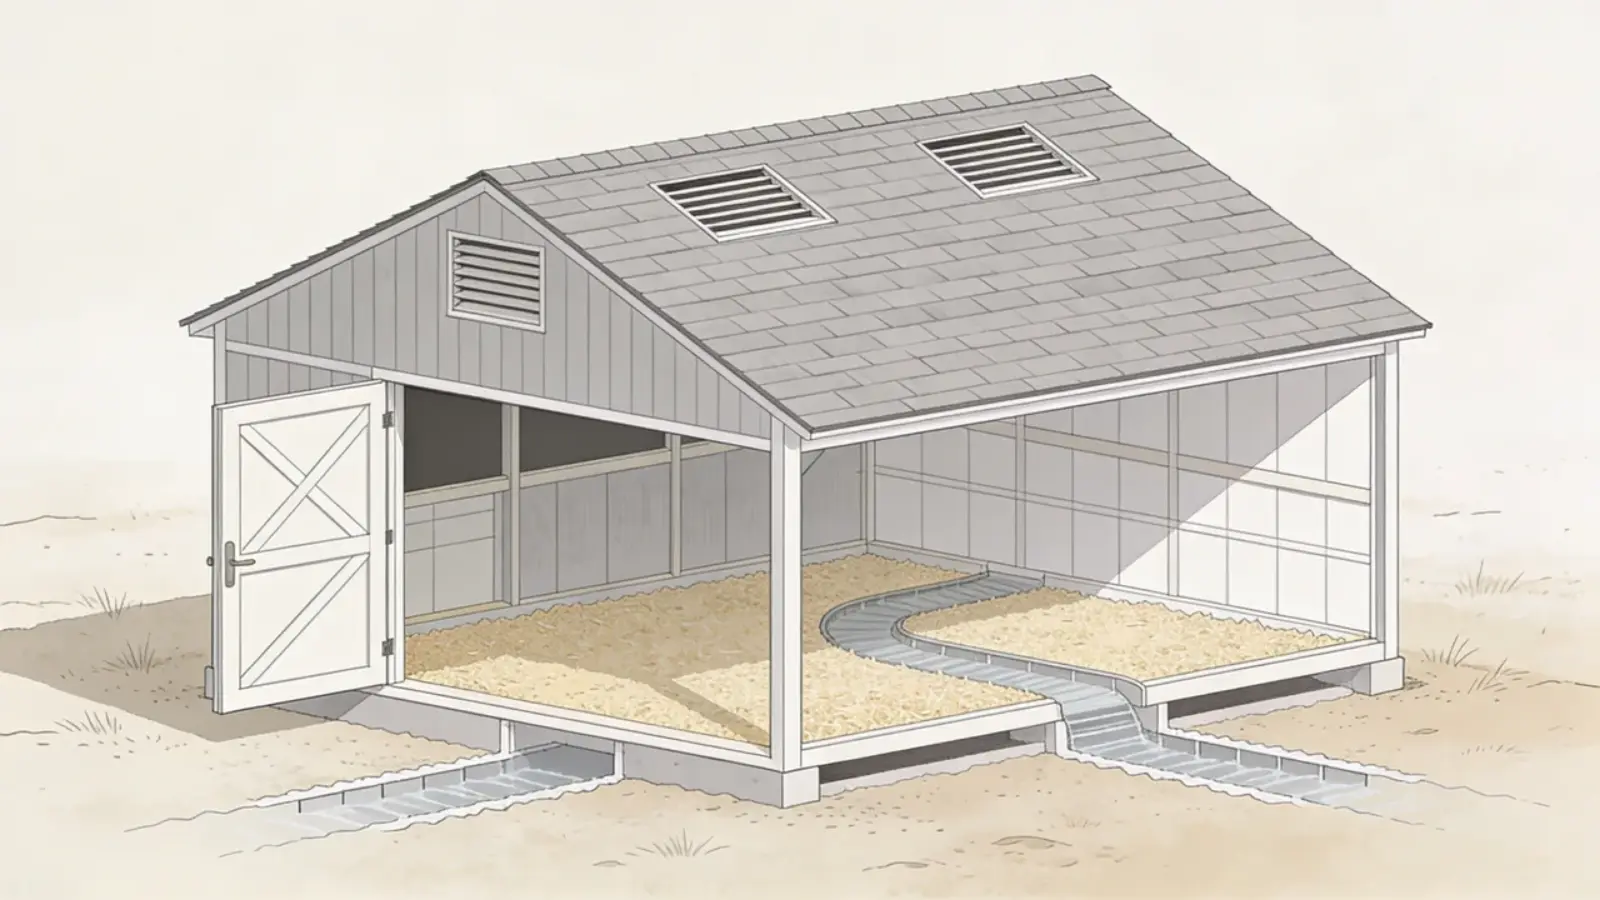
Ducks create constant moisture through droppings and water. In a closed space, this builds up fast and keeps the floor wet. Wet surfaces lead to mold, bacteria, and wood decay. A sloped roof, waterproof flooring, and absorbent bedding help control this.
Ventilation removes trapped moisture, but it must be controlled. Openings near the roof let warm, moist air escape, while avoiding direct drafts on ducks. Poor ventilation traps damp air and can lead to respiratory issues.
Elevation improves airflow under the structure and reduces contact with wet soil. Raising the house 6–12 inches also limits predator access. Weak materials like chicken wire fail, especially around gaps, doors, and corners.
Cleaning access affects long-term upkeep. A large door or hinged roof makes it easier to remove wet bedding. If access is limited, cleaning is delayed, and the environment quickly becomes unhealthy.
Materials and Tools You’ll Need
Gather all materials and tools before you start building. This helps avoid delays, keeps the process smooth, and ensures you don’t miss anything important.
| Category | Items |
|---|---|
| Structure and flooring | Wooden pallets, timber planks, wooden boards |
| Insulation and weatherproofing | Roofing felt, bamboo fencing, straw bedding |
| Finishing | Exterior paint, primer, paintbrush |
| Hand tools | Hammer, saw, nails, screws |
| Swimming area | Small pool liner or container |
| Perimeter | Fencing materials |
With everything ready, you can build faster and with fewer interruptions. A well-prepared setup makes the work easier and leads to a stronger, more reliable duck house.
Duck House Plans: Step-By-Step Build for Basic Setup
This is where everything comes together. Follow these steps in order to keep the structure dry, strong, and easy to maintain.
Step 1: Build the Base and Level the Foundation

Lay pallets flat on level ground and attach them securely together to form the floor base. Make sure the structure is stable and completely level before adding anything on top.
The entire build sits on this foundation, so any unevenness here creates bigger problems at every stage that follows.
Step 2: Add the Flooring and Cut Openings
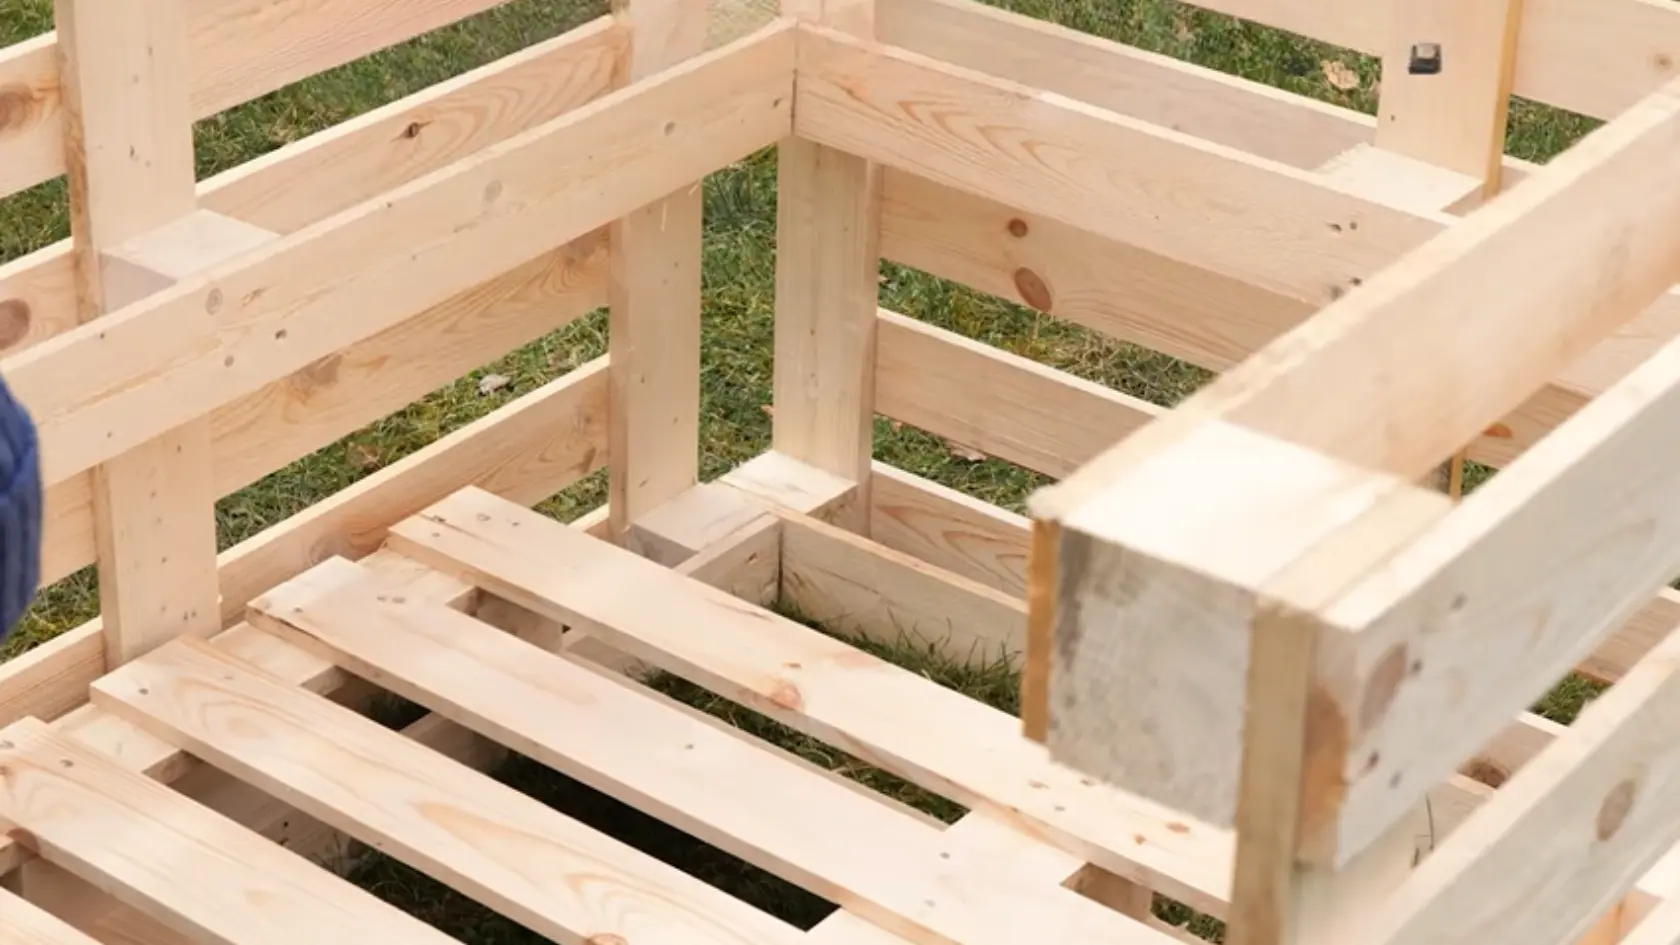
Lay wooden planks over the pallet base to create a solid and splinter-free floor surface. Cut out openings for the window and entrance at this stage, while the structure is still open and easy to work around.
Measure twice before cutting since these openings determine airflow, light, and how easily the ducks can move in and out.
Step 3: Build and Attach the Entrance and Stairs
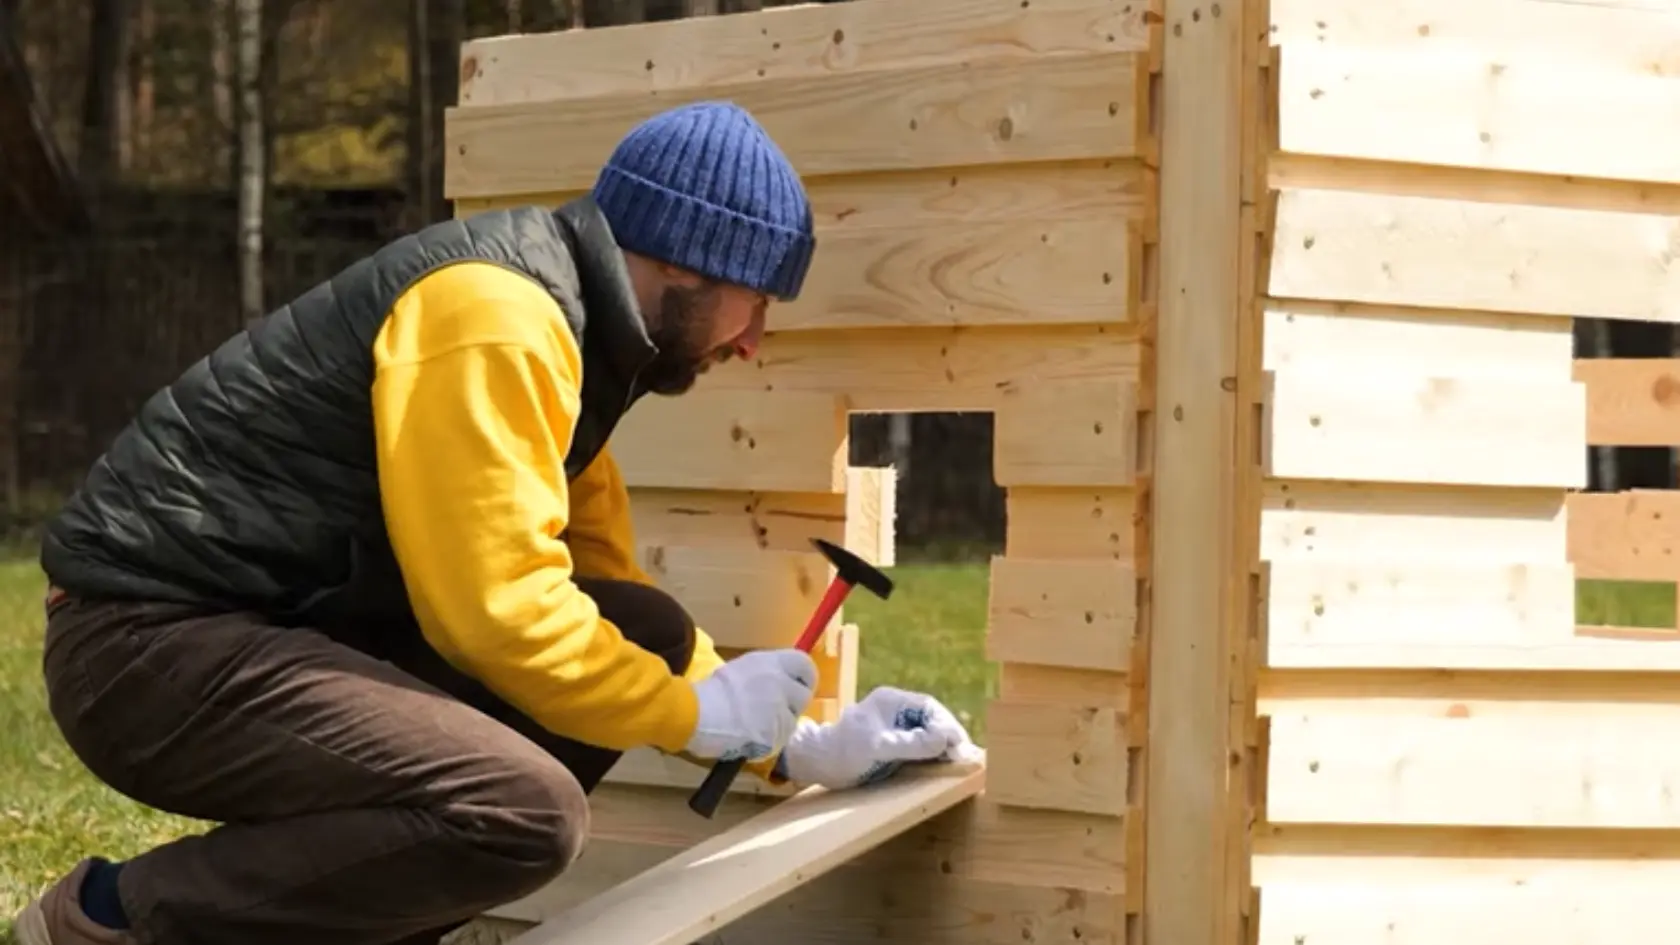
Frame and attach the entrance opening securely to the front of the structure. Build a small staircase leading up to it and space the steps evenly.
Ducks will use these stairs multiple times a day, so nail them down firmly and check for any wobbles before moving to the next step.
Step 4: Add Insulation and Assemble the Roof
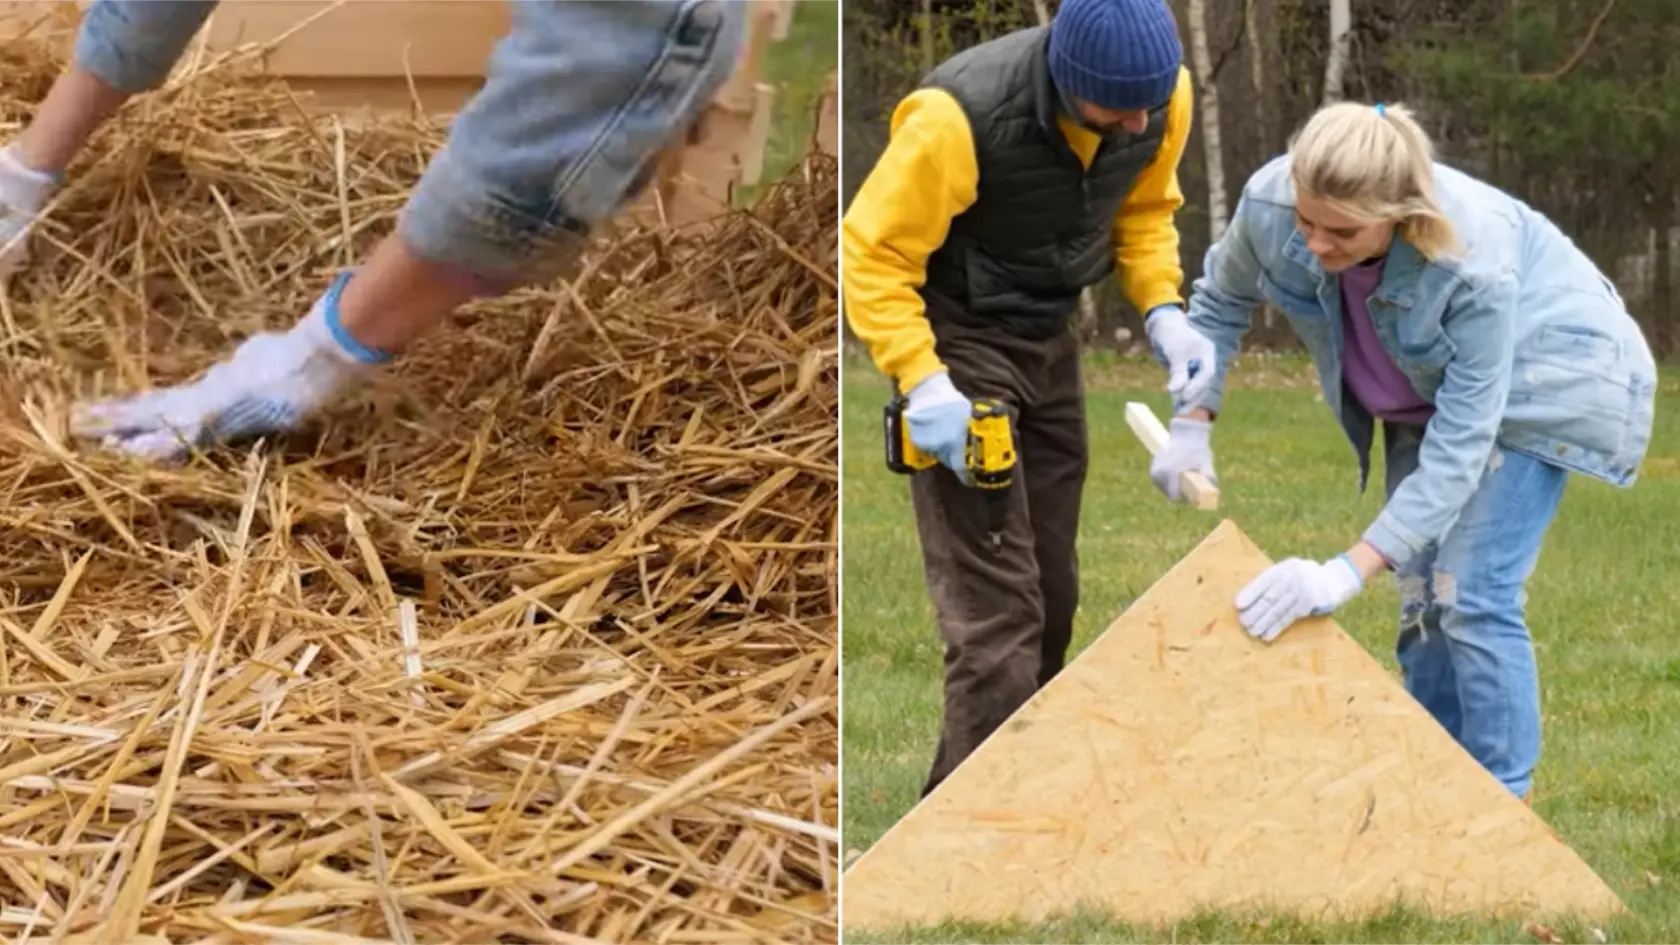
Spread straw bedding across the entire interior floor to add warmth and comfort for the ducks overnight. Build the roof frame above the structure and attach roofing felt across the surface for full waterproofing.
Once the felt is secured, add a bamboo fence layer around the exterior walls as an additional barrier against wind and cold temperatures.
Step 5: Build the Swimming Pool and Perimeter Fence
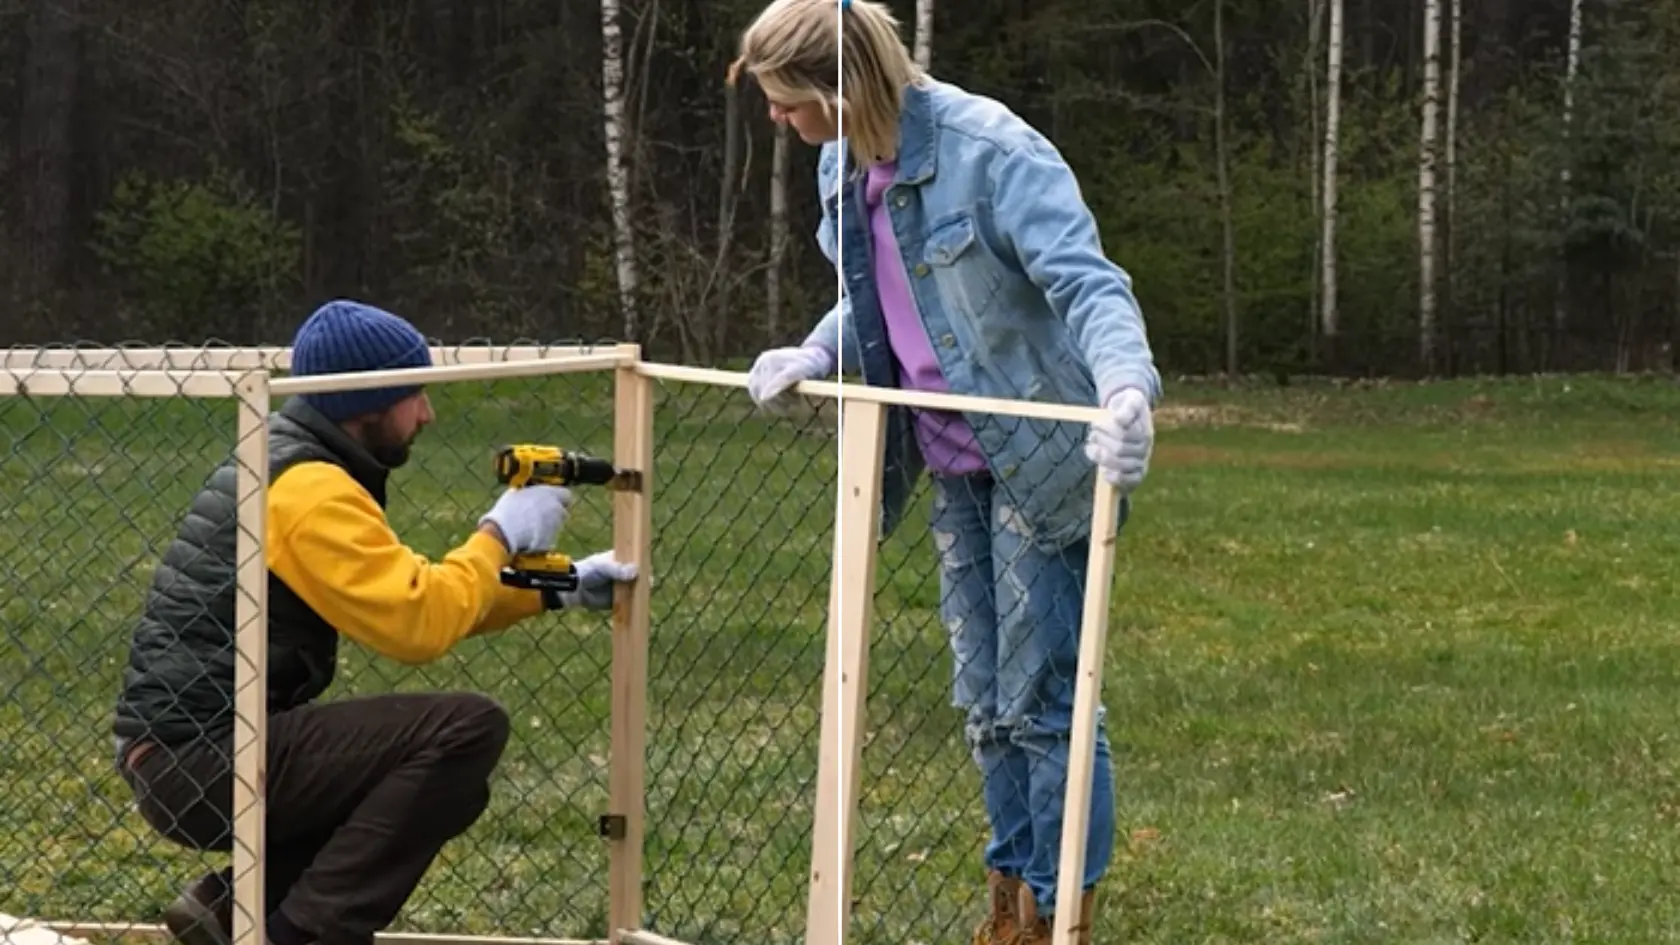
Position a small pool container at ground level nearby and secure it so it cannot shift or tip when the ducks climb in and out.
Build a fenced enclosure around the full area to keep the ducks safely contained. Make sure the fence height is sufficient and check for any gaps at ground level that a duck could push through or get stuck in.
Step 6: Finishing Touches and Move the Ducks In
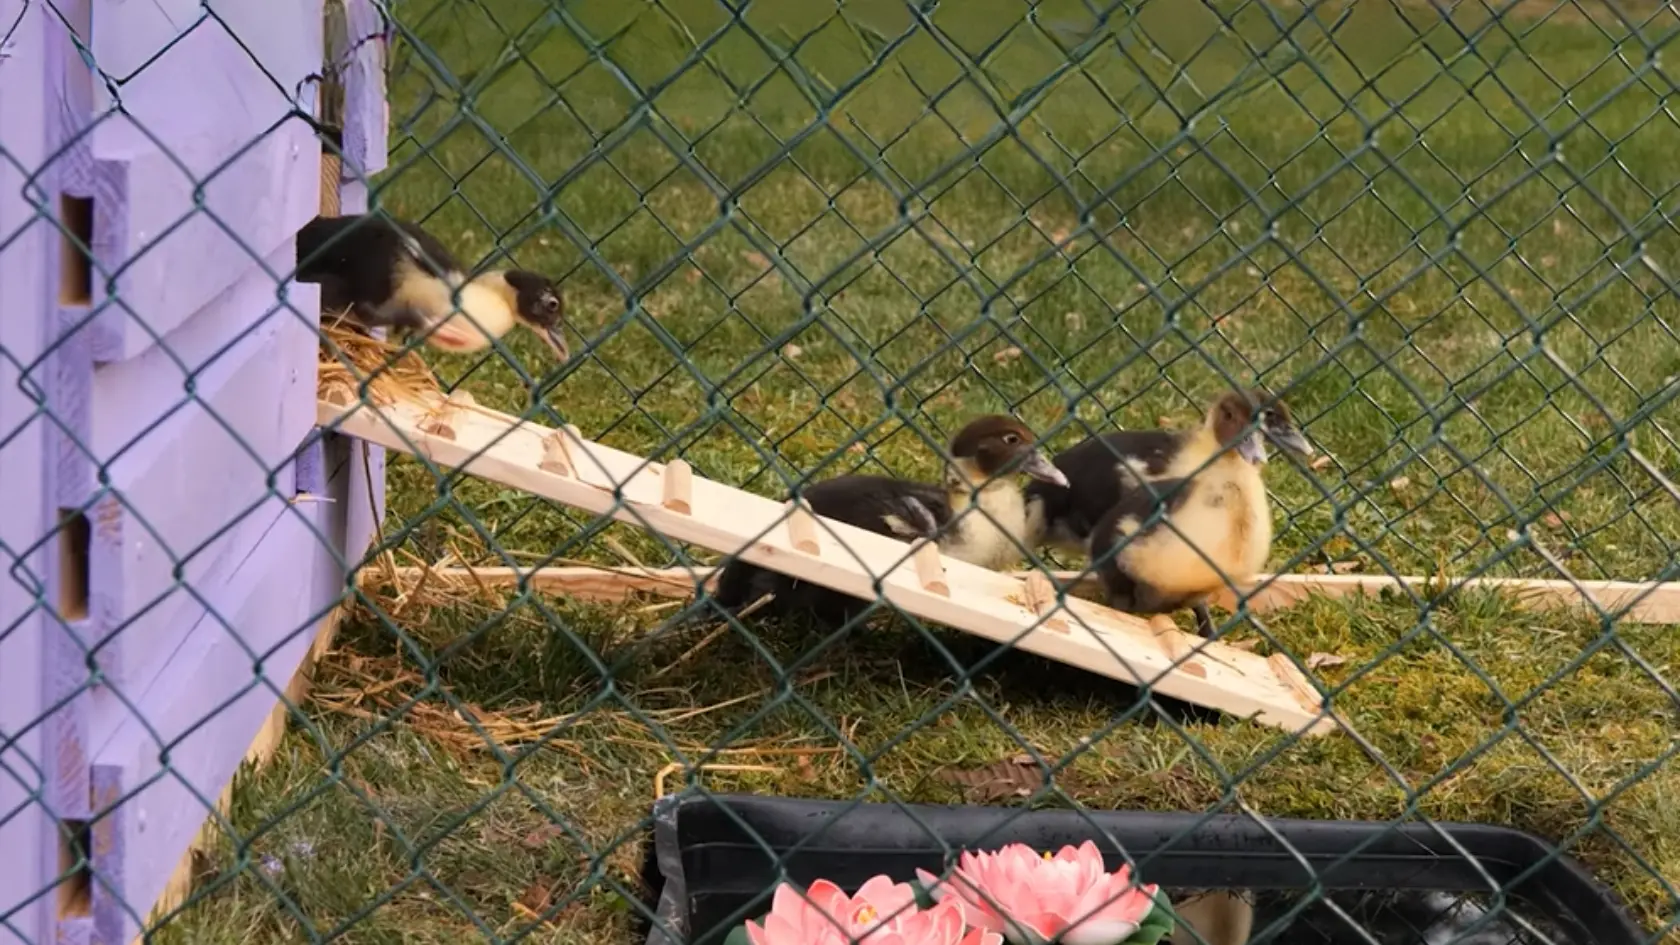
Walk the entire structure and do a final check on all joints, nail heads, openings, and the pool surround. Remove anything sharp or loose that could injure the ducks.
Once everything is secure and the bedding is fresh, introduce the ducks to the space and give them time to explore before closing them in for the first night.
For an in-depth walkthrough of the whole process, check out the complete video tutorial by Kree Creates below:
Interior Setup that Keeps Ducks Healthy
Once the structure is built, the inside setup decides how clean, dry, and low-maintenance the space will be.
- Bedding Choice: Pine shavings absorb better and stay drier. Straw is cheaper but holds moisture and smells faster.
- No Nesting Boxes: Ducks lay on flat bedding. Boxes waste space and add cleaning work.
- Food & Water Placement: Keep both outside. Indoor water spills quickly soak bedding.
- Drainage Strategy: Use thick bedding and remove wet top layers often to prevent dampness, odor, and bacteria.
Keep the setup simple and dry, and you’ll have a cleaner space and healthier ducks with far less daily effort.
Simple Design Variations Based on Your Needs
This helps you adjust the build based on your space, budget, and flock size without overcomplicating the process.
1. A-Frame Design
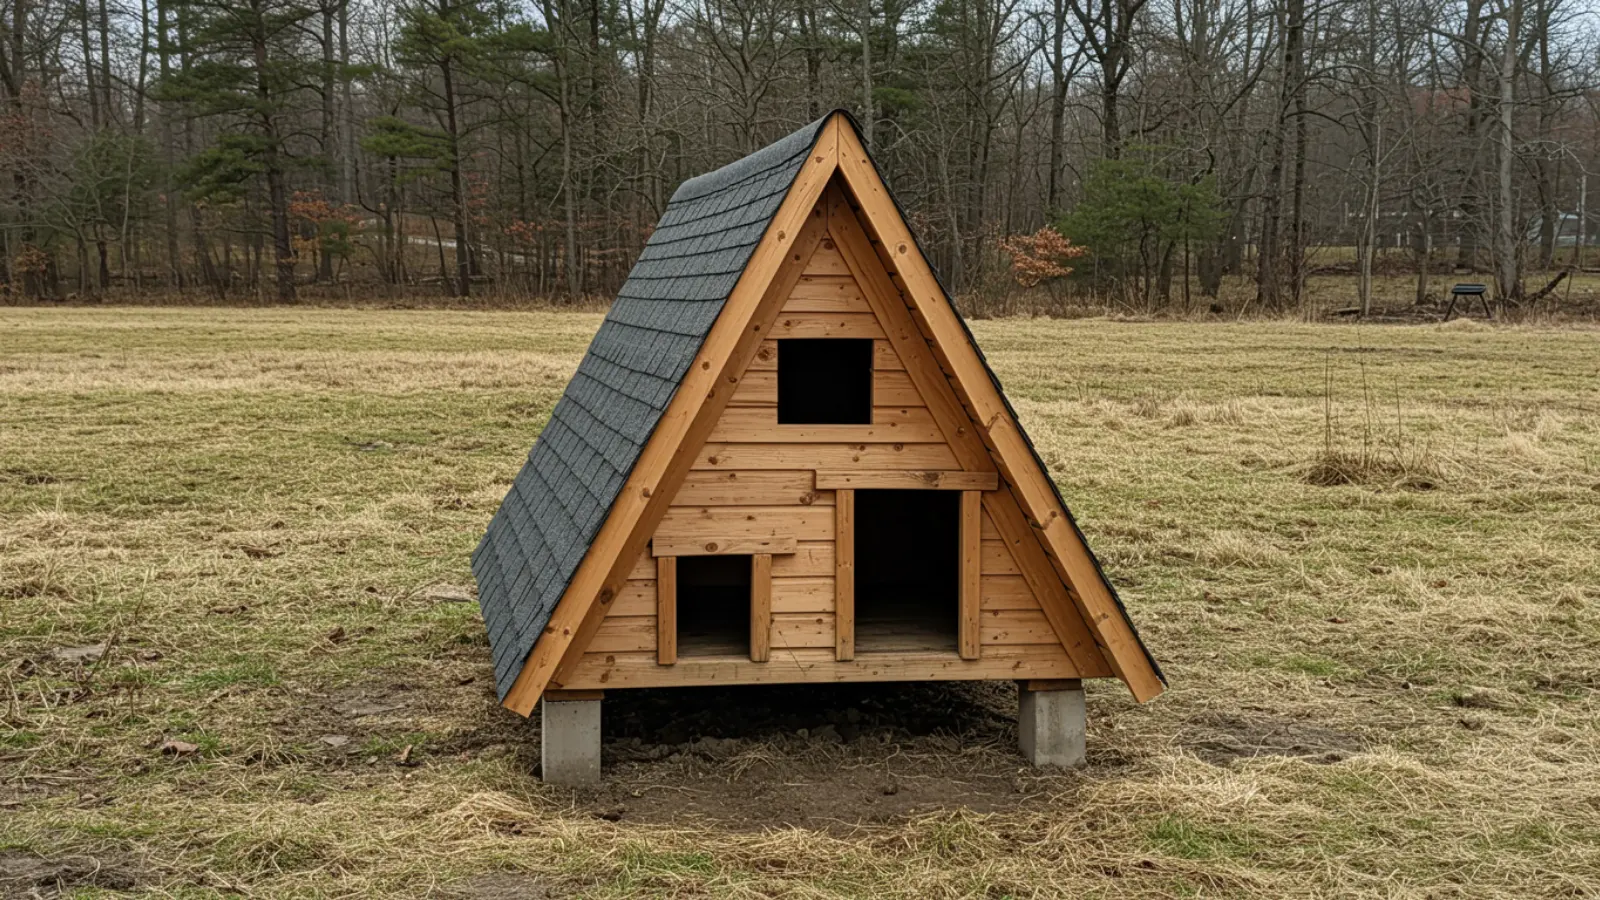
This design uses angled sides and a peaked roof, which helps rainwater run off quickly. It works well in small spaces and is easier to build with fewer materials.
The limitation is interior space. As ducks move around, the slanted walls reduce usable floor area. This makes cleaning harder and limits airflow in larger flocks.
2. Pallet Shed Style
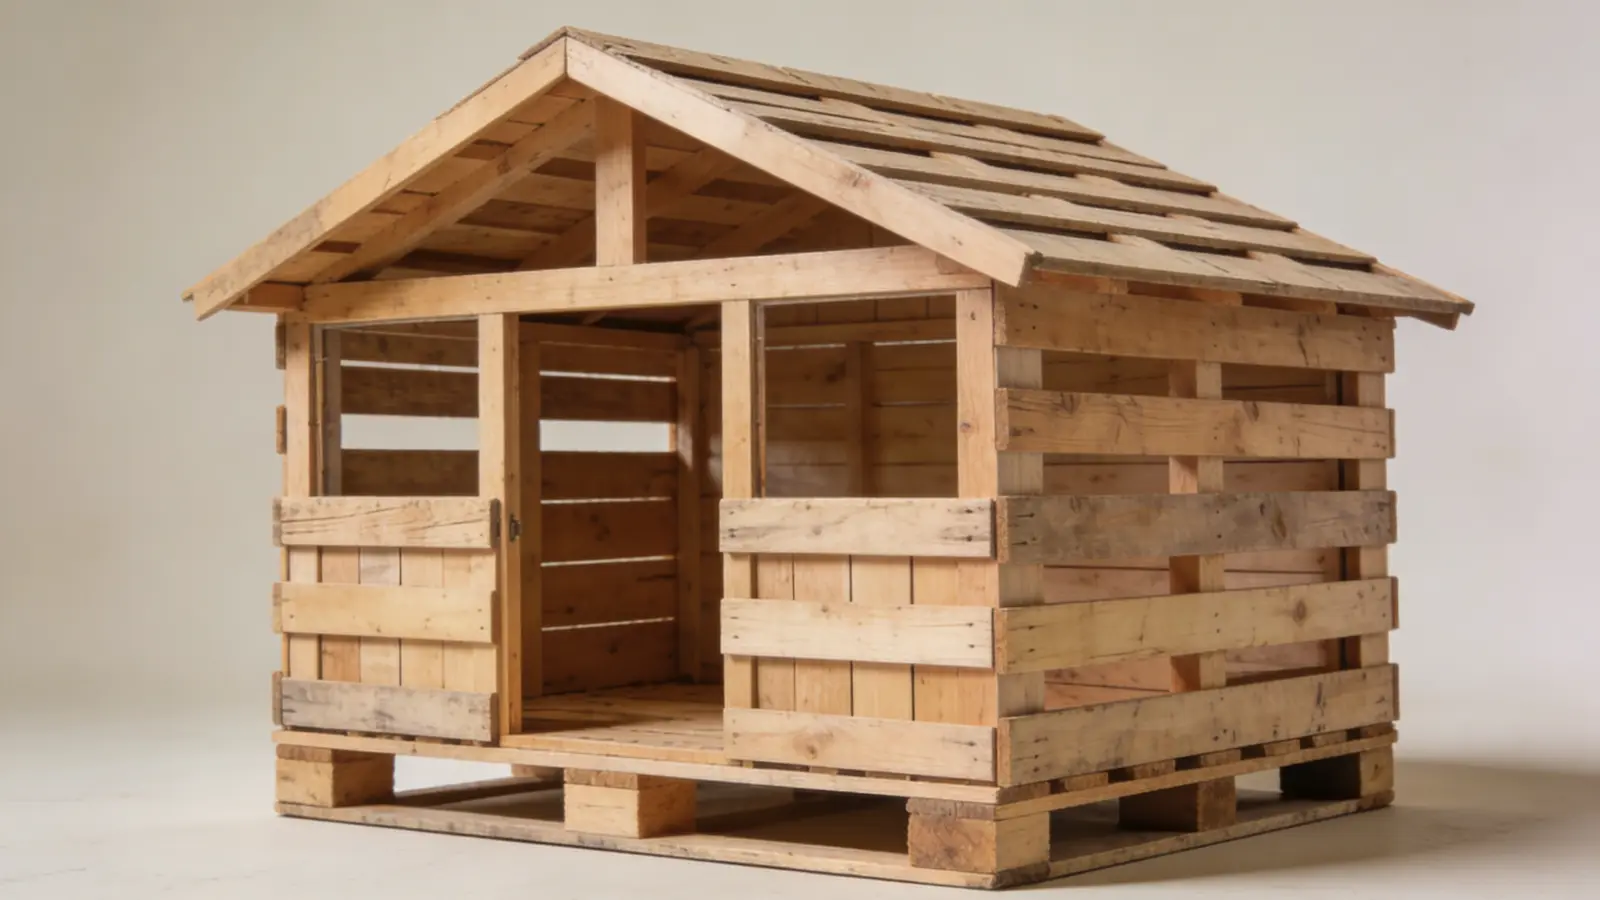
This design uses pallets or basic framing to create a box-style structure with vertical walls.
It offers more space, better airflow, and can be expanded as your flock grows.
However, pallets often have gaps. If these are not sealed properly, they allow wind, moisture, and predators to enter. The structure only works well when those gaps are reinforced.
Common Mistakes that Break a Duck House
Small design errors can lead to bigger problems over time, especially when moisture, airflow, and access are not handled properly.
- Poor Ventilation: Without airflow, moisture and heat get trapped inside. This creates a damp environment and can cause respiratory issues in ducks.
- Using Chicken Wire: Chicken wire is weak and only keeps birds in, not predators out. Animals can easily break through or reach through it.
- Difficult Cleaning Access: Small or poorly placed doors make cleaning hard. Over time, this leads to neglected maintenance and unhealthy buildup.
- Water Inside the Coop: Ducks spill water constantly. Keeping it inside quickly soaks bedding, causing rot, odor, and structural damage.
Quick Build Checklist
A few key checks before and after building can help you avoid common issues and keep everything working as expected.
- Space: Minimum 4 sq ft per duck to prevent overcrowding and moisture buildup
- Elevation: Raise the base 6–12 inches to avoid ground moisture and improve airflow
- Roof: Use a sloped design to prevent water pooling and leaks
- Ventilation: Add openings near the roof to release moisture without drafts
- Access: Include a large door for easy cleaning and maintenance
- Protection: Use hardware cloth to block predators effectively
- Food & Water: Keep outside to prevent wet bedding and odor buildup
Use this checklist as a quick reference to keep your duck house functional, clean, and low-maintenance.
Conclusion
Good duck house plans are not just about having a structure standing in your yard. They are about building something that handles moisture, supports your flock, and stays easy to manage over time.
From choosing the right location and size before breaking ground, to getting ventilation, elevation, and cleaning access right during the build, every decision connects to the next.
The interior setup, design variation, and material choices all shape how much daily effort the space actually demands.
A well-planned duck house saves time, reduces odor, and keeps your flock healthier season after season.
Whether you are building for the first time or improving an existing setup, the details in this guide give you a solid starting point.
Already built one? Drop your experience or best tip in the comments below!