How to Wire a Light Switch in Easy Steps
Handling basic electrical tasks at home can feel uncertain at first, especially when small mistakes can lead to bigger issues later.
Learning how to wire a light switch gives you more control over simple fixes and upgrades without always relying on outside help. It also helps you understand what’s happening behind the wall, which many homeowners overlook.
That’s why I want to go beyond just connections. You’ll learn how to recognize different setups, avoid common wiring confusion, and make sense of what you see inside the box.
By the end, the process will feel far more predictable and manageable.
Understanding Light Switch Wiring Basics
Before learning how to wire a light switch, it’s essential to understand the basic components of the circuit. Knowing the role of each wire helps ensure safe and accurate connections.
How a Light Switch Works
A light switch controls the flow of electricity to a fixture by opening or closing the circuit. When switched on, it allows current to pass through the hot wire to the light.
In most homes, the switch interrupts the hot wire, keeping the fixture safe when the switch is off. Understanding this simple function helps you understand wiring diagrams and connect wires correctly.
In addition to how a switch works, it’s also important to understand where the power enters the circuit. This affects how the wires are arranged inside the box.
- Power to Switch First (Power-Through Setup): In this setup, electricity comes directly from the breaker to the switch, then goes to the light. The switch simply interrupts the hot wire before it reaches the fixture.
- Power to Light First (End-Line Setup): Here, power reaches the light fixture first and then travels to the switch. In this case, one of the wires going to the switch may be re-marked to show it carries power.
Knowing which setup you have helps you identify the correct wires and avoid confusion when reconnecting them.
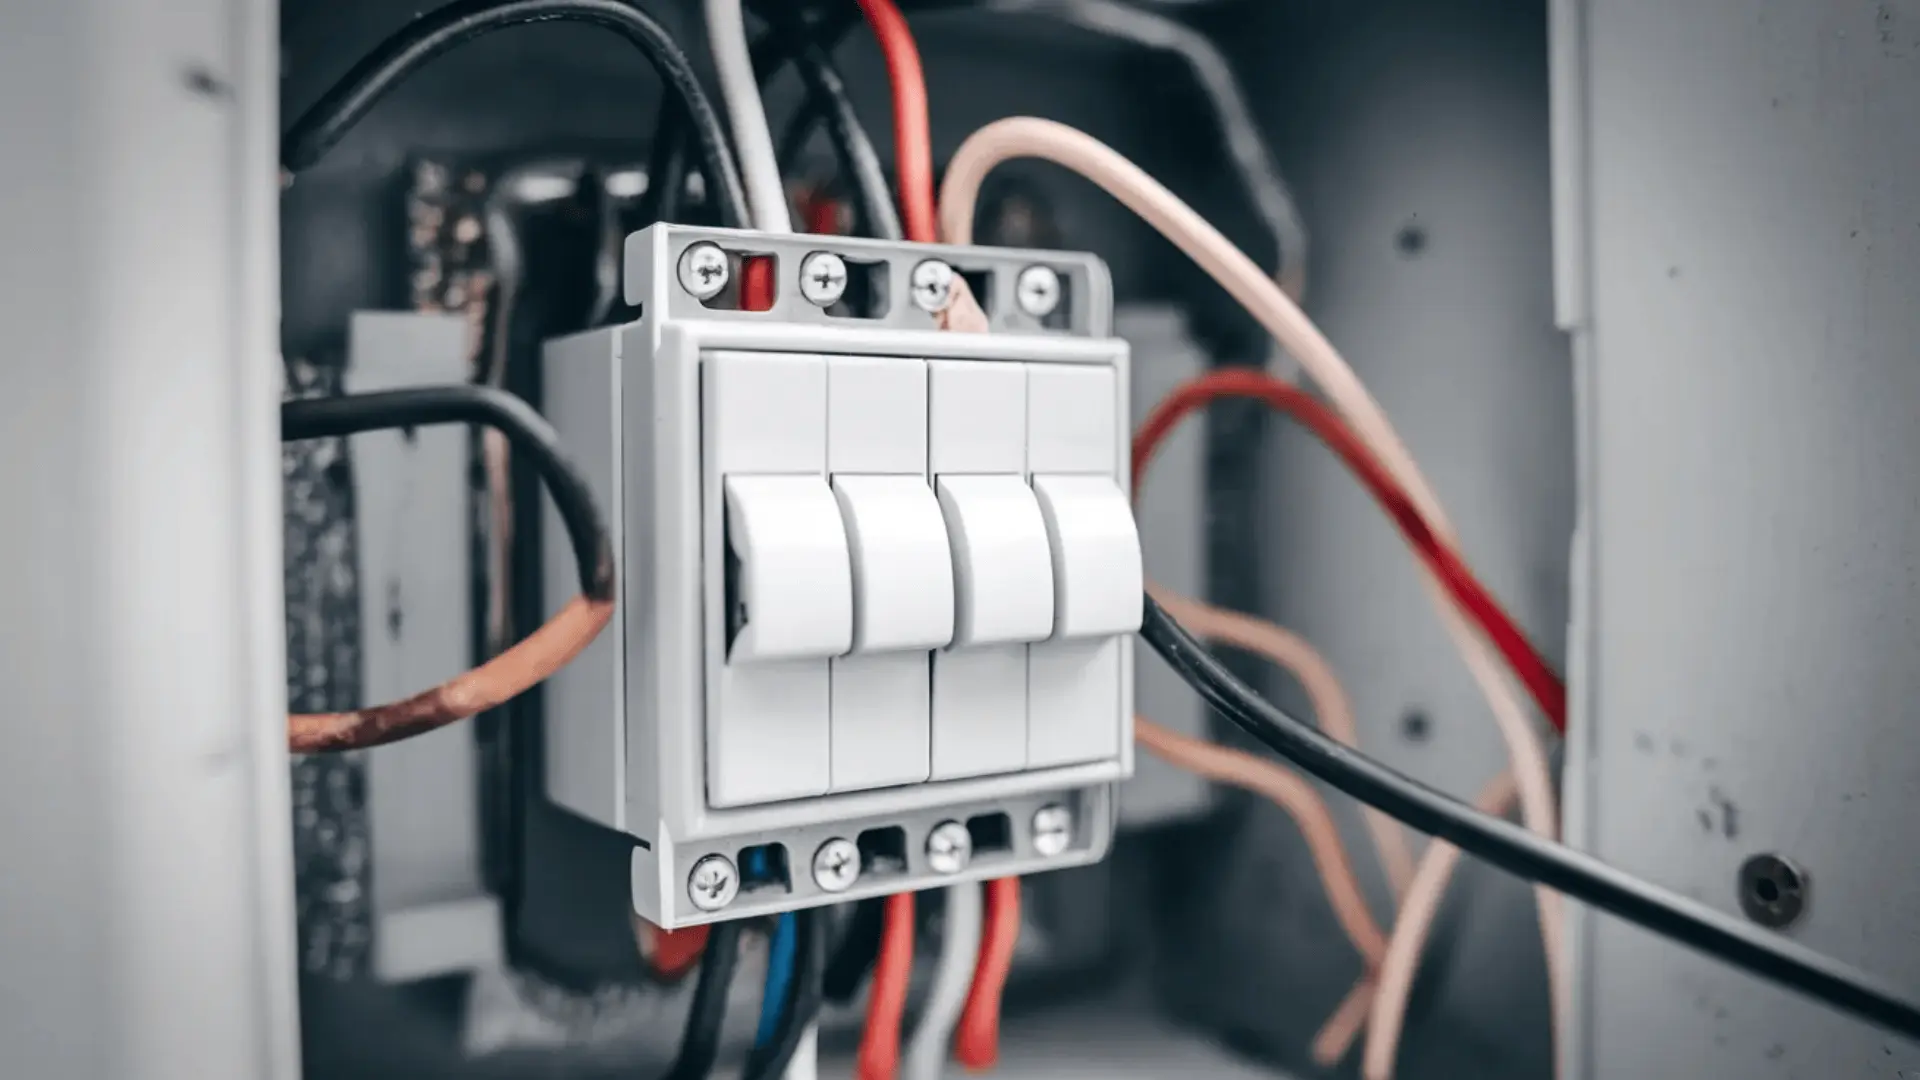
Types of Electrical Wires

There are mainly 4 types of wires you need to work with to ensure safe and smooth electrical work.
- Hot (Line) Wire: The hot or line wire carries power from the breaker panel to the switch. It usually connects to the common or brass terminal and is typically black. Correct identification of the hot wire is essential for proper switch operation.
- Load Wire: The load wire carries electricity from the switch to the light fixture when the switch is on. It is often black or red and connects to the remaining brass terminal. Properly connecting the load wire ensures the switch controls the light as intended.
- Neutral Wire: The neutral wire returns current to the breaker panel, completing the circuit. It is usually white or gray and is often bundled with the electrical box, though it is required for many smart switches.
- Ground Wire: The ground wire provides a safe path for excess electricity, reducing the risk of shock. It is typically bare copper or green and connects to the green screw on the switch.
These wires work together to complete the circuit and ensure safe operation.
Quick Overview of Types of Switches
| Switch Type | Control Locations | Terminal Count | Difficulty | |
|---|---|---|---|---|
| Single-Pole | 1 | 2 + ground | Easy | |
| Double-Pole | 1 (two circuits) | 4 + ground | Moderate | |
| Three-Way | 2 | 3 + ground | Moderate | |
| Four-Way | 3+ | 4 + ground | Advanced |
Tools, Materials, and Safety Gear Required
Having the right tools and safety gear ready makes the job easier and helps you avoid mistakes. Good preparation keeps the process smooth and reduces risk while working with electrical wiring.
- Flathead Screwdriver: Used to loosen and tighten terminal screws.
- Phillips Screwdriver: Helps secure the switch and attach the cover plate.
- Wire Strippers: Remove insulation cleanly without damaging the wire.
- Needle-Nose Pliers: Useful for bending and positioning wires.
- Non-Contact Voltage Tester: Quickly checks if the circuit is off before you start.
- Multimeter: Provides accurate voltage readings for extra safety.
- Utility Knife: Helps trim cable sheathing when needed.
- Electrical Tape: Adds insulation and secures connections.
- Light Switch (Single-Pole, Three-Way, or Dimmer): Choose the correct type for your setup.
- Wall Plate/Cover Plate: Covers the switch for a clean and safe finish.
- Wire Nuts: Join wires securely.
- Grounding Screws or Clips: Ensure proper grounding.
- Electrical Cable (If Rewiring): Common types include 14/2 or 12/2 NM cable.
Safety Gear:
- Insulated Screwdrivers: Reduce the risk of accidental shock.
- Rubber-Soled Shoes: Help isolate you from the ground.
- Safety Glasses: Protect your eyes from debris or sparks.
- Insulated Gloves: Add protection when handling wires.
- Flashlight or Headlamp: Useful when working in low light after turning off power.
Using the right tools along with proper safety gear helps ensure your wiring is safe, reliable, and easier to complete.
Electrical Safety Before You Begin
Safety should always come first when working with electrical wiring. Taking a few simple precautions before you start helps prevent shocks, damage, and costly mistakes. A careful approach at this stage makes the entire process safer and more controlled.
Turn Off Power at the Breaker
Before touching any wires, disconnect the power supply from the main electrical panel. This step ensures you are not working on a live circuit.
- Locate the Electrical Panel: Find your breaker box, usually placed in a garage, basement, or utility area.
- Identify the Correct Breaker: Check the labels to find the one connected to the light circuit. If labels are missing, turn off breakers one at a time to confirm.
- Switch the Breaker Off: Flip the correct breaker fully to the OFF position to cut power to the circuit.
Turning off the power is the most important safety step and should never be skipped when installing or replacing a light switch.
How to Confirm the Power is Off

Breaker labels are not always accurate, so it’s important to test the wires yourself before starting. This step confirms the circuit is fully off and safe to work on.
1. Using a Non-Contact Voltage Tester
This is the easiest and safest method, especially for beginners, since it does not require direct contact with the wires.
- Test the Device First: Check the tester on a known live outlet to make sure it is working.
- Remove the Cover Plate: Unscrew the faceplate to expose the switch and wiring.
- Check Each Wire: Hold the tester close to the wires and terminal screws, especially the hot (usually black) wire.
- Watch for Signals: If the tester lights up or beeps, the circuit is still live.
If there is no signal, the circuit is safe to proceed.
2. Using a Multimeter
A multimeter gives a more accurate reading and adds an extra layer of safety.
- Set the Device: Turn the dial to AC voltage (around 200–250V range).
- Test It First: Confirm it works by checking a live outlet.
- Measure the Wires: Place one probe on the hot wire and the other on the neutral or ground wire.
- Check the Reading: A result of 0 volts means there is no power.
- Repeat Checks: Test all wires in the box to be fully sure.
Using both methods, if available, gives you added confidence that the circuit is completely off before you begin wiring.
How to Wire a Light Switch (Single, Double, Three, and Four-Way)

Before working with different switch types, let’s go through a simple example.
Basic Single-Pole Wiring Example (Most Common Setup):
- The hot (line) wire from the breaker connects to one brass terminal
- The load wire going to the light connects to the other brass terminal
- The ground wire connects to the green screw
- Neutral wires are usually joined together in the box and do not connect to the switch
This setup controls one light from one location and is the easiest starting point for beginners.
Follow these general steps to wire any light switch. Specific instructions for each switch type are included within each step.
Step 1: Turn Off Power and Verify
Switch off the breaker that controls the circuit. Use a non-contact voltage tester to make sure no power is running to the wires.
This is critical and applies to all switch types.
Step 2: Remove the Old Switch
Unscrew the wall plate and carefully pull the switch out of the electrical box. Take a moment to label each wire before disconnecting them. This makes reconnection much easier.
This is the same for single, double, three, and four-way switches.
Step 3: Identify the Wires
Before making any connections, confirm what each wire does.
- Single-Pole: One hot (line) wire and one load wire
- Double-Pole: Two incoming hot wires and two outgoing load wires (commonly used for 240V circuits)
- Three-Way: One common wire and two traveler wires
- Four-Way: Two pairs of traveler wires, with no direct line or load connection
Correct identification here prevents wiring mistakes later.
Step 4: Connect the Ground Wire
Attach the bare copper or green wire to the green grounding screw on the switch.
If there are multiple ground wires, connect them together using a wire nut and add a short pigtail wire to the switch.
This improves safety and is required for all switch types.
Step 5: Connect the Remaining Wires
Now connect the wires based on your switch type:
Single-Pole:
- Connect the line (hot) wire to one brass terminal.
- Connect the load wire to the other brass terminal.
Double-Pole:
- Connect the two incoming hot wires to one pair of terminals.
- Connect the two outgoing wires to the remaining pair.
Three-Way:
- Connect the line or load wire to the common (dark-colored) terminal.
- Connect the two traveler wires to the brass terminals.
Four-Way:
- Connect one pair of traveler wires to the input terminals.
- Connect the second pair to the output terminals.
- Make sure this switch sits between two three-way switches in the circuit.
Take your time here and double-check each connection before moving on.
Step 6: Secure the Switch and Cover Plate
Gently fold the wires back into the electrical box. Avoid sharp bends or loose connections. Screw the switch into place and attach the wall plate for a clean finish.
This part is also identical for all switch types.
Step 7: Restore Power and Test
Turn the breaker back on.
Test the switch to confirm everything works correctly:
- Single/Double-Pole: The light or device should turn on and off normally
- Three-Way: The light should work from two different locations
- Four-Way: The light should work from three or more locations
If something doesn’t work as expected, turn the power off again and recheck your wiring.
Following these steps helps you wire a light switch safely and correctly. Stay patient, double-check your connections, and don’t rush the process.
If anything feels unclear or doesn’t match your setup, it’s best to consult a licensed electrician to avoid safety risks.
Common Mistakes to Avoid
These common mistakes can lead to faulty operation, safety risks, or code issues. Paying attention to them helps ensure your wiring is safe and works as expected.
- Reversing Line and Load Wires: Mixing up the line and load wires can stop the switch from working properly and may affect dimmer or smart switches. Always confirm the hot (line) wire with a voltage tester before connecting.
- Ignoring Ground Connections: Skipping the ground wire increases the risk of electric shock and may not meet electrical code requirements. Always connect the bare or green wire to the grounding screw and bond it to the box if needed.
- Overcrowding the Electrical Box: Too many wires or devices inside a small box can lead to overheating and fire risk. Make sure the box has enough space based on its rated capacity.
- Using the Wrong Type of Switch: Installing the wrong switch type, such as using a single-pole where a three-way is required, will prevent the circuit from working correctly. Always choose the switch that matches your wiring setup.
By avoiding these mistakes, you improve both the safety and reliability of your electrical work.
Conclusion
Wiring a switch is not just about making connections. It is about understanding how electricity moves through your home and making sure every step supports safe use over time.
When you focus on correct wire identification, proper switch selection, and careful installation, the results stay reliable long after the job is done.
If you’re ready to take control of your next upgrade, gather your tools, follow the steps carefully, and put your knowledge into action today.
Frequently Asked Questions
Why Does My Light Stay on Even when the Switch is Off?
This usually happens due to incorrect wiring, such as swapped line and load wires, or a faulty switch. Recheck connections or replace the switch if needed.
What Happens if I Don’t Connect the Ground Wire?
The switch may still work, but it increases the risk of electric shock. Grounding is important for safety and is required by most electrical codes.
Can I Convert a Single-Pole Switch Into a Three-Way Switch?
Not directly. Three-way switches require additional wiring (traveler wires) and a second switch location. It usually involves running new cables between switches.