How to Decoupage Furniture: A Step-By-Step Guide
If you’ve ever admired a beautifully patterned dresser or vintage-style cabinet, chances are it was created using decoupage furniture techniques.
This method turns plain pieces into detailed statement items using paper and adhesive, but the real difference between a flawless finish and a peeling mess comes down to process.
Small details like surface prep, moisture control, and curing time matter more than most beginners realize.
In this guide, you’ll learn exactly what tools to use, how to apply paper cleanly, how to avoid common surface problems, and how to make the finish last.
Let’s start with the guide.
Beginner’s Guide to Decoupage Furniture
Follow these clear, practical steps to achieve a smooth, professional-looking finish without wrinkles, bubbles, or peeling.
Tools and Materials You’ll Need
- Prep supplies: chemical stripper, scraper, clean rags or paper towels
- Basic tools: screwdriver, tape measure, straight edge, sharp razor knife or craft knife
- Decoupage supplies: decoupage paper or tissue paper, wallpaper paste, paintbrush, brayer
- Paint products: gripping primer, base paint that matches the paper, a few extra paint colors for blending edges
- Finishing products: clear topcoat, wood stain or diluted brown paint wash
- Optional details: decorative molding, strong adhesive, heat source for shaping molding, hardware, gilding wax
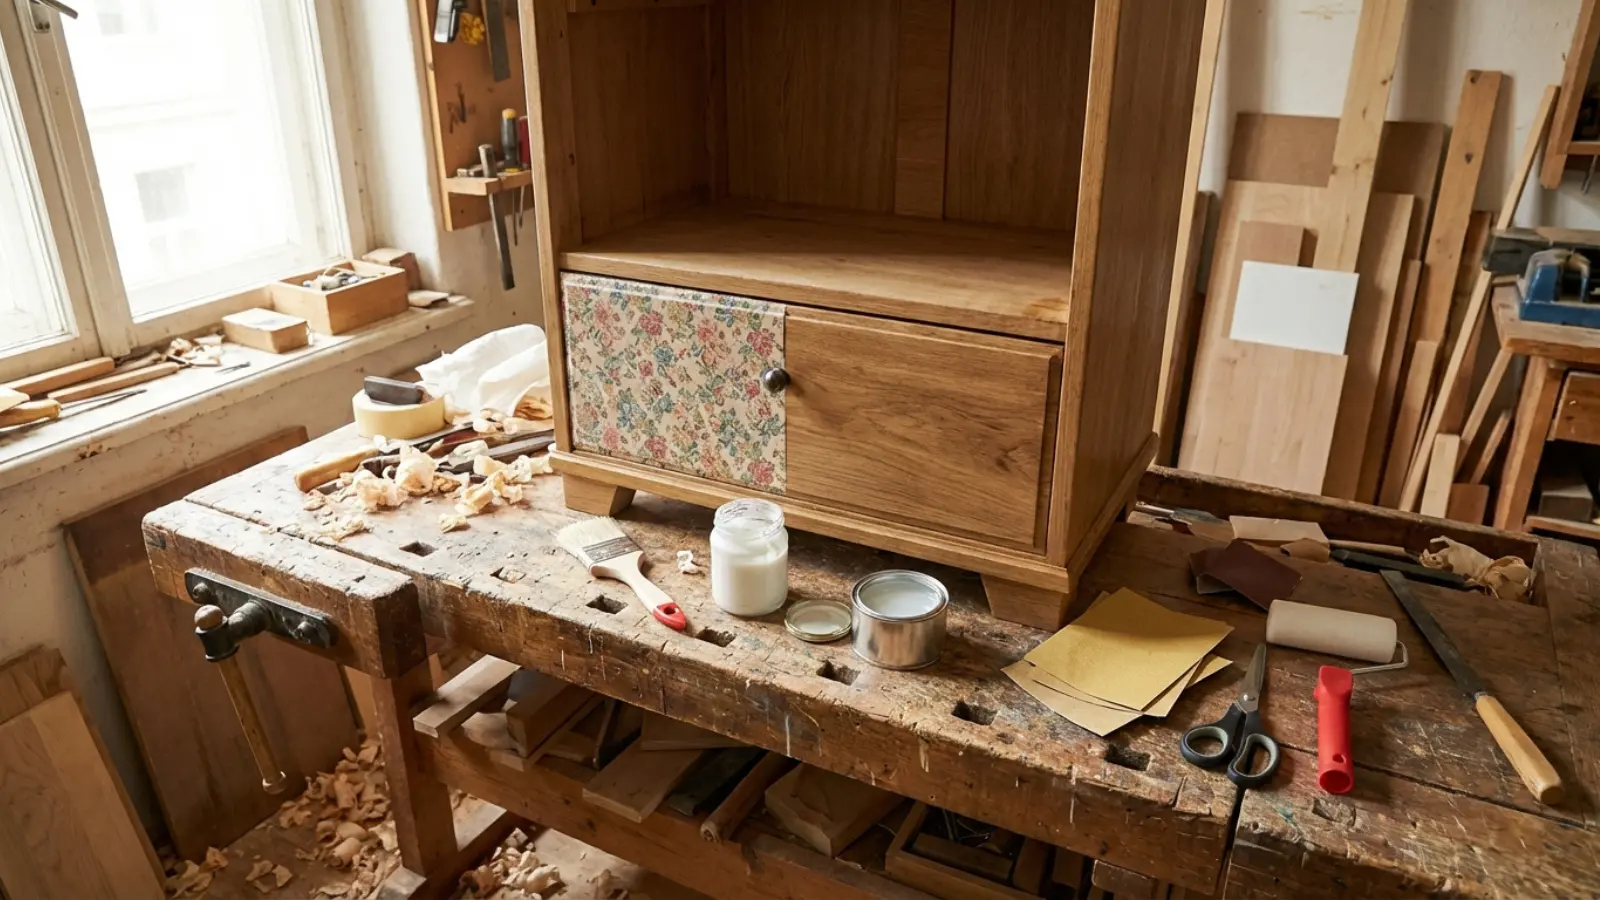
Step 1: Remove Hardware and Prep the Surface
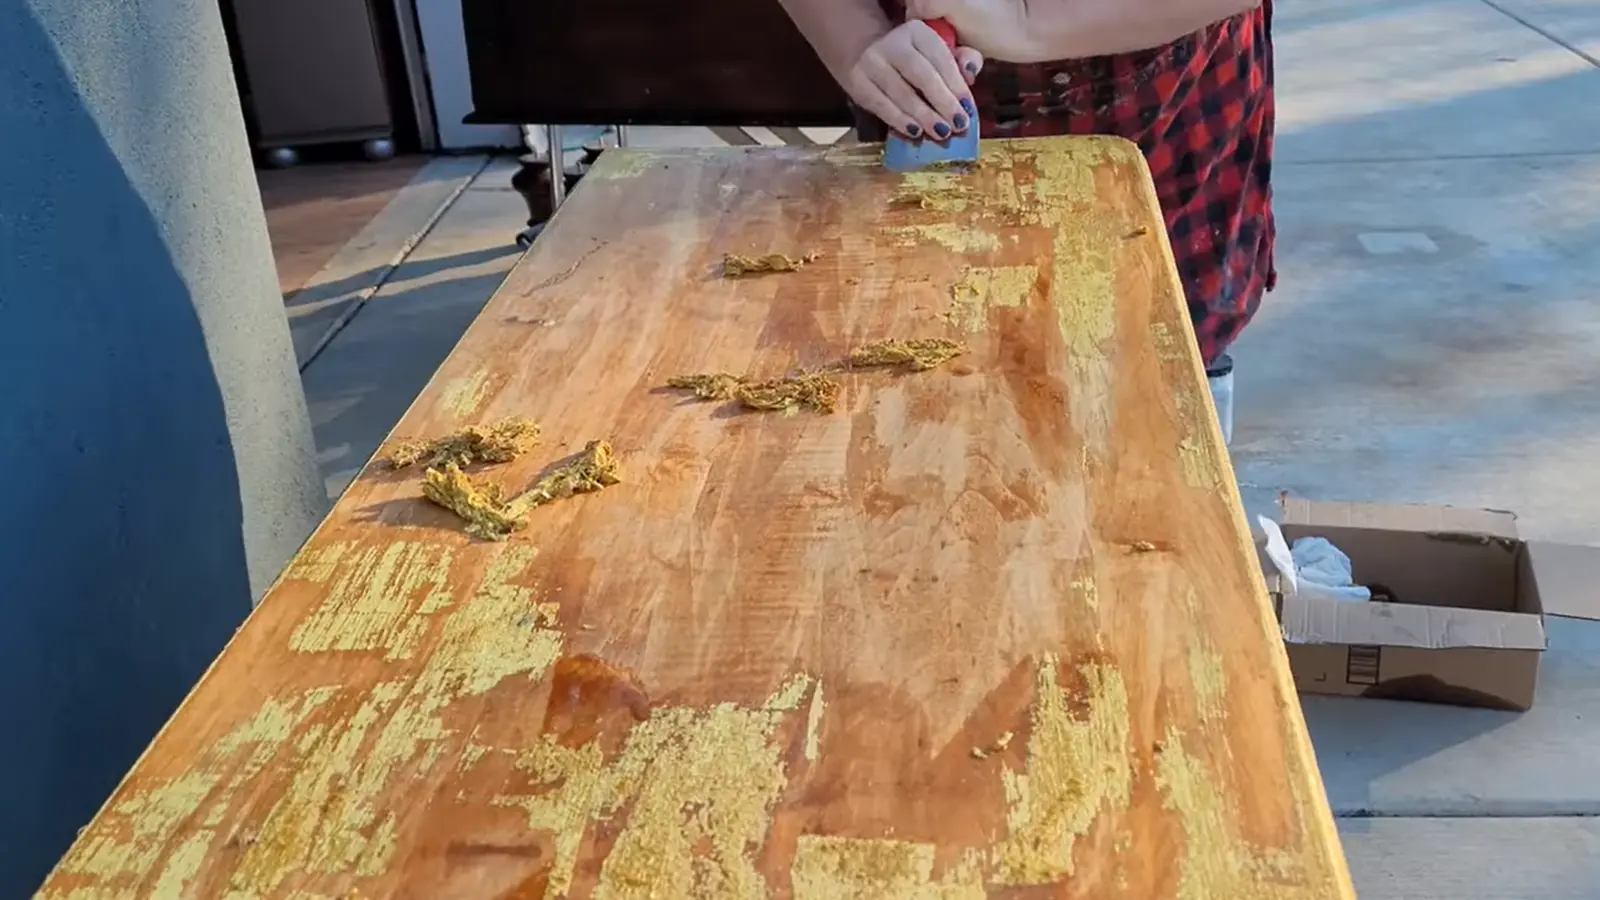
Take off the hardware first so you can work on a flat, clear surface. Strip off the old finish anywhere you want to expose wood, such as the top.
Then clean the whole piece well and remove any dust, residue, or loose buildup before moving on.
Step 2: Prime Slick Areas and Paint the Base Color
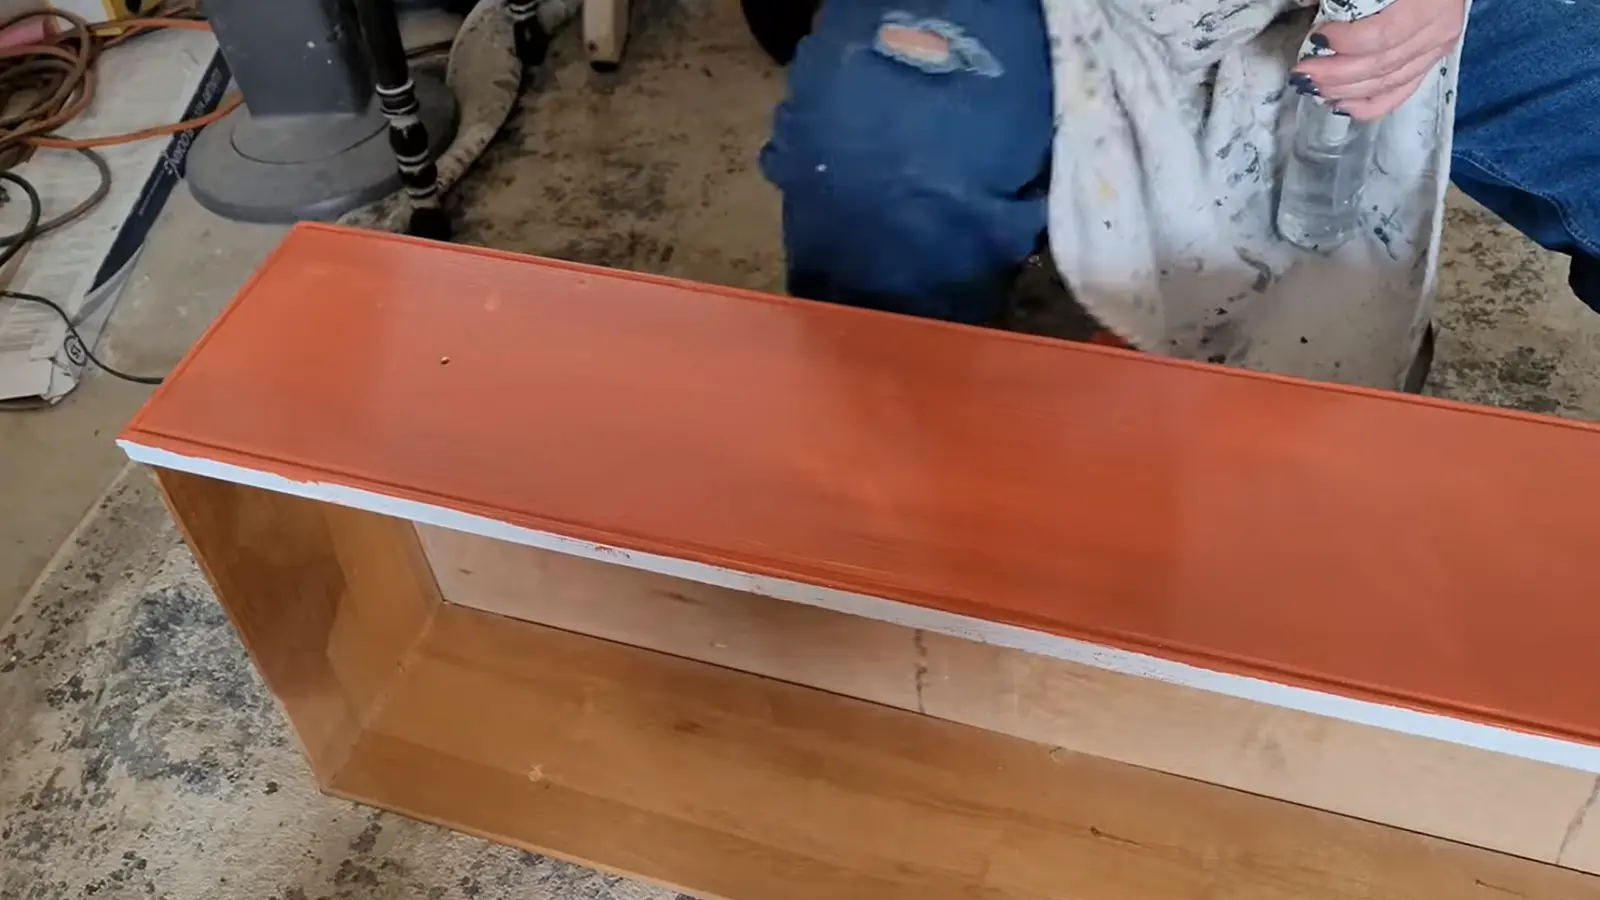
Apply a gripping primer over any slick, glossy, or sealed parts of the piece. Once that dries, paint the body in a base color that works with your decoupage paper.
Try to match a background shade from the paper so the final finish looks natural, especially if the paper is thin.
Step 3: Add Decorative Details Before the Paper Goes On
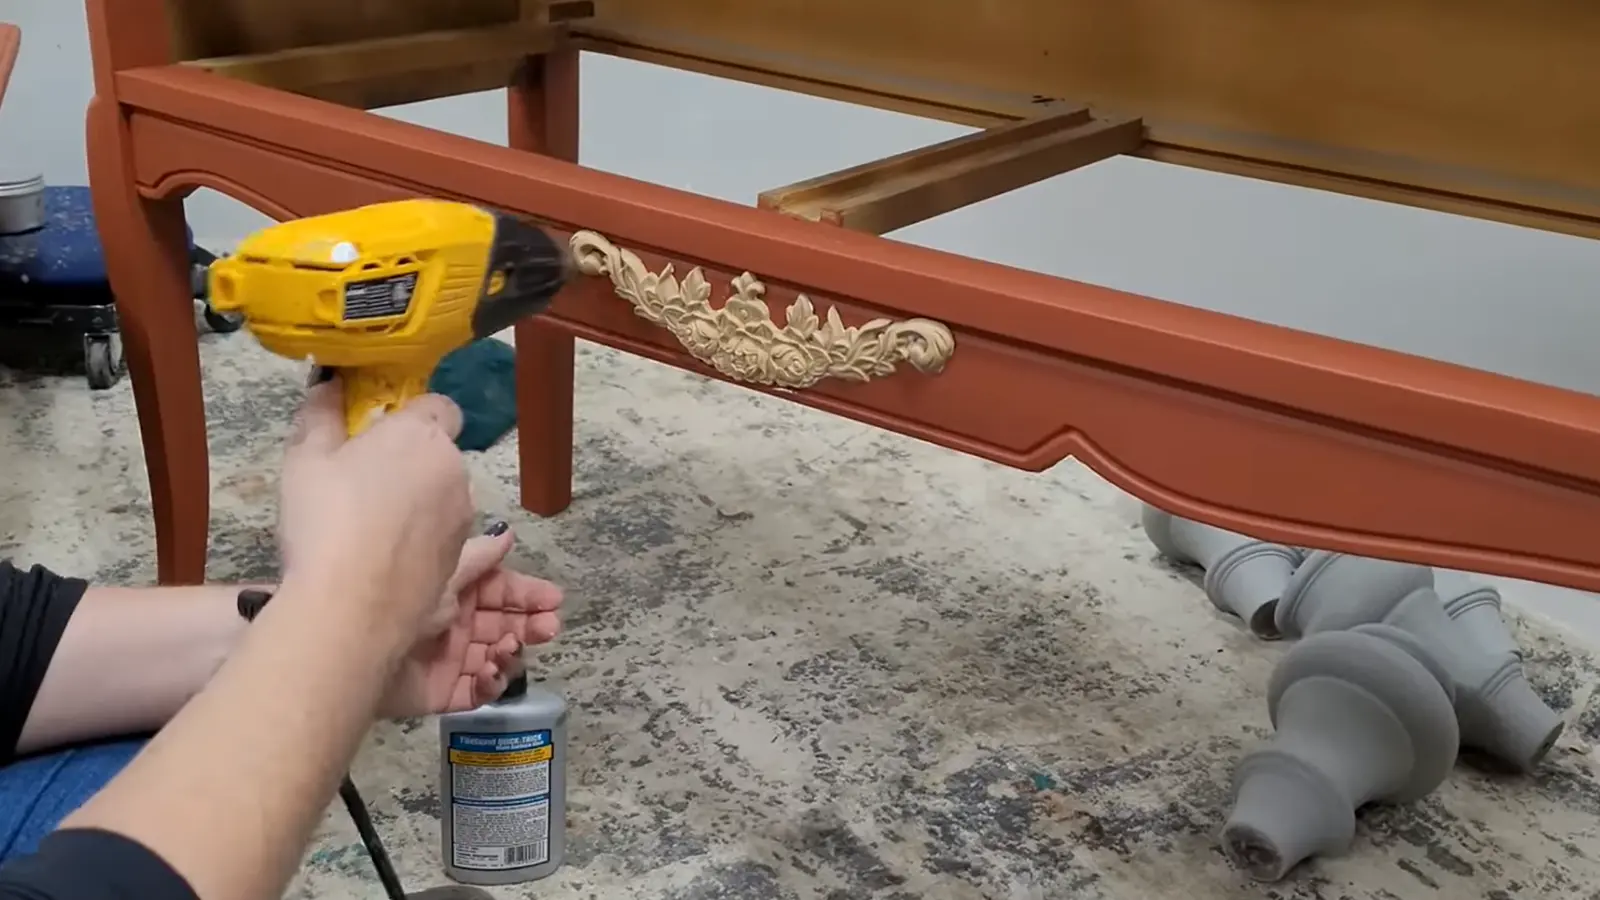
Attach any molding or trim now, before you start decoupaging. Glue it in place and use heat if needed to help it sit flat against the surface. Let it dry fully so nothing shifts while you apply the paper later.
Step 4: Measure and Cut the Paper Before Gluing Anything
Dry-fit the paper first and decide exactly where you want the design to sit. Mark the center of the drawers or front panels so the pattern lines up evenly.
Cut the paper slightly larger than each section, and work in smaller pieces instead of trying to handle one large sheet at once.
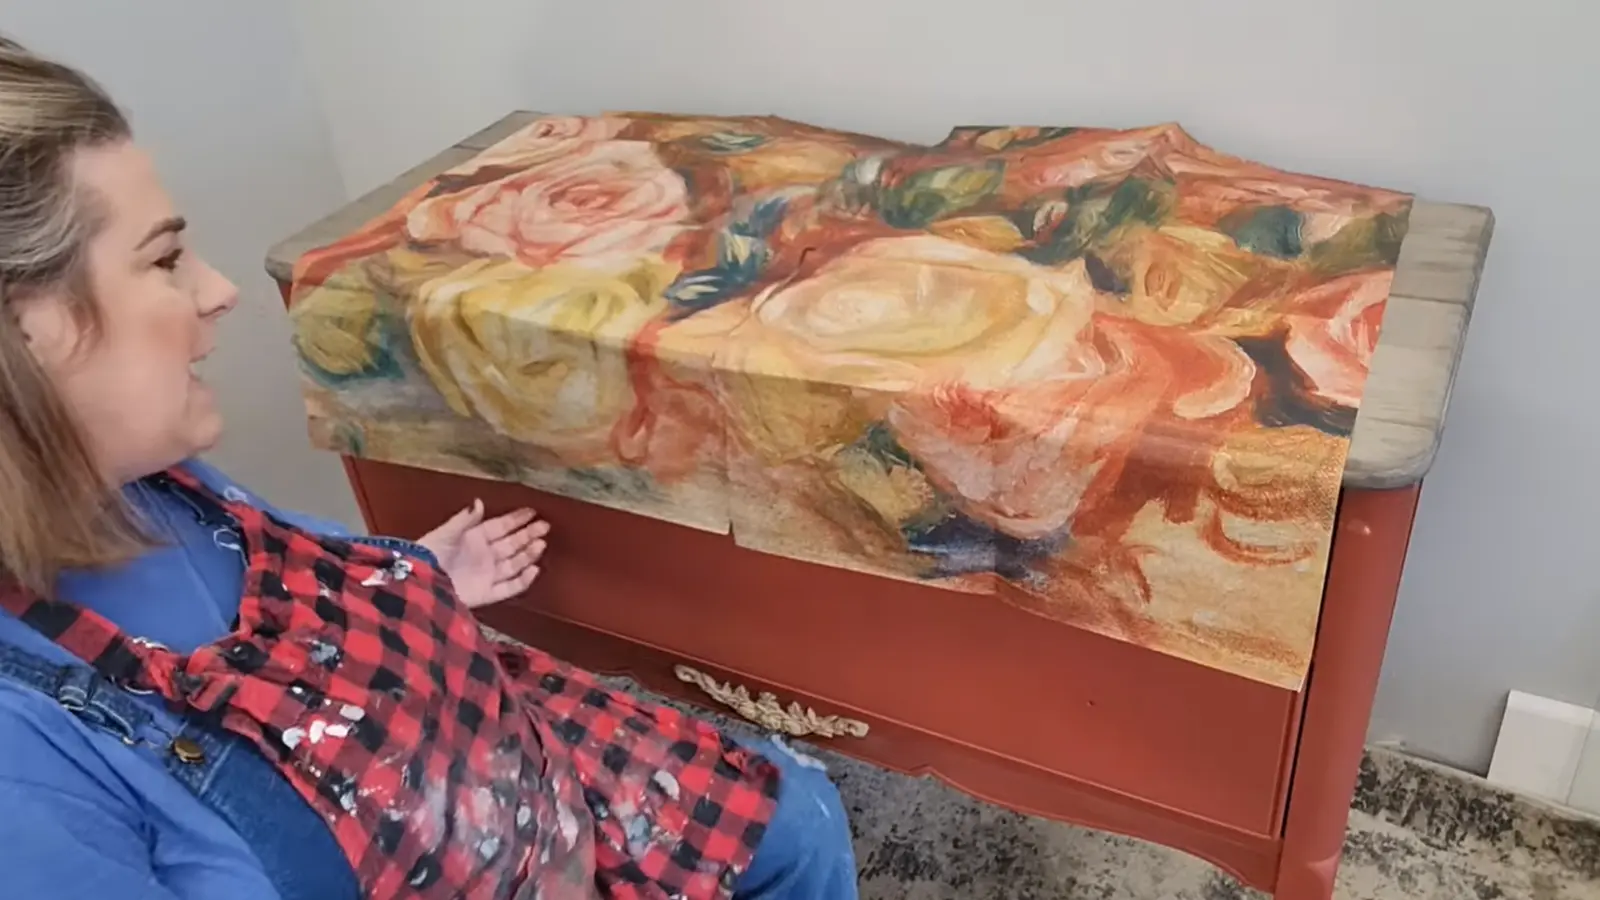
Step 5: Apply the Paper in Small Sections and Smooth as You Go
Brush on a thin, even layer of wallpaper paste over one section at a time.
Set the paper in place, starting from the center, then smooth it outward with your hands first and a brayer after that.
Press the paper into grooves and edges, and trim or lightly score it where needed so it sits flat without pulling or bunching.
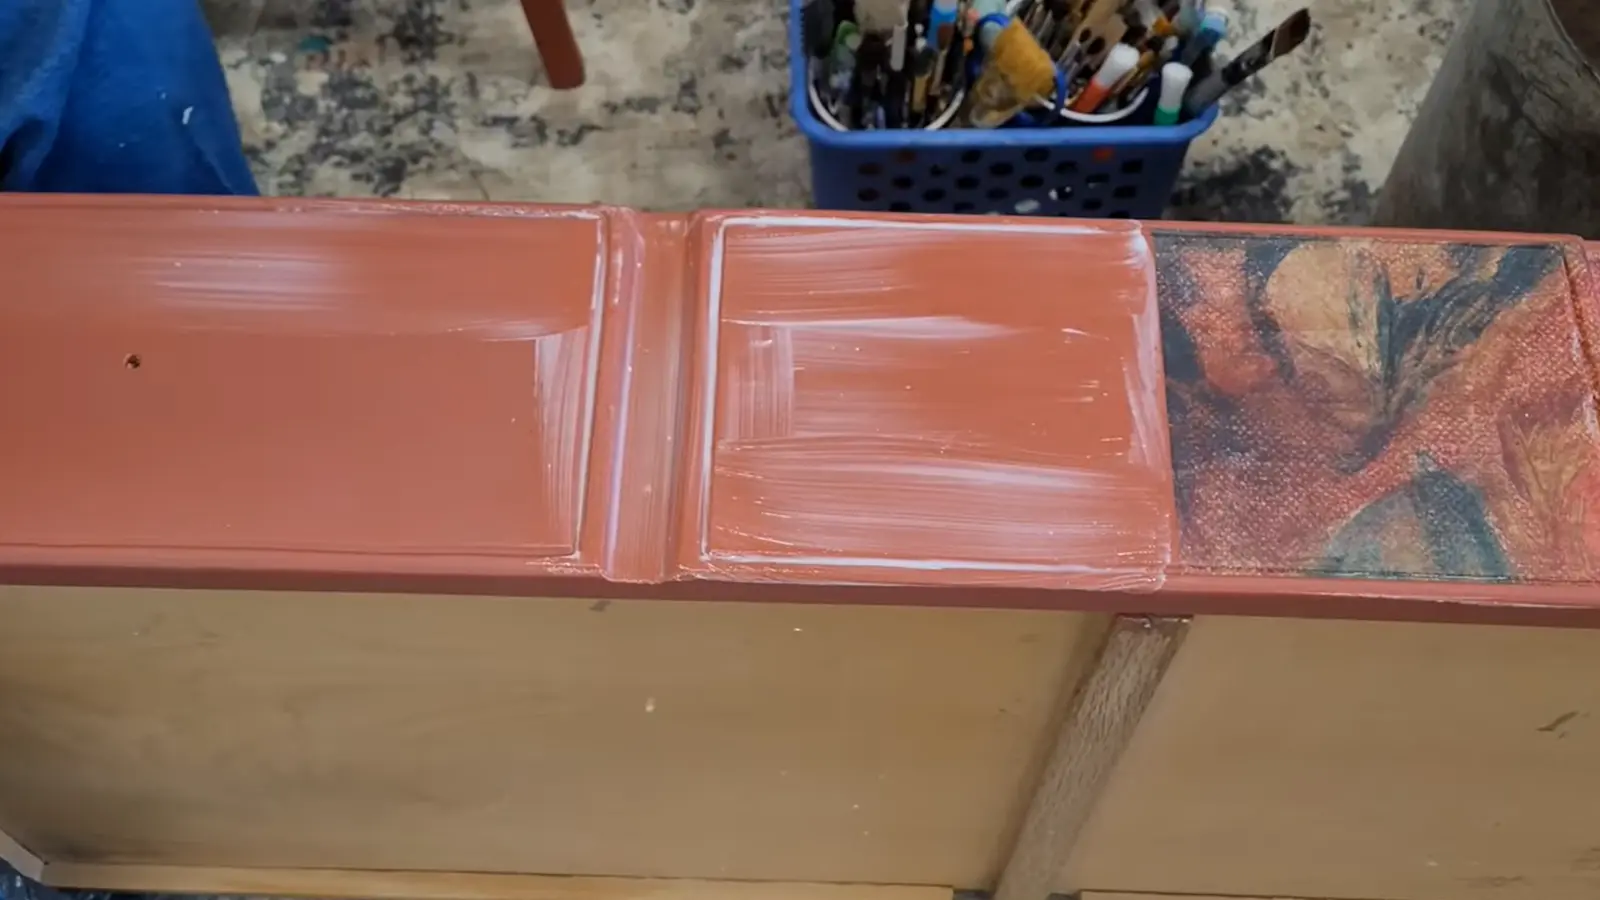
Step 6: Seal It and Blend the Edges for A Finished Look

Let the paper dry fully, then seal it with a clear topcoat. After that, use small amounts of matching paint to fill in any gaps and soften the edges so the paper blends into the piece.
Finish any exposed wood with stain or a diluted brown wash, reattach the hardware, and add final accents if you want.
For an in-depth walkthrough of the whole process, check out the complete video tutorial below:
Why Wrinkles, Bubbles, and Tears Happen and How to Prevent Them
Even with careful work, things can go wrong. Here’s what causes the most common problems, and how to fix them:
| Issue | Main Cause | Prevent It | Quick Fix |
|---|---|---|---|
| Wrinkles | Too much adhesive makes thin paper expand. | Use a thin, even glue layer. Smooth gently. | Let dry, lightly sand, reseal. Do not peel. |
| Air Bubbles | Trapped air during placement. | Smooth from center outward. Use a brayer. | Puncture with pin, press flat, add glue, reseal. |
| Tearing | Over-smoothing or over-saturated paper. | Avoid excess glue. Use a plastic barrier when smoothing. | Patch with matching paper. Blend with paint and sealer. |
Most surface issues come from excess moisture or rushing the process. Work in thin layers, smooth gently, and let each stage fully dry for the best results.
Drying, Curing, and Durability Timeline
Dry to the touch doesn’t mean ready to use. This is one of the most overlooked parts of the process.
Here’s what to expect at each stage:
- Dry to the touch: Usually 1–2 hours. The surface feels dry, but the adhesive beneath is still soft.
- Fully cured: 24–72 hours, depending on humidity and coat thickness. This is when the finish is actually hard and stable.
- High-humidity environments: Curing takes longer. Avoid placing finished furniture in humid rooms until fully cured.
Applying sealer coats too quickly traps moisture underneath and causes cloudiness. And using the furniture before it’s fully cured can lead to peeling or a sticky surface that picks up dust and debris.
Always wait the full cure time; it’s worth it.
Common Mistakes that Ruin the Finish
Most decoupage failures come down to a handful of repeatable mistakes. Watch out for these before you start:
- Skipping surface prep: Dirt and grease block adhesion. The paper may look fine at first, but it will peel within weeks.
- Using too much glue: More glue doesn’t mean better hold. It causes wrinkles, bubbles, and extends drying time.
- Rushing the drying stages: Moving the paper or applying the next coat too early causes stretching, shifting, and cloudiness.
- Not sealing enough: One coat of sealer isn’t enough for any surface that gets regular use. Two to four thin coats are the standard.
The biggest misconception I see is that more glue equals a stronger bond. It doesn’t. A thin, even layer always outperforms a heavy one.
Conclusion
Decoupaging furniture is a skill that gets easier every time you do it. Once you understand how each step affects the final finish, you stop guessing and start getting consistent results.
The key is simple: prep well, apply thin layers, and never rush the drying. Those three habits will carry you through almost any project.
Ready to keep building your skills? Read more of our furniture makeover and home décor blogs to find your next project and take your craft even further.
Frequently Asked Questions
What is the Difference Between Mod Podge and Decoupage?
Decoupage is the technique, the art of decorating surfaces with cut paper. Mod Podge is a brand of adhesive product commonly used for decoupage. You can use other adhesives, but Mod Podge is the most widely available and easiest to work with.
What is the Best Paper for Beginners?
Rice paper is the best starting point. It’s strong enough to handle without tearing, holds adhesive well, and is easier to smooth than thin napkins.
Can You Decoupage without Sanding?
You can, but it reduces how well the adhesive grips the surface. On smooth or painted furniture, skipping sanding often leads to peeling over time, especially on edges and corners.
How Many Coats of Sealer Are Needed?
Two to four thin coats are the standard. For furniture that gets daily use, four coats give the most durability. For decorative pieces, two is usually enough,