
Painting Bathroom Tile Floors: Easy DIY Makeover Guide
Tired of staring at outdated bathroom tiles but not ready for a complete renovation? I understand that replacing tile can be a messy, expensive, and time-consuming process.
Luckily, there’s an easier way. Painting bathroom tile floors is a budget-friendly DIY project that can be completed in a weekend.
In this guide, I’ll walk you through each step: from cleaning and prepping the surface to choosing the right paint, applying it smoothly, and sealing it for lasting results. If you’re refreshing a rental or updating your own space, this process can make your bathroom look brand new.
Is Painting Bathroom Tile Floors Worth It?
Painting bathroom tile floors offers a quick way to refresh your space without the mess of full replacement. You can complete the project in a weekend rather than weeks of construction work and dust.
However, painted tiles need touch-ups every 2-3 years in high-traffic areas. One homeowner shared honest results after 5 years – most areas held up well, but needed minor repairs near the shower. Another reported excellent results after 2 years with proper prep work.
This works best for rentals, budget makeovers, or quick room updates. The key is having realistic expectations about maintenance needs.
Step-by-Step Guide to Painting Bathroom Tile Floors
This complete process takes 3-4 days with proper drying time between steps. Follow each stage carefully for long-lasting results that look professional.
Supplies You’ll Need
You’ll need the right tools and products to ensure your bathroom tile paint job looks great and lasts through daily moisture and use.
- Rust-Oleum HOME Base Coat
- Rust-Oleum HOME Top Coat (Matte or Satin)
- Crud Cutter or included cleaner (bathroom-safe degreaser)
- 3/8″ nap roller (for base and stencil layers)
- 1/4″ nap roller (for top coat)
- Angled paintbrush (for edges, behind the toilet)
- Stencils (optional for decorative tiles)
- Painter’s tape
- Tack cloth (removes lint/dust)
- Stencil brush (tight corners near toilet/shower)
- Rags, vacuum, bucket
- Gloves and knee pads (recommended for bathroom work)
Step 1: Deep Clean the Tile Floor
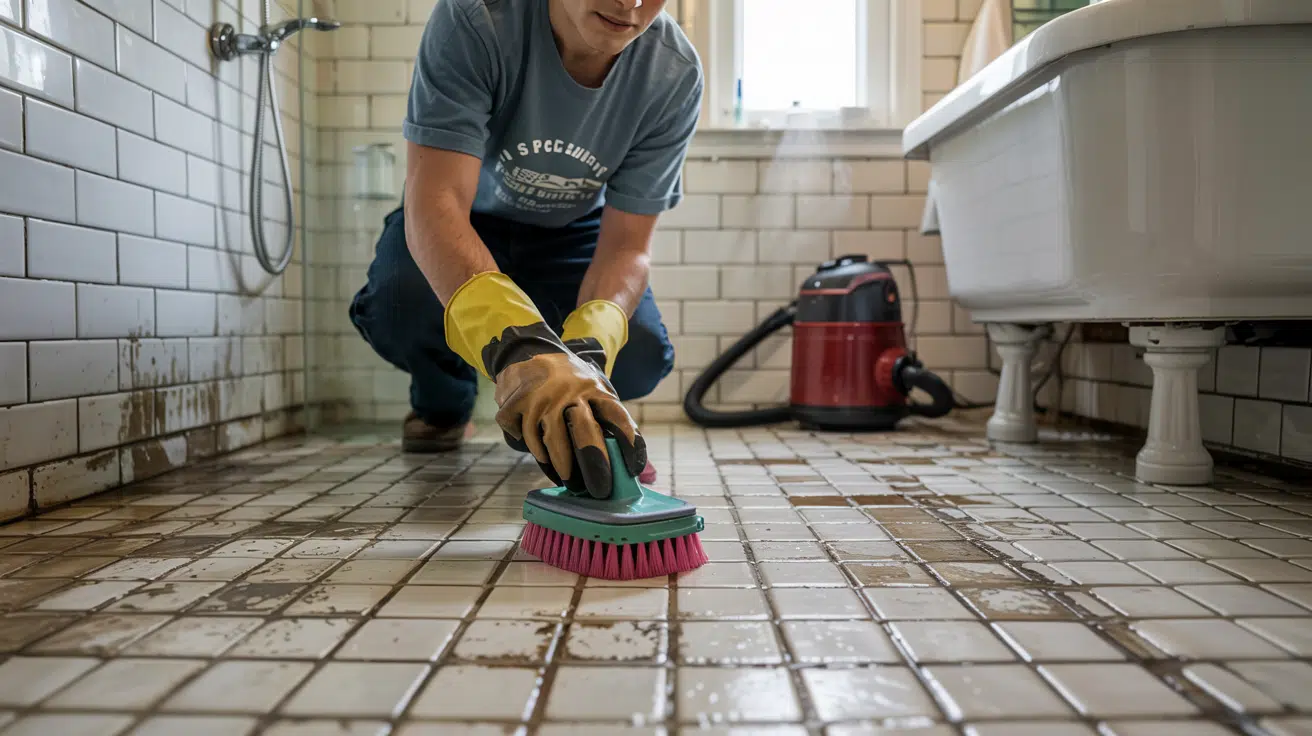
Bathrooms build up soap scum, moisture, and grime, so start with a thorough clean.
Vacuum first, then use a Crud Cutter or a tile-safe degreaser to scrub tile and grout lines, especially near the shower, toilet, and vanity.
Let the floor dry completely. With Rust-Oleum HOME, you don’t need to sand or prime; just a spotless surface to ensure proper adhesion and lasting results.
Step 2: Tape Off & Prep the Bathroom

Use painter’s tape to protect baseboards, bathtub edges, toilet base, and vanity legs. Remove any old caulk around the tub or toilet; paint won’t adhere to silicone.
Good airflow matters in bathrooms, so open a window or use a fan to speed up drying between coats. This prep step ensures crisp edges and fewer touch-ups, especially in tight or moisture-prone corners.
Step 3: Apply Base Coat

Pick your base color (like charcoal gray). Use an angled brush to paint edges and tight areas first, then roll the rest of the tile using a 3/8″ nap roller.
Always work your way out from the farthest corner toward the door. Apply an even, thin coat. Let it dry for 6 hours. If you need to step on it, wear clean socks to avoid tacky marks.
Step 4: Apply Second Base Coat

Once the first coat is dry (after 6 hours), apply a second coat for full, even coverage. This is especially important for darker colors or high-traffic areas in bathrooms.
Use the same roller and technique as before. Let it dry overnight, especially in humid bathrooms where airflow might be limited.
Ensure no one walks on the floor during this curing period to avoid smudges or prints.
Step 5: Add Stencil Design (Optional)

Once your base is dry, wipe it with a tack cloth to remove lint. Secure the stencil with tape, especially near corners and around the toilet.
Use a small roller or stencil brush and apply very little paint to avoid bleed-through. Start with whole tiles and trim the stencil for tight areas.
Gently touch up smudges with a fine brush to achieve clean, crisp designs that improve the space.
Step 6: Apply Top Coat (Bathroom Ready!)

After stenciling (or base coat if no design), wait at least 2 hours, then apply the Rust-Oleum HOME Top Coat using a 1/4″ nap roller.
One coat provides water resistance, but applying two coats for better bathroom durability is recommended. Use matte for a soft look or satin for a light shine.
Brush edges first, then roll evenly. This coat seals the paint and protects it from everyday moisture.
Step 7: Let It Cure (This Part Matters Most in Bathrooms)

Let the top coat cure properly to protect your work. Avoid foot traffic for 24 hours, and use only socks during light use. Keep rugs and furniture off the floor for 3 days.
Don’t mop or let water touch the surface for 7 days. After one week, your bathroom floor will be fully sealed, waterproof, and ready for daily cleaning with non-abrasive products.
Follow along step-by-step with this video guide to see the entire process in action
Product Comparison: Best Tile Paints for Bathrooms
These paint brands offer different strengths for bathroom tile projects. Choose based on your specific needs and timeline.
| Brand | Type | Finish | Durability | Notes |
|---|---|---|---|---|
| Rust-Oleum HOME | Tile Paint | Matte/Satin | 2-3 years | Easy to apply, good for beginners |
| Behr Porch & Patio | Floor Paint | Multiple options | 3-4 years | Excellent water resistance |
| Fusion Mineral Paint | Chalk-style | Matte | 2-3 years | No primer needed, eco-friendly |
| Dulux Paint | Two-part system | Glossy/Satin | 4-5 years | Most durable, requires mixing |
Budget vs. Premium Picks: For those watching their spending, Rust-Oleum HOME tile paint with basic bonding primer offers good results at an affordable price point.
This option works well for quick makeovers or rental properties. Premium buyers should consider two-part epoxy systems paired with high-quality sealers, which provide superior durability and water resistance but require more skill to apply correctly.
Maintenance and Longevity Tips
Proper maintenance helps your painted bathroom tile floors stay fresh and durable for years. Clean regularly with mild soap and water, avoiding harsh chemicals that can wear down the paint.
Use soft cloths or mops instead of abrasive pads. Wipe up spills immediately to prevent water damage or peeling. Keep touch-up paint on hand for quick fixes, and sand and prime chipped areas before repainting.
Focus on high-traffic spots near showers or doorways. Expect to repaint every 2–5 years, and consider using bath mats to protect commonly walked-on areas.
Common Mistakes to Avoid
Standard errors can ruin your painted tile project. Avoid these pitfalls to ensure professional-looking results that last:
- Skipping sanding or priming – paint won’t stick properly to smooth, glossy tile surfaces.
- Using wall paint instead of tile paint – regular paint can’t handle moisture and foot traffic.
- Not waiting long enough between coats – wet paint layers cause peeling and uneven coverage.
- Painting grout lines without sealing – moisture seeps through unsealed grout and lifts paint.
- Rushing the cleaning step – dirt and soap residue prevent proper paint adhesion.
- Applying thick coats – heavy paint layers drip, sag, and take forever to dry properly.
- Forgetting to remove tape while wet-drying paint creates messy, ragged edges.
- Walking on floors too soon – footprints and scuff marks become permanent in soft paint.
Conclusion
Now that you know the whole process of painting bathroom tile floors, you’re all set to tackle this DIY with confidence. You’ve seen how a little prep work and the right materials can turn a dull bathroom into a stylish space, without a complete remodel.
By following these steps, you’ve got everything you need to get professional-looking results. Just remember to take your time, be patient during the drying process, and stay on top of regular maintenance.
So, are you ready to upgrade your floor with a brush and a plan? Check out my other DIY guides to keep leveling up your home, one project at a time.


