How to Build a Durable Concrete Mailbox Post
If you’re looking for a durable and unique alternative to wooden mailbox posts, consider building one out of concrete.
Concrete mailbox posts offer several advantages, such as better weather resistance, low maintenance, and long-lasting durability.
Unlike wood, which can rot, warp, or be damaged by pests, concrete stays strong and stable throughout the seasons. Plus, it’s a great way to add a custom touch to your home’s exterior.
In this guide, we’ll walk you through the simple steps to create a concrete mailbox post, from gathering materials to ensuring it stays solid and secure.
This project will provide a lasting, reliable solution whether you’re replacing an old post or starting fresh.
Materials Needed for Concrete Mailbox Post
Before you begin, make sure you have all the necessary materials for the project.
Here’s what you’ll need:
- Concrete mix
- Rebar or steel reinforcement (optional for extra strength)
- Mold (can be made from wood or plastic)
- PVC pipe for the mailbox holder (or alternative materials)
- Water
- Trowel
- Concrete mixer (optional)
- Measuring tape and level
- Gloves and safety goggles
Having everything ready will help make the process go smoothly and ensure you don’t have to stop in the middle to gather supplies.
Step-by-Step Instructions
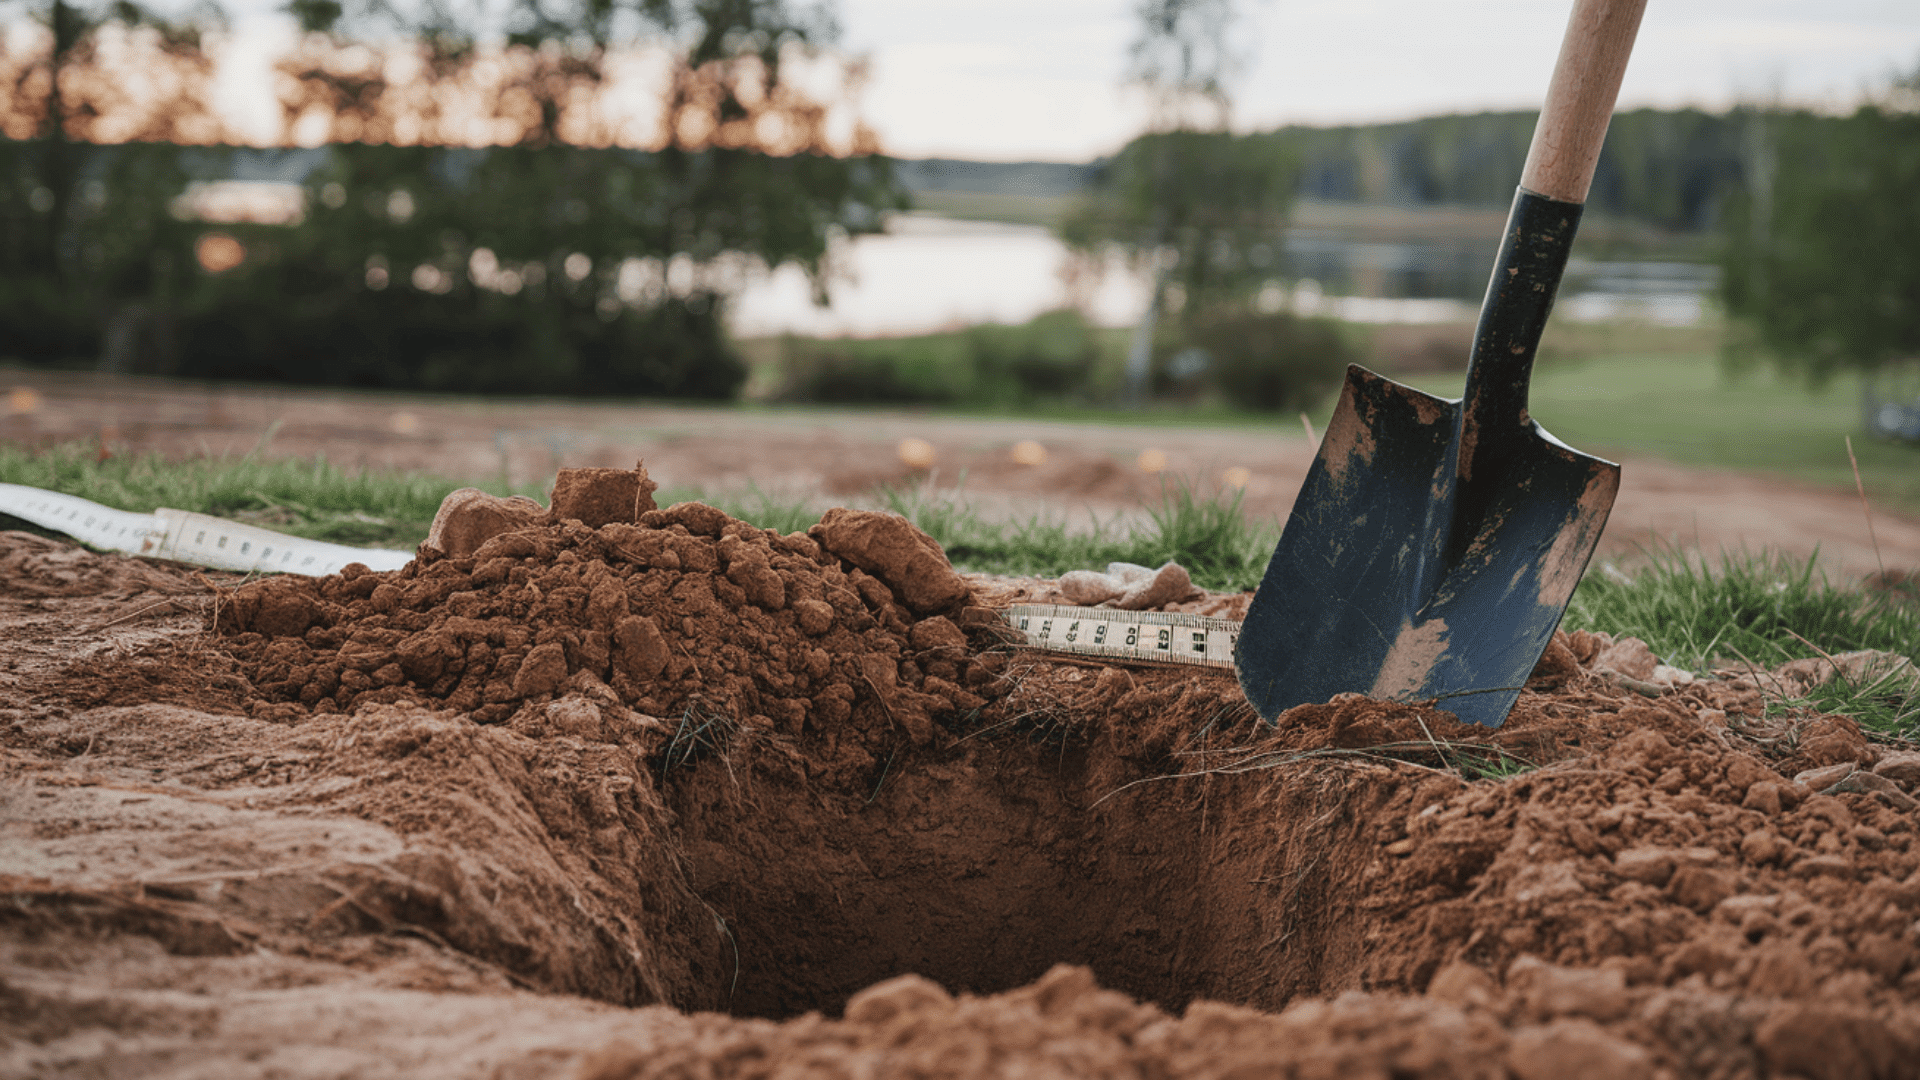
Preparing the Site
- Choose a location for your mailbox post, ensuring it’s easily accessible and in line with local regulations.
- Dig a hole large enough to fit the mold and allow space for the concrete to settle. Make sure the hole is deep enough for stability.
Creating the Mold
- Build or buy a mold to shape the concrete. A wooden frame or a plastic mold works well.
- The mold should be sturdy enough to hold the concrete while it sets and maintains the shape of the post.
Reinforcement and PVC Pipe Installation
- Add rebar for extra strength, especially if you’re in an area with harsh weather.
- Position a PVC pipe inside the mold to hold the mailbox securely once the concrete sets.
Mixing and Pouring Concrete
- Mix the concrete according to the instructions on the bag. You can mix it by hand or use a concrete mixer for larger batches.
- Pour the concrete into the mold, making sure it fills evenly, and there are no air bubbles.
Setting and Curing
- Let the concrete set for 24-48 hours. Make sure the post stays in place and level while it sets.
- After the concrete has been set, allow it to cure for several days to reach its full strength.
Finishing Touches
- Smooth out any rough edges using a trowel for a neat finish.
- Customize the look with stains, painting, or decorative stones if desired.
- Once the concrete has fully cured, attach the mailbox to the PVC pipe or other fittings.
Legal and Code Considerations for Concrete Mailbox Post
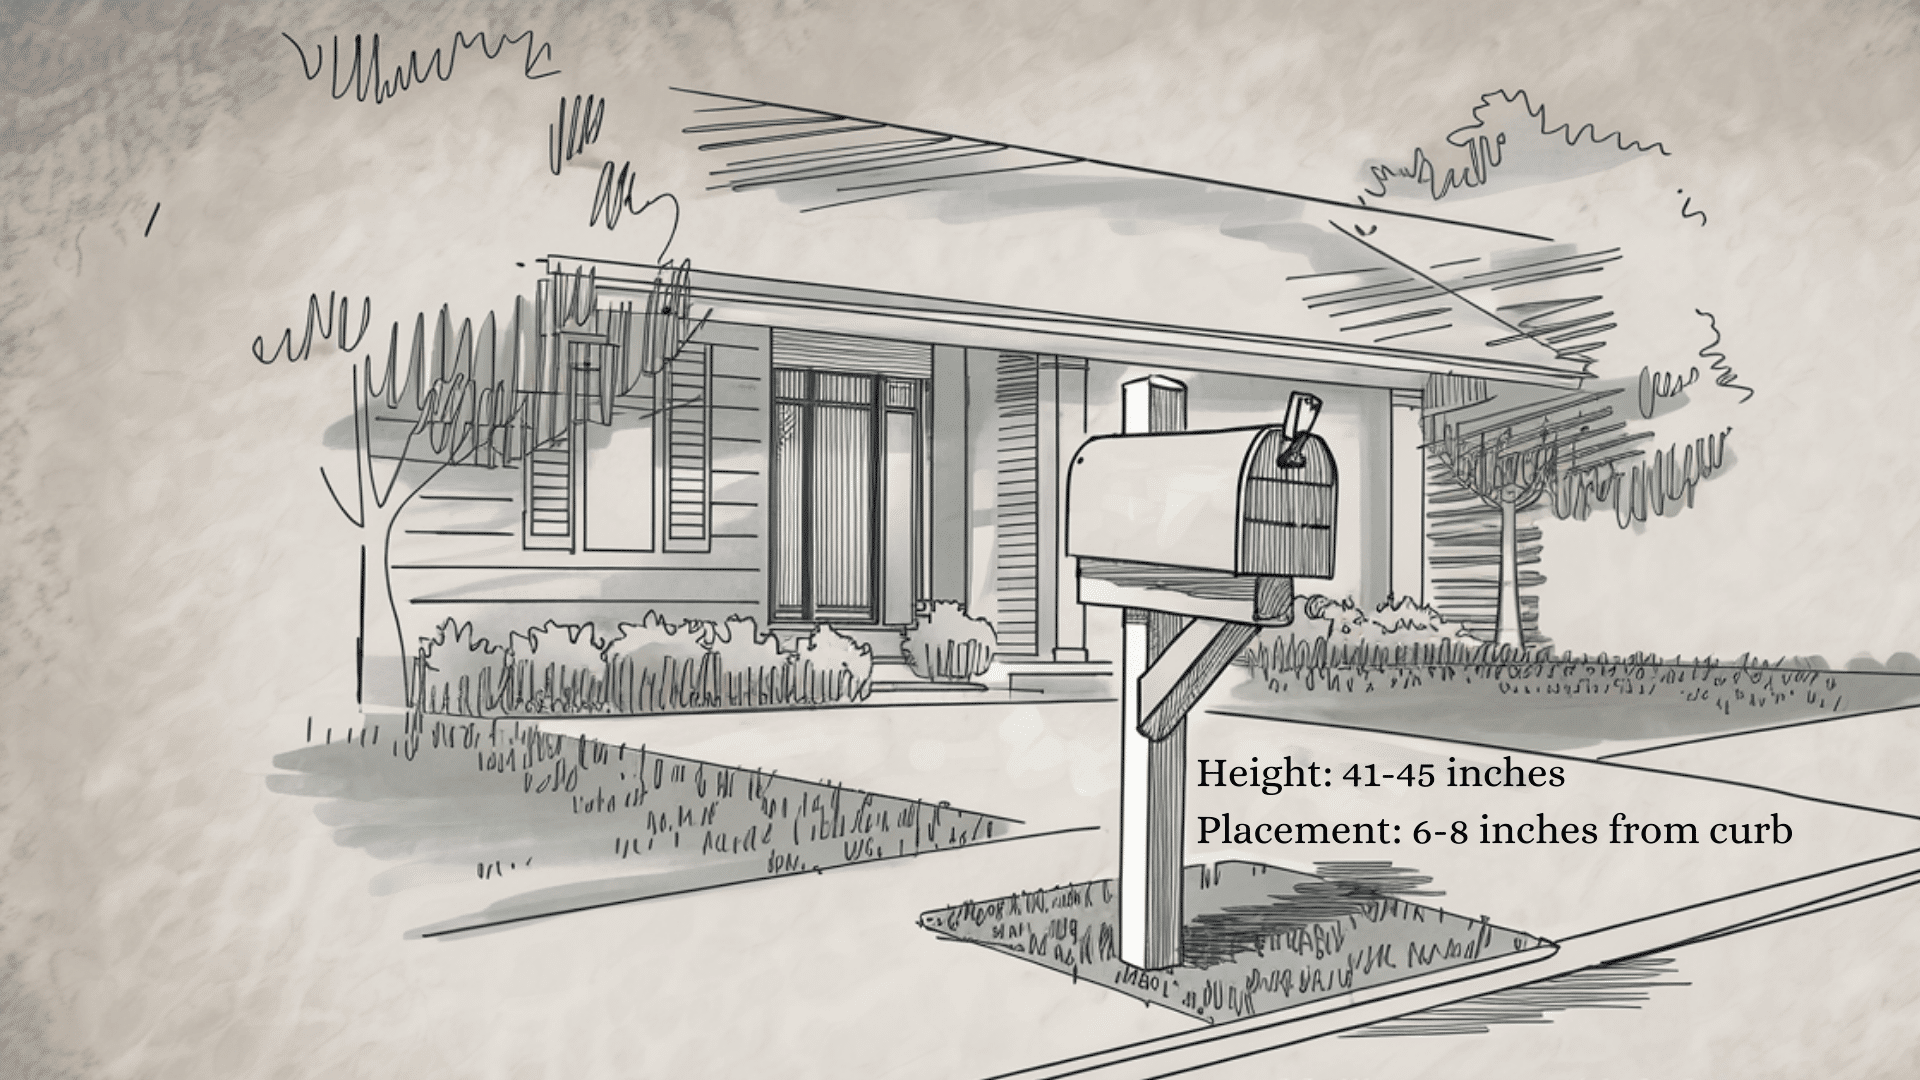
Height and Placement Regulations
The standard mailbox height is usually 41-45 inches from the ground to the bottom of the mailbox.
Ensure the mailbox is positioned 6-8 inches from the curb or road. This helps postal workers access it easily while maintaining safety.
Check with local postal services for any specific rules in your area, as regulations can vary by location.
Compliance with Local Regulations
Some municipalities may have additional rules regarding mailbox placement, such as clearances or proximity to driveways and sidewalks.
Follow all regulations to avoid fines or having your mailbox removed.
If unsure about the rules, contact your local post office or review the USPS guidelines for mailbox installation.
This section ensures that your concrete mailbox post is both functional and compliant with postal service regulations.
Benefits of Concrete vs. Wood for Mailbox Posts
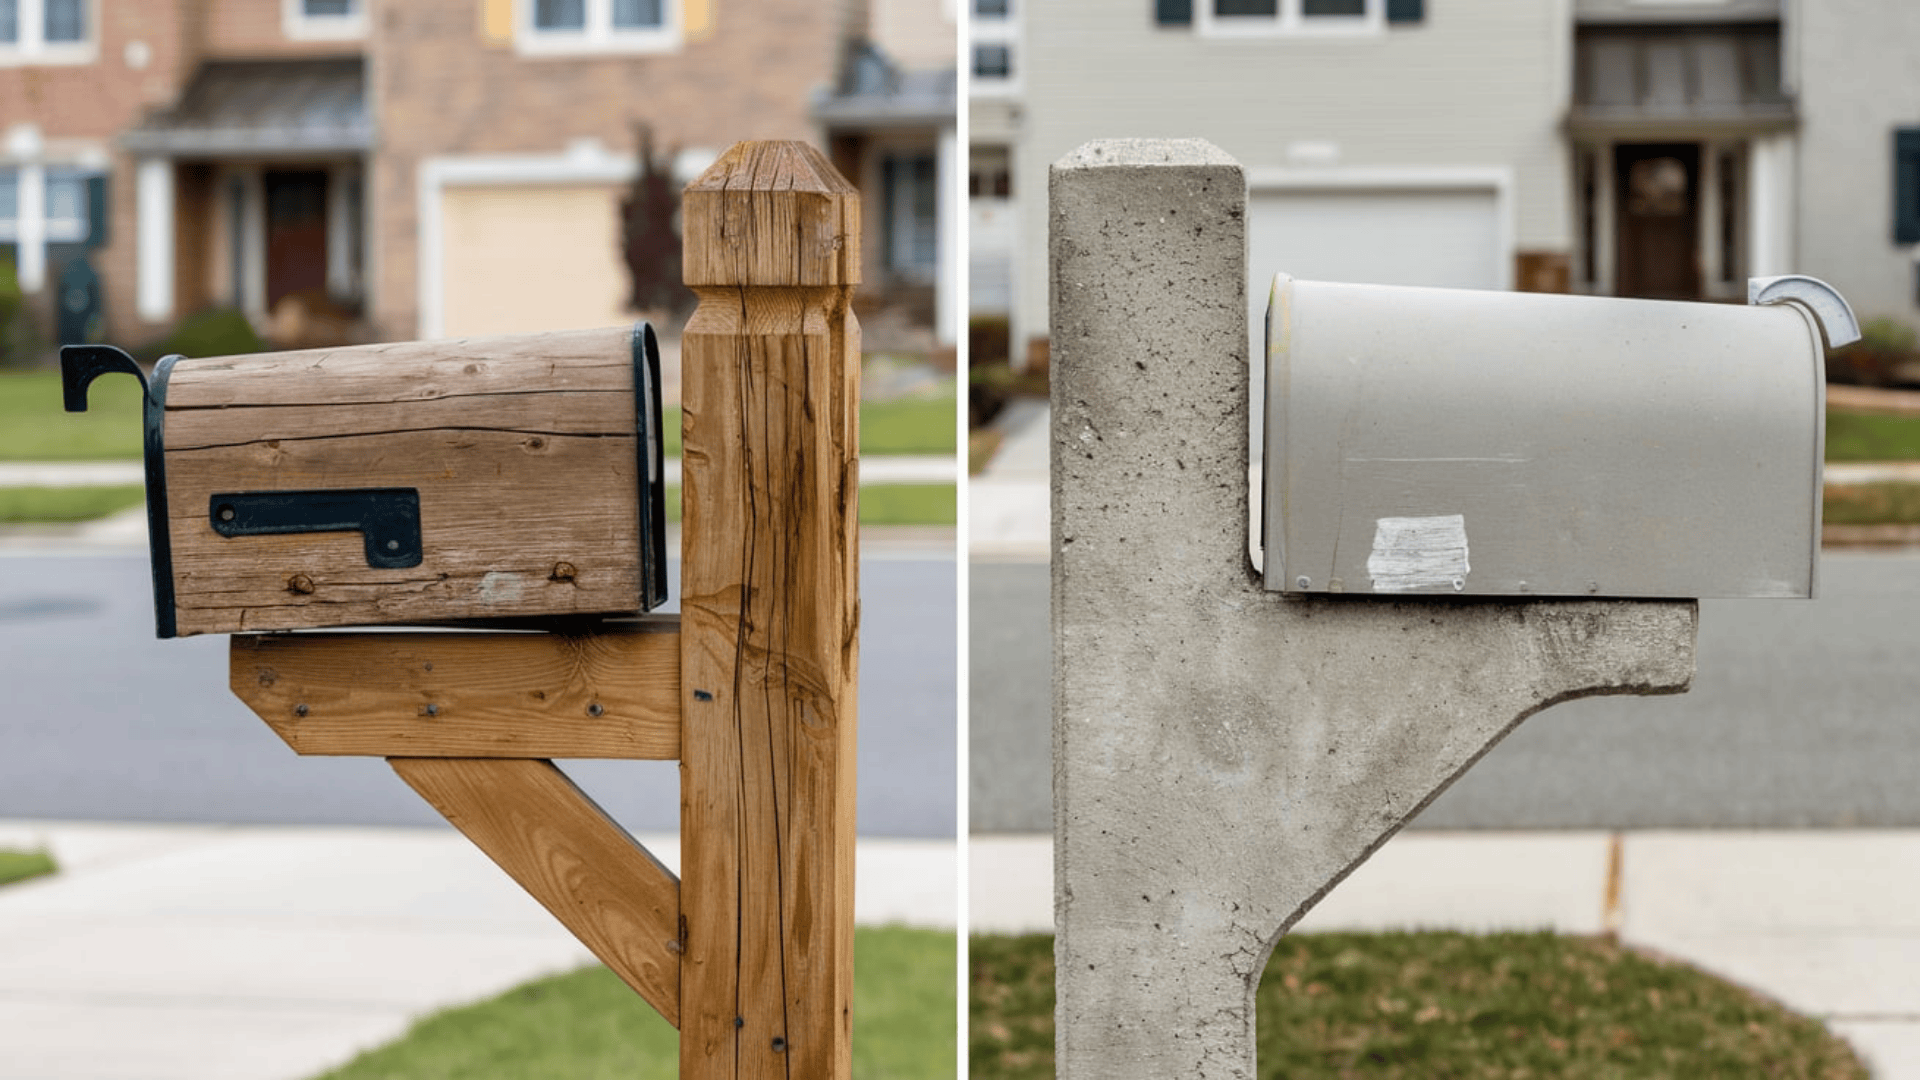
Concrete posts are known for their durability and longevity. Unlike wood, they won’t rot, warp, or get damaged by pests.
Concrete can withstand all weather conditions, making it a much better option for long-term use.
One key advantage of concrete is its low maintenance. Wood requires regular treatment to prevent decay and damage, while concrete needs little upkeep.
This makes concrete a convenient and cost-effective choice for homeowners.
Concrete also offers excellent weather resistance. While wooden posts can suffer from rain, snow, and high winds, concrete remains solid and stable in harsh conditions.
Additionally, concrete is highly customizable. You can easily stain, paint, or add decorative elements like stone to create a unique look that suits your style.
Wood, on the other hand, doesn’t offer the same flexibility in design.
This section shows why concrete is a superior choice for mailbox posts, offering more durability, less maintenance, and more customization options.
Problems while Making Concrete Mailbox Post
Air Bubbles in Concrete
Air bubbles can form in the concrete mix if it’s not poured or mixed properly. To prevent this, make sure the concrete is thoroughly mixed and vibrate the mold to release any trapped air.
If bubbles do appear, use a trowel to smooth the surface after it has set.
Cracking Concrete
Cracks can occur if the concrete isn’t mixed properly, if there’s too much water, or if the curing process isn’t done correctly.
To avoid this, follow the mixing instructions carefully, ensure proper water-to-concrete ratios, and let the concrete cure slowly by keeping it moist and shaded.
Incorrect Curing
If the concrete isn’t cured correctly, it can become weak and prone to breaking.
Always allow the concrete to set for 24-48 hours before handling, and let it cure for several days by keeping it covered with plastic or damp cloths.
Make sure to check the manufacturer’s guidelines for the ideal curing time.
Conclusion
Building a concrete mailbox post is a durable and low-maintenance solution that can last for many years.
It offers several advantages over traditional wooden posts, including weather resistance, strength, and customization options.
By following the steps outlined in this guide, you can create a sturdy, long-lasting post that will withstand the elements.
Remember to ensure proper curing, follow height and placement regulations, and avoid common issues like air bubbles or cracking.
With a little time and effort, you can create a concrete mailbox post that serves a practical purpose and enhances your home’s curb appeal.
If you enjoyed this project, be sure to check out our other blogs for more helpful tips and DIY ideas to improve your home.