The Only Guide to Shiplap Laundry Rooms You’ll Ever Need
Are you tired of walking into a boring laundry room that makes hectic chores feel even worse?
Adding shiplap walls might be just what you need!
These wooden panels can turn your plain laundry space into a spot that feels both cozy and useful.
Shiplap brings a clean look and practical benefits to a room that’s often forgotten in home design.
These simple wooden panels upgrade laundry rooms from just a place for dirty clothes to make spaces feel bigger, help with storage, and add style to your home.
In this guide, we’ll show you everything from design ideas to installation tips, helping you create a laundry room you’ll actually enjoy spending time in.
Shiplap Laundry Room Ideas
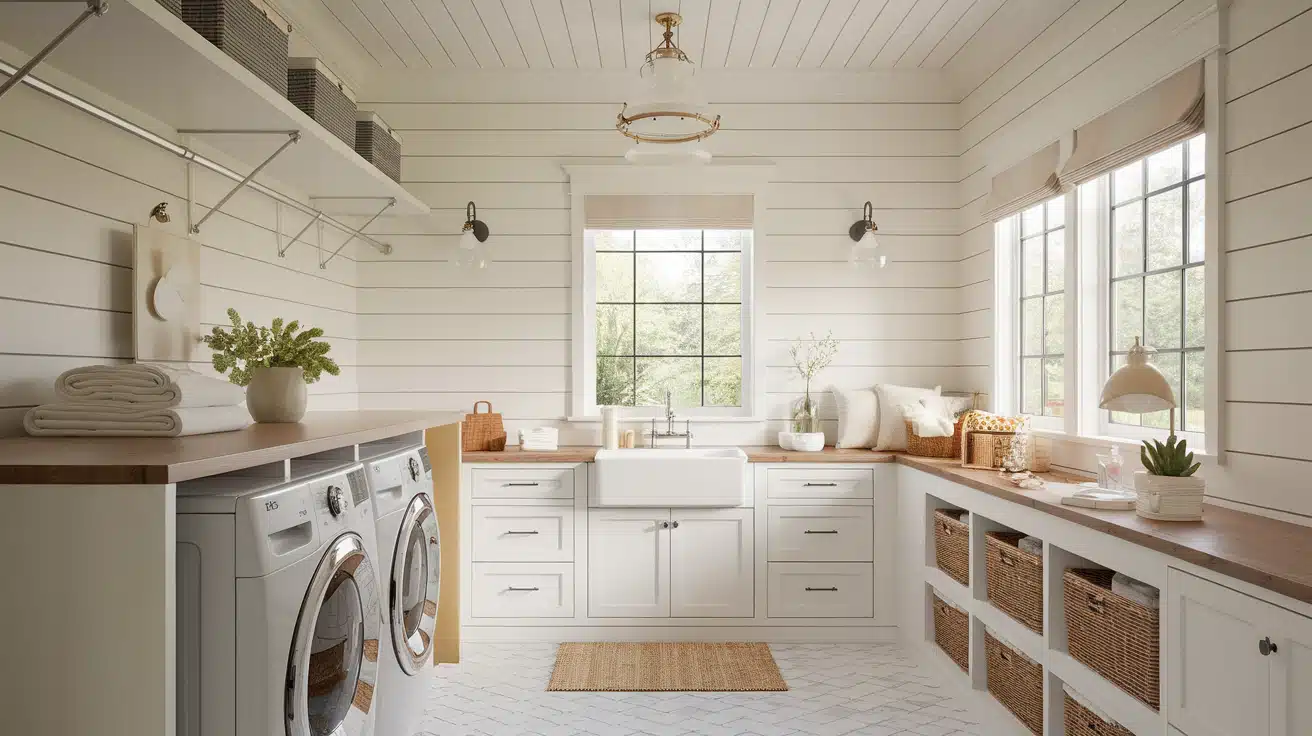
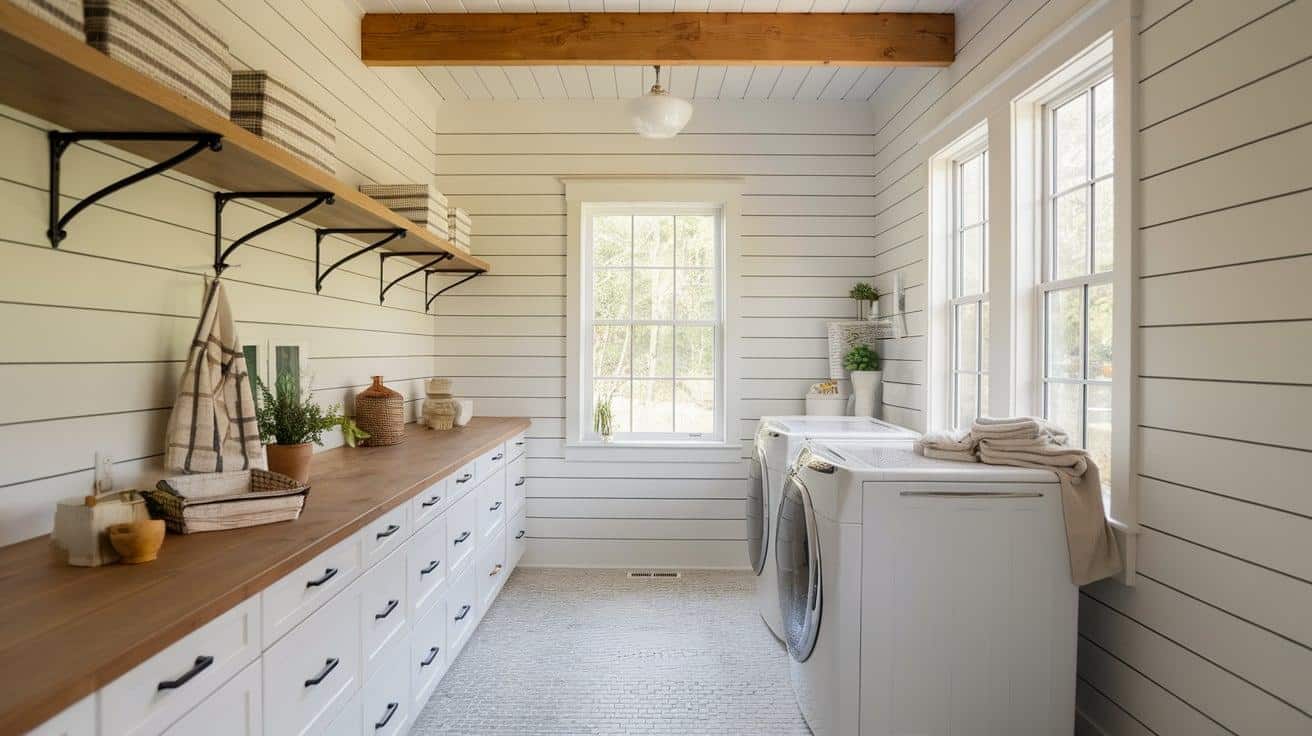
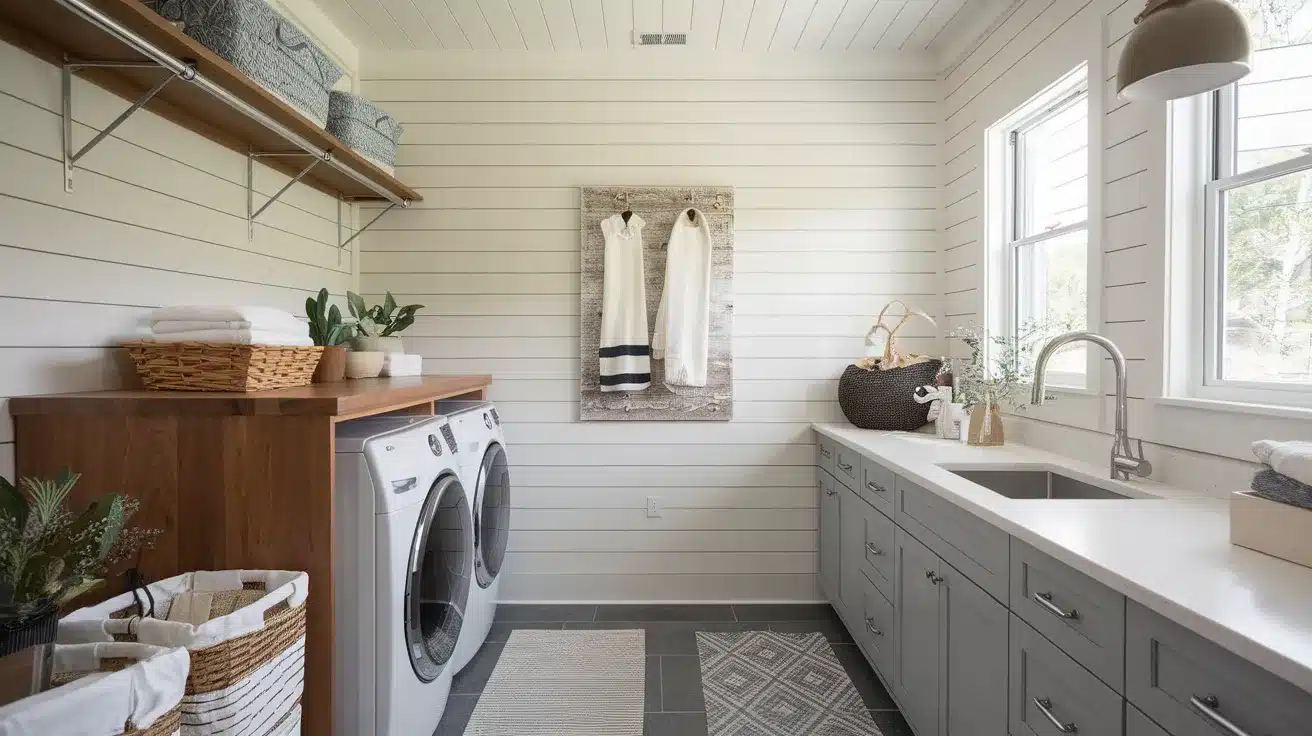
1. RusticFarmhouse Vibes
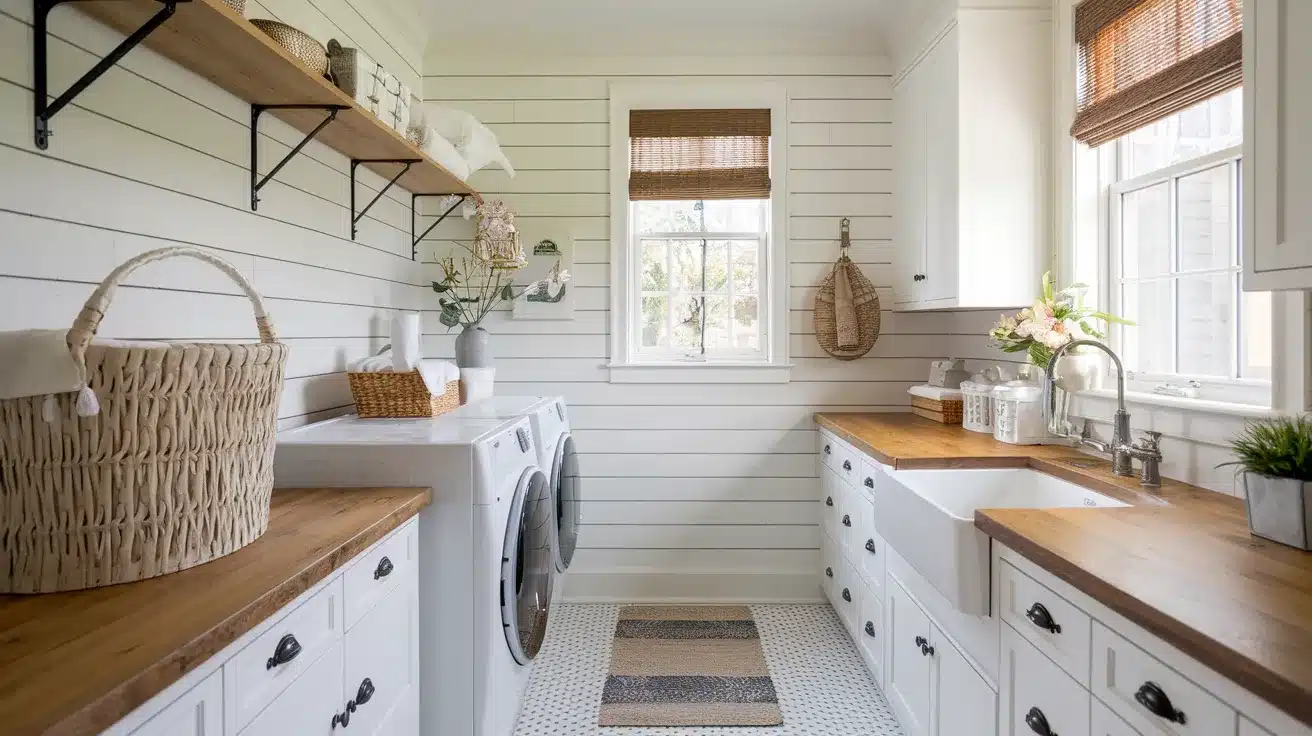
White or light-colored shiplap walls create a cozy farmhouse feel when paired with warm wood countertops and vintage-inspired accessories.
This combination makes your laundry room inviting and comfortable.
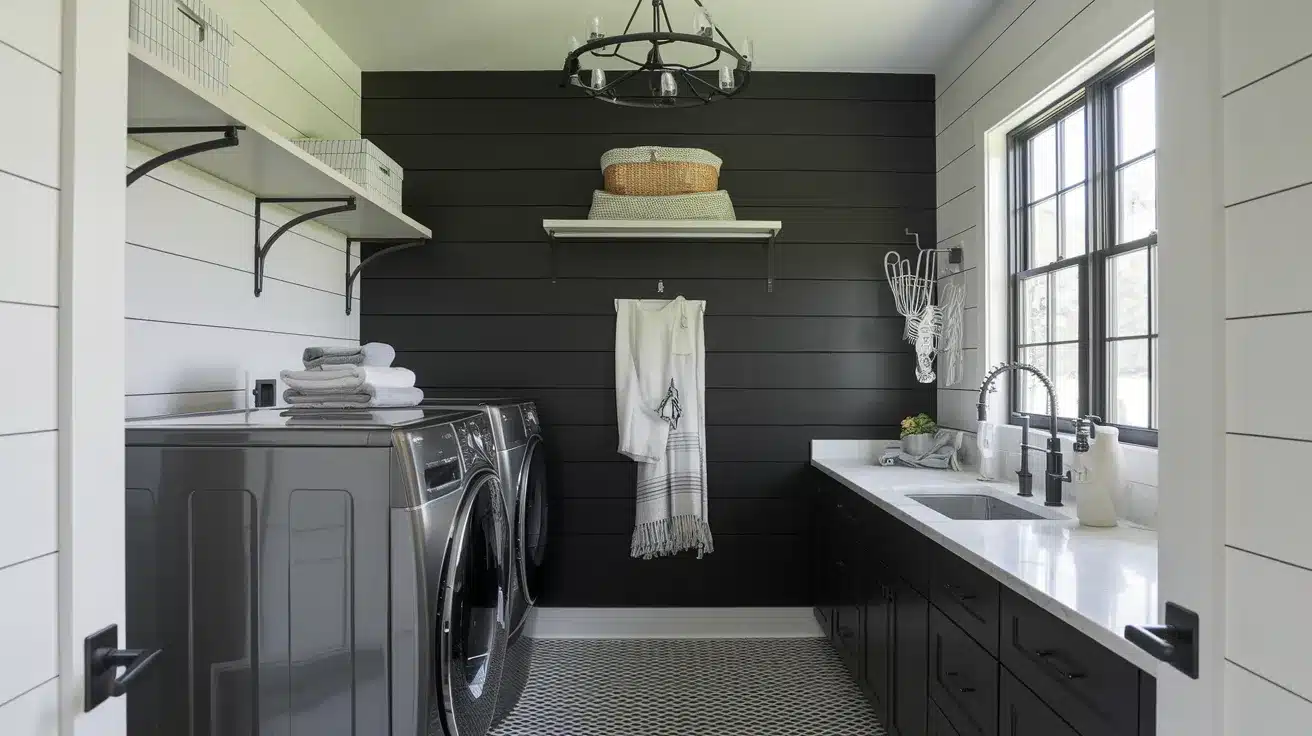
2. Modern Farmhouse Chic
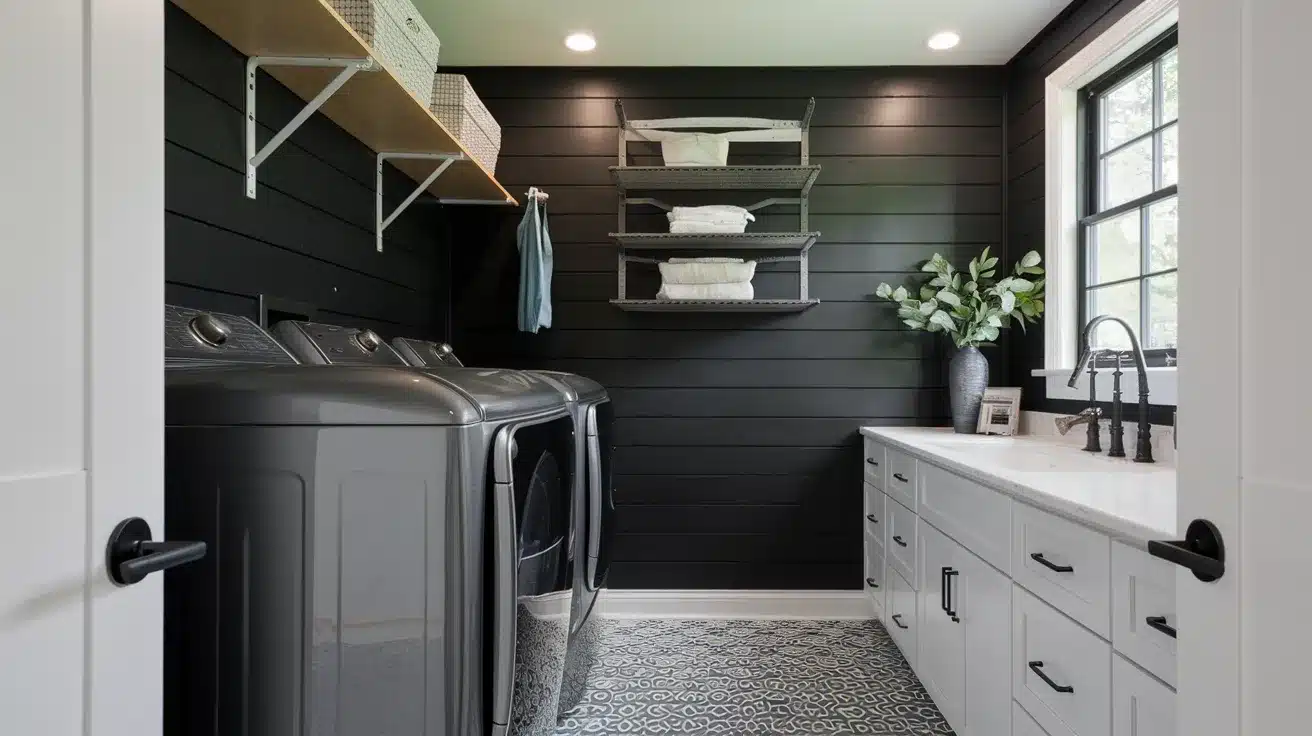
For a stylish, contemporary farmhouse look, combine shiplap with matte black fixtures, modern appliances, and sleek metal storage racks.
This blend of rustic and modern elements creates a chic and functional space.
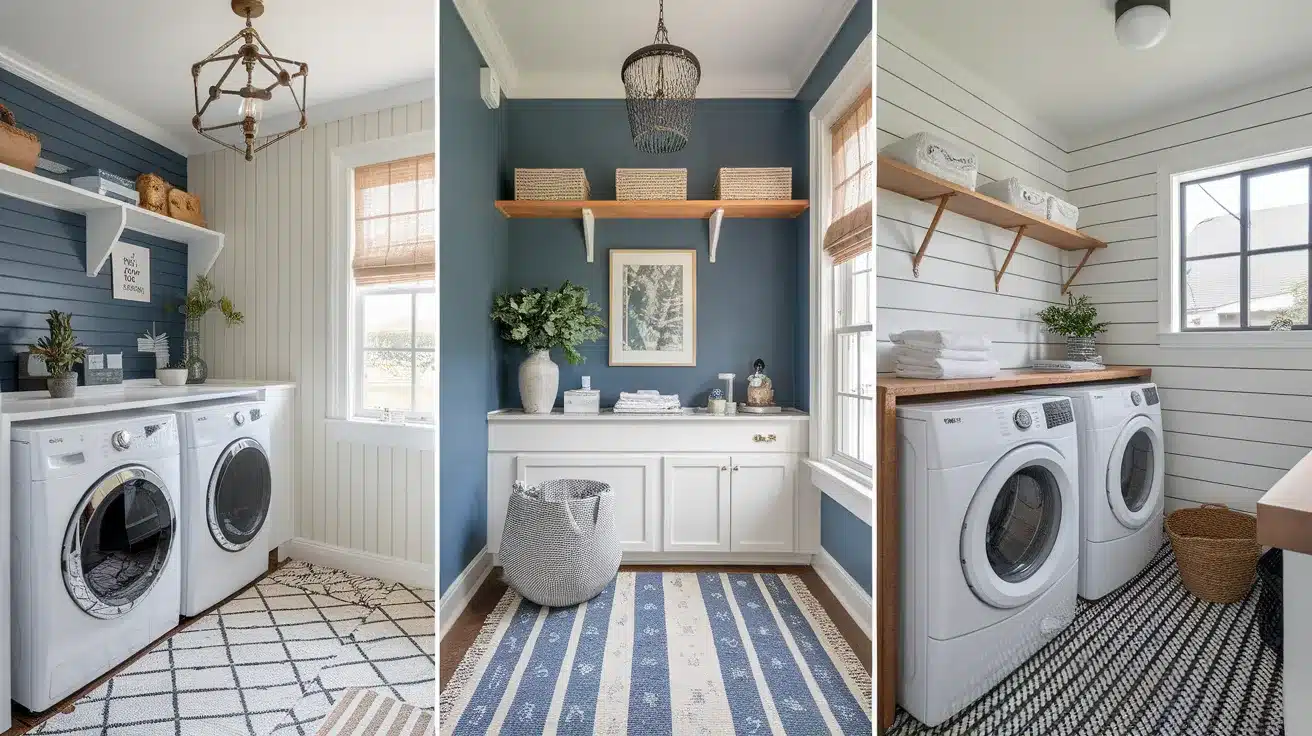
3. Accent Shiplap Wall
Highlight one wall with shiplap, leaving the other walls smooth or painted in a complementary color for a balanced design.
This accent wall adds visual interest without overwhelming the room.
4. Bold Colored Shiplap

Instead of classic white, choose dark blues, grays, or muted greens for your shiplap.
These bold colors make the shiplap a focal point, adding personality to your laundry room.
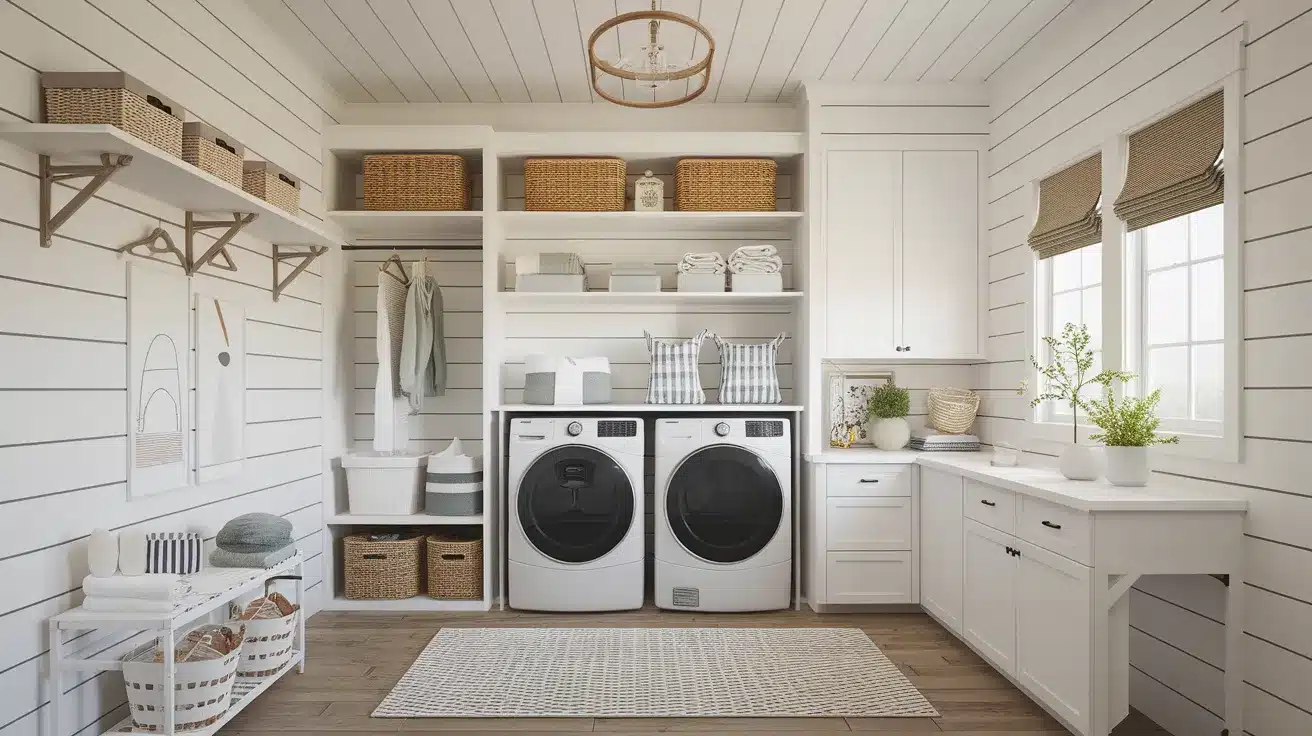
5. Shiplap and Open Shelving
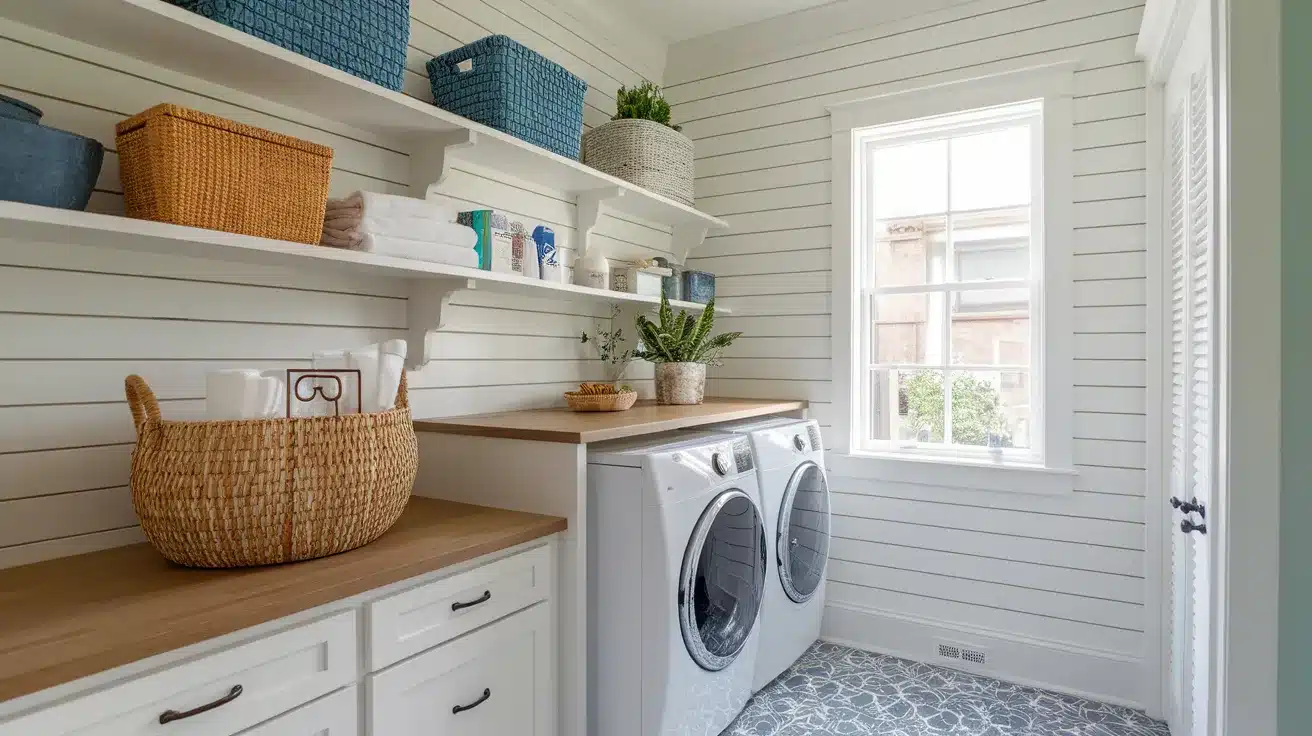
Pair shiplap walls with open shelving to display decorative baskets, plants, or laundry essentials.
This combination makes your laundry room stylish while adding an aspect of functionality.
6. Shiplap and Marble Combo

Combine shiplap walls with a marble countertop or backsplash for a clean and classy look.
This blend of rustic and luxurious elements creates a beautiful laundry room.
7. Shiplap with Vintage Lighting
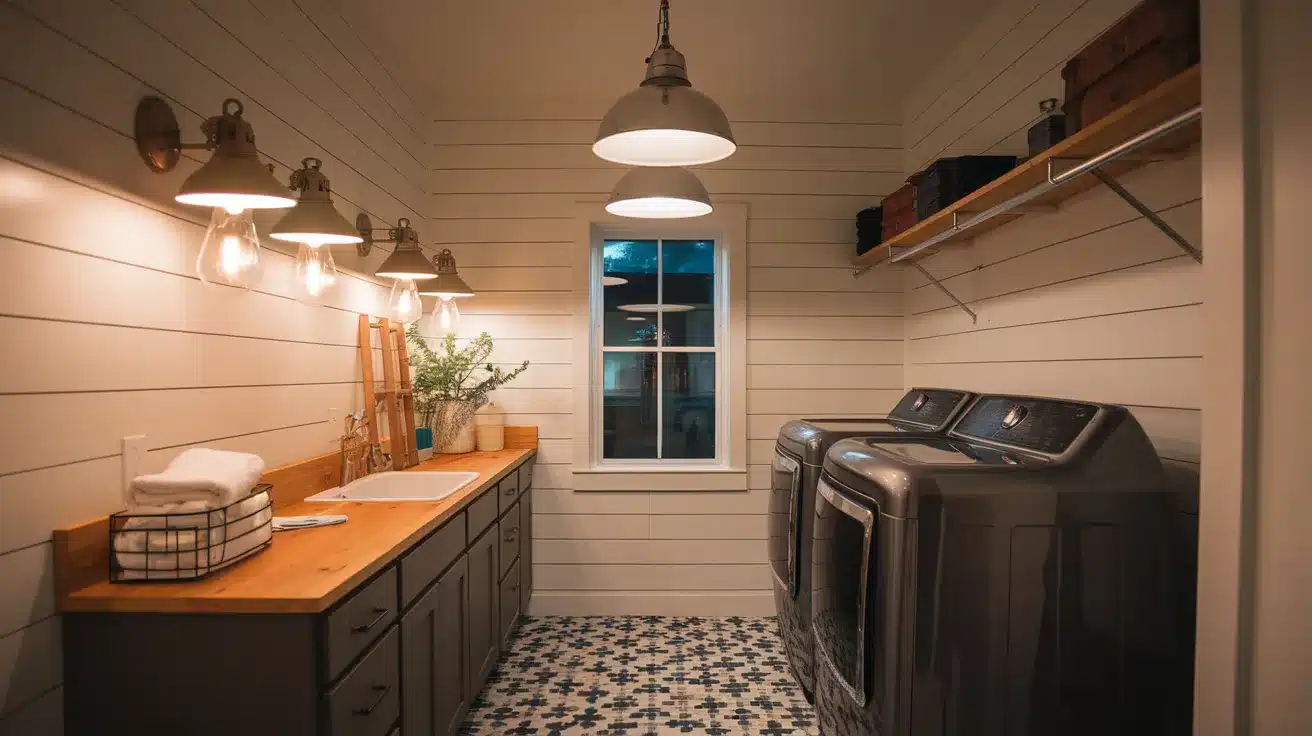
Install industrial-style or vintage light fixtures to contrast against the natural warmth of the shiplap.
This adds character to your laundry room.
8. Shiplap with Built-In Storage
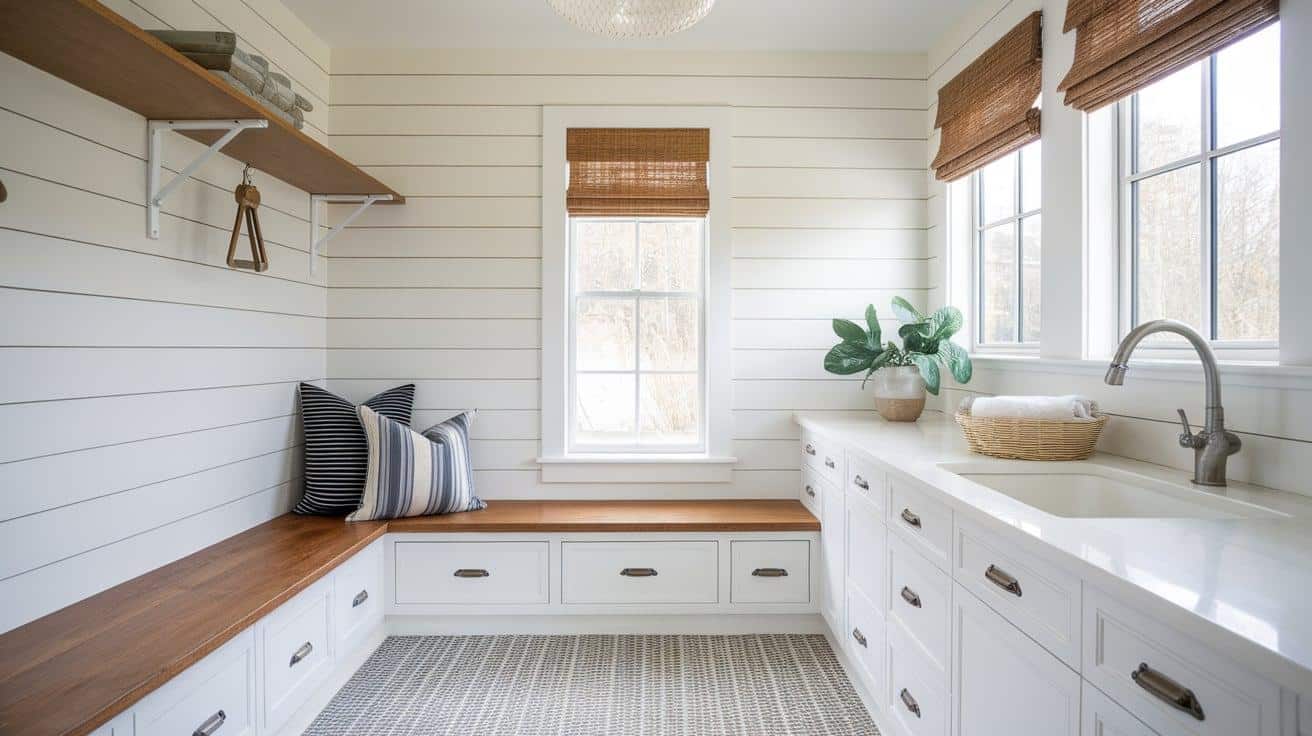
Incorporate custom-built cabinetry or benches beneath shiplap walls for added storage.
This keeps your laundry room tidy and organized while maintaining a cohesive look.
9. Shiplap Ceiling
Extend the shiplap to the ceiling for a fully integrated, rustic look.
This adds dimension and coziness to your laundry room.
10. Farmhouse Sink with Shiplap
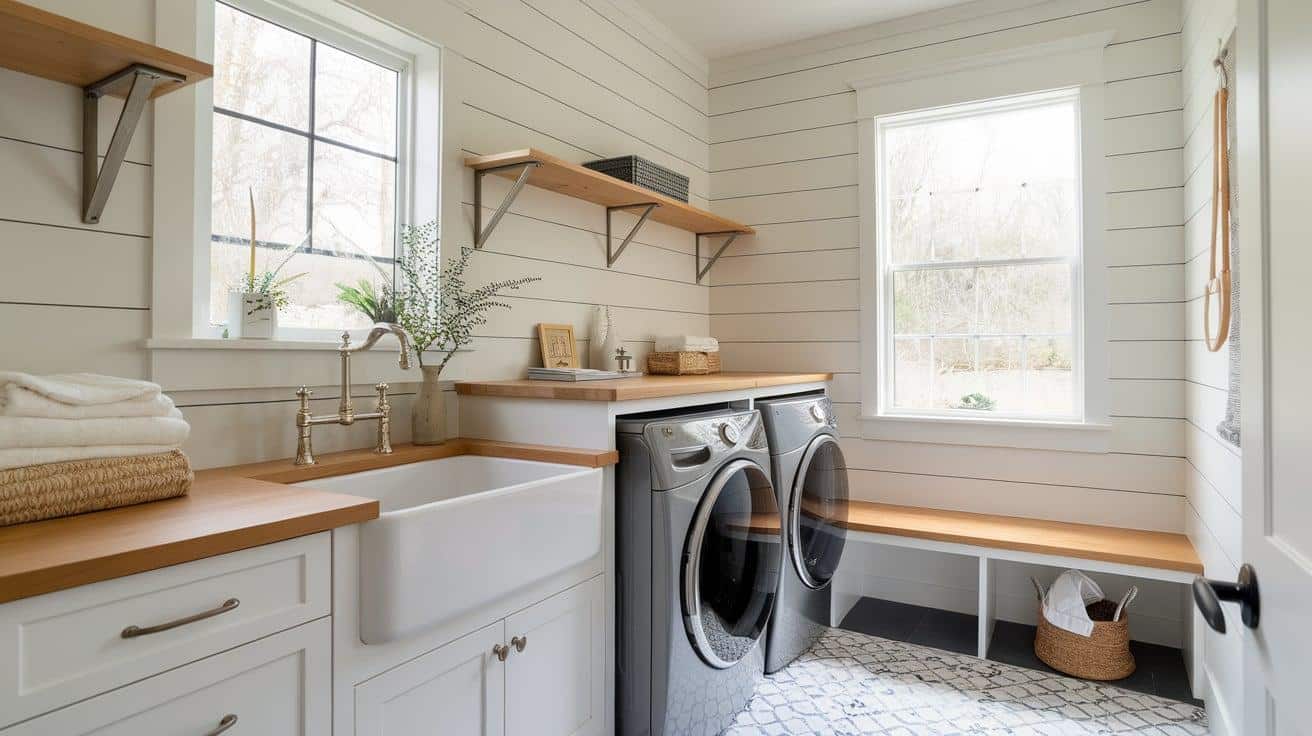
Backsplash Pair a deep farmhouse sink with a shiplap backsplash for practicality and style.
This is especially useful if your laundry room also serves as a mudroom.
Planning Your Shiplap Laundry Room
If you’re thinking about giving your laundry room a shiplap makeover, you’re in the right place.
We’ll walk through the process so you can create a space that’s both pretty and convenient.
Choosing the Right Material
When it comes to shiplap, you’ve got options.
- Classic wood
- Moisture-resistant MDF
- PVC.
Think about your budget and the look you want. I recommend choosing materials that can handle a bit of humidity.
DIY vs. Professional Installation
|
Factor |
DIY |
Professional |
|
Cost |
Lower material costs, but requires your time and effort |
Higher overall costs, but saves you time and ensures quality |
|
Skills Required |
Basic woodworking and carpentry skills |
None required on your part |
|
Time |
Can be time-consuming, depending on your experience |
Faster installation, usually completed in a few days |
|
Customization |
You have full control over the design and execution |
May be limited by the contractor’s capabilities or preferences |
|
Quality |
Depends on your skill level and attention to detail |
Generally higher quality and more polished finish |
|
Satisfaction |
Pride in completing the project yourself |
Less personal involvement, but still a beautiful end result |
Consider your budget, skills, and available time when deciding between DIY and professional installation.
You’ll end up with a fantastic shiplap laundry room, whichever route you choose.
DIY Shiplap Installation: Step-by-Step Guide
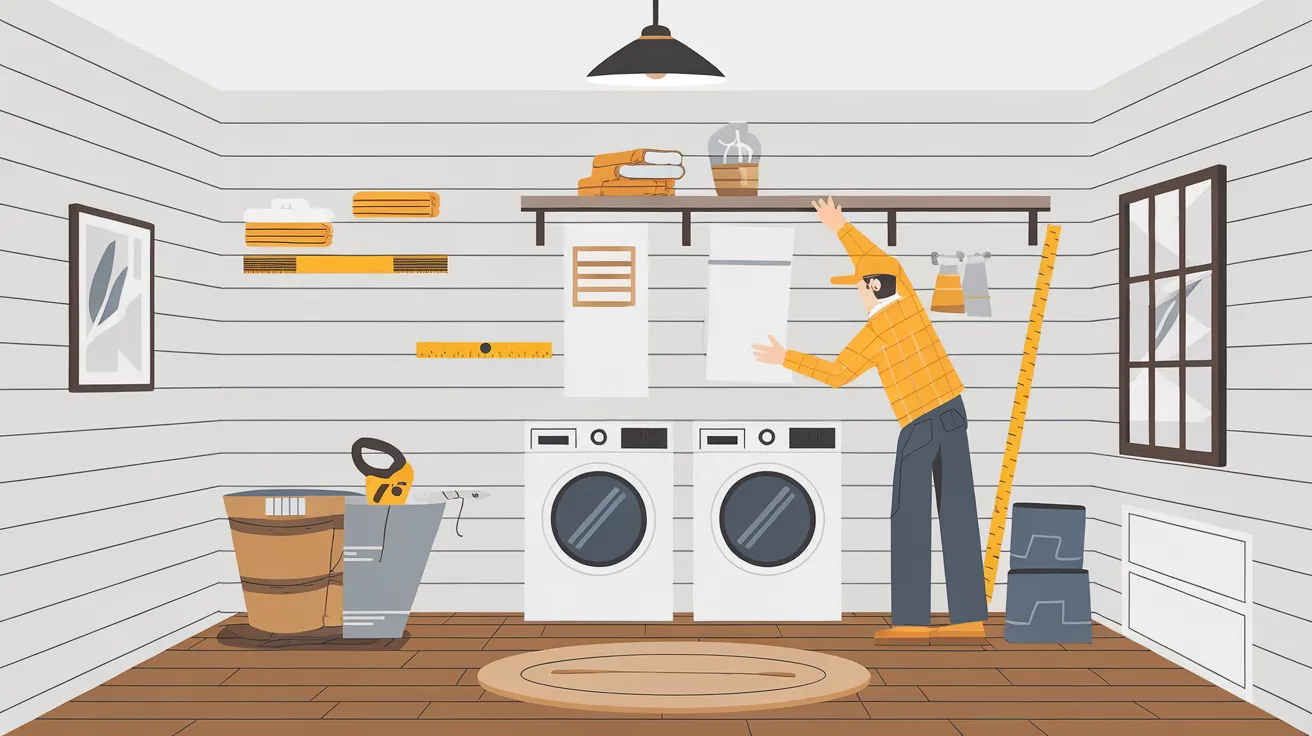
Ready to transform your laundry room with some beautiful shiplap?
We’ve got you covered with this easy-to-follow guide.
Tools and Supplies Needed
Before you start, make sure you have:
- Shiplap boards
- Miter saw or circular saw
- Nail gun or hammer and nails
- Level
- Measuring tape
- Pencil
- Stud finder
- Sandpaper
- Primer
- Paint and paintbrush (if desired)
- Spacers (pennies or tile spacers work great)
Step 1: Preparing the Wall
- Sand your wall to create a smooth surface.
- Then, prime it for better adhesion.
- Measure the wall and mark the stud locations for easy nailing later.
Step 2: Cutting and Installing Shiplap Panels
- Cut your shiplap boards to size using a miter or circular saw.
- Start at the bottom and work your way up, nailing boards into studs.
- Use spacers for even gaps.
Step 3: Painting and Finishing Touches
Once all the boards are installed, it’s time to paint if desired.
- Choose a color that complements your laundry room.
- After painting, step back and admire your handiwork!
Shiplap Alternatives: What’s Best for Your Laundry Room?
Let’s take a look at a few alternatives that can give your laundry room a fresh, unique style without spending a fortune.
1. Wallpaper
Wallpaper is a fun and easy way to add patterns and colors to your laundry room walls.
- Pro: With so many designs available, you can find one that perfectly matches your style.
- Con: Wallpaper can be tricky to install and may not hold up well in humid laundry rooms.
2. Beadboard
Beadboard is a classic choice that adds texture and charm to your walls.
- Pro: It’s relatively inexpensive and can be painted to match any color scheme.
- Con: Installing beadboard can be time-consuming, and it may not be as durable as shiplap.
3. Board and Batten
Board and batten is a timeless look that adds depth and dimension to your walls.
- Pro: It’s a budget-friendly option that you can easily DIY with basic tools and supplies.
- Con: The installation process can be more involved than other alternatives, and it may not provide the same seamless look as shiplap.
Storage and Functional Upgrades with Shiplap Walls
With a few smart upgrades, you can create a space that’s organized, efficient, and a joy to use.
Here are some ideas to get you started!
Built-In Cabinets
Stock cabinets from hardware stores are an easy way to add instant storage.
Give them a custom look with some crown molding and stylish hardware.
Laundry Countertops
A wooden or laminate counter gives you a handy spot for folding clothes.
Install supports using cleats and brackets for a sturdy surface.
Hooks and Hanging Space
Install a coat rack to keep jackets, bags, and laundry essentials tidy.
Use strong hooks screwed into studs for extra support.
Utility Sink Upgrade
A deep sink is perfect for hand-washing delicates and cleaning up messes.
Position it close to your washer for added convenience.
Pros and Cons of Using Shiplap in a Laundry Room
It’s important to consider a few things before making a decision. Let’s talk about some pros and cons.
Shiplap is pretty durable, but it does need some maintenance.
You’ll want to make sure it’s sealed properly to protect it from moisture. Laundry rooms can get pretty humid, so this is key.
Cost-wise, shiplap can be a bit pricier than other wall treatments.
But, if you love the look and are willing to put in a little extra effort to maintain it, it can be totally worth it!
At the end of the day, it’s all about what works best for you and your home.
Consider your budget, your style, and how much upkeep you’re willing to do. If shiplap checks all those boxes, go for it!
Common Mistakes to Avoid
There are some pitfalls most DIYers tend to fall into.
Let us look at some of these mistakes so you can avoid repeating them.
1. Not Sealing or Priming
Properly Skipping the sealing or priming step might seem like a time-saver, but it can come back to bite you.
Moisture can seep in and cause damage, so make sure to seal and prime your shiplap properly.
2. Choosing the Wrong Type of Shiplap
Not all shiplap is created equal! Regular wood might not cut it.
For a high-moisture area like a laundry room, you’ll want to choose a material that can stand up to humidity, like PVC or MDF.
3. Overcrowding the Space with Decor
It’s easy to get carried away with cute laundry room decor, but don’t go overboard.
Too much stuff can make the space feel cluttered and less efficient.
Stick to a few key pieces that add personality without getting in the way.
Final Thoughts
We’ve covered a lot of ground in this blog post, from choosing the perfect shiplap for your laundry room to avoiding common mistakes.
I hope you’re feeling excited and confident about tackling this project!
At the end of the day, whether shiplap is right for your laundry room is up to you.
It’s all about your personal style, budget, and how much maintenance you’re willing to take on. But if you love the look and feel of shiplap, I say go for it!
Don’t be afraid to mix and match styles, add some fun decor, and make the space truly yours.


