DIY Epoxy Countertops: See Before and After Images
Let me walk you through a guide to creating a white marble look using epoxy on your countertops.
I’ll share the materials you need and the step-by-step process I’ve found works best.
This method is cost-effective compared to real marble and gives you control over the final look.
Whether you’re planning a DIY project or just exploring options, this guide will help you understand the process of creating an epoxy countertop.
Guide to creating a white marble countertop using epoxy.
Materials Required
- Epoxy Resin (Base and Clear)
- Silicone (for backsplash installation)
- Full Backsplash Panels
- Paint Roller (for edges and surface)
- Paint Brush (for corners)
- Primer (White or base color for edges)
- Curable Pigments (for colored epoxy)
- Isopropyl Alcohol (91%)
- Powdered Color Pigments (Charcoal, Silver, White Pearl, etc.)
- Torch (for removing air bubbles)
- Skip Trowel (for accent pattern application)
- Putty Knife (for scraping drips)
- Disposable Mixing Containers (for epoxy)
- Stir Sticks (for mixing epoxy)
- Measuring Tools (for precise epoxy mixing)
- Gloves (for protection during the application process)
- Plastic Sheeting (for surface protection)
- Drop Cloths (for surface protection)
1. Prepare the Surface
- Install Full Backsplashes: Attach full backsplashes horizontally using silicone to glue them to the wall.
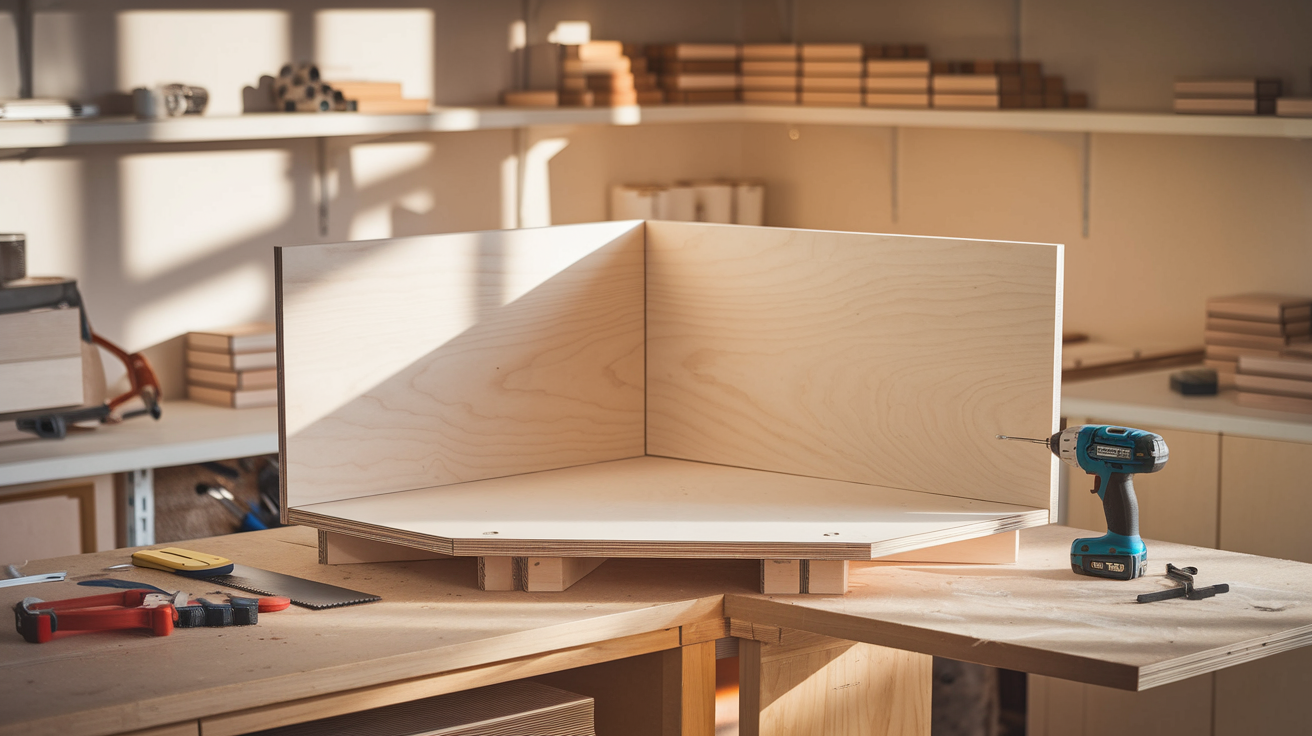
- Fabricate the Countertop: Create the countertop design and structure.
- Pour Epoxy: Pour epoxy to cover the countertop and backsplashes without leaving visible caulking joints for a seamless, clean look.
2. Mix Epoxy Layers
- Base Layer: Pour the first layer of epoxy with base colors.
- Clear Layer: Pour a clear epoxy layer over the base layer to adjust colors for a customized finish.
3. Edge Rolling
- Roll Around the Edges: Use a roller to apply epoxy on the edges to break surface tension and ensure a smooth finish, preventing streaks.
- Level the Epoxy: Roll the epoxy in both directions to create a level and even surface.
4. Priming the Edges
- Prime with White: Prime the edges of the countertop with the base color (white) to ensure it looks perfect, even if the epoxy is a little thin on the edges.
- Use the Same Color: Always prime the edges with the same color as the epoxy.
5. Torching the Surface
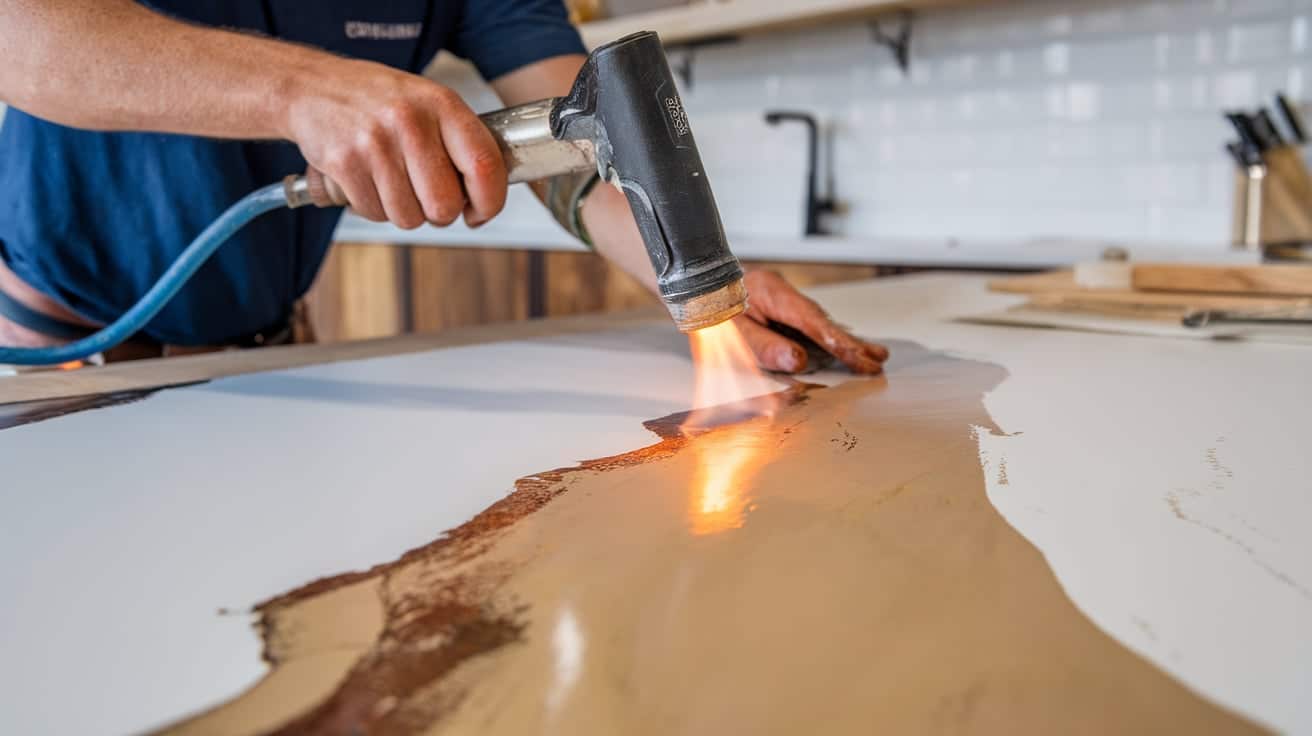
- Torch to Remove Air Bubbles: Lightly torch every square inch of the countertop. Apply the torch at 45-degree angles to ensure even heating and bubble removal.
- Avoid Overheating: Be careful not to overheat the countertop while torching.
6. Spray Accent Colors
- Spray Alcohol Mix: Spray 91% isopropyl alcohol with powdered colors onto the countertop. The alcohol evaporates without leaving any residue.
- Spray in Layers: Start with the most contrasting color (charcoal), then lightly spray a diluted version of silver, and finally, spray white pearl to create depth and contrast.
- Work with a Skip Trowel Pattern: Use a skip trowel pattern to apply the accents smoothly and adjust as needed with lighter colors.
7. Scrape Drips
- Scrape Off Drips: After about two hours of curing, scrape off drips using a putty knife while the epoxy is still runny.
- Continue Scraping: Repeat scraping until the epoxy firms up to avoid sanding later.
8. Final Torch
- Torch Again: Use the torch again to remove any remaining air bubbles, especially after the second clear coat.
9. Apply Second Clear Coat
- Apply Clear Epoxy Coat: Apply a second layer of clear resin over the countertop to level the surface and provide additional protection.
10. Finishing Touches
- Ensure Smoothness: Ensure a smooth surface with no air bubbles or imperfections.
- Let the Epoxy Set: Allow the epoxy to cure and set fully.
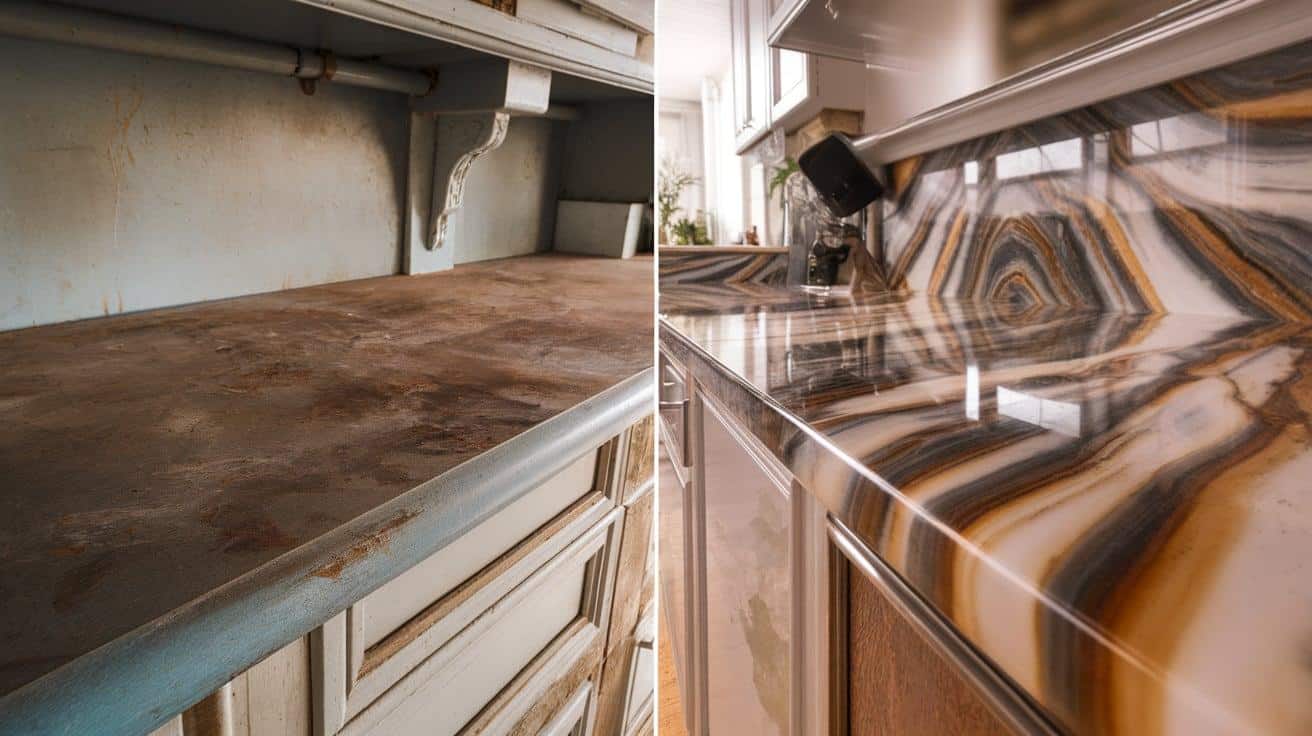
Epoxy countertops before and after images
Is epoxy a durable and long-lasting option for countertops?
Epoxy countertops are durable and long-lasting when properly applied and maintained.
They are somewhat resistant to stains, scratches, and heat, making them a practical choice for kitchens and bathrooms.
However, they can be prone to yellowing over time, especially under UV light, and may scratch or chip if subjected to heavy impact.
Regular maintenance, such as sealing the surface and avoiding harsh chemicals, can help extend the lifespan.
With proper care, epoxy countertops can last many years, providing a cost-effective, stylish option compared to more expensive materials like granite.
What are the costs involved in epoxy countertop installation?
The cost of installing an epoxy countertop typically ranges from $30 to $75 per square foot, depending on factors such as epoxy quality, design complexity, and labor costs.
DIY installation can lower costs to around $20-$50 per square foot, but professional installation ensures a more polished result.
Downsides and Risks of Epoxy Countertops
-
Susceptibility to Scratches and Chips: While epoxy is durable, it can still scratch or chip if subjected to heavy impact or sharp objects.
-
Yellowing Over Time: Epoxy can yellow with prolonged exposure to UV light, especially in areas with direct sunlight.
-
Heat Sensitivity: Epoxy is resistant to moderate heat, but high temperatures (e.g., hot pans) can damage the surface, causing discoloration or warping.
-
Long Curing Time: Epoxy requires a lengthy curing time (up to several days), making it less convenient for quick installation.
-
Periodic Reapplication Needed: Epoxy may need resealing or refinishing over time to maintain its glossy appearance and protect against wear.
-
Difficult to Repair: Once damaged, epoxy can be challenging to repair seamlessly, often requiring a full resurfacing.
-
Chemical Sensitivity: Harsh cleaning products or solvents can damage the surface, causing discoloration or degradation.
Comparison between epoxy, laminate, and granite countertops
| Feature | Epoxy | Laminate | Granite |
|---|---|---|---|
| Durability | Highly durable but prone to scratches and chips | Less durable, can scratch or chip easily | Extremely durable, resistant to scratches and heat |
| Cost | $30-$75 per sq. ft. (DIY or professional) | $10-$40 per sq. ft. | $50-$200 per sq. ft. |
| Maintenance | Requires periodic resealing and gentle cleaning | Low maintenance, but can stain and burn | Low maintenance, sealed regularly to prevent staining |
| Aesthetic Variety | Customizable with different colors and designs | Limited color and pattern options | Natural patterns, limited color options |
| Heat Resistance | Moderate heat resistance, but high temperatures can damage | Low heat resistance, can burn easily | High heat resistance |
| Scratch Resistance | Moderate, can scratch under heavy use | Prone to scratches and burns | Highly scratch-resistant |
| Installation Time | Requires longer curing time (several days) | Quick and easy installation | Professional installation required |
| Longevity | It lasts many years with proper care but may yellow over time | 5-10 years with wear and tear | Can last a lifetime with proper care |
| Environmental Impact | It can be environmentally friendly if using non-toxic materials | Not always eco-friendly, but recyclable | Natural stone, eco-friendly if sourced sustainably |
Summing Up
After trying different methods, I’ve found this approach to epoxy countertops gives reliable results.
While the curing process requires attention to detail and patience, the result can look great if you follow each step carefully.
Remember that proper surface prep and careful epoxy mixing are key to success.
Take your time, especially during the torching and accent color stages. Rushing these steps often leads to problems.
Frequently Asked Questions
Can I apply epoxy over any countertop material?
Epoxy can be applied over most countertop materials like laminate, wood, and concrete, but it requires proper surface preparation to ensure good adhesion and prevent peeling.
How do I fix mistakes or imperfections in epoxy?
To fix mistakes, lightly sand the affected area, clean thoroughly, and apply a new layer of epoxy. You may need to scrape and resurface the entire countertop for deeper flaws.

