DIY Kitchen Backsplash: A Comprehensive Installation Guide
Ever tried to update your kitchen without spending thousands?
I know the pain of staring at those bland kitchen walls. I put off installing a backsplash for months because I thought it needed special skills and expensive tools. The quotes from contractors hurt my wallet.
But something that might surprise you: You can install a stunning backsplash on a weekend.
I’ve broken down the entire process into simple steps anyone can follow. No fancy tools are required—just basic supplies from your local hardware store.
I’ll show you how to transform your kitchen walls from dull to dazzling, saving you hundreds of dollars.
How Much Does It Cost to Create a DIY Kitchen Backsplash?
I know budget matters – let me break down the costs for you. The total expense typically ranges from $100 to $500, depending on your choices and kitchen size.
Here’s what you’ll need to spend on:
Basic Materials:
- Tiles: $3 to $15 per square foot
- Grout: $15 to $25 per bag
- Adhesive: $20 to $30 per bucket
- Spacers: $3 to $5 per pack
Essential Tools:
- Tile cutter: $30 to $50
- Trowel: $10 to $15
- Level: $8 to $12
- Measuring tape: $5 to $10
- Grout float: $8 to $12
Extra Items:
- Safety gear (goggles, gloves): $15 to $25
- Sponges and rags: $5 to $10
- Caulk: $5 to $8
Compare this to professional installation, which costs $500 to $1,500. By doing it myself, I saved about 70% on my kitchen update. Plus, I can use these tools for future projects, too!
A small tip: Check your local hardware stores for sales on tiles. I often find great deals on end-of-line stock.
Benefits of Installing Your Own Backsplash
Taking on your kitchen backsplash project offers more benefits than you might think. Let me share what I’ve learned from my own experience.
Money in Your Pocket
\When I installed my own backsplash, I spent just $300 total – that’s a huge drop from the $1,000 contractor quote.
The best part? I kept all the tools, which came in handy for other home fixes. No need to pay extra for rush jobs either.
Personal Satisfaction
Seeing my finished backsplash brings a smile to my face every morning. It’s not just about having nice walls – it’s about knowing I created this look myself.
When friends visit, they’re surprised to learn I did it alone. That feeling can’t be bought.
Complete Control
Working on my schedule meant I could take time to perfect things. I changed my pattern halfway through when I spotted a better design.
There were no worker schedules to follow, and there was no pressure to finish fast. Each tile went exactly where I wanted it.
Valuable Experience
Learning to install a backsplash taught me more than just tile work. I now understand basic wall construction, proper tool use, and surface preparation.
These skills helped me fix my bathroom tiles last month. Each project makes the next one easier.
Remember: Taking time to do it right beats rushing to get it done. Your kitchen deserves your best effort!
Essential Tools for Installing DIY Kitchen Backsplash
| Tools | Materials |
|---|---|
| Measuring tape | Tiles |
| Notched trowel | Tile adhesive (e.g., mastic) |
| Laser level | Tile spacers |
| Wet saw | Grout (pre-mixed recommended) |
| Tile nippers | Grout sealer (optional) |
| Diamond file | Protective paper or plastic |
| Sponge | Painter’s tape |
| Grout float | Shims (optional) |
Steps to Install a DIY Kitchen Backsplash
Step 1: Measure and Plan the Layout
- Measure the wall area for the backsplash with a measuring tape, noting both the height and width for accuracy. Multiply these measurements to calculate the total square footage.
- Lay tiles on a flat surface (e.g., your countertop) to visualize the pattern and alignment. Pay special attention to areas around windows, cabinets, and electrical outlets to avoid very narrow tile cuts (“slivers”). If needed, adjust the starting point or pattern.
Step 2: Prepare the Surface
- Use a degreaser or soap and water to remove any grease or residue from the wall. Allow it to dry completely.
- If the surface has existing bumps, sand them down and fill any holes with spackle.
- Protect surrounding surfaces by taping painter’s tape at least 1 cm from the wall. Avoid placing the tape directly against the wall edge to make cleanup easier once the tiles are set.
Step 3: Choose and Gather Materials
- Decide on the type of tile based on the overall kitchen design. Ceramic tiles are budget-friendly and versatile, while glass tiles provide a sleek, modern look.
- Ensure the adhesive is compatible with the tiles. Use mastic for ceramics, but avoid it for glass or natural stone tiles. Instead, opt for thin-set mortar for these materials.
- Purchase high-quality spacers and confirm their size (smaller tiles usually require smaller spacers). Get extras to avoid running out mid-project.
Step 4: Apply the Adhesive
- Use the flat side of a notched trowel to spread the adhesive evenly over a section of the wall. Start with a manageable area (e.g., enough for 2–3 rows of tiles).
- Switch to the notched side to create ridges in the adhesive. Hold the trowel at a consistent 45-degree angle for even application, as these ridges help ensure strong bonding.
Step 5: Install the Tiles
- Start tiling from a pre-measured center point or at the most visually prominent area of the backsplash, such as above the stove.
- Press each tile into the adhesive gently, twisting it slightly to ensure full coverage and adhesion.
- Use spacers between each tile for uniform grout lines and check the alignment periodically with a laser level. Adjust tiles immediately if they shift.
Step 6: Cut Tiles as Needed
- Measure the required dimensions directly on the tile for areas around outlets, switches, or edges. Mark cut lines using a pencil or marker.
- Use a wet saw for straight cuts and a tile nipper for notches or intricate adjustments. Smooth the cut edges with a diamond file for a clean finish to avoid sharp edges.
- If cutting tiles for corners or tight spaces, dry-fit them before applying adhesive to ensure accuracy.
Step 7: Grout the Tiles
- Allow the adhesive to cure fully (typically 24 hours) before grouting.
- Apply pre-mixed grout using a rubber grout float. Press firmly to fill the spaces between tiles, moving diagonally across the grout lines to avoid pulling out the grout.
- Wipe excess grout from the tile faces with the edge of the float at a 45-degree angle.
Step 8: Clean and Shape Grout Lines
- After the grout has started to firm up (check manufacturer recommendations), use a damp sponge to gently wipe away the haze from the tile surface. Be careful not to remove grout from the joints.
- Shape the grout lines for a professional look using a rounded tool, popsicle stick, or your finger. Ensure joints are smooth and even.
- Frequently rinse the sponge in clean water to avoid spreading grout residue.
Step 9: Seal and Finish
- Once the grout has dried (typically 24-48 hours), clean the backsplash with a soft cloth to remove any remaining haze or dust.
- Apply grout sealer, especially in kitchens where moisture and stains are common. Follow the application instructions and allow sufficient drying time.
- Remove the protective coverings from countertops and edges, and inspect your work for necessary touch-ups.
For a detailed tutorial on how to install DIY Kitchen Tile Backsplash, check out the video below:
How to Maintain DIY Kitchen Backsplash?
- Wipe down tiles with warm water and mild soap daily to prevent grease buildup.
- Clean grout lines with a soft brush once a month to keep them bright.
- Use vinegar and water solution for tough stains but avoid harsh cleaners.
- Check for loose tiles every six months and fix them right away.
- Seal grout lines yearly to block water and stains.
- Keep cooking oils away from unsealed areas of the backsplash.
- Test cleaning products on a small hidden spot first.
- Remove splashes and spills quickly to prevent staining.
- Skip abrasive pads that might scratch the tile surface.
- Apply grout sealer in hidden spots first to check color changes.
- Keep a few extra tiles stored for future repairs.
Photos of Completed DIY Backsplash Projects
Looking at other people’s successful projects helped me plan mine better. Let me show you some standout backsplash designs I’ve collected:
Classic Subway Style
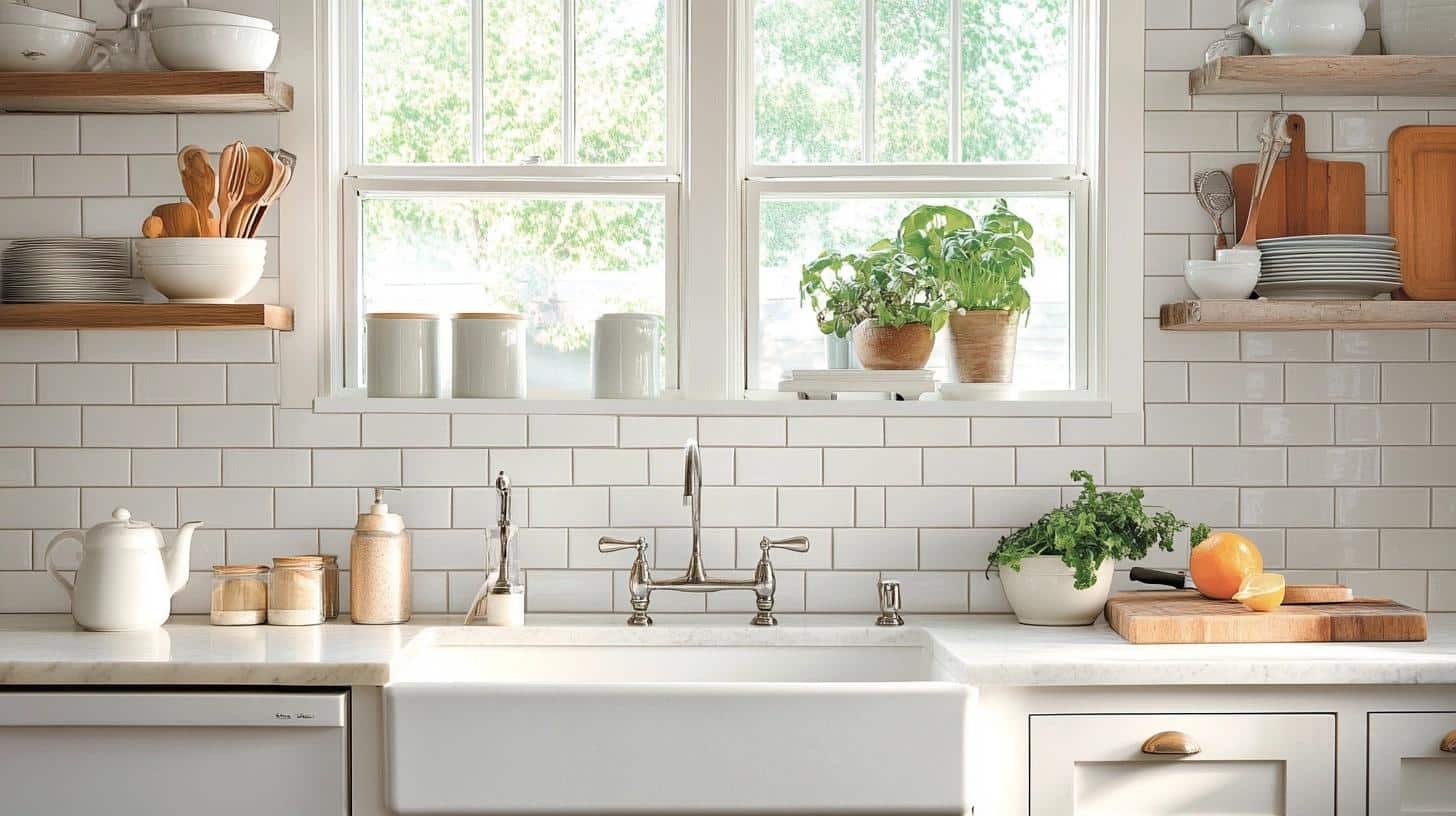
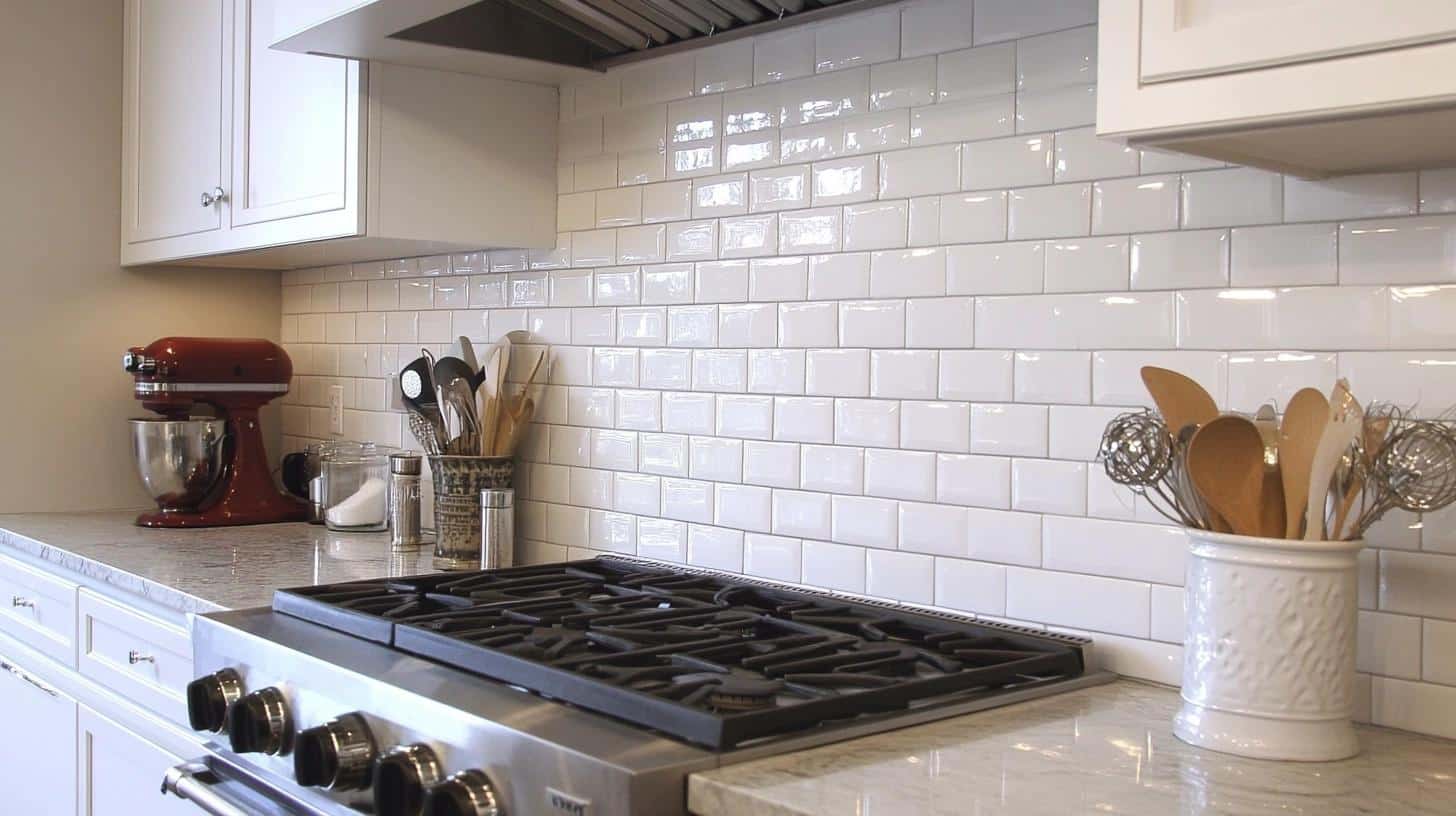
Sarah’s cottage kitchen shows how simple can be stunning. The white subway tiles bring a fresh look that catches morning light perfectly. Here’s what made her project work:
- Total project cost: $200
- 40 square feet of white subway tiles ($120)
- Setting materials and tools ($80)
Key Success Points:
- Weekend 1: Prep and layout planning
- Weekend 2: Installation and grouting
- Used a straight lay pattern for faster installation
- Added light gray grout to highlight tile shape
Sarah’s Tips:
- Start in the center and work outward
- Keep tiles level as you go
- Use spacers between every tile
- Clean grout haze right away
Mixed Materials
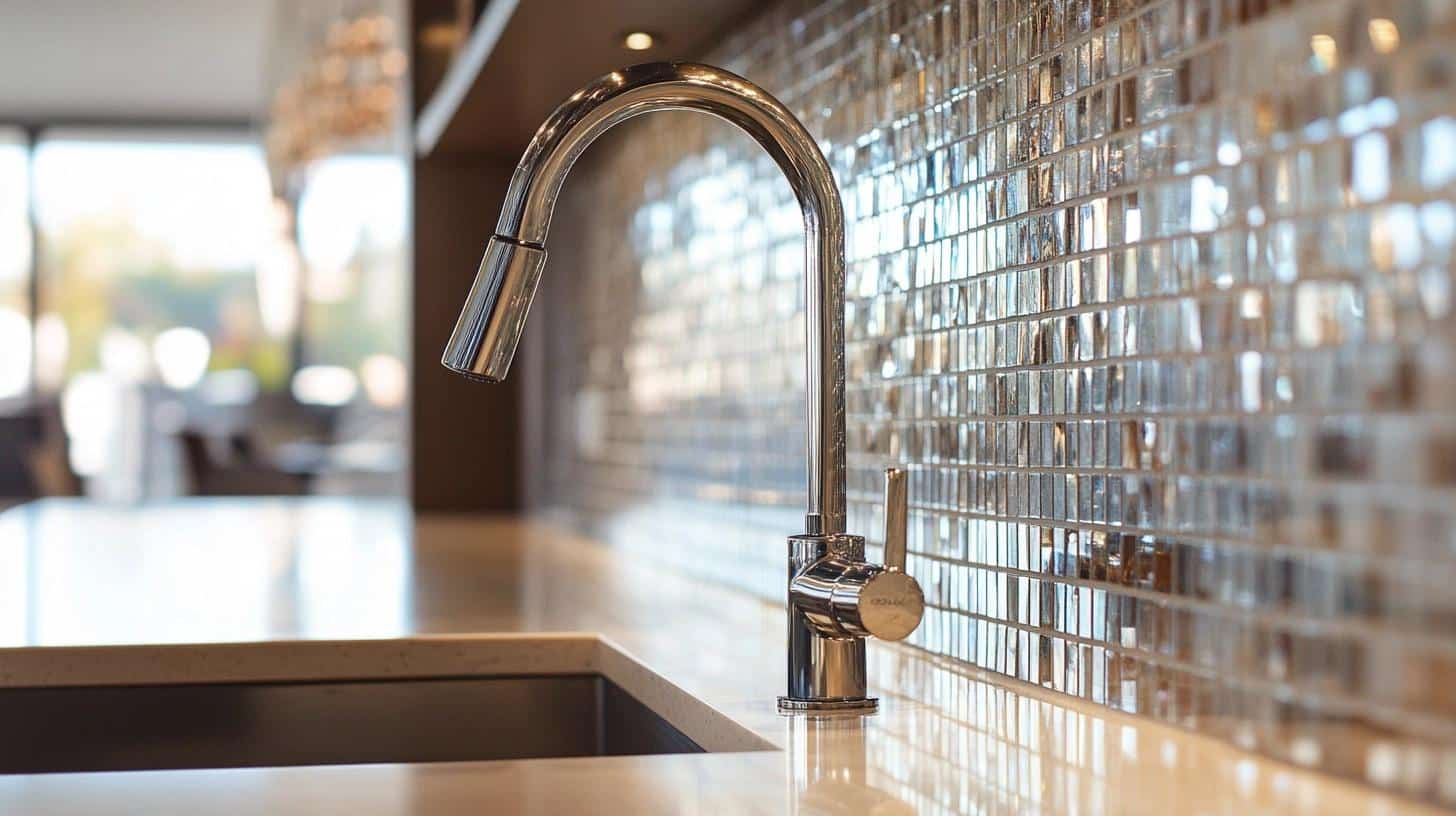
Tom’s modern kitchen proves that mixing tiles creates visual interest. His glass and ceramic combo brings depth without looking busy. Here’s his approach:
Project Breakdown:
- Glass tiles: $200
- Ceramic accents: $100
- Tools and supplies: $50
- Total savings: $800
Smart Choices:
- Tested combinations with sample pieces
- Mapped out pattern transitions
- Used clear silicone for glass tiles
- Picked matching grout color
Geometric Patterns
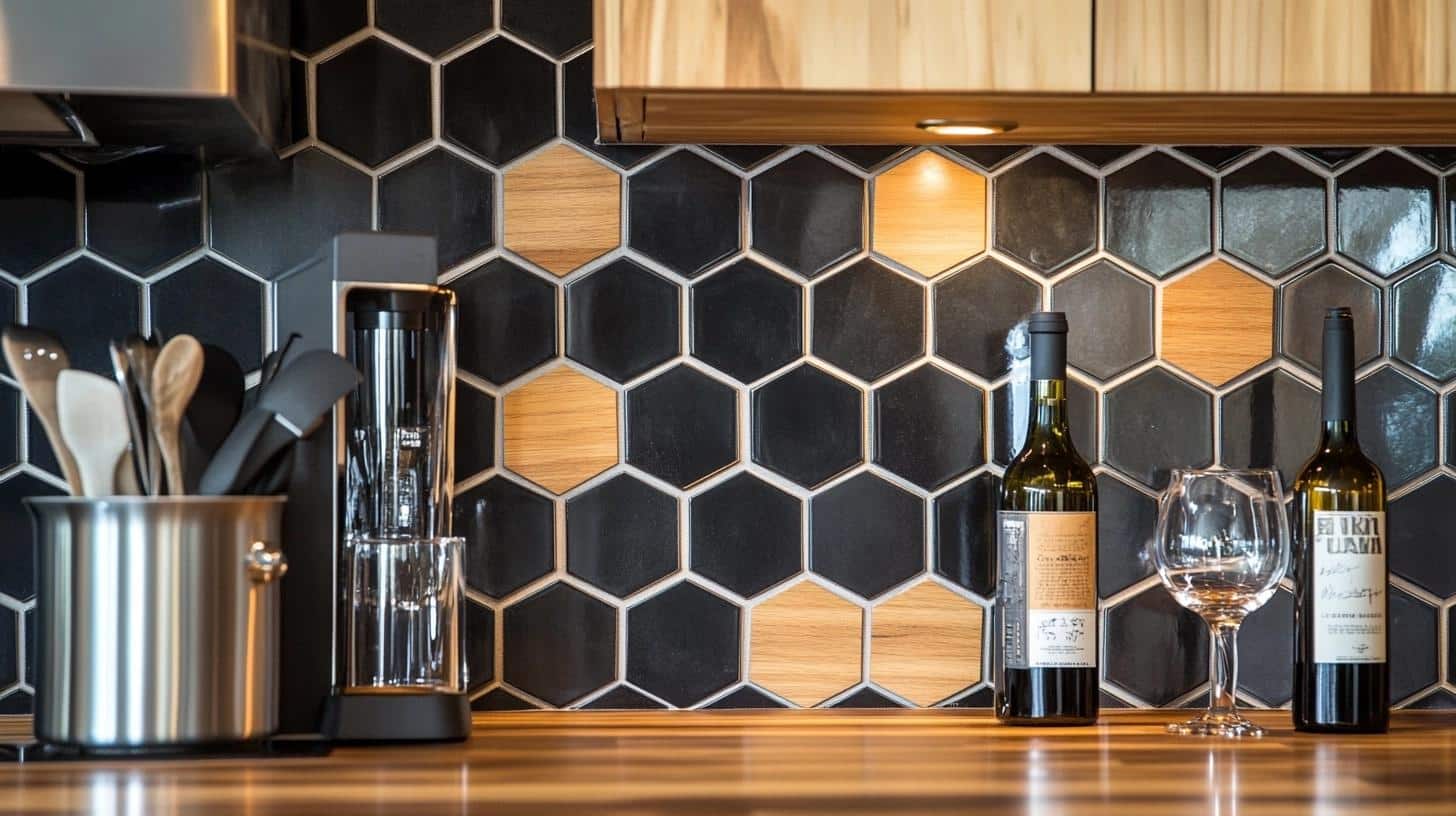
Linda’s hexagon design turns her backsplash into a focal point. She planned each step carefully before starting:
Design Process:
- Drew full-size pattern on kraft paper
- Counted exact tiles needed
- Marked center points on wall
- Created cardboard templates
Cost Breakdown:
- Hexagon tiles: $175
- Setting materials: $60
- Tools: $40
- Total: $275
Installation Tips:
- Start from the bottom center
- Use laser level for straight lines
- Cut edge tiles all at once
- Take photos for future reference
These real projects show that good planning and attention to detail pay off. Each one brings its style while staying within budget.
Wrapping It Up
A successful backsplash project requires planning, patience, and the right tools. I started this guide feeling nervous about DIY tiling, just like you might be now.
But after helping many readers complete their projects—from backsplashes to storage benches—I know you can do this, too.
Today’s steps will save money and give you skills for future home projects. In fact, next week, I’ll show you how to build a storage bench that perfectly matches your new backsplash. Your kitchen deserves personal touches that make it special.
Ready to start your backsplash project? Gather all materials first, take your time with measurements, and follow each step carefully. There is no need to rush—good work takes time.
Want to share your progress or have questions? Leave a comment below. I’d love to see your kitchen’s new look and help you along the way!

