Your Complete Bathroom Remodel Checklist
Ready to update your bathroom? Every successful renovation starts with a solid plan. Your bathroom is where you begin and end each day, so it should work perfectly for your needs.
Many homeowners feel overwhelmed when starting a bathroom update. Questions about costs, timelines, and where to begin can stop projects before they start. We understand these concerns.
This guide walks you through every phase of your bathroom renovation. We’ll help you avoid mistakes and make smart choices. You’ll find clear steps to follow, from budget planning to final touches.
Whether you’re looking to fix a few items or plan a full remodel, this checklist keeps you on track. Let’s create a bathroom that improves your daily routine.
Ready to begin? Let’s get started.
Setting Your Bathroom Remodel Goals
Before picking tiles or browsing fixtures, consider why you want to update your bathroom. Look at your current space and note what bothers you each day. Is it limited storage? The poor lighting? Or maybe the outdated look?
Writing down these pain points helps create a clear plan for your project.
Your bathroom should perfectly serve your needs. Some people want a calming space for long baths after work, others need a practical layout for busy morning routines, and some need better lighting for grooming tasks. Your specific needs will shape every decision in your remodel.
Budget Planning
A well-planned budget helps prevent financial stress during your bathroom update. On average, a bathroom remodel costs between $5,000 and $10,000, but your total will depend on your goals and choices.
Here’s a basic cost breakdown for a standard bathroom remodel:
| Item | Percentage of Budget | Typical Cost Range |
|---|---|---|
| Labor | 40-45% | $2,000-4,500 |
| Fixtures | 15-20% | $750-2,000 |
| Cabinetry/Storage | 15-20% | $750-2,000 |
| Plumbing | 10-15% | $500-1,500 |
| Tile/Flooring | 10-15% | $500-1,500 |
| Lighting | 5-10% | $250-1,000 |
Hidden Costs to Expect
Many homeowners face surprise expenses during their remodels. Water damage often hides behind old tiles, and you might find it only after starting the project. Set aside extra money for these possible issues.
Many people are surprised by permit fees. Check with your local office about required permits and their costs. You’ll need these before starting work, especially for plumbing changes.
Old homes might need electrical updates to meet current codes. An outdated electrical system could add several hundred dollars to your project. Have an electrician check your wiring before starting.
Planning the Layout and Design
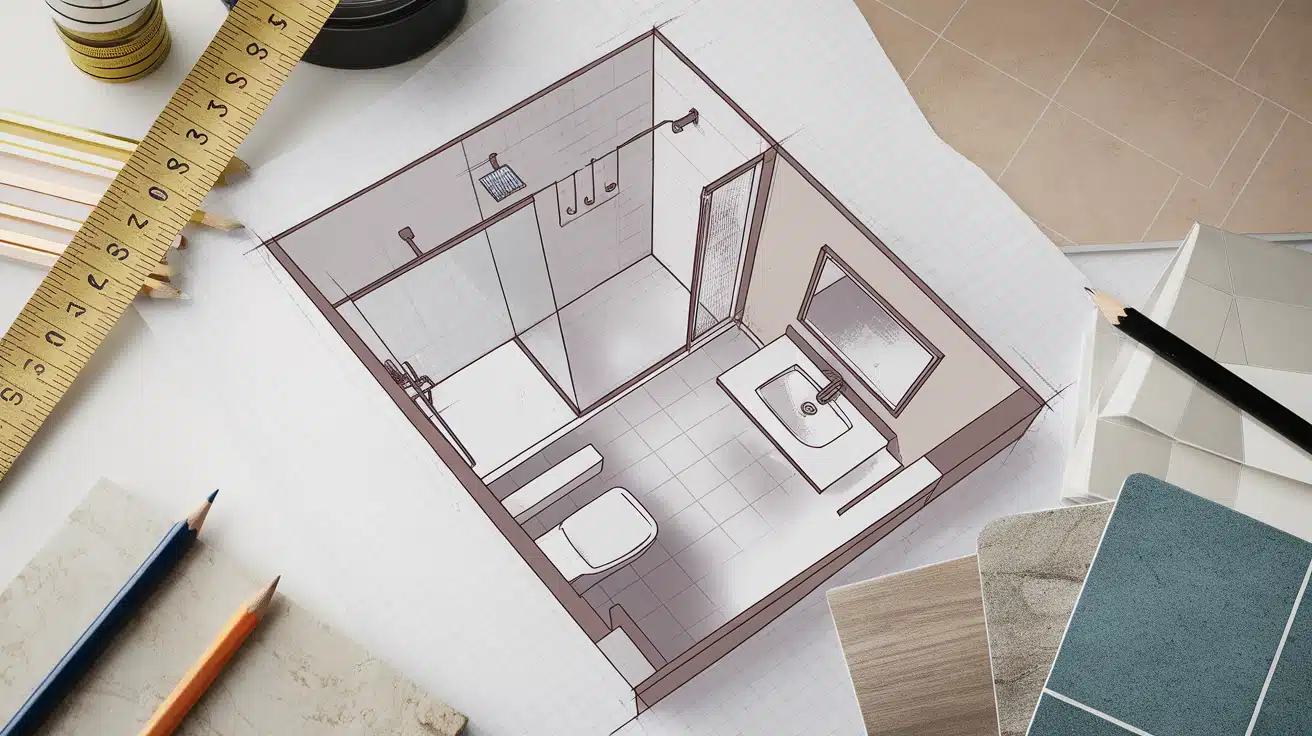
Assessing Your Current Space
Look at your bathroom as it stands today. Measure the room’s length, width, and height. Note that window and door spots affect where you can place fixtures. Check the condition of your walls and floors, too. This helps spot potential issues early.
Know your limits. Pipes and load-bearing walls might restrict changes. Windows near wet areas need proper waterproofing. Make notes of these fixed points. Good planning now saves headaches later.
Design Considerations
Start with daily habits. Think about your morning routine. Where do you need storage? How much counter space works best? Your answers shape the perfect layout.
Consider traffic flow. Leave enough room to move easily. A good rule: keep 30 inches in front of fixtures. This makes the space comfortable to use. Think about door swings too – they need clear paths.
Storage needs vary by family. Count your items: towels, toiletries, cleaning supplies—plan spaces for each category. Built-in shelves and cabinets keep things tidy without taking extra floor space.
Choosing Materials and Fixtures
Selecting Durable Materials
Bathroom materials face tough conditions. Water, heat, and cleaning products test their strength daily. Choose items made for wet areas. Look for water-resistant options that last.
Floors need special attention. Pick materials that prevent slips when wet. Textured tiles work well. Make sure grout lines offer good grip, too. Quality installation matters as much as material choice.
Fixture Selection
Test fixtures before buying. Turn knobs, check the water flow. Good fixtures feel solid and work smoothly. Visit showrooms to try different options. This hands-on experience helps avoid costly mistakes.
Think about maintenance. Simple designs often work better long-term. Fewer parts mean fewer things to fix. Choose classic styles – they stay appealing longer than passing trends.
Comprehensive Bathroom Remodel Checklist
Use this step-by-step checklist to track your bathroom remodel. Print it out or save it on your phone to check off items as you complete them.
Before Starting ✓
- Get necessary permits from local authorities
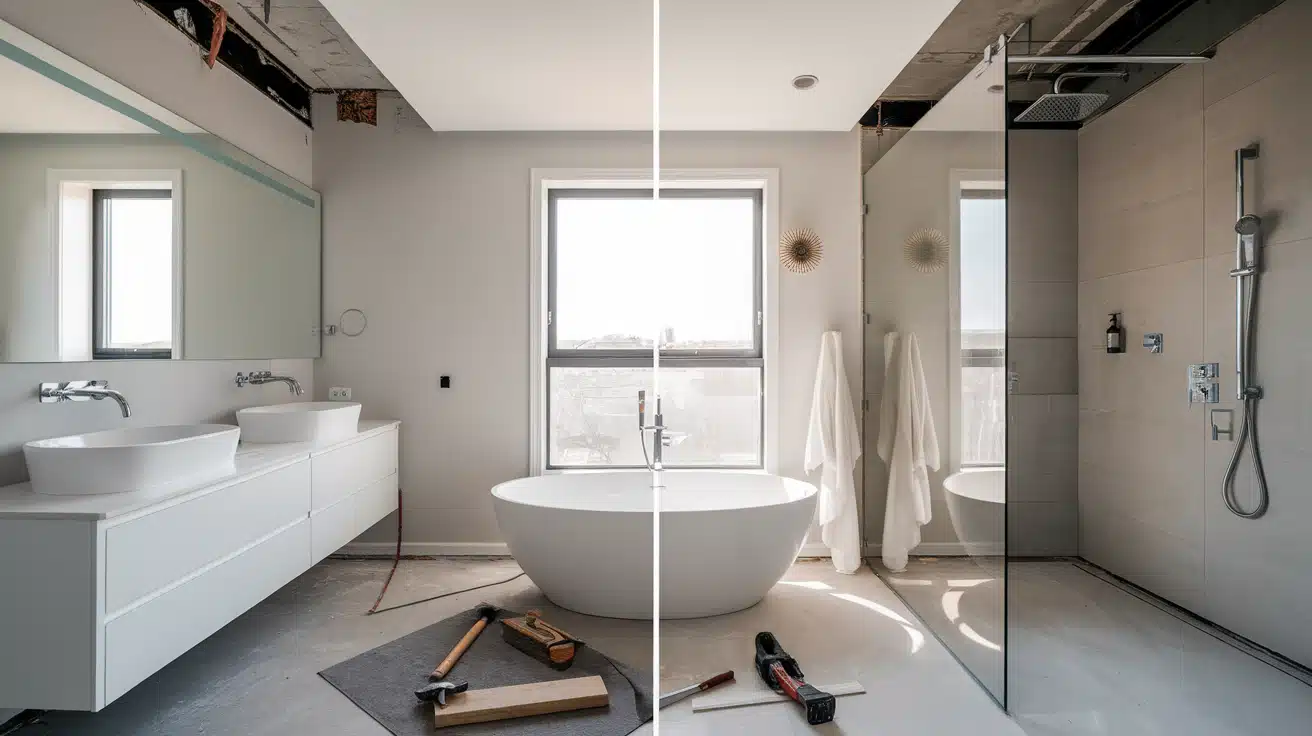
- Take “before” photos for reference
- Order all materials and confirm delivery dates
- Create a temporary bathroom plan
- Clear bathroom of all personal items
- Set up dust barriers
- Cover floors in walkways
- Verify home insurance coverage
Safety Setup ✓
- First aid kit on site
- Fire extinguisher nearby
- Safety glasses and dust masks
- Non-slip work shoes
- Proper ventilation equipment
- Covered trash bins
- Warning signs for work area
Demolition Phase ✓
- Turn off the water supply
- Shut off the electrical to the bathroom
- Remove old fixtures
- Remove tiles and flooring
- Check for water damage
- Check for mold
- Inspect wall and floor structure
Rough-In Work ✓
- Update plumbing lines
- Install new electrical wiring
- Add blocking for towel bars
- Install shower/tub rough-in
- Update ventilation
- Schedule inspection
- Take photos of wall interiors
Walls and Floors ✓
- Install cement board
- Waterproof shower area
- Level floor surface
- Install floor heating (if planned)
- Lay floor tiles
- Install wall tiles
- Apply grout
- Seal all tile work
Fixture Installation ✓
- Install bathtub/shower
- Place vanity and sink
- Mount toilet
- Install light fixtures
- Add exhaust fan
- Install mirrors
- Mount cabinet hardware
- Test all plumbing fixtures
Final Touches ✓
- Paint walls
- Install trim
- Add towel bars
- Mount toilet paper holder
- Install shower door/curtain
- Add cabinet pulls
- Place bath accessories
Quality Check ✓
- Test water pressure
- Check for leaks
- Verify proper drainage
- Test all electrical outlets
- Check ventilation
- Inspect caulking
- Confirm cabinet alignment
- Test door and drawer function
Final Steps ✓
- Deep clean all surfaces
- Take “after” photos
- File warranty papers
- Save extra materials
- Schedule final inspection
- Update home insurance
Pro Tip: Keep this checklist in your project folder. Mark off items as you complete them and note any issues that need attention.
Remember: Some tasks might need professional help. Always check local codes and get proper permits before starting work.
Deciding Between DIY and Hiring Professionals
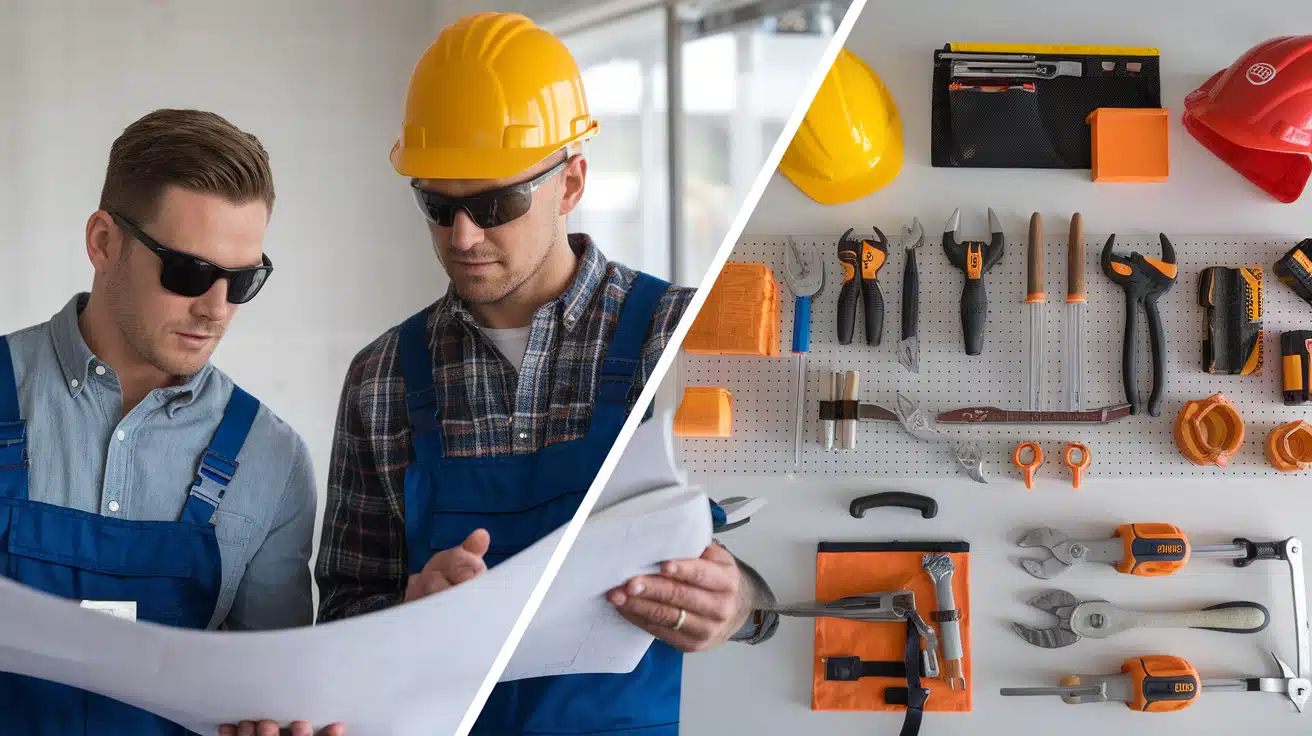
Evaluating Your Skills
Think about your hands-on experience. Have you tackled home projects before? Basic tasks like painting or changing fixtures might suit a DIY approach. But complex jobs need special skills.
Here’s a quick guide to help you decide:
| Task Type | DIY Suitable? | Risk Level | Required Skills | Average Time |
|---|---|---|---|---|
| Painting | Yes | Low | Basic | 1-2 days |
| Changing Fixtures | Yes | Medium | Intermediate | 2-4 hours per fixture |
| Tiling | Maybe | Medium | Advanced | 3-5 days |
| Plumbing | No | High | Professional | 2-3 days |
| Electrical | No | High | Professional | 1-2 days |
| Structural Changes | No | Very High | Professional | 5-7 days |
Plumbing and electrical work often require permits and inspections. Mistakes here can cause serious problems. Water damage from poor plumbing could cost thousands to fix, and bad wiring poses safety risks. Consider these risks when planning your project.
Time matters, too. A pro might finish in a week, which takes you a month. Factor in your available time and how long you can manage without the bathroom. Remember, half-finished projects cause stress and disruption.
Hiring the Right Professionals
Start your search for contractors early. Good ones often book months ahead. Ask friends for names. Look at online reviews, but read them carefully. Focus on detailed reviews that mention specific experiences.
Compare professional services:
| Service Type | Expected Cost Range | What to Look For | Red Flags |
|---|---|---|---|
| General Contractor | $50-100/hour | Licensed, insured, references | No physical address, cash only |
| Plumber | $45-150/hour | State certification | Reluctance to pull permits |
| Electrician | $50-100/hour | Current license | No insurance proof |
| Tile Setter | $40-90/hour | Portfolio of work | No written contract |
| Designer | $50-200/hour | Previous bathroom projects | Unclear pricing structure |
Meet at least three contractors. Each should visit your home and provide written estimates. Watch how they assess the space. Good contractors ask questions about your needs and point out potential issues.
Get everything in writing. A good contract includes:
- Start and end dates
- Payment schedule
- Material choices
- Work hours
- Clean-up plans
- Warranty details
Talk about communication plans. How will they update you? Who handles problems? Clear paths for questions help prevent misunderstandings.
Pick someone you trust. You’ll work closely with them during the project. Good communication matters as much as technical skills.
Conclusion
A bathroom remodel requires time, effort, and careful attention to detail. Your project’s success depends on good planning and following the right steps.
Keep this checklist handy as you work through your renovation. Refer back to it often, especially when making key decisions about materials, contractors, or timelines. Remember that careful preparation leads to smooth execution.
Your updated bathroom will serve you well for years to come. The time you spend planning now helps create a space that meets your needs and adds value to your home. Focus on quality work, sensible material choices, and proper installation methods.
With the right approach and this guide, you’re well-prepared to create a bathroom that perfectly fits your lifestyle.

