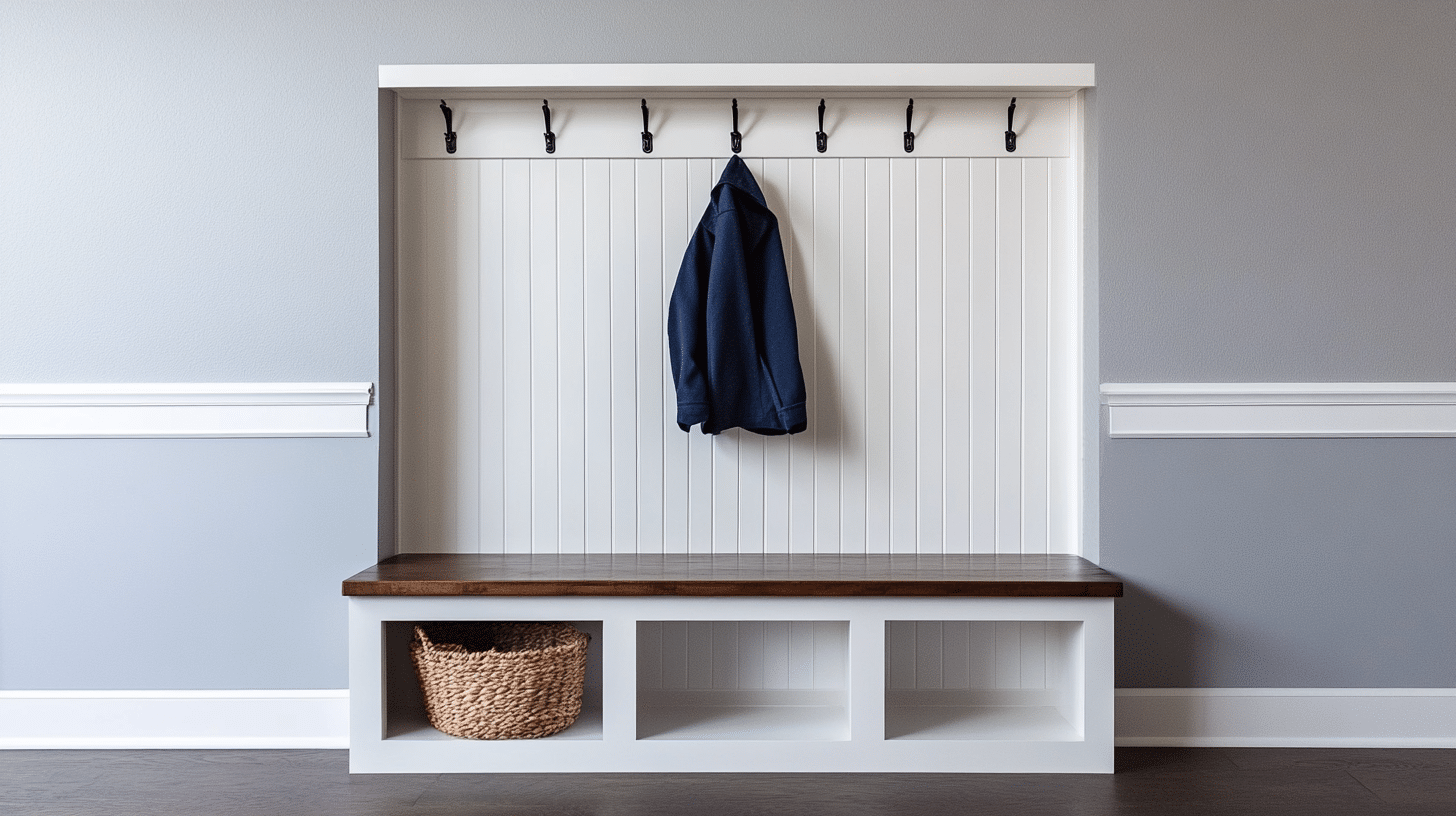
The Ultimate Step-by-Step Guide for DIY Hall Tree
Building a DIY hall tree brings style and order to your home’s entrance. Like many home projects, this one started when a friend asked me to make a hall tree for his wife. The result? It is a beautiful piece that cost half the store price.
This guide walks you through making a DIY hall tree that fits your space and needs. You’ll learn to build a 7-foot-tall unit with plenty of storage, coat hooks, and a comfy bench. The best part? You can finish this project over the weekend.
Ready to create something special for your home? Let’s build a DIY hall tree that looks store-bought but comes with the satisfaction of saying, “I made this myself.”
What Exactly is a Hall Tree?
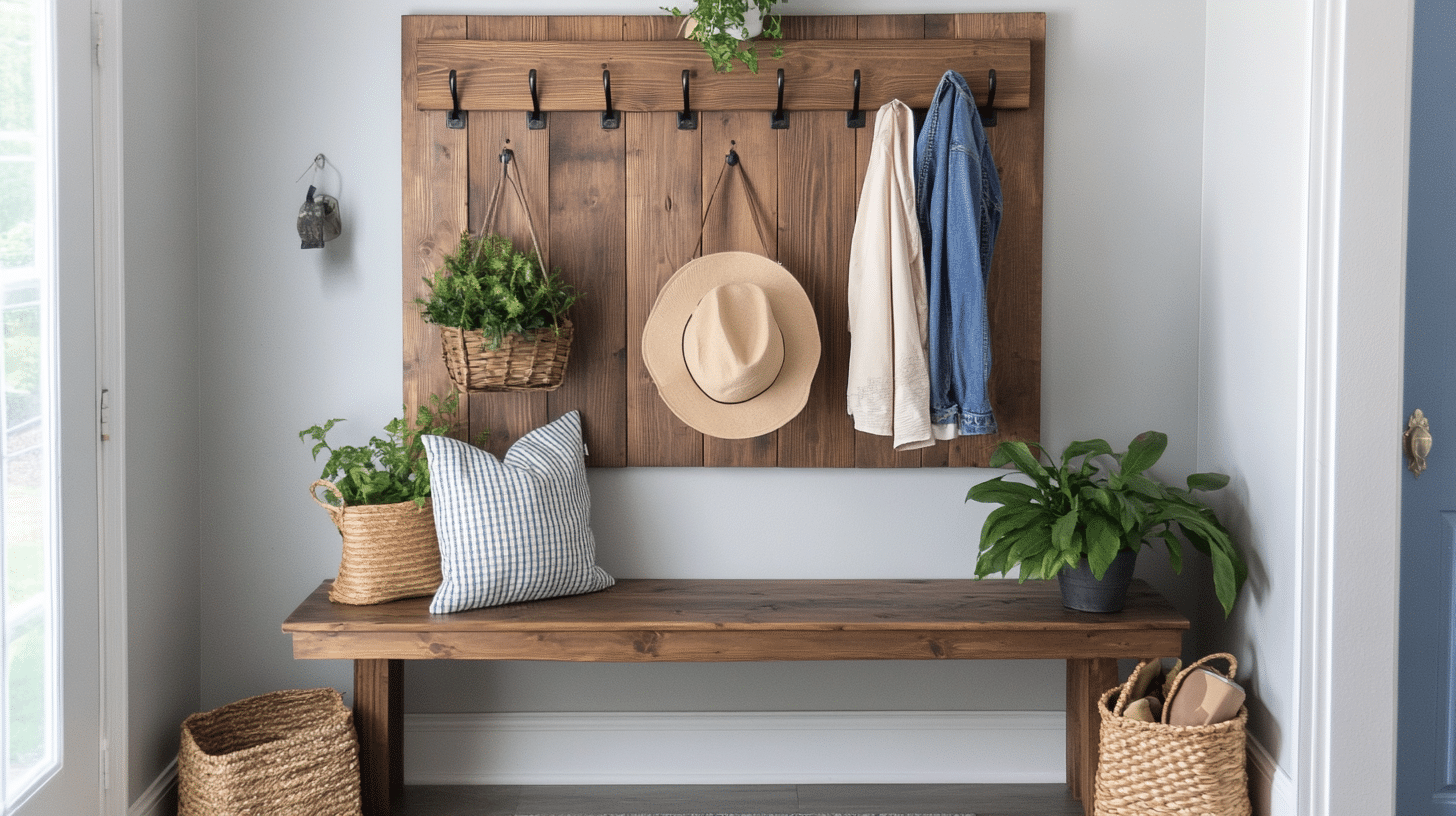
A hall tree serves as your home’s greeting station. Think of it as a mix between a coat rack and an entry bench. Most hall trees include hooks for coats, a bench for sitting, and storage space for shoes and daily items.
When you make a DIY hall tree, you can add features that match your daily routine.
A Brief History
Hall trees first appeared in homes during the Victorian era as simple coat stands. These wooden stands held visitors’ hats and coats. Today’s DIY hall tree designs mix old-world charm with modern needs.
They’ve grown from basic coat racks into useful storage hubs that look good in any home.
Why DIY? The Added Value of Building Your Own
Making your DIY hall tree lets you control every detail. You pick the height of the hooks, the width of the bench, and the amount of storage. Want extra hooks for the kids’ backpacks? You can add them. Need a taller shelf for winter boots? You can build it.
The money saved through DIY hall tree projects can be substantial. Store-bought hall trees often cost hundreds of dollars.
When you build one yourself, you might spend less than half that amount on materials. Plus, the joy of greeting guests with “I built this myself” makes every hour of work worth it.
Each DIY hall tree tells a story – your story. It stands as proof of your skills and fits your space perfectly. The time you spend planning and building creates a piece that suits your family’s needs.
The DIY Journey: Building Your Hall Tree
Preparation: Gathering Your Tools and Materials
| Materials | Quantity | Estimated Cost |
|---|---|---|
| 1/2-inch plywood | 2 sheets | $45-55 each ($90-110) |
| 1x4x8 pre-primed boards | 3 pieces | $12-15 each ($36-45) |
| 1x3x8 pre-primed board | 1 piece | $10-12 |
| 1x2x8 pre-primed boards | 6 pieces | $8-10 each ($48-60) |
| 2-1/4 inch primed pine wood casing | 1 piece | $15-20 |
| Primed 8-foot quarter round | 1 piece | $8-10 |
| 1x16x6 edge-glued pine shelving board | 1 piece | $25-30 |
| Paint and stain | 1 set | $40-50 |
| Wood glue | 1 bottle | $5-8 |
| Finish nails | 1 box | $4-6 |
| Coat hooks with screws | 4-6 pieces | $3-5 each ($12-30) |
| Total Materials Cost | $293-391 |
| Tools (If Needed to Purchase) | Estimated Cost |
|---|---|
| Pocket hole jig | $25-40 |
| Power drill | $50-80 |
| Circular saw | $60-100 |
| Measuring tape | $5-10 |
| Level | $10-15 |
| Iron (if not owned) | $15-25 |
| Paintbrushes set | $15-20 |
| Putty knife | $5-8 |
| Caulk gun | $5-10 |
| Sandpaper assortment | $10-15 |
| Total Tools Cost | $200-323 |
Step 1: Material Preparation
Start your DIY hall tree project by cutting the plywood pieces. For a 7-foot-tall hall tree, cut the back panel to 68 inches, adding to your 16-inch bench height. Cut the bottom piece to 14 inches deep and 47 inches wide for proper fit against the wall.
Step 2: Crafting the Face Frames
Begin with the frames for the top and bottom cubbies. Use pre-primed 1x2s for most parts and a 1×3 for the top cubby’s frame. Connect pieces using a pocket hole jig and wood glue for clean, strong joints. This method hides screws and creates a neat finish.
Step 3: Assembling the Cubbies
Build both upper and lower cubby sections with wood glue and finish nails. Place the bottom panel flush with the opening. This helps items slide in and out smoothly. Make sure all joints are tight and square for stability.
Step 4: The Foundation – Bench Base
Create your bench base at 16 inches high. Use the edge-glued pine board for the seat top, cutting it to 50 inches for a one-inch overhang on each side. This gives your DIY hall tree a professional look while providing comfortable seating.
Step 5: Applying Edge Banding
Cover exposed plywood edges with veneer edge banding. Heat the banding with an iron over parchment paper to activate the glue. Trim excess carefully for smooth edges that look like solid wood.
Step 6: Trims and Reinforcements
Add 1×4 boards vertically on both sides of the back panel. Install 1x2s vertically between them. Place a 1×4 horizontally for mounting hooks. Add small braces from the 1x4s to the cubbies for extra support and style.
Step 7: Custom Engravings and Finishes
Before final assembly, add any personal touches to your DIY hall tree. For the bench seat, apply furniture butter or wood oil. Let it soak for 24 hours, then buff away excess. This protects the wood and creates a smooth, lasting finish.
Step 8: Painting Your Hall Tree
Start with careful preparation:
- Fill all nail holes with wood putty.
- Sand smooth once dry.
- Apply the first coat of cabinet-grade paint for the trim.
- Let dry completely.
- Add a second coat for full coverage.
Choose white paint for trim areas and a darker stain for the bench top to create visual interest.
Step 9: Installing Accessories
Mount coat hooks on the horizontal board. Use shorter screws (about 3/4 inch) to prevent them from poking through the back panel. Space hooks evenly across the board for balanced looks and function.
Step 10: Bench Top Installation
Secure the bench top using this method:
- Apply strong adhesive around the base perimeter.
- Spray the activator on the bench bottom.
- Place top carefully – it sets in 20-25 seconds.
- Add finish nails for extra security.
Step 11: Final Assembly
Put all the pieces together:
- Set the base unit against the wall.
- Add the upper cubby section.
- Check for level and plumb.
- Secure to wall studs for stability.
Step 12: Finishing Touches
Complete your DIY hall tree with these final steps:
- Add quarter-round molding at the base.
- Caulk all seams and joints.
- Touch-up paint where needed.
- Fill and paint any visible screw holes.
For a more detailed tutorial, check out this YouTube video on how to build a hall tree!
Expert Tips and Tricks for DIY Hall Tree
Beginner-Friendly Advice
Start your DIY hall tree project with good planning. Measure twice, cut once – this old saying saves time and materials. Label all your pieces after cutting to avoid mix-ups during assembly.
When joining pieces:
- Apply wood glue before adding nails
- Wipe excess glue right away with a damp cloth
- Let glued joints dry for 30 minutes before moving on
- Use a speed square to check for 90-degree angles
For smooth edges:
- Sand in the wood grain’s direction
- Start with coarse paper, then move to finer grits
- Remove all dust between coats of paint
Tool Handling and Safety
Keep yourself safe while building your DIY hall tree:
- Wear safety glasses when cutting or drilling
- Use ear protection with power tools
- Work in a well-lit, ventilated space
- Keep your workspace clean and organized
- Unplug tools when changing bits or blades
- Never wear loose clothing near spinning tools
When using power tools:
- Let the tool reach full speed before cutting
- Don’t force the cut – let the tool do the work
- Keep all guards in place
- Check for damaged cords or parts before use
Maintenance and Care
Keep your DIY hall tree looking fresh:
- Clean surfaces monthly with furniture polish
- Tighten hooks and hardware every few months
- Fix scratches quickly to prevent wear
- Keep the bench top sealed against moisture
- Check wall mounting yearly
- Touch up paint as needed
For heavy use areas:
- Add felt pads under often-moved items
- Place a small rug near the bench to catch dirt
- Use coat hangers to prevent hook wear
- Keep cleaning supplies nearby for quick wipe-downs
Conclusion
Making your hall tree offers more than a place to hang coats. Now that you’ve seen each step, you understand how simple wood pieces come together to form a useful home addition.
This DIY hall tree project shows that creating custom furniture doesn’t require years of woodworking skills. With basic tools, careful measurements, and patient attention to detail, you can build something that serves your family well.
Remember, your first DIY hall tree might take extra time as you learn each step. That’s perfectly fine. Focus on accuracy over speed, and double-check your measurements. The result will be a solid, practical piece that greets your guests and organizes your space.
Your home deserves furniture that matches your needs. A DIY hall tree does that while adding your personal touch to every detail.

