Easy DIY Gnome Crafts: A Beginner’s Complete Guide
Small in size but big on charm, handmade gnomes have captured the hearts of craft enthusiasts worldwide.
With their pointy hats and fluffy beards, these impulsive figures bring warmth and personality to any space throughout the year.
From Christmas decorations to springtime companions, gnomes adapt to every season and celebration.
Their simple design suits crafters of all skill levels and offers endless options for personal touches and creative expression.
This guide will explain everything you need to know about creating your gnome collection.
You’ll learn essential techniques, material options, and inspiring ideas to bring these lovable characters to life.
Let’s begin your gnome-crafting experience with easy-to-follow steps and budget-friendly options!
Getting Started with Gnome Crafts
What Are Gnome Crafts?
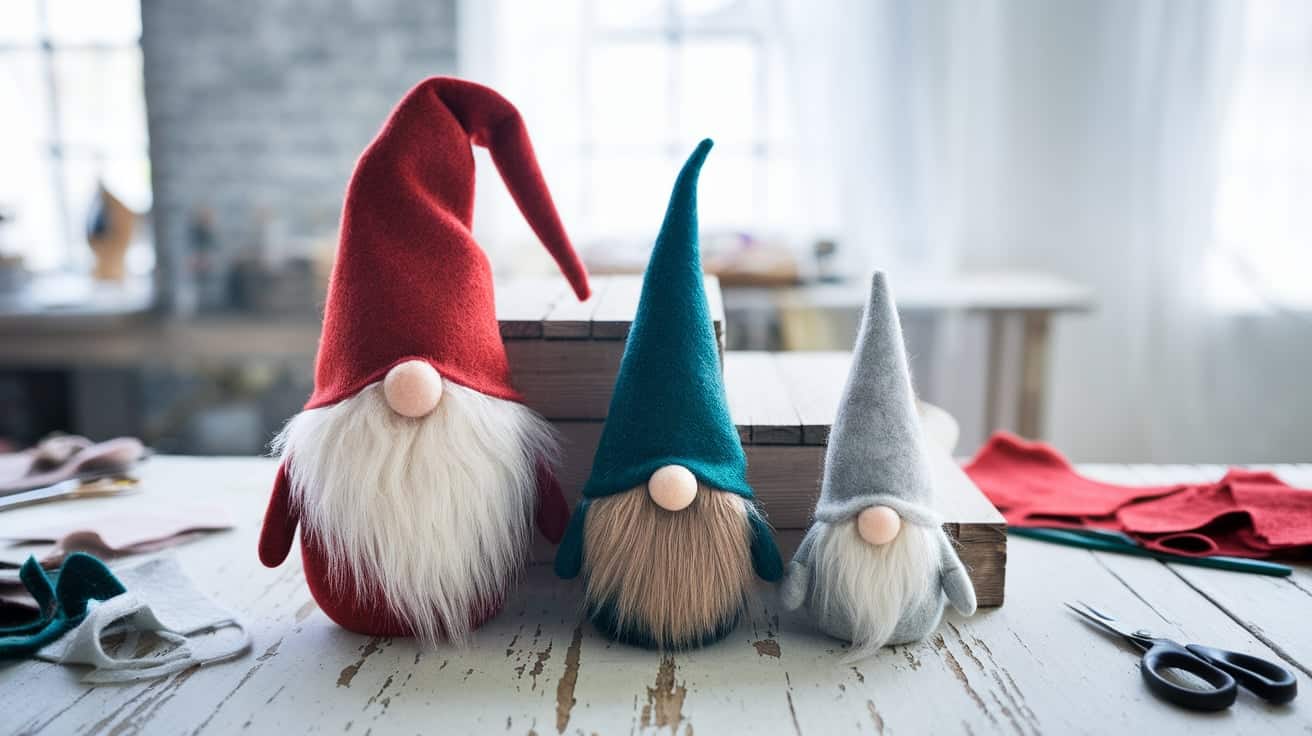
Gnome crafts bring charm and character to any space through handmade decorative figures. These small bearded figures with pointy hats have roots in Scandinavian folklore, where they were known as tomtes or nisse.
Today’s crafted gnomes offer a fresh take on traditional designs, making them perfect for modern home decor. They come in various sizes, from tiny ornaments to large garden decorations, each with its personality and style.
Crafters can make gnomes using simple materials found at home or local stores. The basic design includes three main parts: a body, a prominent beard, and a cone-shaped hat that gives them their distinct look.
Materials and Tools You’ll Need
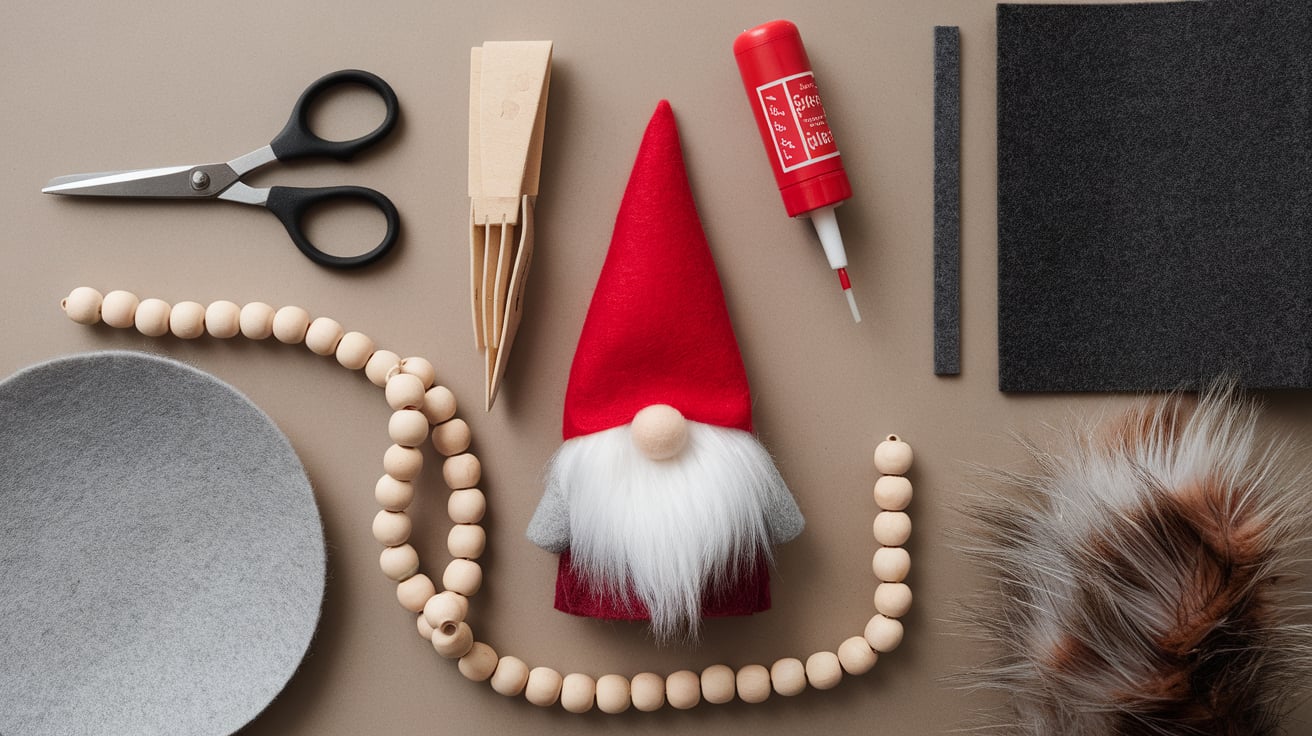
The base materials for gnome crafts are simpler than you might think. You’ll need socks or fabric for the body, rice or poly pellets for filling, and faux fur or yarn for the beard.
Felt or cotton fabric works well for the hat, and decorative elements like wooden beads for the nose. A hot glue gun, scissors, and measuring tape are essential for putting everything together.
Budget-friendly alternatives include using old sweaters for the body or creating beards from yarn instead of faux fur. Many crafters find success using items from dollar stores or repurposing materials they already have at home.
Tips for Successful Crafting
Safety comes first when working with hot glue and sharp tools. Keep a clean workspace and supervise children during crafting sessions to prevent accidents.
When cutting faux fur, use a craft knife to cut from the back to preserve the fur’s natural look. This technique helps create better-looking beards and prevents the wastage of expensive materials.
Store-bought patterns can help beginners, but you can also create your own using paper templates. Start with smaller gnomes to practice techniques before moving on to larger projects.
Seasonal and Holiday Gnome Ideas
1. Christmas Gnomes

Christmas gnomes’ festive appearance adds extra joy to holiday decorations. Small gnome ornaments add a personal touch to Christmas trees, while larger ones make perfect centerpieces for holiday tables.
Santa-style gnomes feature red hats and white beards, creating a perfect holiday look. These decorative pieces work well as gifts, especially with soft materials like fuzzy socks and plush fabrics.
Many crafters add small bells, pine cones, or sparkly ribbons to enhance the holiday spirit. Placing these gnomes near stockings or on mantels creates a cozy winter atmosphere throughout the home.
2. Halloween Gnomes
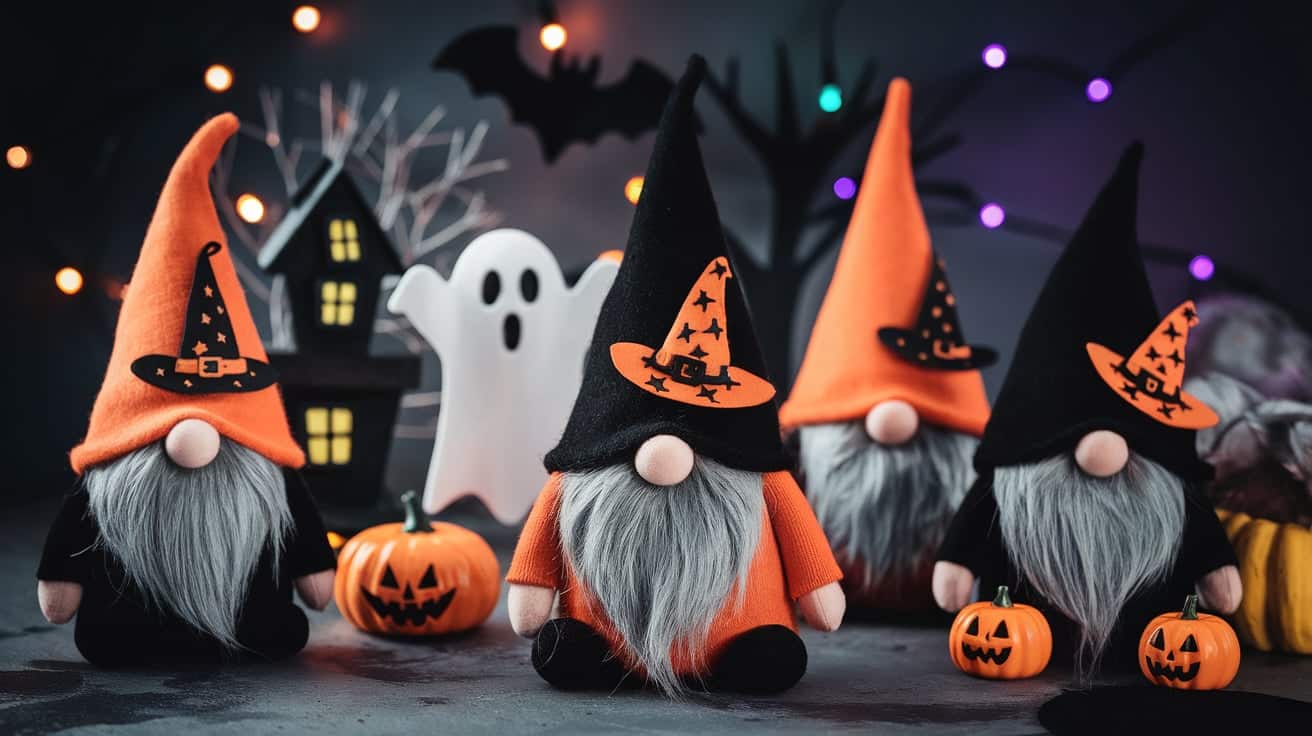
Halloween gnomes, with black hats and gray or black beards, take on a playful spooky style. Small additions like tiny witch hats or mini pumpkins transform regular gnomes into Halloween decorations.
Light-sensitive materials can create special effects in darker settings. Adding battery-operated tea lights inside transparent bodies makes these gnomes glow at night.
3. Fall and Autumn Gnomes

Fall gnomes’ design choices showcase the warm colors of autumn. Earth-toned fabrics and natural materials like pine cones create seasonal appeal.
These gnomes often feature brown or rust-colored hats with matching accents. Some crafters add small fabric leaves or acorns to the gnomes’ hats or bases for extra autumn flair.
4. Spring and Easter Gnomes
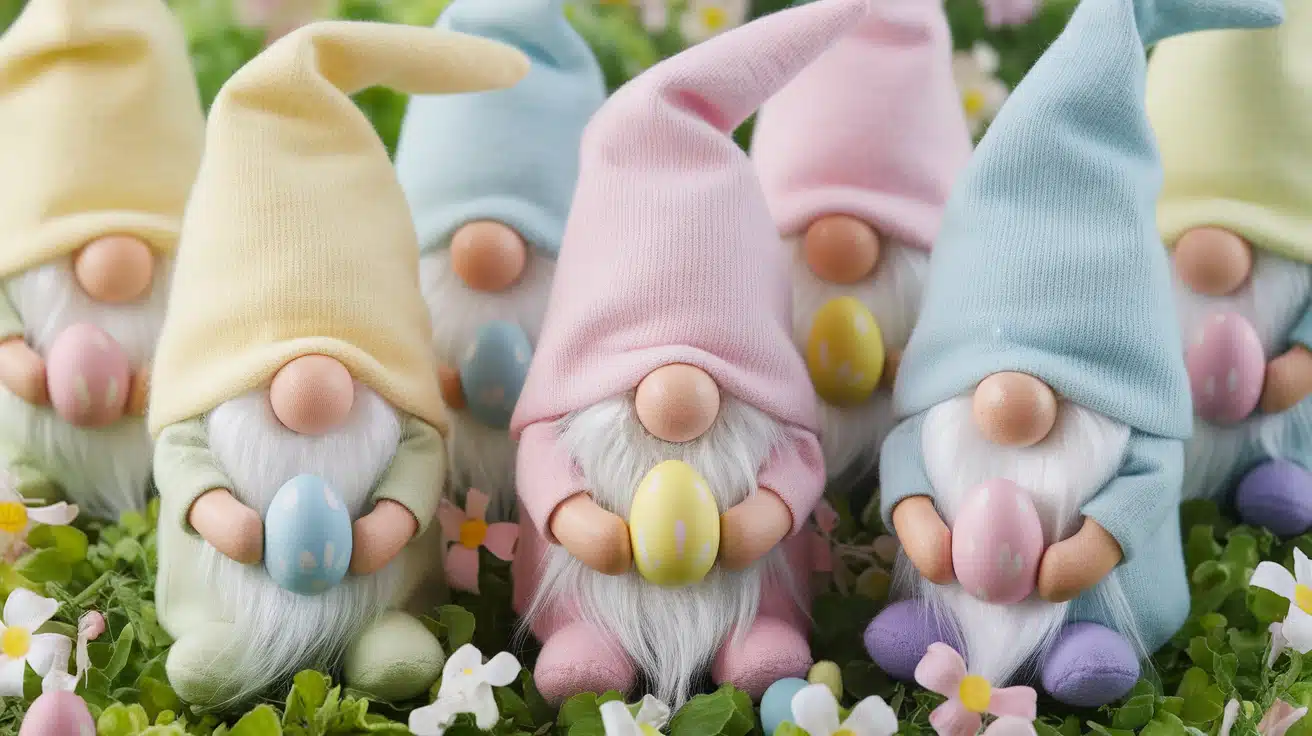
Spring brings opportunities for pastel-colored gnomes with light, airy designs. Easter-themed versions often sport soft yellow, pink, or blue hats with coordinating decorations.
Small fabric flowers or painted wooden eggs perfectly add to these seasonal figures. Crafters create pairs or groups of spring gnomes and display them among fresh flowers or greenery.
Creating multiple gnomes in different sizes allows for varied displays throughout the seasons. The key is selecting materials and colors that match each holiday’s traditional elements.
Step-By-Step DIY Gnome Crafting
STEP 1: Creating the Base
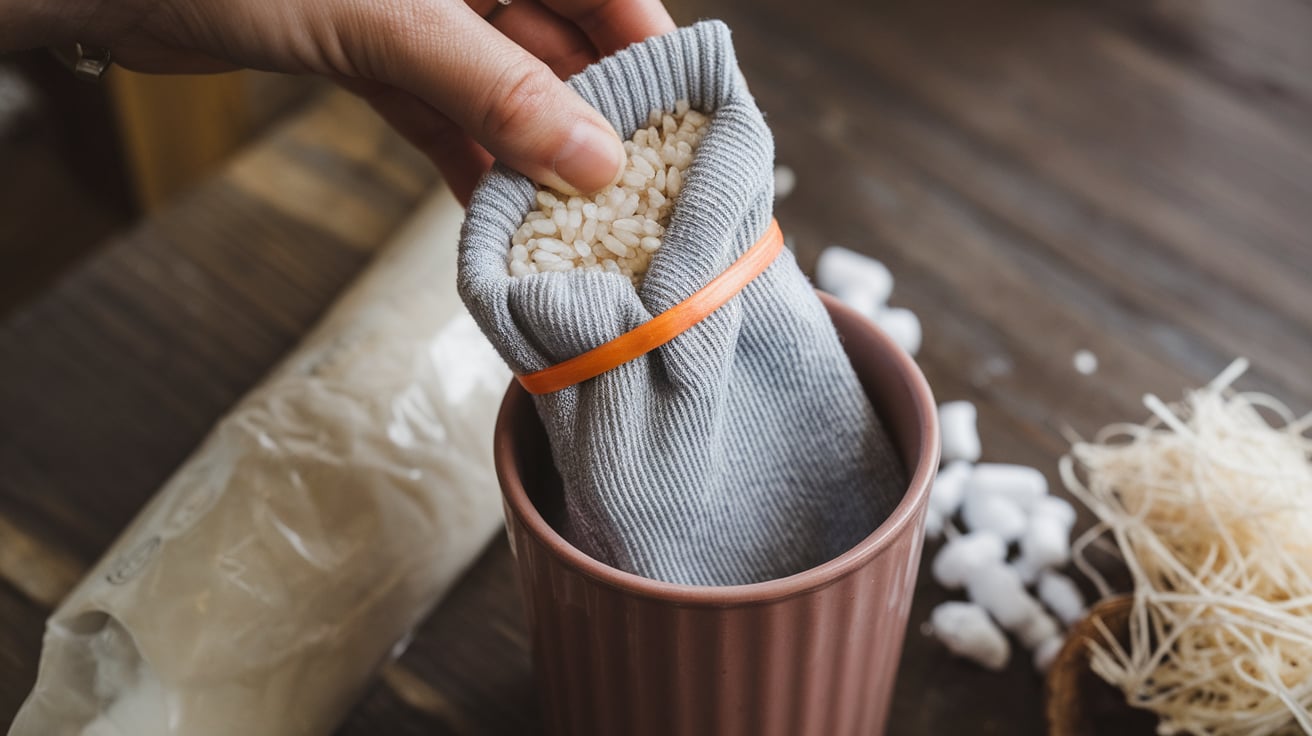
Start by measuring 48 ounces of rice or poly pellets for the gnome’s body. Then, place a sock over a large cup and fill it with the measured amount to create a stable base.
Once filled, secure the sock’s opening with a rubber band. Add a small amount of hot glue around the rubber band to ensure it stays closed and maintains its shape.
STEP 2: Making the Beard
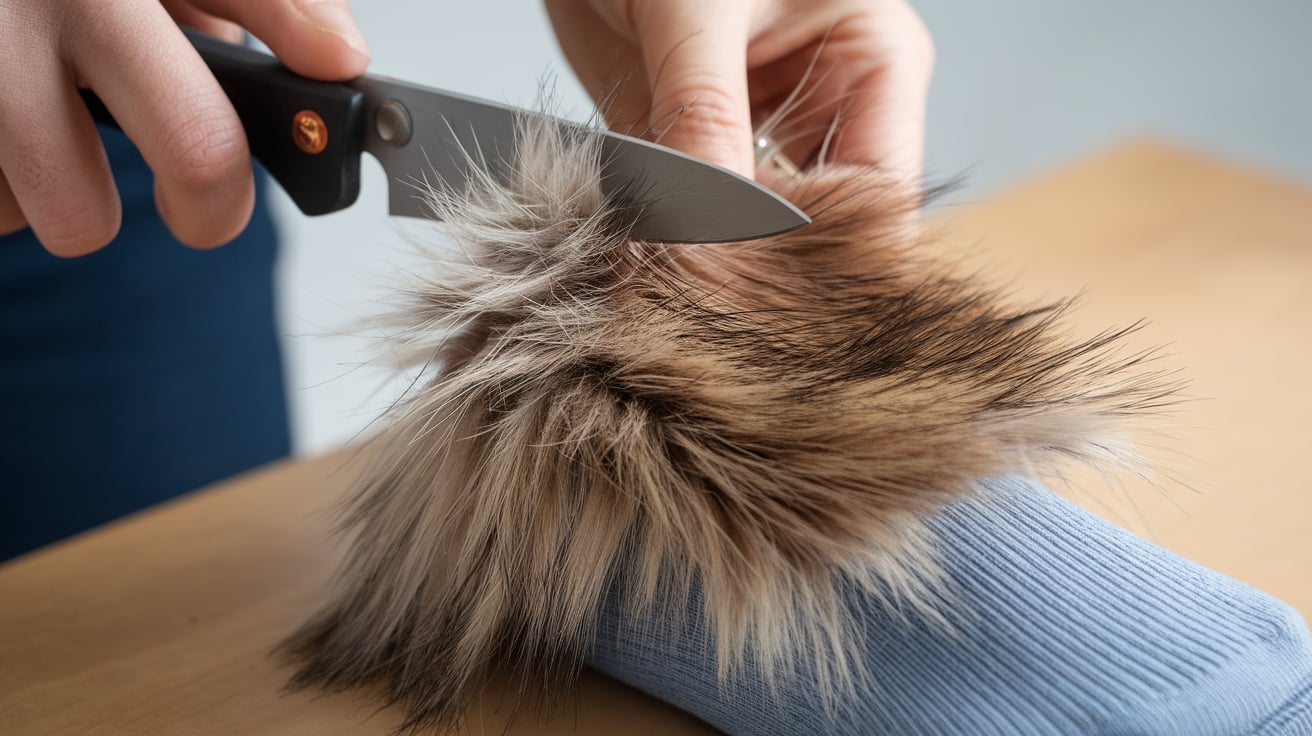
Cut the faux fur from the back side using a craft knife, following your chosen pattern. This method keeps the fur intact and creates a natural-looking finish.
Place the beard on the body, starting about 1 to 1.25 inches below the secured top. Shape the fur to angle slightly downward from front to back for a natural drape.
STEP 3: Adding the Facial Features
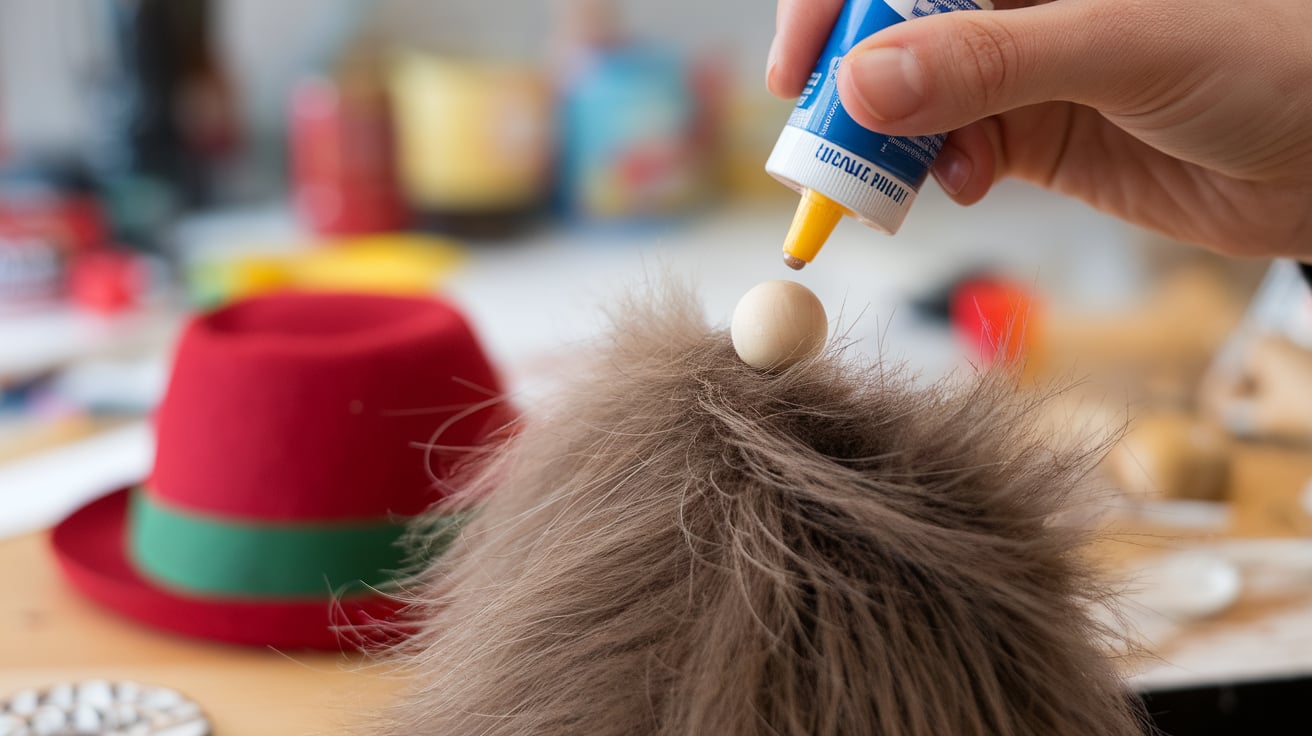
Position a wooden bead or ball in the center of the upper beard area for the nose. Apply hot glue to secure it firmly in place.
Gently fluff the fur around the nose using a fork or comb. This step helps blend the nose into the beard, creating a more finished look.
STEP 4: Crafting the Hat
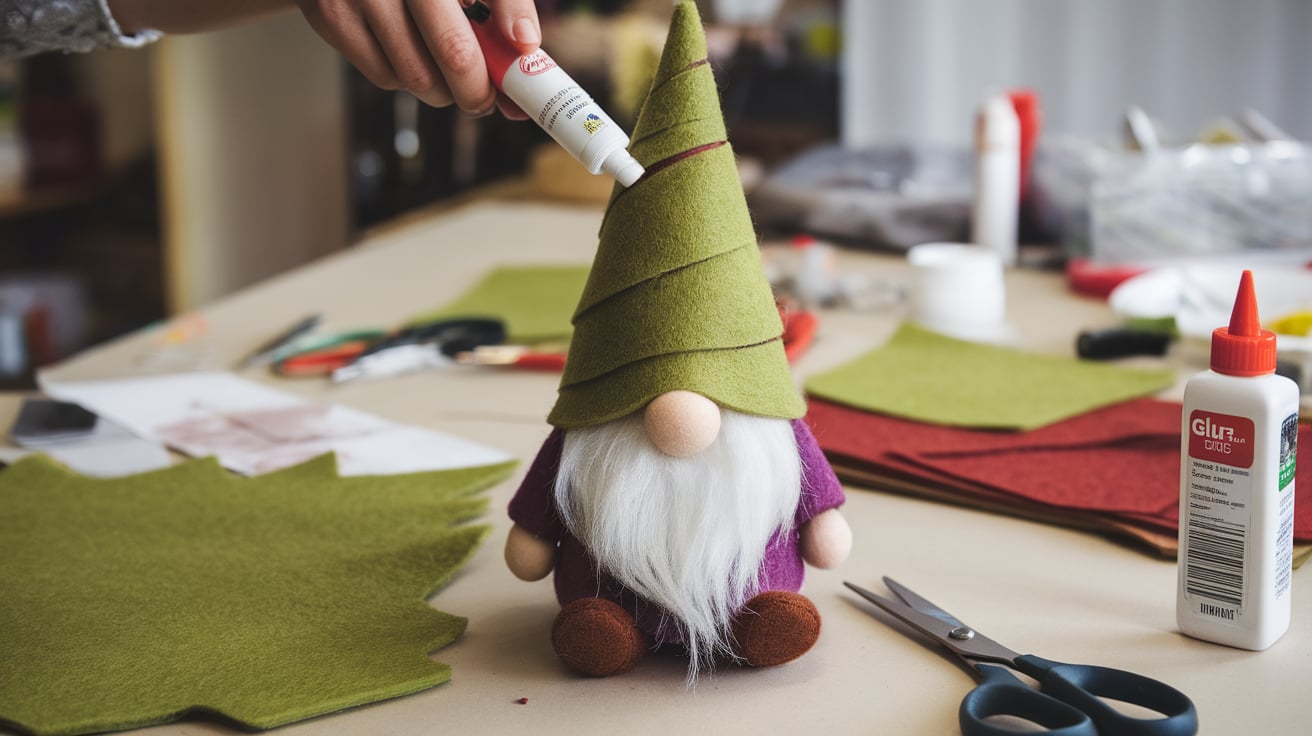
For the hat, cut felt or chosen fabric using a cone-shaped pattern. I rolled the fabric from the shorter side toward the longer edge to form the classic pointed shape.
Secure the hat’s seam with hot glue or hand stitching. Test the fit on your gnome before the final attachment to ensure proper sizing.
STEP 5: Final Assembly
Apply hot glue around the top of the gnome’s head where the hat will sit. Position the hat carefully, making sure it partially covers the nose area.
Add finishing touches like a pom-pom to the hat’s tip using matching yarn or fabric. Shape the hat as desired, creating gentle folds or bends for character.
This basic method works for various gnome sizes and styles. Small adjustments to measurements create figures of different sizes while maintaining proper proportions.
Video Tutorial
For more details, check out this video tutorial by Patti J. Good.
Advanced Gnome Crafting
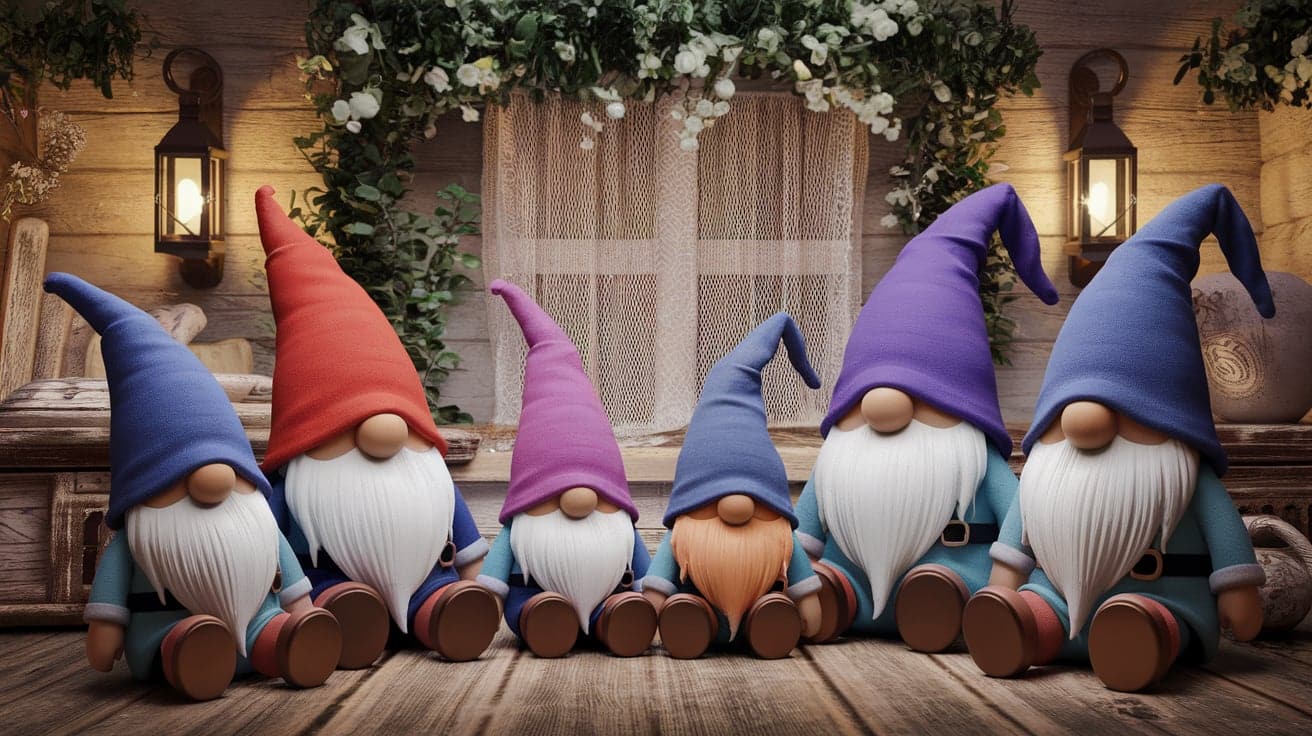
Creating Gnome Families
Making gnome families requires careful attention to size proportions for a cohesive look. Parent gnomes typically stand 12 inches tall, while child gnomes range from 6 to 8 inches.
Start with a basic pattern and adjust measurements by 25%, smaller or larger. This method ensures all family members maintain similar features while varying in size.
Matching fabric textures and colors helps create visual connections between family members. Consider using the same hat material but in different shades to show relationships.
Personalized Gnomes
Adding names to gnomes creates special meaning for gift-giving occasions. Small wooden letters or fabric paint work well for adding names to hats or bases.
Personal touches might include tiny accessories that reflect hobbies or interests. A mini paintbrush for artists, tiny books for readers, or small garden tools for plant lovers make each gnome unique.
Creating Custom Features
Female gnomes can sport braided yarn hair instead of traditional beards. To add feminine touches, add small fabric flowers or ribbons.
Male gnomes might sport different beard styles – short, long, curly, or straight. Varying the beard cut and style helps create distinct personalities.
Special Occasion Gnomes
Birthday gnomes can hold tiny presents or wear party hats. Wedding gnomes often pair well in coordinating outfits with mini veils or bow ties.
Anniversary gnomes might feature metallic accents matching traditional anniversary materials. Small details like golden buttons for 50th anniversaries add meaningful touches.
Professional Finishing Techniques
Use fabric stiffener on hats to help them maintain their shape over time. This technique works especially well for gnomes that will be handled frequently.
Consider adding weighted bases for larger display gnomes. This addition helps them stand firmly and prevents tipping.
Expenses and Cost Considerations
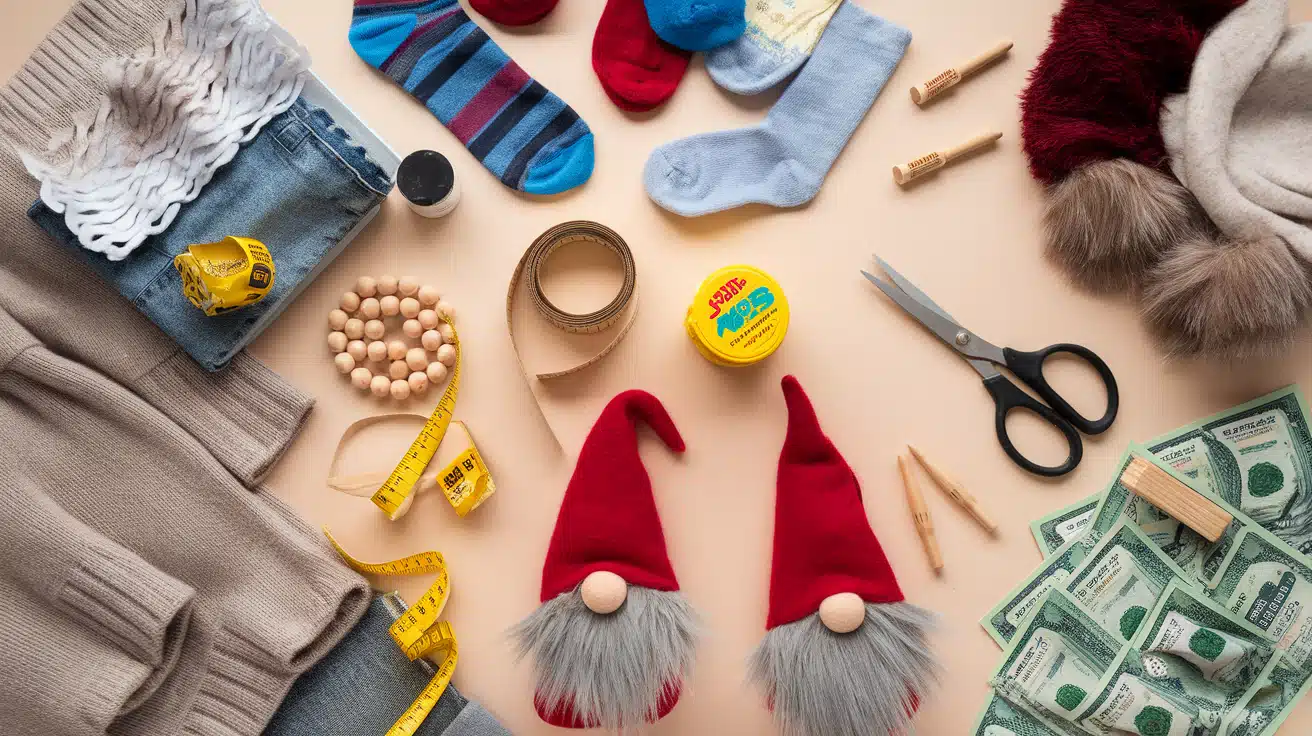
Basic Material Costs
Starter supplies for gnome crafting cost between $15 and $30 for multiple projects. Most dollar stores offer affordable socks, basic felt, and essential tools.
Faux fur represents the highest cost in gnome crafting, ranging from $8 to $20 per piece. Buying larger pieces of fur allows for multiple gnomes and better cost efficiency.
Budget-Friendly Options
Rice makes an excellent low-cost filling at roughly $1 per pound. One pound typically fills two medium-sized gnomes with proper stuffing.
Using yarn instead of faux fur significantly reduces costs. One skein of yarn, at $3-5, can make beards for several small gnomes.
Investment Pieces
Quality tools, such as sharp fabric scissors and reliable hot glue guns, last longer. Investing $20-30 in good tools saves money over time by preventing material waste.
Bulk buying materials during seasonal sales helps reduce per-gnome costs. Many craft stores offer significant discounts after holidays.
Cost Per Gnome
Small ornament-sized gnomes cost about $2-3 each to make, while medium display gnomes average $5-8 in materials.
Larger specialty gnomes with premium materials might cost $12-15 to create. These costs decrease when making multiple gnomes from shared materials.
Selling Considerations
Handmade gnomes often sell for three to four times the material costs. Small ornaments sell for $8-12, while larger gnomes can command $25-40.
If selling at craft fairs, consider packaging and presentation costs. Simple display stands and clear bags add $1-2 per gnome to overall costs.
Fun and Interesting Facts You Didn’t Know About Gnomes
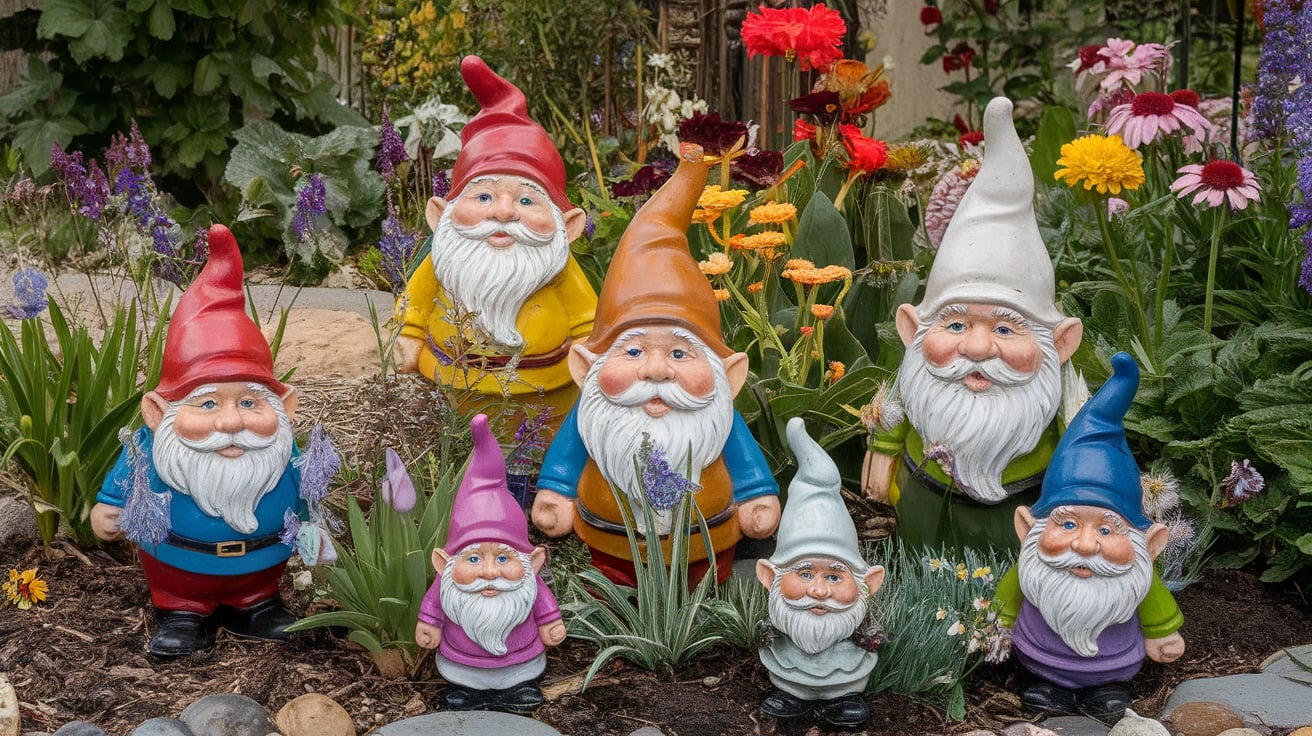
Gnomes have been a beloved part of folklore and décor for centuries, but there’s more to them than meets the eye. Here are some surprising and fun facts about these charming creatures:
-
Origins in European Folklore: Gnomes are often seen in European folklore as earth spirits protecting underground treasures. The alchemist Paracelsus first mentioned them in the 16th century.
-
Symbols of Good Luck: In many cultures, gnomes are believed to bring good luck, especially when placed in gardens or homes. They are thought to ward off evil spirits and protect their surroundings.
-
Garden Gnome Popularity: The first garden gnome statues were created in Germany in the 19th century. They were handmade from terracotta and quickly became symbols of whimsy and charm.
-
Their Distinct Appearance: Garden gnome manufacturers popularized the classic image of a gnome with a pointy red hat, beard, and boots in the 1800s and continue to this day.
-
Gnomes in Literature: Gnomes have appeared in various literary works, including C.S. Lewis’s famous “The Chronicles of Narnia” series, where they are depicted as magical creatures living underground.
-
Guardians of Gardens: Folklore suggests that garden gnomes protect plants and crops, coming alive at night to ward off pests and thieves. This belief adds a magical touch to their presence in gardens.
-
Gnome “Homes” in Trees: Traditional stories often place gnomes inside hollow trees or underground caves, emphasizing their connection to nature and the earth.
-
Traveling Gnome Pranks: The “traveling gnome prank” involves people “kidnapping” garden gnomes and sending postcards from various locations, which inspired travel ads and campaigns.
-
Varied Names Across Cultures: Gnomes are known by different names worldwide. In Scandinavian folklore, they are called “Tomte” or “Nisse,” while in English folklore, they are often referred to as goblins or dwarfs.
-
Their Role in Magic and Alchemy: Early alchemists considered gnomes one of the elemental beings associated with earth, representing the magical properties of soil and minerals.
Wrapping It Up
Gnome crafting opens a world of creative possibilities for every skill level. Each gnome you create tells its story through unique features and personal touches.
From simple sock designs to intricate family collections, your crafting skills will grow with each project.
Share your gnome creations with us! We’d love to see how you’ve used these ideas to make your special characters.
Connect with our crafting community through the comments below or tag us in social media posts.
Need more inspiration? Browse our craft section for additional tutorials and seasonal projects.
Remember, the best gnomes are the ones made with care and imagination. Happy crafting!
Frequently Asked Questions (FAQs)
What Supplies Do You Need To Make A Gnome?
You’ll need felt, faux fur, fabric, stuffing, hot glue, scissors, and decorations like beads or buttons for the nose. A sock or cone forms the gnome’s base.
How Do You Make A Gnome Out Of Household Items?
Use socks for the body, rice for weight, cotton stuffing, and faux fur or yarn for the beard. For a creative gnome, add a felt hat and glue-on decorations.
What Are The Different Types Of Gnomes I Can Make?
You can make Christmas gnomes, garden gnomes, seasonal gnomes, Scandinavian-style “Tomte” gnomes, or themed gnomes for specific occasions like Easter or Halloween using creative materials.

