How to Install Shiplap in Your Bathroom?
Let me tell you about Sarah’s small bathroom transformation last spring. Walking into her dated space today, you’d never guess it was once a plain, characterless room.
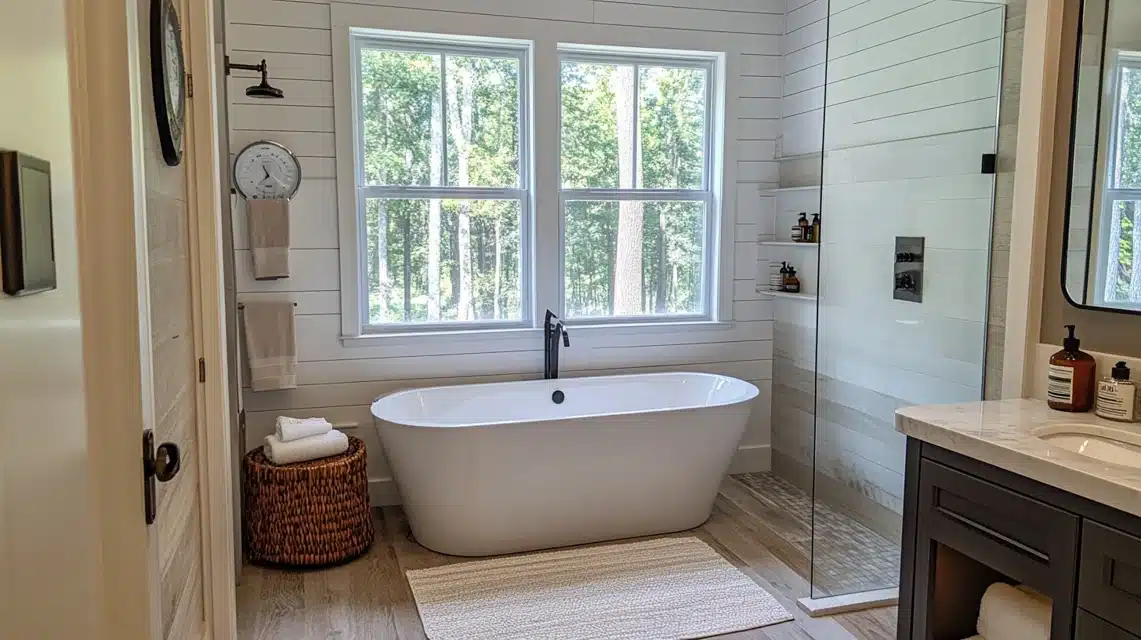
The secret? Carefully planned shiplap that turned ordinary walls into a conversation piece. Every bathroom tells a story, and Shiplap writes that story in bold, architectural lines.
From historic farmhouses to modern urban lofts, this versatile wall treatment brings instant personality to any space.
But bathrooms? They’re where shiplap truly shines, creating everything from cozy cocoons to spa-like retreats.
Why Shiplap Changes Everything

I’ve installed shiplap in countless bathrooms over the years, and each project reveals new possibilities.
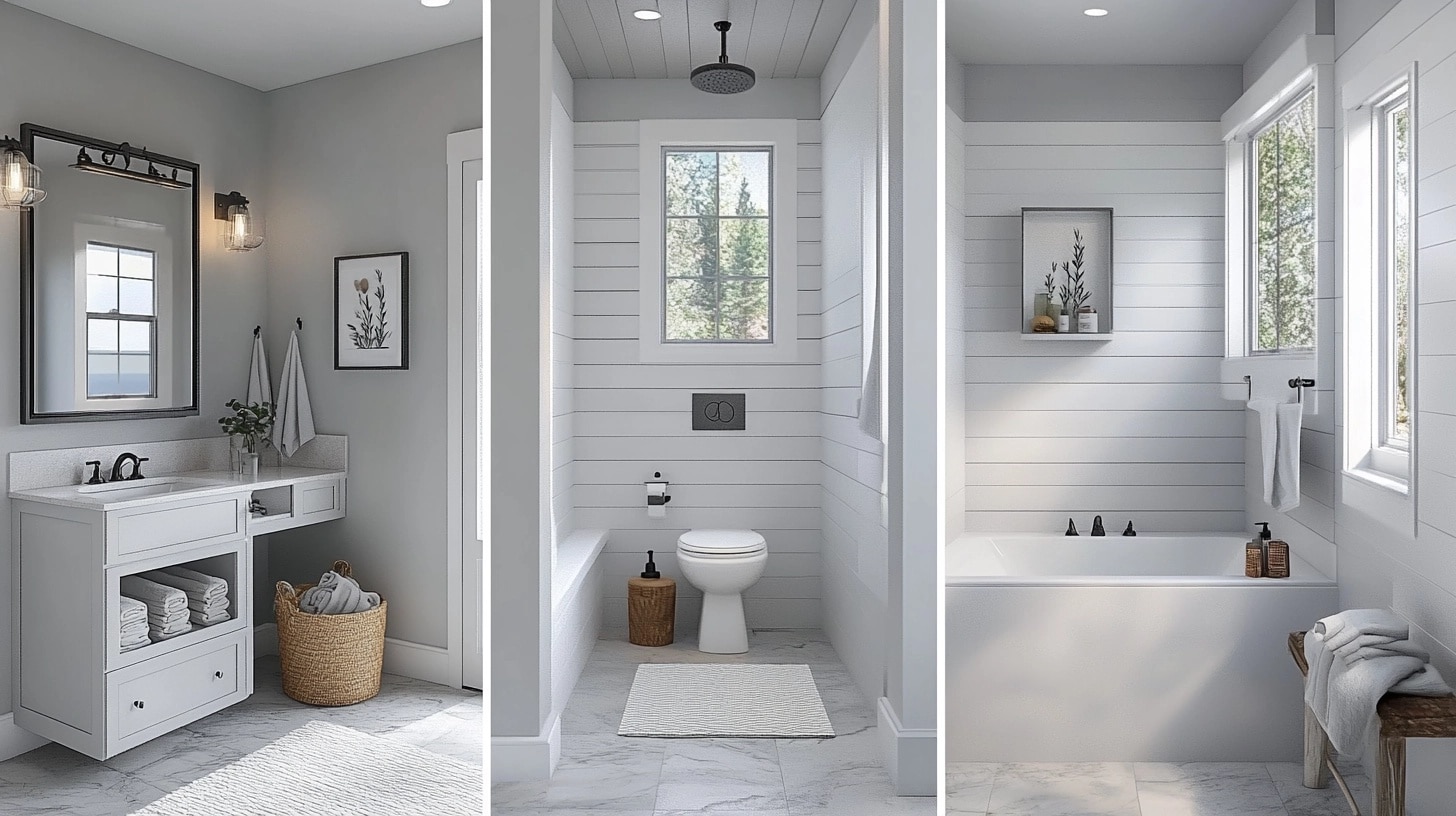
That subtle shadow line between boards creates depth no paint color can match. The linear pattern draws eyes up, making small spaces feel larger.
And unlike tile, shiplap brings warmth that transforms cold bathrooms into welcoming retreats.
Think of shiplap as your bathroom’s canvas. Whether painted crisp white for that classic coastal look or left natural for organic warmth, it adapts to any style while adding architectural interest.
In bathrooms especially, this versatility matters—where else do you need a space that is both invigorating in the morning and relaxing at night?
Pros and Cons of Shiplap in Bathrooms
Let me share how weighing these factors helped one client make the perfect choice for their master bathroom remodel. Each consideration plays a different role depending on your specific space and needs.
| Aspect | PROS | CONS |
|---|---|---|
| Visual Impact | • Creates instant architectural interest • Adds depth and texture • Makes spaces feel larger |
• Can feel busy in small spaces • Pattern might overwhelm • Limited by wall condition |
| Installation | • DIY-friendly in most cases • Covers wall imperfections • Quick visual transformation |
• Requires precise measurements • May need special tools • Time-intensive prep work |
| Durability | • Long-lasting when properly sealed • Easy to touch up • Can be repainted |
• Subject to moisture damage |
| Versatility |
• Works with many styles |
• Permanent fixture once installed • Style may date over time • Limited by room layout |
| Cost | • Often cheaper than tile • DIY saves labor costs • Increases home value |
• Quality materials cost more |
| Maintenance | • Simple cleaning routines • Easy spot repairs • Can be refreshed with paint |
• Regular sealing needed • Must monitor for moisture • Gaps collect dust and debris |
Step-by-Step Guide to Installing Bathroom Shiplap
1. Wall Preparation
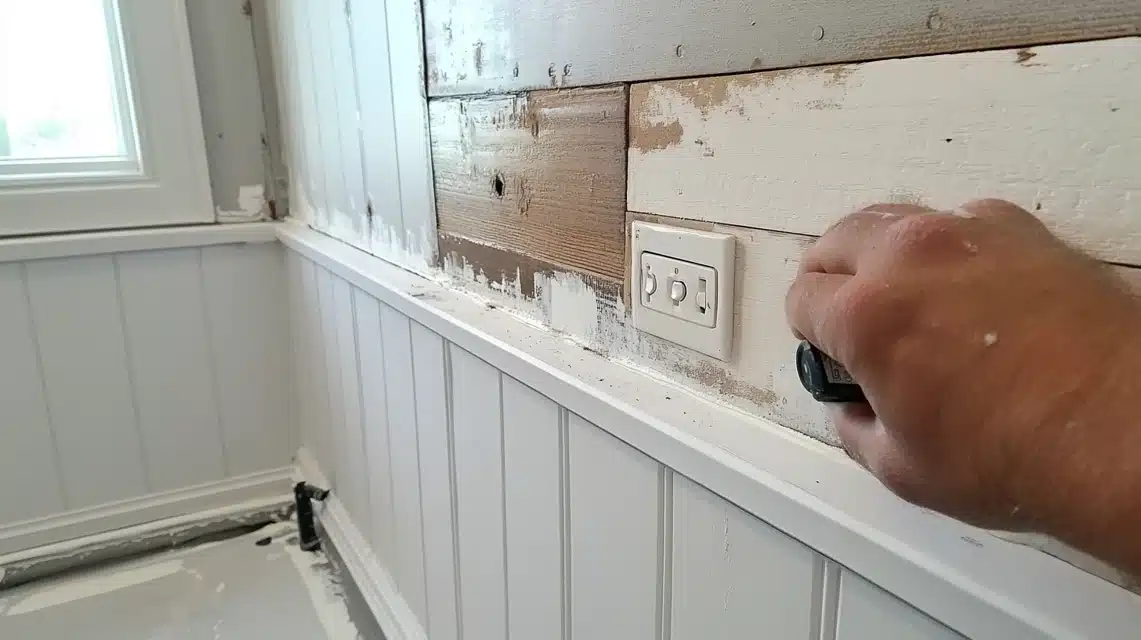
Every successful installation begins with properly prepared surfaces. Start by:
Remove all outlet covers and switch plates to clean the working surface.
Conduct thorough moisture testing across all walls, paying special attention to areas around the plumbing.
Using your stud finder, map and mark every stud location, creating clear reference points for the entire installation process.
2. Layout Planning
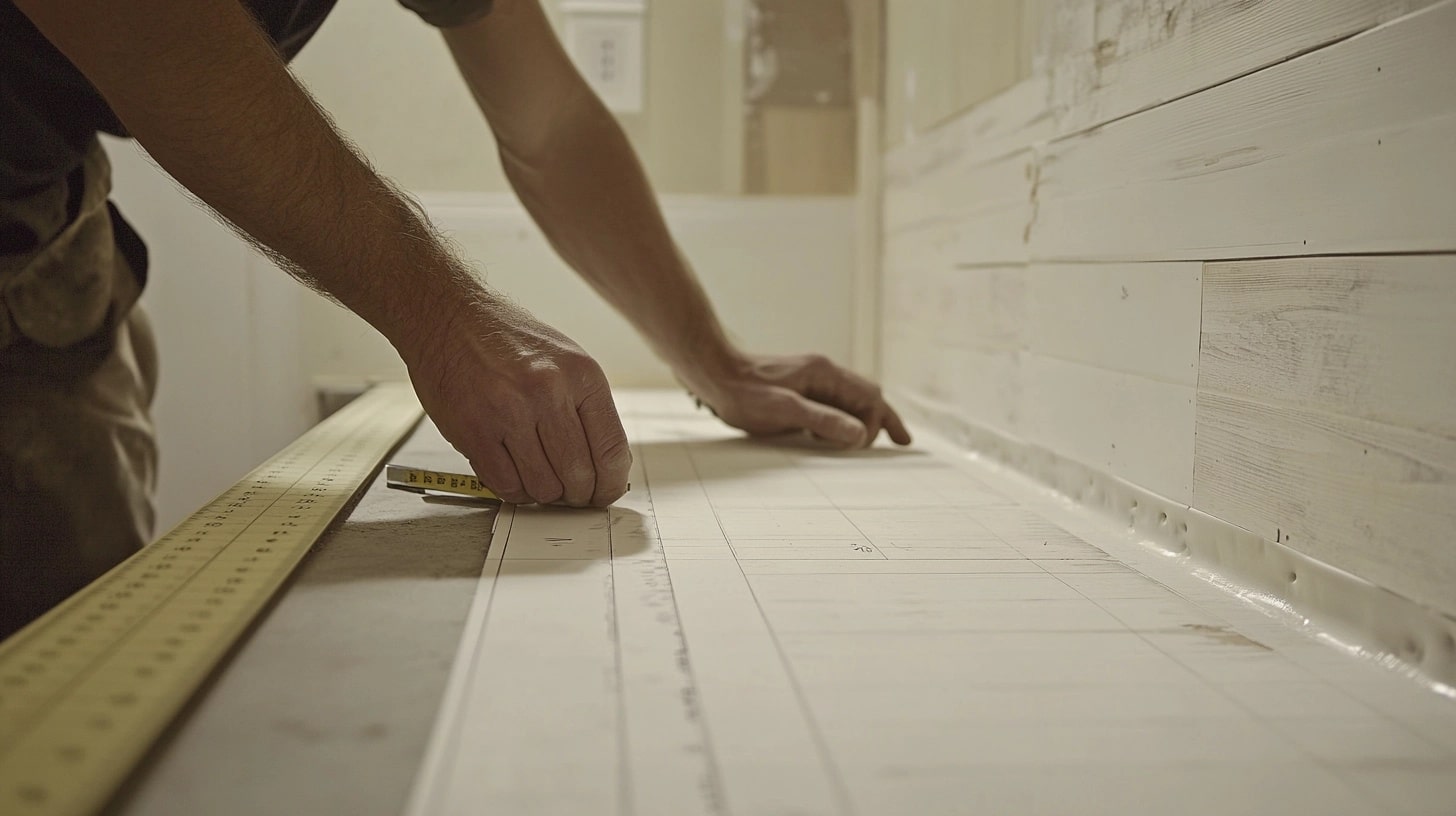
Careful planning prevents costly mistakes and ensures professional results:
Calculate your wall coverage requirements, adding 15% for waste and mistakes. Create a detailed layout plan that avoids narrow strips at the edges.
Establish your level reference lines every 24 inches across all walls. Plan your pattern matches at corners and transitions.
3. First Row Installation
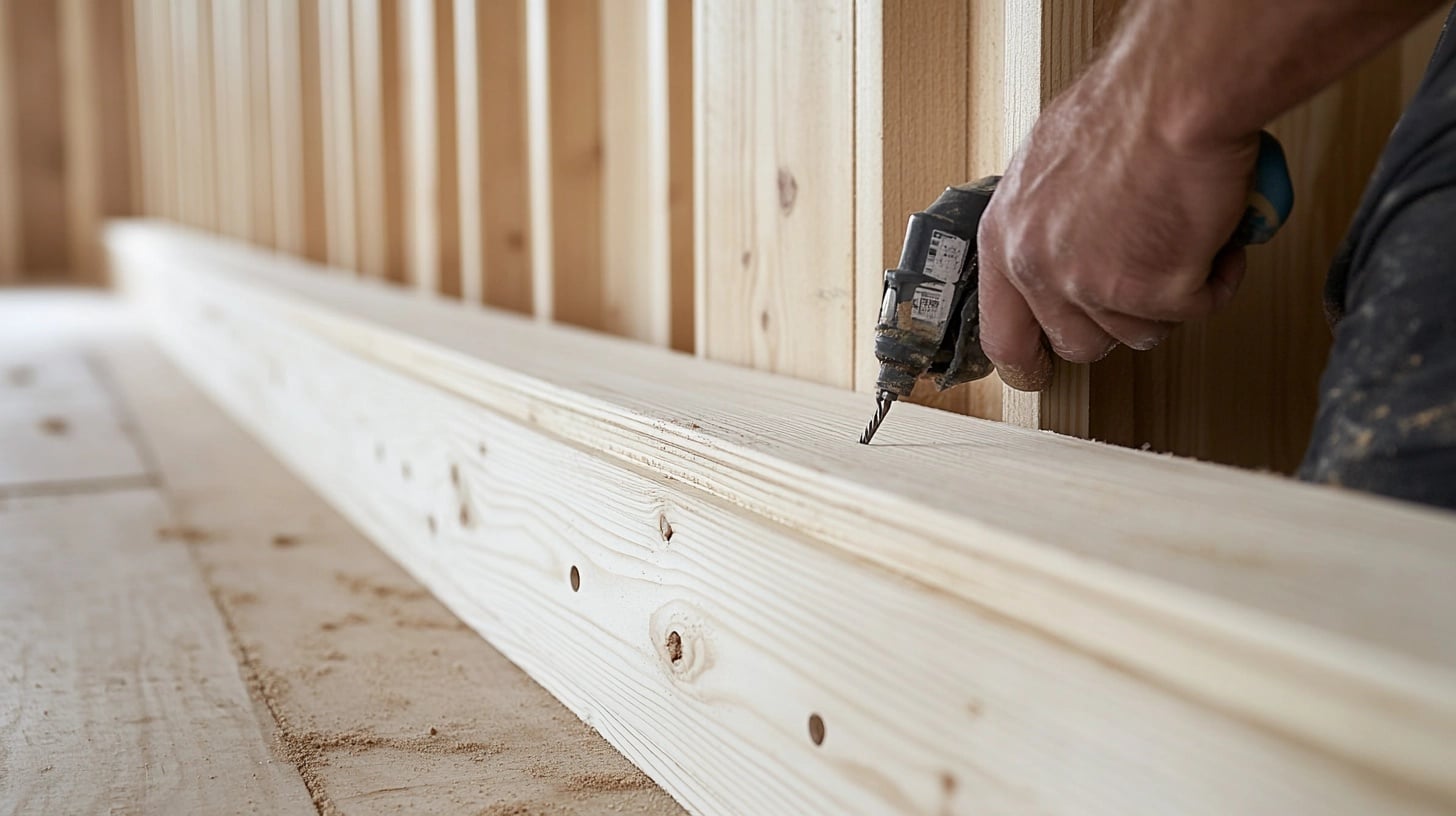
Your first row establishes the foundation for your entire installation. Begin with absolute precision:
Establish a level baseline across your starting wall, accounting for any floor irregularities.
Cut your starter boards to allow proper expansion gaps at floors and corners.
Apply a continuous bead of construction adhesive following manufacturer specifications.
Secure boards using your nail gun, placing nails at every stud location for maximum stability.
4. Continuing the Installation
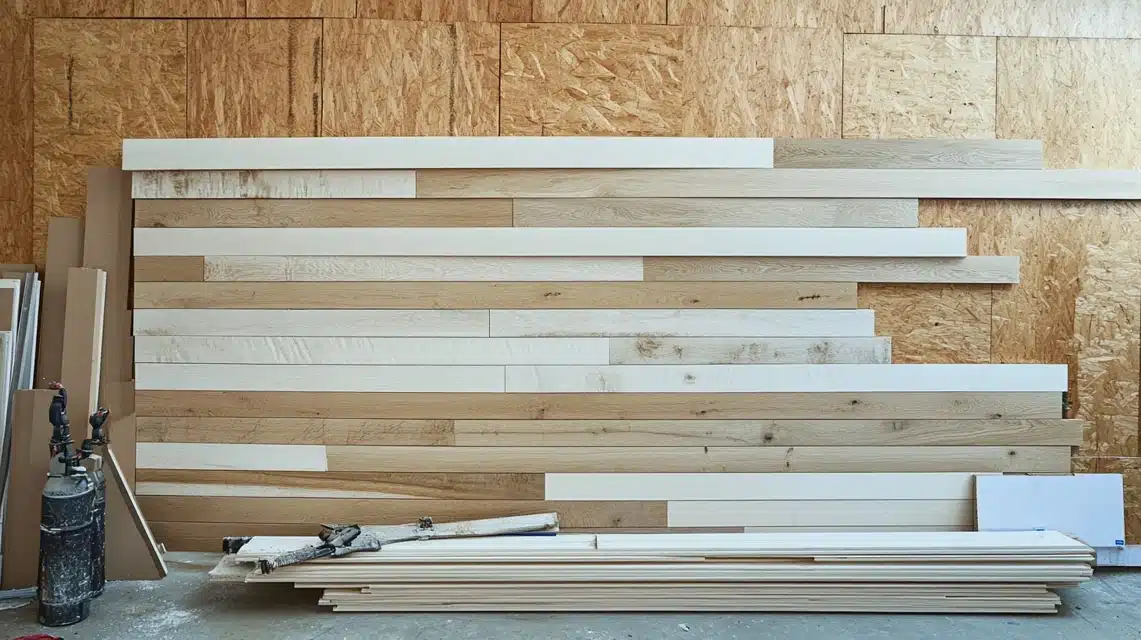
Install subsequent rows using a systematic approach, checking levels frequently.
Maintain consistent spacing between boards according to manufacturer specifications.
Stagger all joints between rows by at least 24 inches for structural integrity.
Apply six inches of construction adhesive on either side of all joints for added stability.
5. Handling Obstacles and Openings
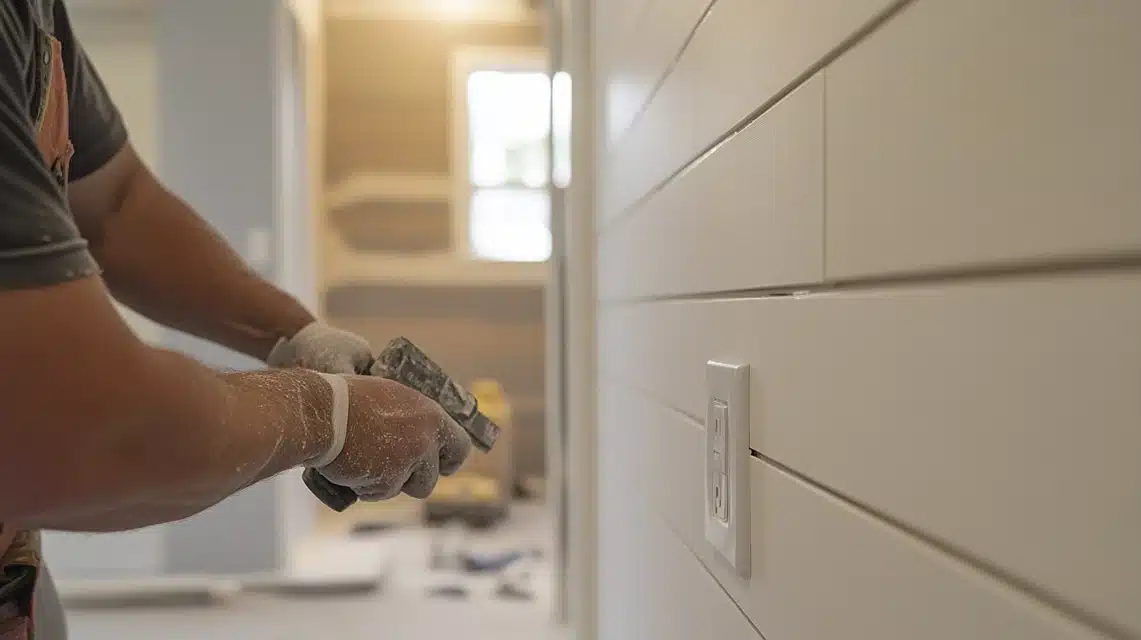
- Electrical Outlets: Create precise measurements for each outlet location before cutting. Transfer measurements to your shiplap boards with complete accuracy. Use a high-quality jigsaw with a fine-tooth blade for clean cuts. Install proper electrical box extensions to maintain code compliance.
- Plumbing Fixtures: Measure all plumbing penetrations with extreme accuracy. Create paper templates for complex cuts around fixtures. Maintain proper clearance around all plumbing penetrations. Apply waterproof caulking around all plumbing interfaces.
6. Corner and Edge Treatments
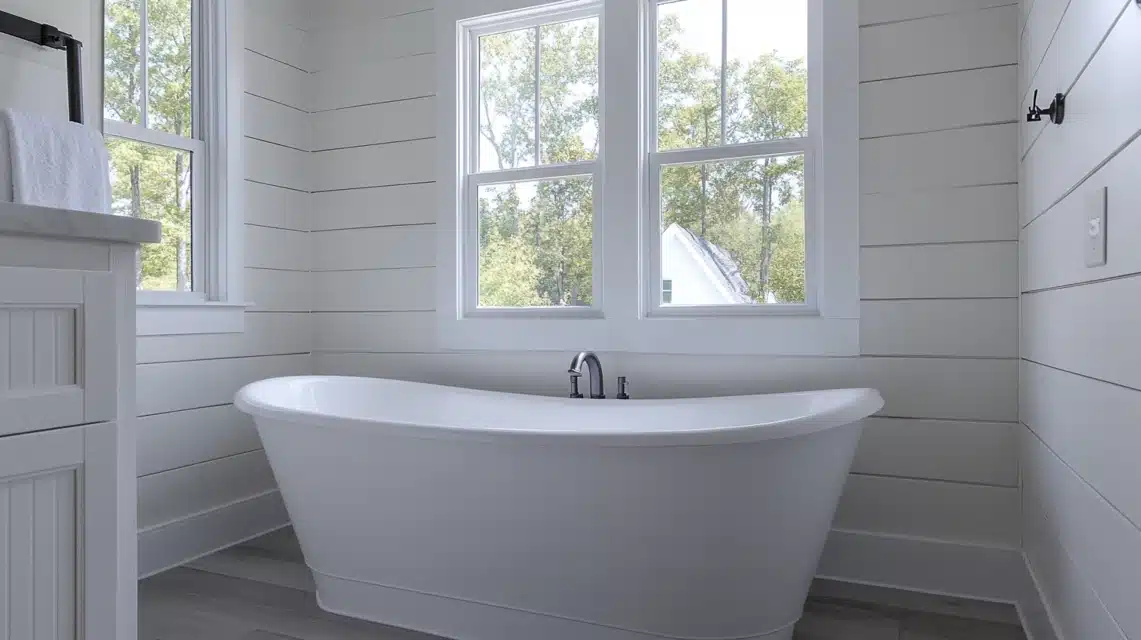
Install appropriate corner moldings according to your design specifications.
Apply waterproof caulking at all internal corners and transitions.
Create clean external corners using precise 45-degree miter cuts.
Ensure proper expansion gaps at all edges and transitions.
7. Sealing and Finishing
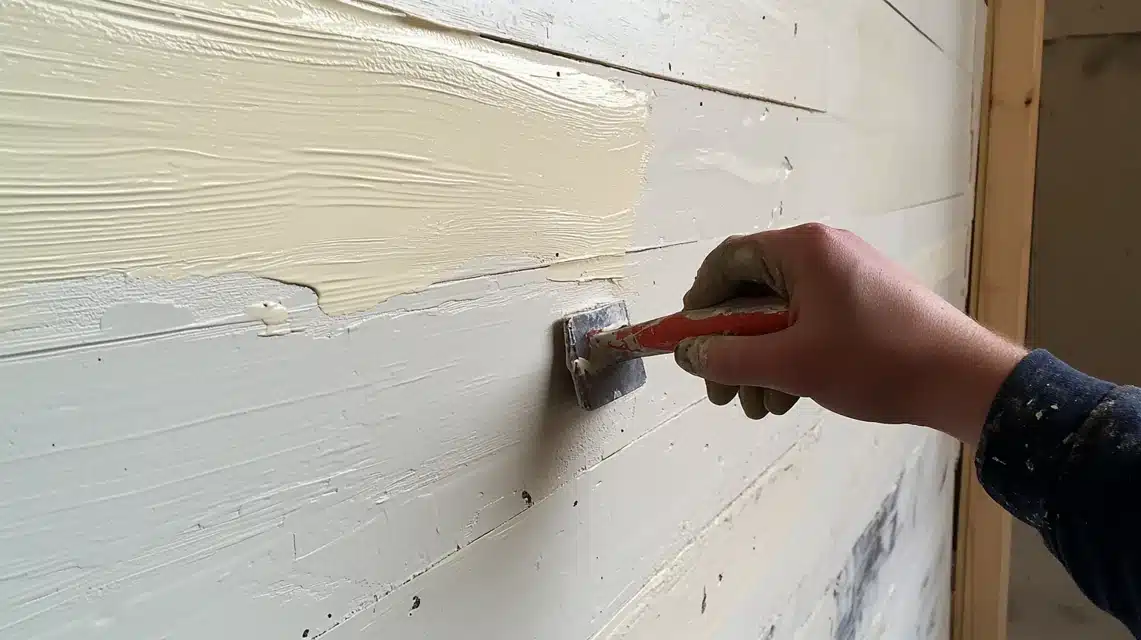
Apply bathroom-specific primer to all exposed surfaces and edges.
Create complete coverage using multiple thin coats rather than single thick applications.
Allow proper drying time between all coating applications. Install waterproof caulking along all edges and transitions.
8. Detail Work and Trim
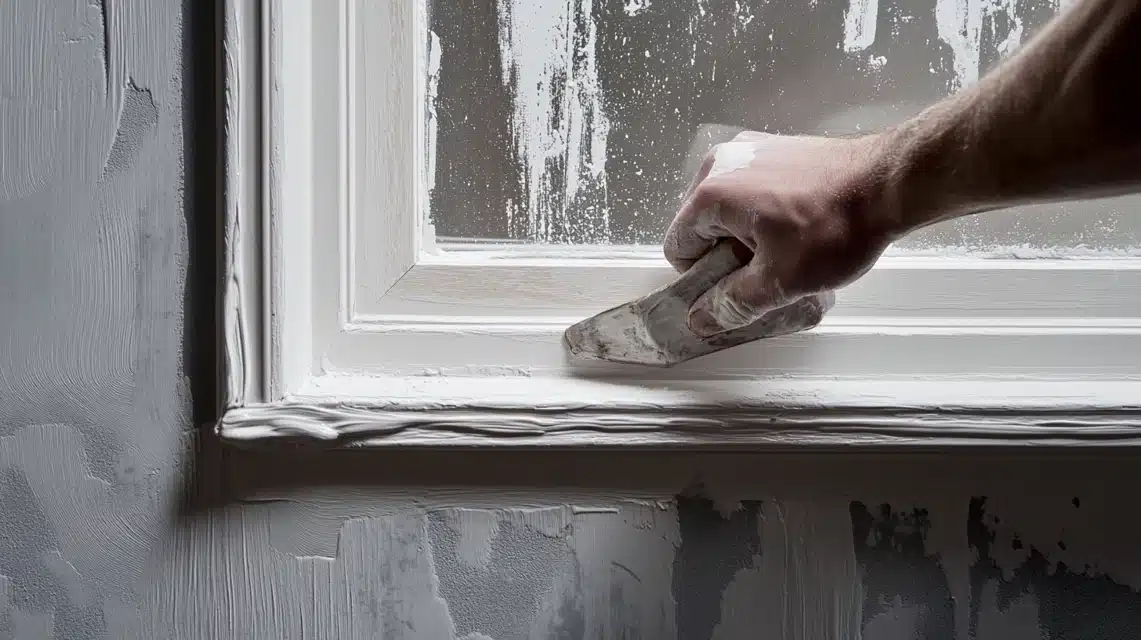
Install coordinating trim pieces around all windows and doors.
Apply wood filler to all nail holes, ensuring complete coverage.
Sand-filled areas to perfect smoothness once thoroughly dried. Clean all surfaces thoroughly before final finishing touches.
9. Quality Control Measures
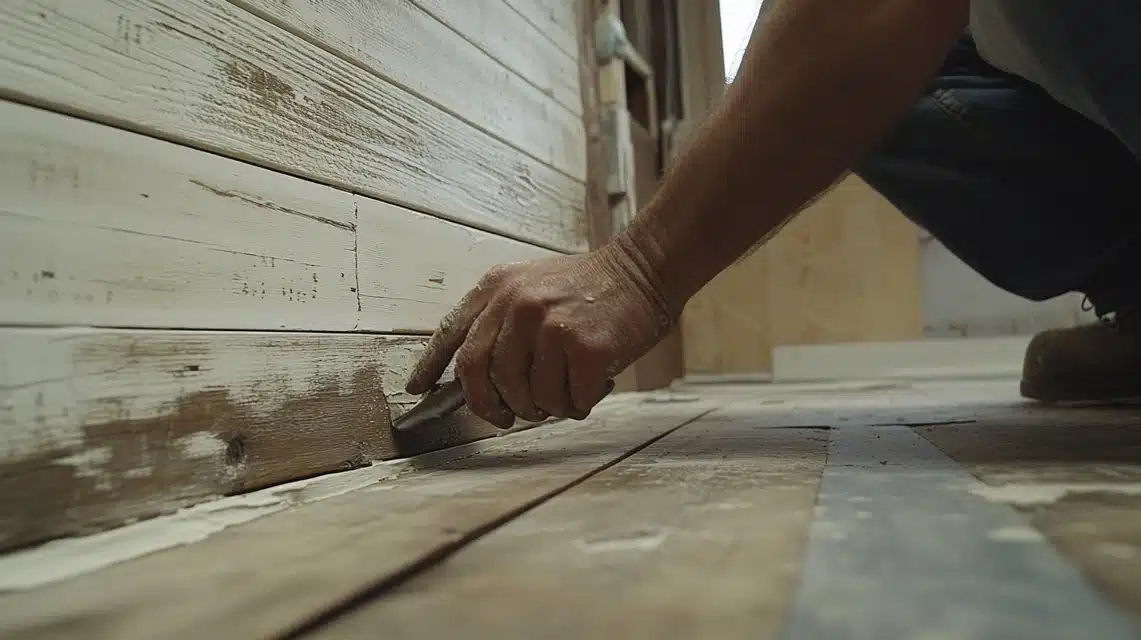
Verify level installation across all walls using professional-grade tools.
Check all joints for proper alignment and spacing.
Confirm secure attachment at all stud locations. Test all electrical and plumbing fits for proper clearance.
10. Environmental Considerations
Control room temperature between 65-75 degrees Fahrenheit during installation.
Maintain relative humidity levels below 60% throughout the process.
Allow proper acclimation time for all materials before installation.
Ensure adequate ventilation throughout the installation process.
Ways to Protect Your Bathroom Shiplap
1. Professional Sealing Techniques
Apply bathroom-specific primer designed for high-moisture environments.
Select primers containing mildewcides for additional protection.
Ensure complete coverage of all surfaces, especially board edges and joints. Allow full curing time between primer and paint applications.
2. Paint Selection and Application
Choose appropriate finishes for maximum protection:
Select semi-gloss or satin finishes for enhanced moisture resistance.
Use bathroom-specific paints containing antimicrobial properties.
Apply multiple thin coats rather than single thick applications. Maintain proper ventilation throughout the painting process.
3. Daily Maintenance Protocol
Wipe down surfaces weekly with appropriate cleaning solutions. Address water spots immediately to prevent staining.
Maintain proper bathroom ventilation during and after showers. Monitor joint areas regularly for signs of separation.
4. Deep Cleaning Procedures
Use mild cleaning solutions specifically formulated for painted surfaces.
Apply cleaners with soft microfiber cloths to prevent scratching.
Pay special attention to areas around fixtures and corners. Dry all surfaces thoroughly after cleaning.
5. Moisture Management
Install and maintain proper ventilation systems rated for your space.
Operate exhaust fans during showers and for 30 minutes after.
Consider using a dehumidifier during humid seasons. Monitor walls regularly for signs of moisture intrusion.
6. Mildew Prevention and Treatment
Inspect corners and joints monthly for early signs of mildew.
Apply mildew-resistant treatments to problem areas immediately.
Maintain proper air circulation throughout the bathroom. Address any leaks or water issues promptly.
Final Thoughts
Successful bathroom shiplap installation combines proper planning, quality materials, and professional execution.
Consider your specific bathroom conditions, maintenance commitment, and long-term goals when selecting materials and installation methods.
Remember that proper ventilation and moisture control play crucial roles in any bathroom application.
Investment in quality materials and professional installation often proves more economical than addressing moisture-related issues later.
Start your project with thorough planning and realistic expectations.
Proper preparation and maintenance ensure your bathroom shiplap provides years of beautiful, trouble-free service while maintaining its value-adding benefits to your home.
Frequently Asked Questions
Is Shiplap Safe to Use in Bathrooms with Showers or Tubs?
Yes, when properly installed and sealed. Professional installation requires moisture barriers behind boards, waterproof caulking at all joints, and bathroom-specific sealants.
Direct water contact areas need special attention. Consider PVC options for shower surrounds. Proper ventilation remains crucial for long-term success.
How Do I Prevent Mold and Mildew on Shiplap Walls?
Prevention starts with proper installation using moisture-resistant materials. Maintain adequate ventilation through quality exhaust fans.
Run fans during showers and 30 minutes after. Keep humidity levels below 60%. Regular inspections and immediate attention to water spots prevent long-term issues.
Can I Install Shiplap Over Existing Tile or Drywall?
Installation over drywall proves straightforward with proper preparation and secure attachment to studs.
Tile requires thorough evaluation of surface stability and moisture conditions. Consider removing tile for best results.
Professional assessment helps determine suitable approaches for your specific situation.
What Is the Cost Difference Between Real Wood and Pvc Shiplap?
PVC options typically cost 20-30% more initially but offer significant long-term value through reduced maintenance and superior moisture resistance.
Real wood provides natural beauty and character but requires more ongoing maintenance.
Factor installation complexity and finishing costs into your decision.
Does Shiplap Add Value to My Home?
When professionally installed, bathroom shiplap can increase home value through improved aesthetics and functionality.
Current design trends favor this style element. Quality materials and proper installation ensure lasting appeal.
Document all materials and maintenance for future homeowners.

